


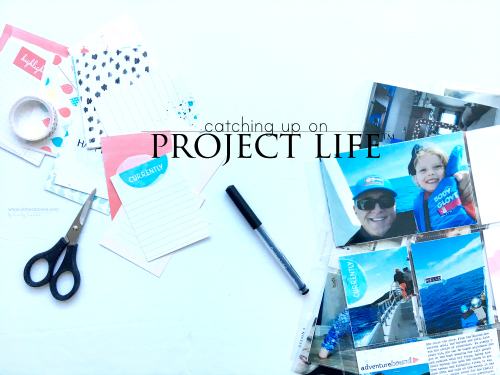
Planning and Organizing Your Project Life Scrapbooks with Cathy Caines
I am a chronological scrapbooker.
I mix traditional layouts and pocket pages.
I don’t like to scrapbook in “order”. I jump from date to date, month to month – whatever inspires me in the moment.
So, how can I achieve this without feeling overwhelmed?
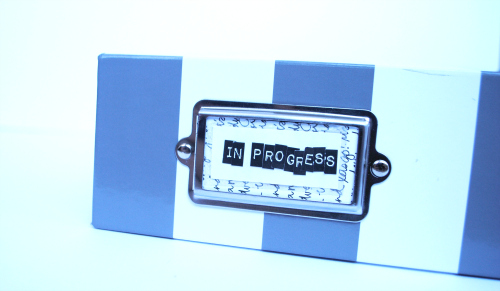
Ah ha. My “In Progress” album.
It is my planner of scrapbooks.
The “In Progress” album is a system I developed for myself but I know there are other memory keepers like me out there… and you need my help. It is an album that holds all my incomplete pages (and some completed pages) until they are ready to move into their final albums.
It kind of looks like this – lots of Post-its™!

How does this work? Once a month, I go through the following process:
Step 1: Delete any photos that are taking up space.
Step 2: Print any photos that you want to scrapbook traditionally. Slip them in a page protector and put them in the album in chronological order. Remember Post-Its™ are your best friend.
Step 3: Identify any monthly “events” where there’s too many photos to select just one. For these events I always use a pocket page. Select a pocket page design – typically I use Design A or whatever is on hand. Print the photos and slide them into the pages. An example of “an event” page is the whale watching layout below.
Step 4: Identify any additional photos that you can’t leave out of your album. These are your “everyday photos”. Every month, I have a pocket page that is a “month in review”. An example of a “month in review” page is the April layout below.
Step 5: Flip through the month – are there any “empty spaces” like the back of a pocket page or traditional layout? This is a great place to do a “journal prompt” layout, include a child’s artwork or a non-photo page.
Step 6: Consider uploading all your home videos to Youtube or another site in order to produce QR codes down the road.
And that, my friends, is how you are always ready to tackle your scrapbooking even if you are months and years behind.
Which brings me here. Last week, I looked in my “In Progress” album and it was getting too thick. I am behind. Very behind. I grabbed my latest Project Life™ by Stampin’ Up! card and accessory kit called Memories in the Making and started to make a dent.

With my pictures already printed, I was ready to tackle each of these layouts very quickly. This is exactly why Project Life™ was invented. Genius.

I can’t wait to see your layouts in your quest to catch up on your memory keeping. Remember that Stampin’ Up! has their annual Sale-a-bration sales until March 31st so contact your local demonstrator or drop me a message to learn more.
Cathy Caines, Independent Stampin’ Up! Demonstrator,St. John’s, NL
Click HERE to visit Cathy’s blog www.inthecatcave.com
Supplies and images used are © 2015 Stampin’ Up! unless otherwise stated: Memories in the Making Project Life card kit and accessory kit, Stampin’ Up! black archival ink, 1” circle punch, basic black cardstock, Project Life Let’s Get Away stamp set, white embossing powder, versamark, Project Life This is the Life accessory kit, Project Life Remember This stamp set, Project Life journaling pens, Project Life Hello Baby stamp set, mini stapler


Comments
What a great way to track what still needs to be done. Love these tips and I think I’m going to borrow some of these great ideas as I have 4 albums running for nieces & nephews in progress all the time. This would a great way andso much easier to keep them up to date. And it won’t matter what size albums you use. Thanks for sharing your method. Love it.
Wow! This was an awesome article! Thank you!! This was so inspirational and uplifting!
Thanks so much Cathy for your organizing tip. I have tonnes of pics and now a little time so I will promptly put your idea to use. Thanks again.
Rose
I can’t wait to get started