


Hi everyone, Cathie Allan here on the Creative Scrapbooker Magazine blog, with a few, bright, spring projects. SPRING is just around the corner and with the days getting longer , the sun shining brighter I just NEEDED to play with some fun bright colors from Clearsnap and some “spring like” images from Stampendous. I did not know what I wanted to create so I created 3 projects thinking I would share with you my favorite. Well … I could not decide which one was “my favorite” so I am sharing all 3 projects with you. I have photographed each project separately and posted those photos at the end of this blog. It all began with these rubber stamp images from Stampendous, plus a gorgeous new metal stencil.
 Media of choice was my Pinwheel Petal Point and re-inkers from Clearsnap, my ColorBox stylus and foam tips and a ColorBox black pigment stamp pad as well as an Archival Black stamp pad and my Top Boss clear ink pad that was used to manipulate the Pinwheel Petal Point pigment ink without adding any additional color.
 Of course my cardstock of choice was “Super Stock”, my personal favorite. 130lb matte, white cardstock. Good on both sides and what you do on one side does not affect the other side so you can work on both sides of the cardstock if you so choose. It will take an amazing amount of altering and come back for more. I guess you could call it “my cardstock, happy place”
The “Butterfly Field” metal stencil from Stampendous was used to create almost all of my background use. I pounced, I blended, I smeared using my stylus and foam tips, the Pinwheel Pigment Petal Point and my Top Boss, clear, stamp pad from Clearsnap. Using my “Cathie Allan’s Position-it2” by Ecstasy Crafts, I stamped my “Dutch Tulips” using the Archival Dye Ink and then “watercolored” with my re-inkers that match my Pinwheel Petal Point by Clearsnap. The “Position-it2”by Ecstasy Crafts, tool is made to be used by ALL popular styles of stamps, wood, cling and clear. Can be used on multiple sizes of paper from 1” X 1” to 12”X12” and is also an “alignment” tool.I actually used the handle attached to the tool as my “watercolor” palette. The multi-tasking that is going on here is HUGE. Watercoloring with pigment re-inkers is fast and fun and “lightfast”. A good water brush makes this just “so easy”!Photo
  Once I was done water coloring I re-stamped my detail back in using my black, pigment ink pad from Clearsnap so that the detail of the image was impeccable.
 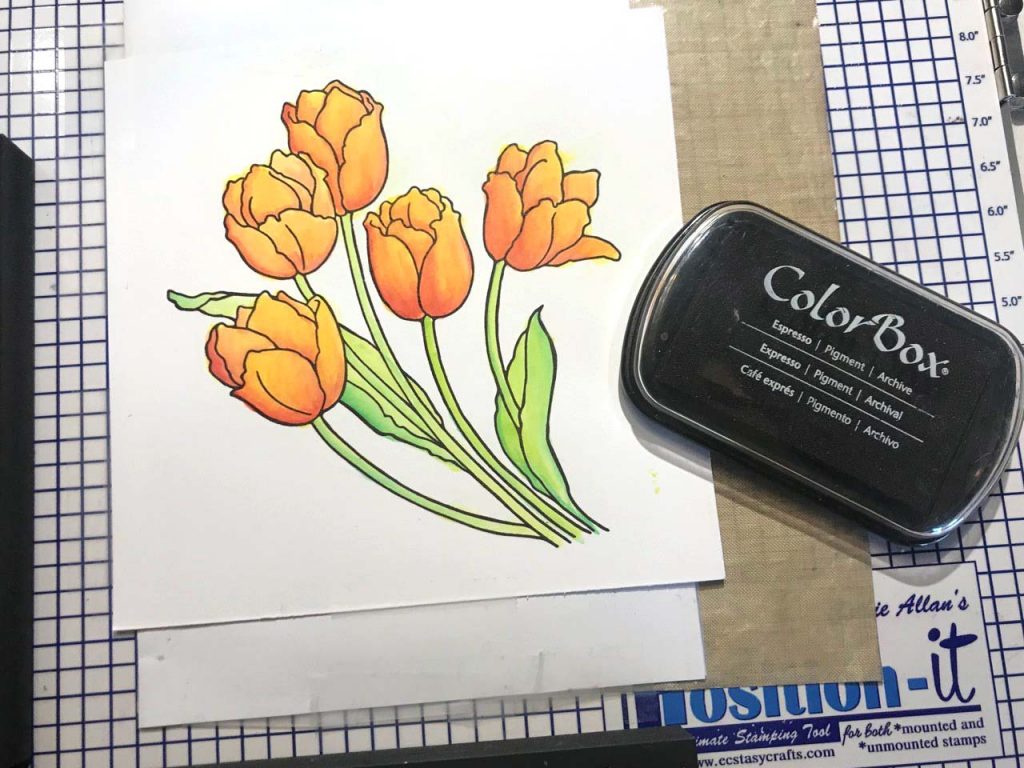 Can you see the heat resistant, craft mat that I slid underneath my Super Stock. This was done so I could give the completed image a quick iron to instantly cure my ink. BONUS the base board of the “Position-it2” by Ecstasy Crafts withstands the heat from my iron. Just iron in short bursts with a piece of paper towel or clean scrap paper between the iron and the project to keep your iron clean
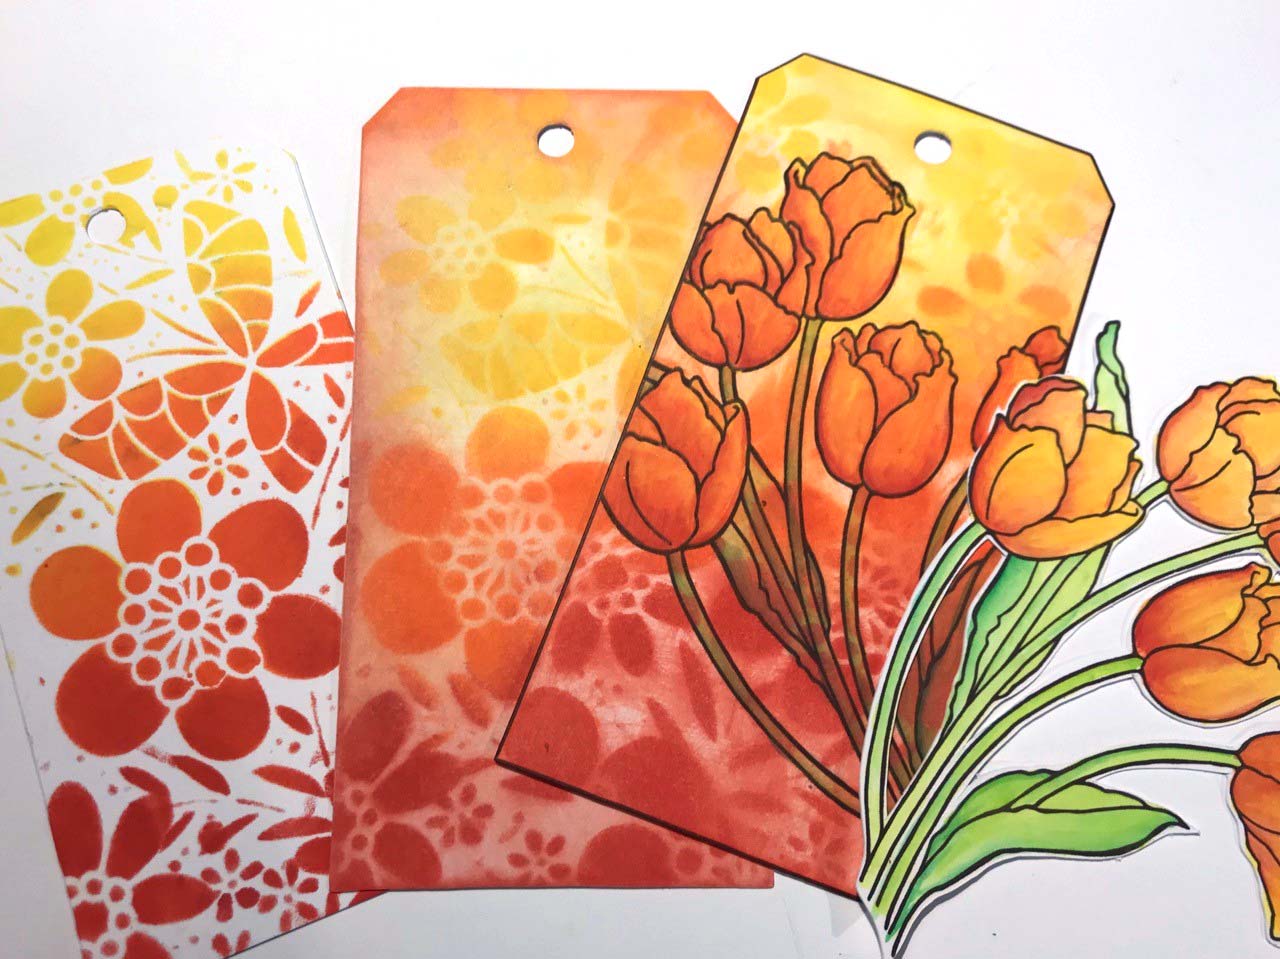 Repeat on tags, card fronts, scrapbook sized cardstocks and of course in your art journal. There is so much “stamping joy” here and there is unlimited paper projects that you can create using these simple, fun techniques to brighten your day

Have a wonderful Tuesday everyone!

SUBSCRIBE TODAY to Creative Scrapbooker Magazine – HOLD IT! READ IT! LOVE IT!


2 Comments
Cathie, these are just fantastic! Once again you’ve just hit it right out of the park. Such a beautiful technique and a really dynamic look. Thank you so much for creating with Stampendous products!!
Beautiful Cathie, you are so talented!