


Hi everyone! It’s Kelly Klapstein here, and I have some special news for you….I made a couple of scrapbook pages! Since I started calligraphy, my scrapbooking has taken a backseat and I haven’t designed a layout in FOREVER. I tell you, it felt really good to be playing with paper again!
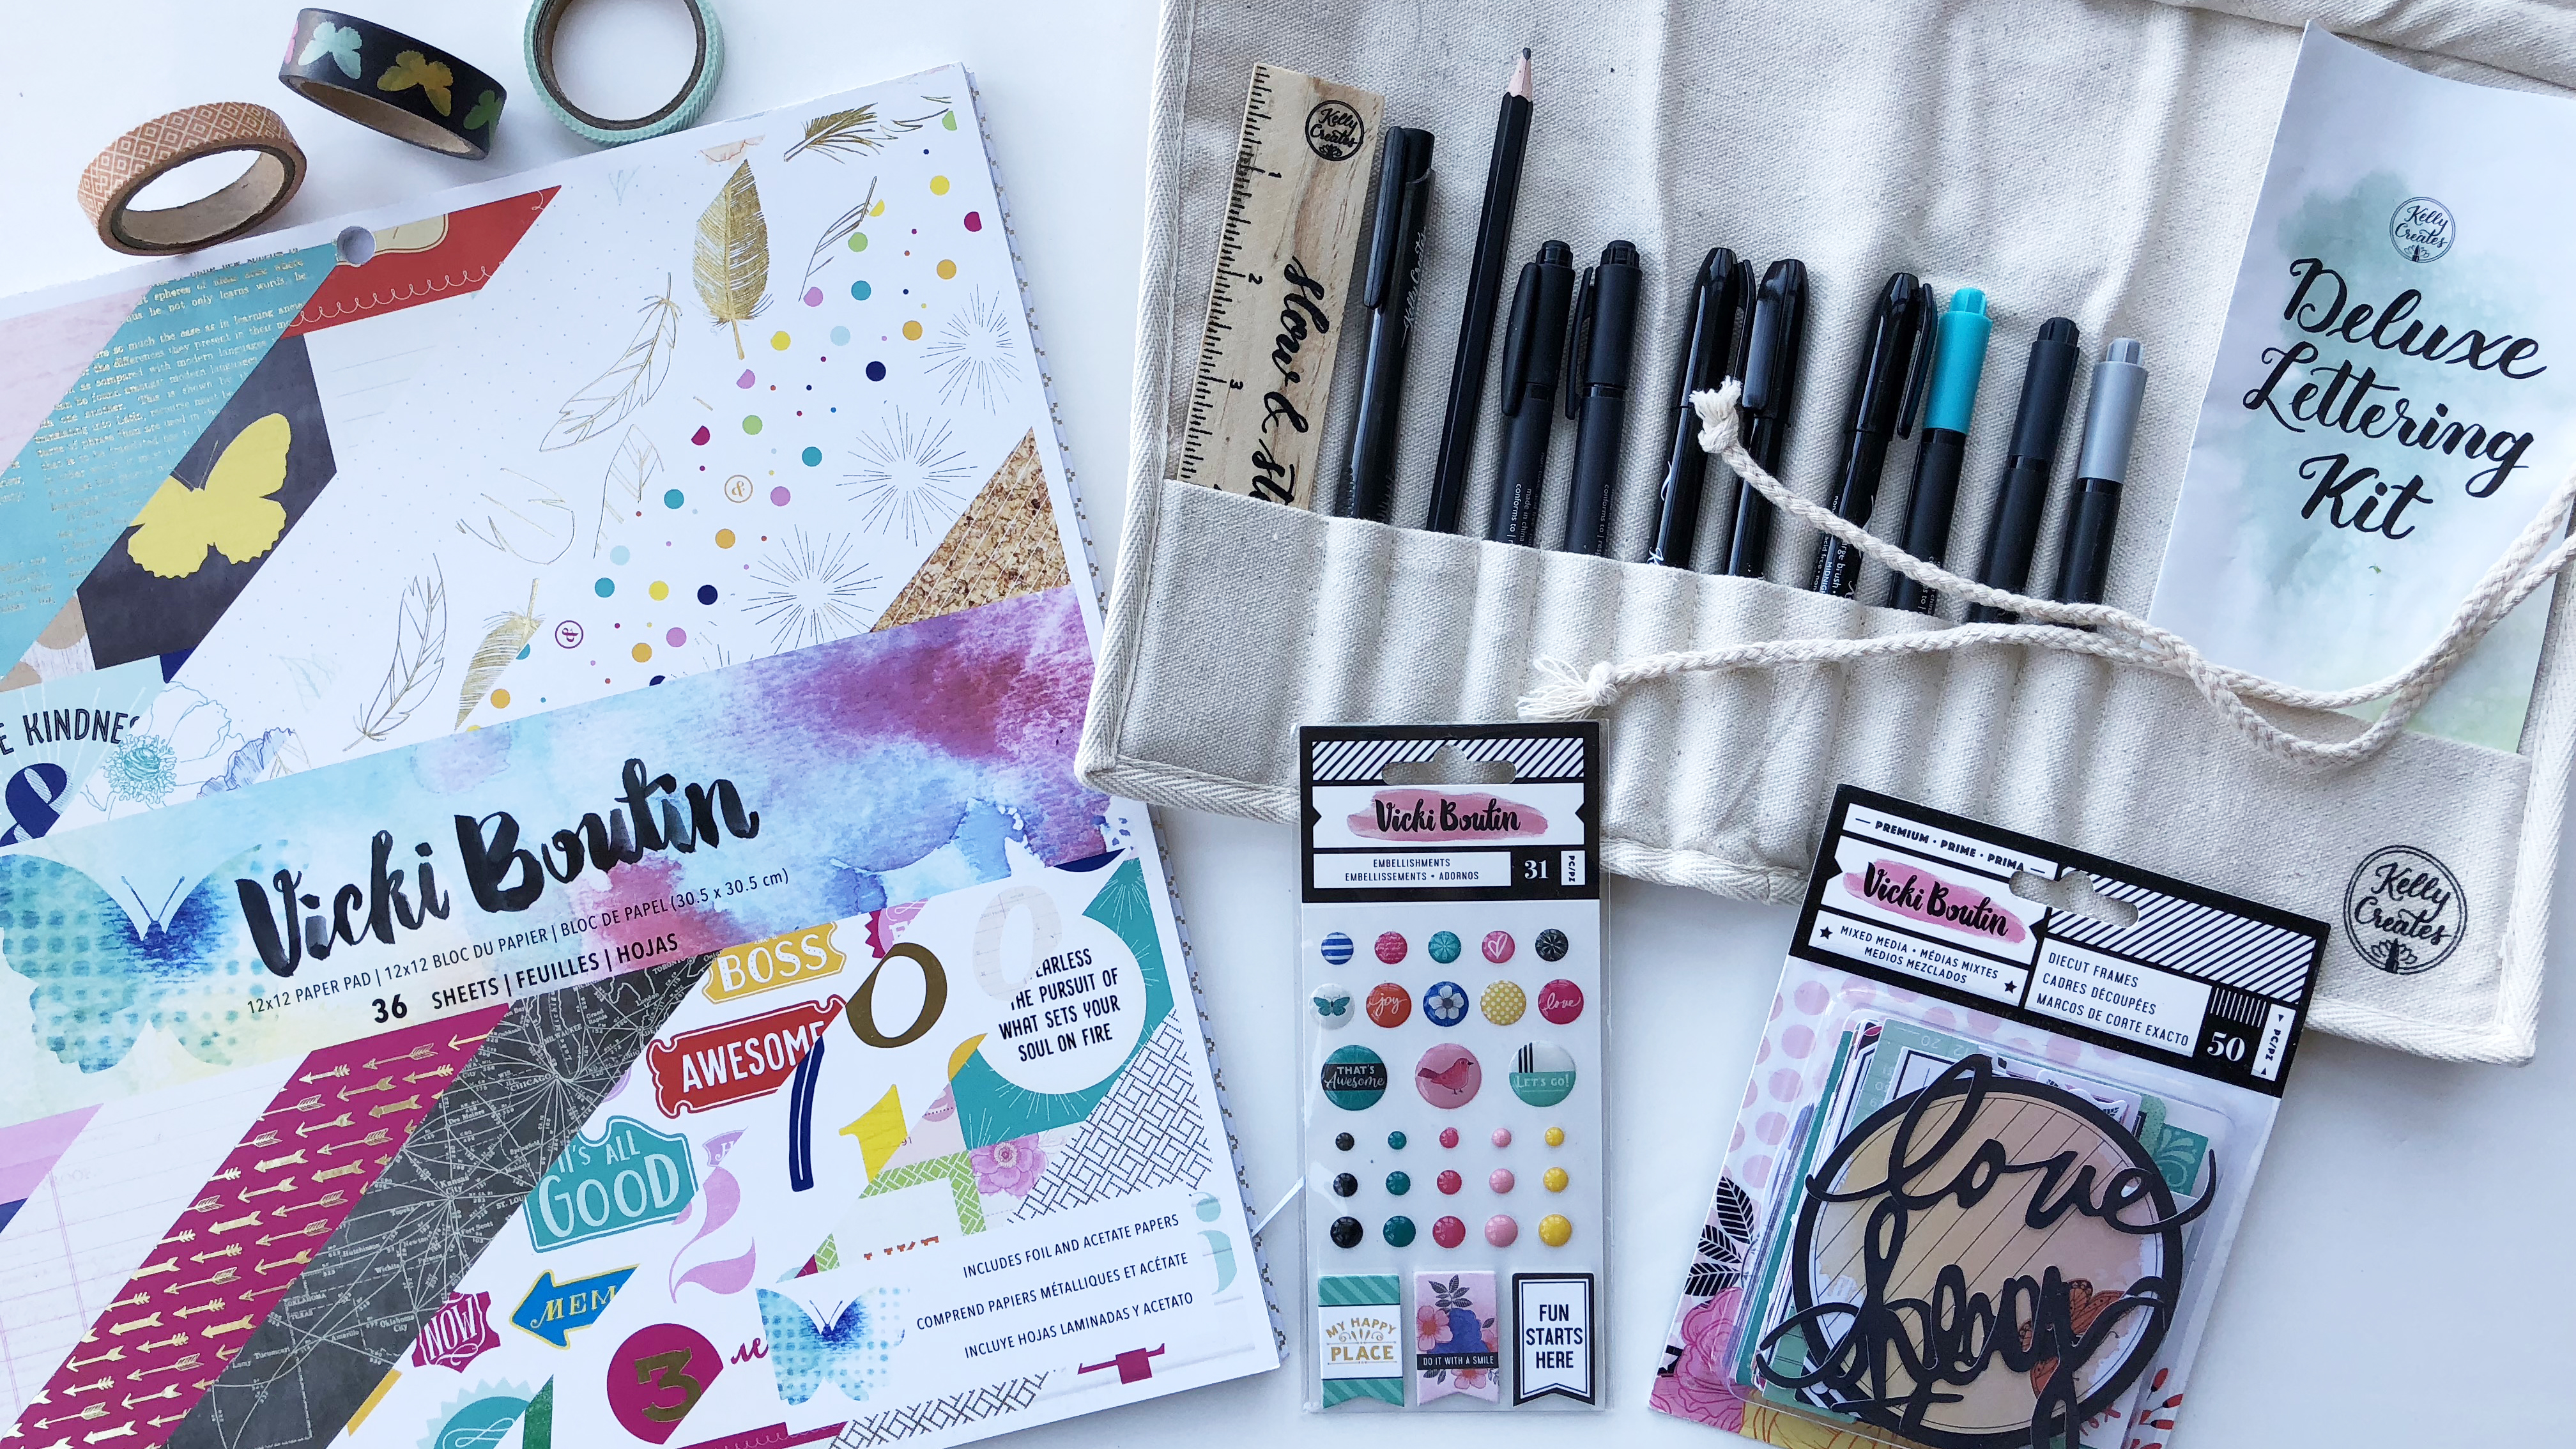
 For both layouts, I used the Vicki Boutin collection from American Crafts and my Deluxe Lettering kit. This kit is perfect for hand lettering projects because you have every tool you need: ruler, pencil, eraser, fineliners, black brush pens (fine, med, bold) and 3 colour large brush tip pens.
There are a few simple steps to follow when adding your own lettering to your layouts.
1. Think of a title and write it out in different ways on scrap paper with a pencil.
2. Arrange your page elements onto the background paper and decide where and how your title will fit.
3. Practice the final draft of your title using your brush pens and markers on scrap paper.

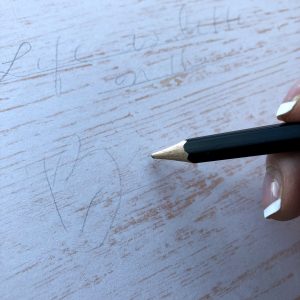
4. Draw lines on the layout background where you want your title or quote and write it out lightly with pencil.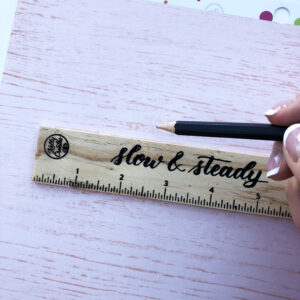
5. Breathe, relax, and write your title or quote onto your layout design.
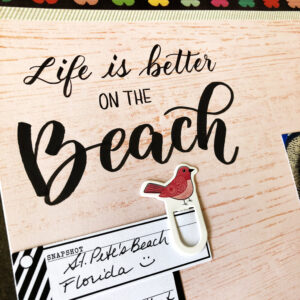
If you are really nervous about messing up and writing your title or quote directly onto your layout background, do it on a separate piece of paper and then stick it on as a separate page element. However, hand lettering isn’t about perfect letters. It’s about adding your own art work and personal touch to your design.
 I have never used my calligraphy skills for my scrapbooking layouts, so I wanted to try this. Remember that adding your own writing or lettering to your pages really makes those designs extra special and personal. Generations to come will see your script as a part of you and your artistic expression.

Subscribe today to Creative Scrapbooker Magazine – HOLD IT! READ IT! LOVE IT!

