


Hello everyone! Cathie Allan here today on the Creative Scrapbooker Magazine blog.
Today, I thought I would share the Make-n-Take, from an event I did with Katharina in Chantilly, Virginia.  First I will tell you this was an exceptional event. If you are a paper crafter of any kind you will want to be at their next event. So many booths, vendors, door prizes, a huge crop and more.
Creative Scrapbooker Magazine was there and we met so very many amazing paper crafters, made new friends and shared ideas. Here is the 10-minute make-n-take that the participants did in our booth. We had so much fun creating these speedy little tags, sharing ideas, laughing and giggling together. Once I got home, I took the same ideas and created more tags and a scrapbook page. Yes, I added embellishments from MultiCraft because “why not”, lol.
This was a quick idea that grew. So for those of you who were there and joined me at the make’n take table, here are some ideas you can add to the ideas that I shared with you there. For those of you who missed this awesome event, pretend you are with me, smiling, giggling and happily creating as you follow the steps and create your own tag at home. #1 Ink the large, gorgeous stamp from Impression Obsession, “Wish, hope, dream with the Clearsnap ColorBox Midnight section of your Sunset, Pigment petal point.
 #2 Using a Clearsnap ColorBox stylus armed with a white foam tipped that has been prepped with Clearsnap ColorBox Clear Top Boss, from your clear Top Boss pad, apply this to your freshly stamped image using the Clearsnap ColorBox Top Boss, clear as an extender. Notice “I lovingly call” my Top Boss clear” stamp pad, Mr. Ugly. This tells me it is no longer a “clean” stamp pad and is perfect for these types of techniques. Use a paper towel to buff the tag to remove any superfluous ink. We did this in the booth as we had no power. When doing this at home you can simply iron, with a hot dry iron to instantly set the ink.
 #3 Apply, the Clearsnap ColorBox midnight, pigment ink to the bottom of your heart, die cut that comes from Impression Obsession. And then using your blending tip, the one that was prepped with Clearsnap ColorBox Clear Top Boss, stretch the ink to the “un-inked” top of your heart = ombre made easy!!
 #4 Repeat the technique stepped out in #3 on the solid heart die cut that fits within your heart. To make this super “blendable”, apply some Clearsnap ColorBox Top Boss, clear to the heart before you begin. Stamp your favorite “Impression Obsession” text stamp on your heart with Clearsnap ColorBox Wicked Black, Archival Dye ink.
#5 Assemble as shown.
On the first day, we were there, I used the Midnight pigment ink section, the next day, I used the Clearsnap ColorBox Chianti pigment ink section. When I got home I made more tags using the other colors in this great Clearsnap ColorBox, petal point.
 The blending of colors was achieved using my stylus and foam tips and my Clearsnap ColorBox Clear Top Boss ink. I then added embellishments from MultiCraft and custom colored ribbons. YES, I altered them with my pigment ink colors from the petal point, ironing to set the ink. In this manner, the ribbon will stay, soft and subtle J.
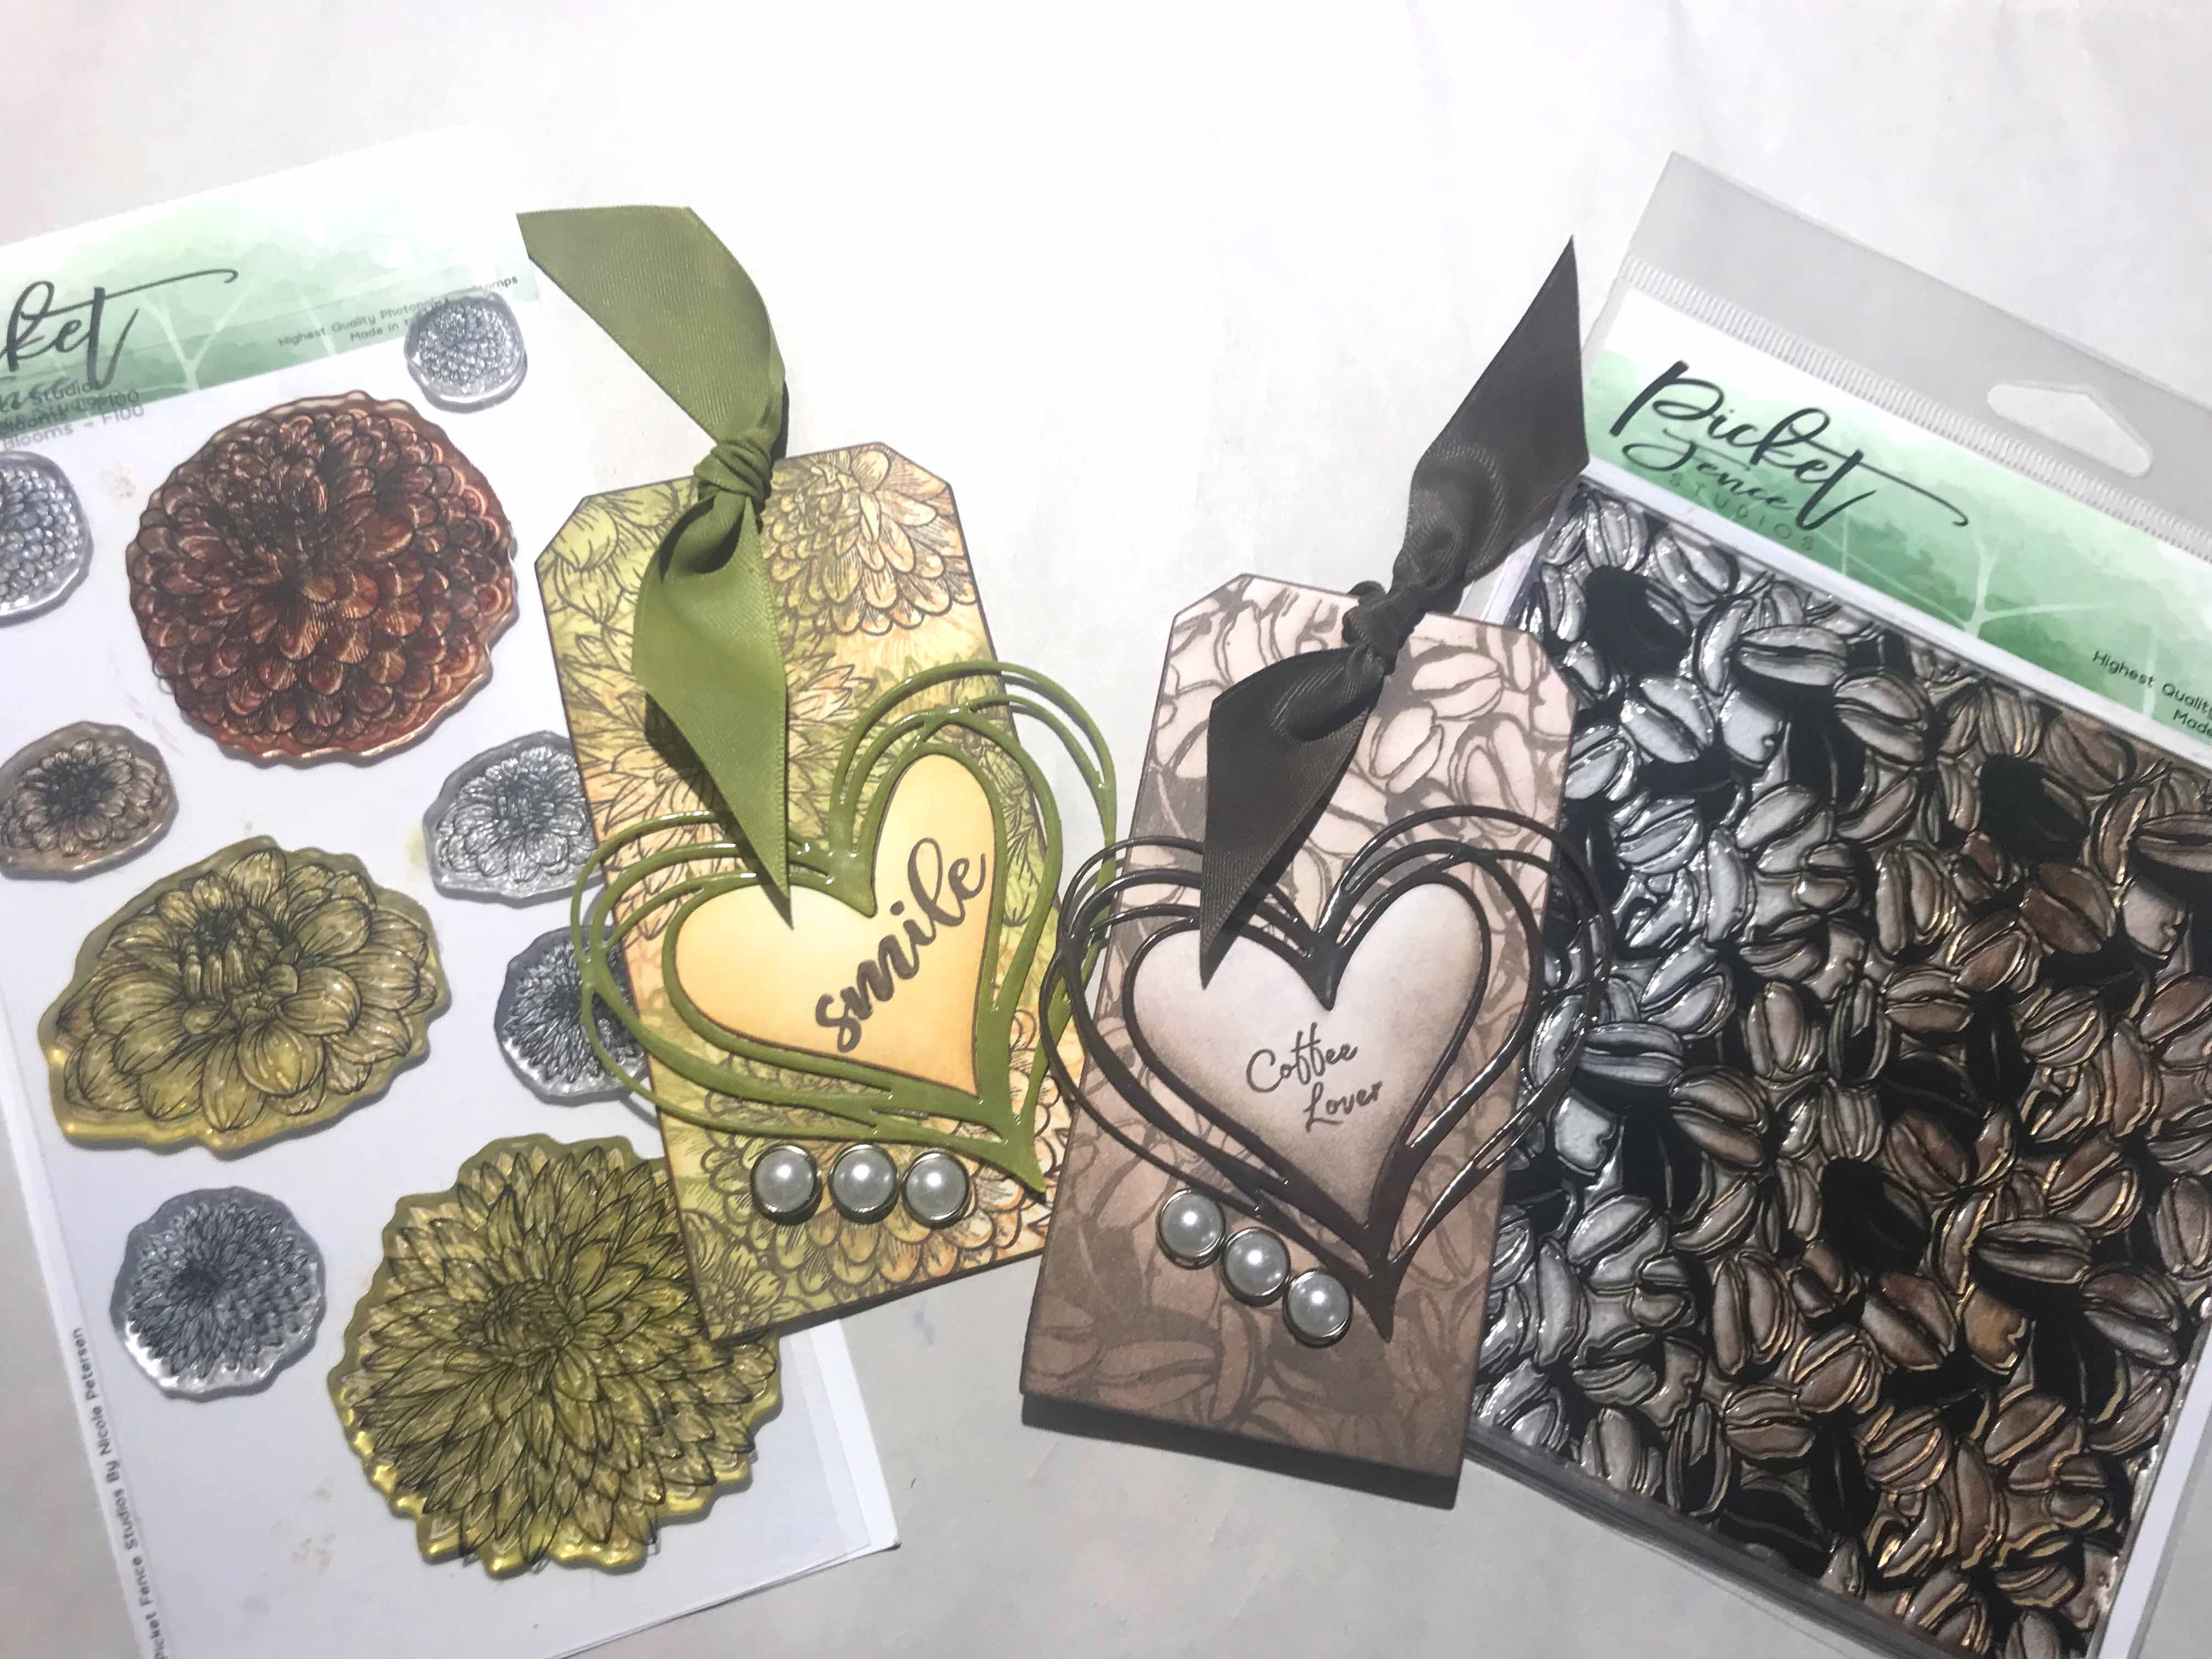
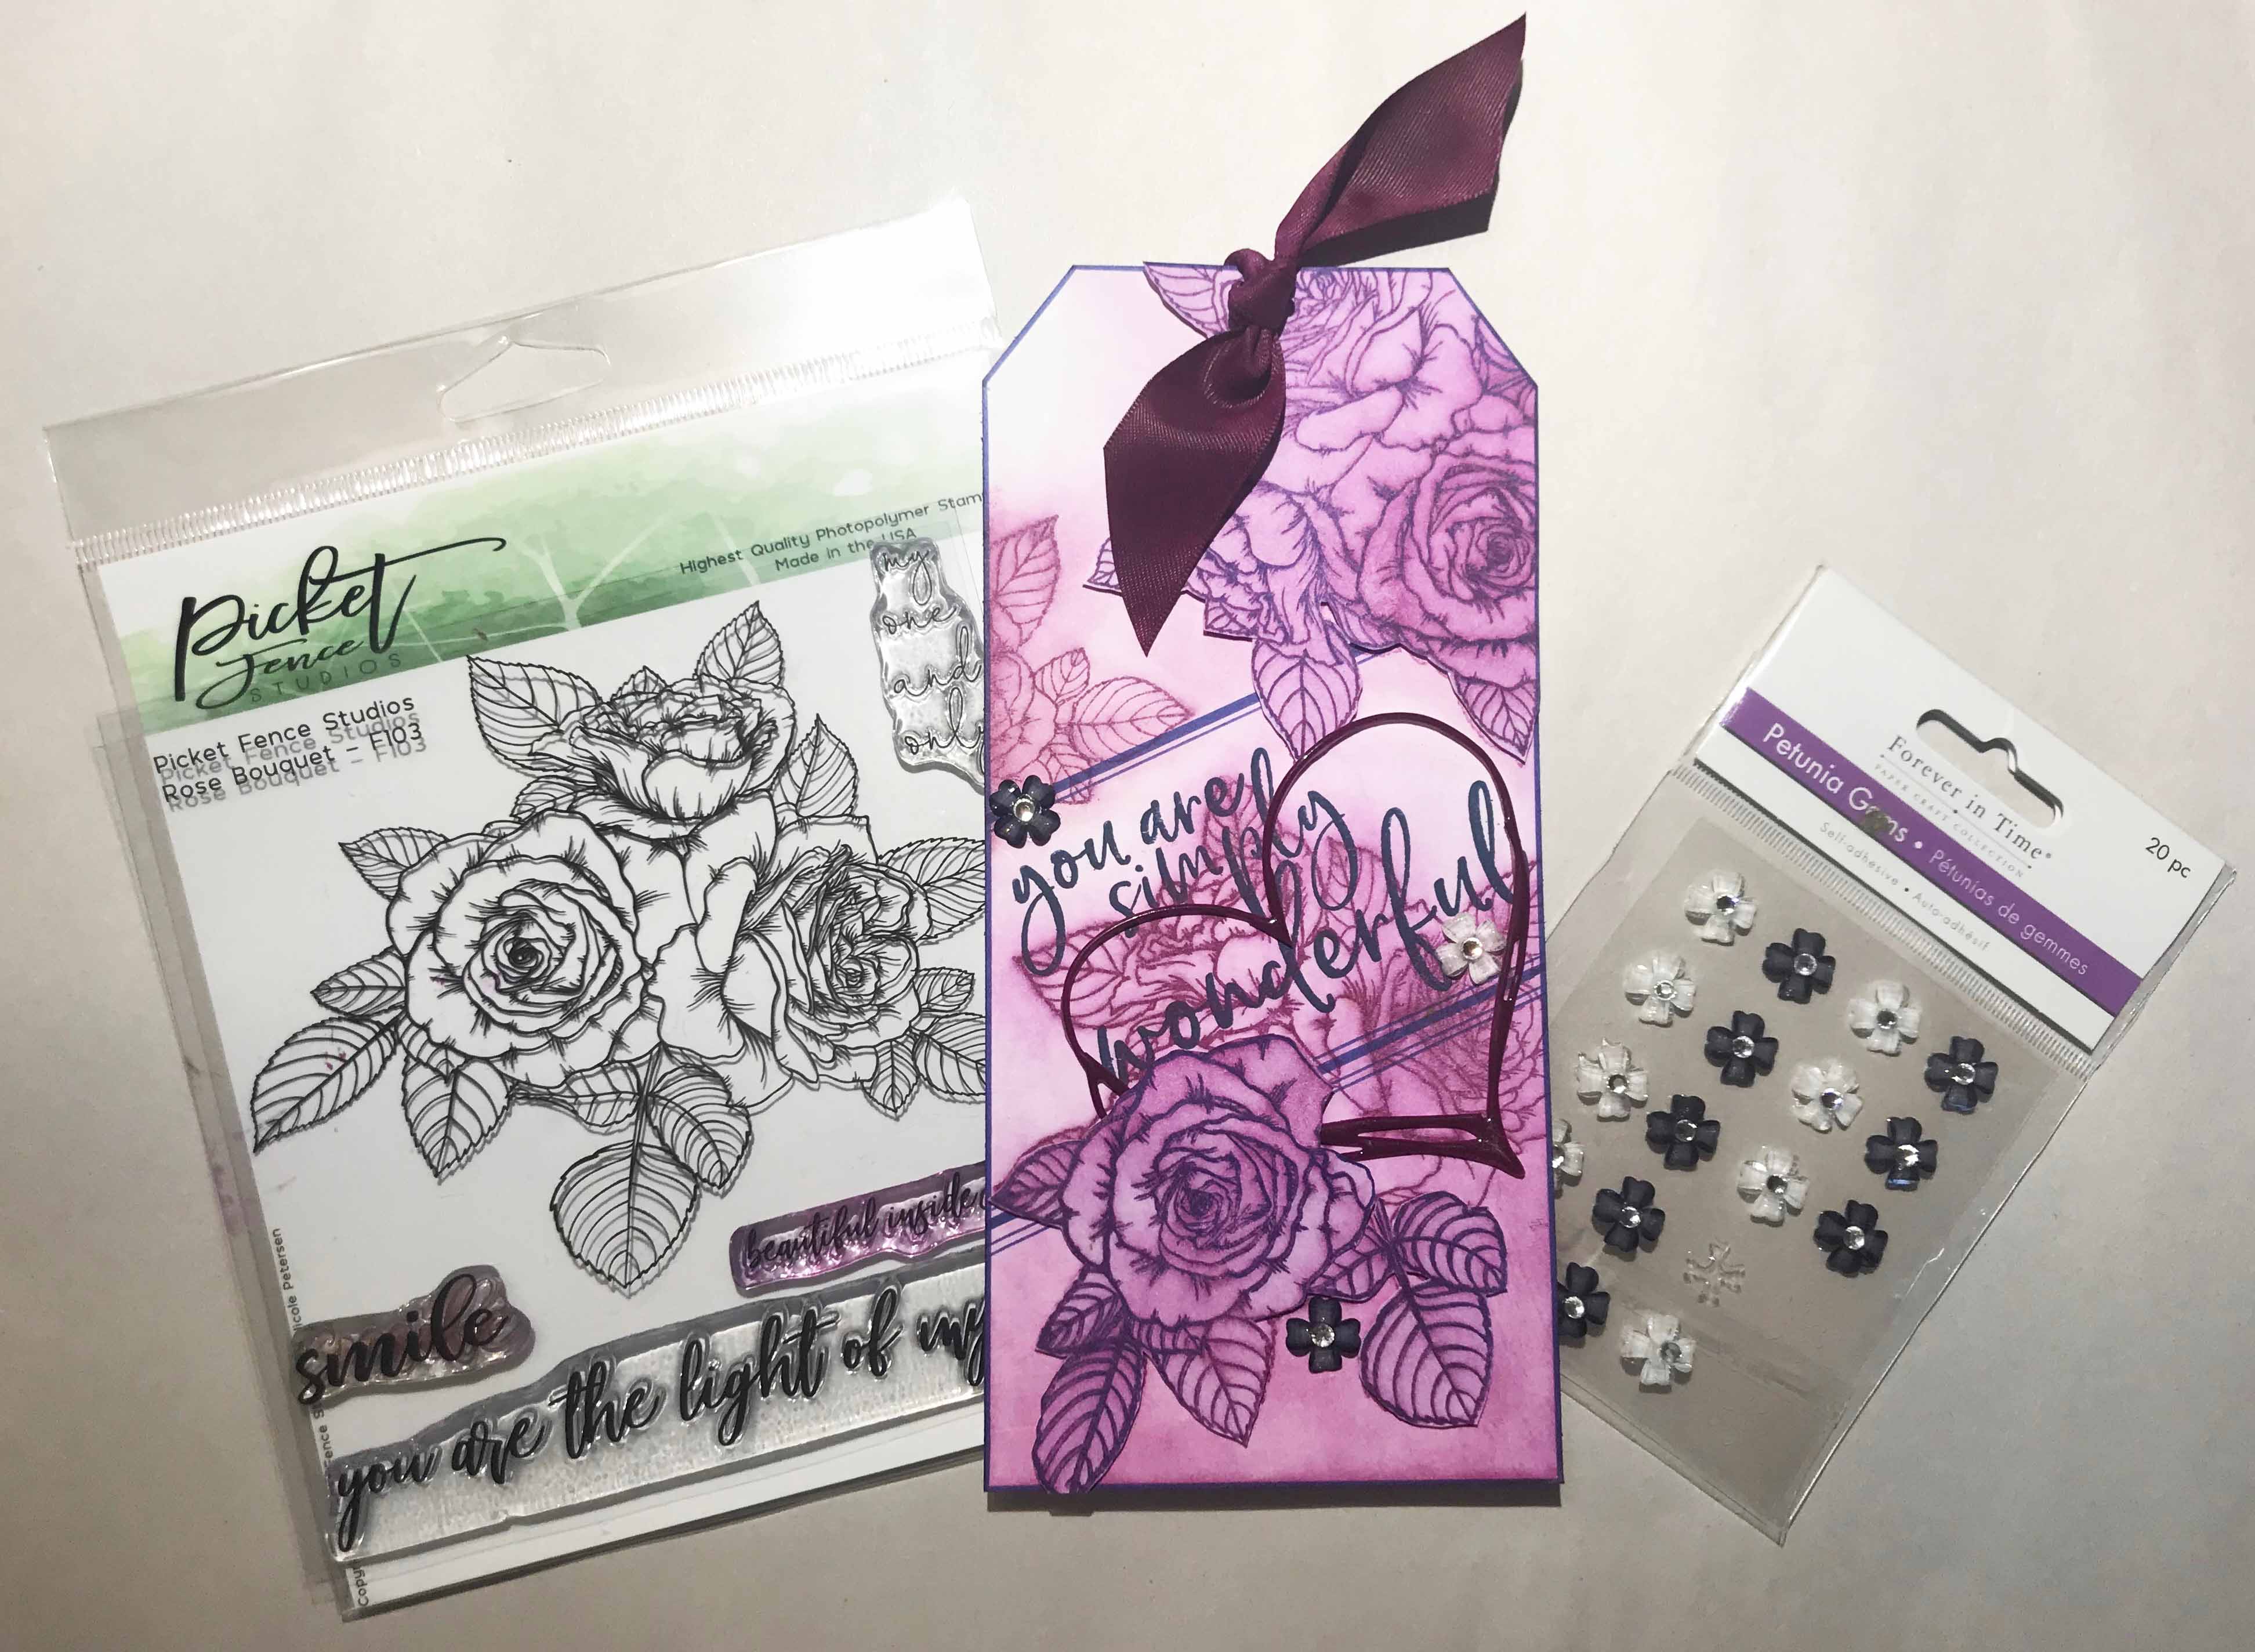
I also used some stamps that I picked up from the booth across from us. “Picket Fence Studios” had an amazing display and of course pigment ink will give you a fantastic image using your clear style stamps. ![]()
![]() At this point, I could not be stopped and on I went, happily combining my wonderful Impression Obsession stamps, my new Picket Fence Studio stamps and of course my Clearsnap ColorBox Sunset, Pigment Petal Point, Clear Top Boss pad and the techniques I stepped out for the make-n-take to create a scrapbook page featuring some fun photos Katharina and I took after we bought matching PJ’s and flip-flops. Somehow we have created a tradition of NEEDING matching PJ’s when we travel, lol.
At this point, I could not be stopped and on I went, happily combining my wonderful Impression Obsession stamps, my new Picket Fence Studio stamps and of course my Clearsnap ColorBox Sunset, Pigment Petal Point, Clear Top Boss pad and the techniques I stepped out for the make-n-take to create a scrapbook page featuring some fun photos Katharina and I took after we bought matching PJ’s and flip-flops. Somehow we have created a tradition of NEEDING matching PJ’s when we travel, lol.
I hope to meet you too at the next event that I am at with Creative Scrapbooker Magazine. I would love to share ideas with you and create a project teaching you some very fun, very versatile ideas that you can take home and use in your future papercrafts!!
See You Soon!

Subscribe today to Creative Scrapbooker Magazine

