Hello everyone, Kerry Engel here today on the Creative Scrapbooker Magazine blog excited to share with you a fun little technique to make your stamped images POP with little or no effort using a white opaque pigment pen by Ranger. I am going to call this technique – white pen painting. LOL! I am slightly addicted. To create this layout I used a variety of Stampers Anonymous stamps, Ranger products, Glue Dots Adhesives, MultiCraft Craft Decor burlap ribbon, and wooden embellishments.
I challenged myself with this layout to see how many different ways I could use stamps. To be honest I only started using stamps a few years ago when I got into mixed media. This particular group of stamps really inspires me, and they work so well with my Europe photos. When all was said and done I used my stamps in 3 different ways.
I used the following stamp sets by Stampers Anonymous
Ornate Trims  Architecture
 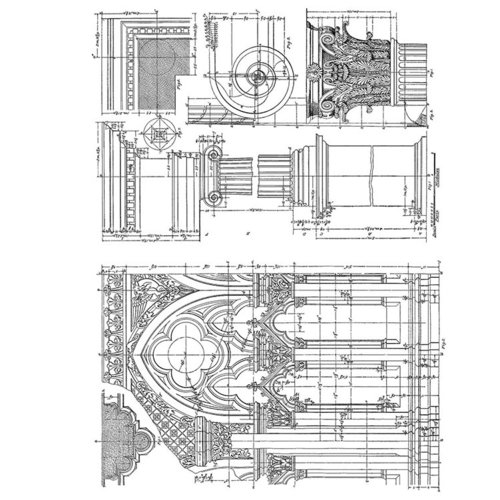 And Inventer
 So here’s how I got busy with my stamps!
1. I stamped partial images here and there directly onto a piece of Creative Scrapbooker Super Stock using Ranger Distress Oxide inks. 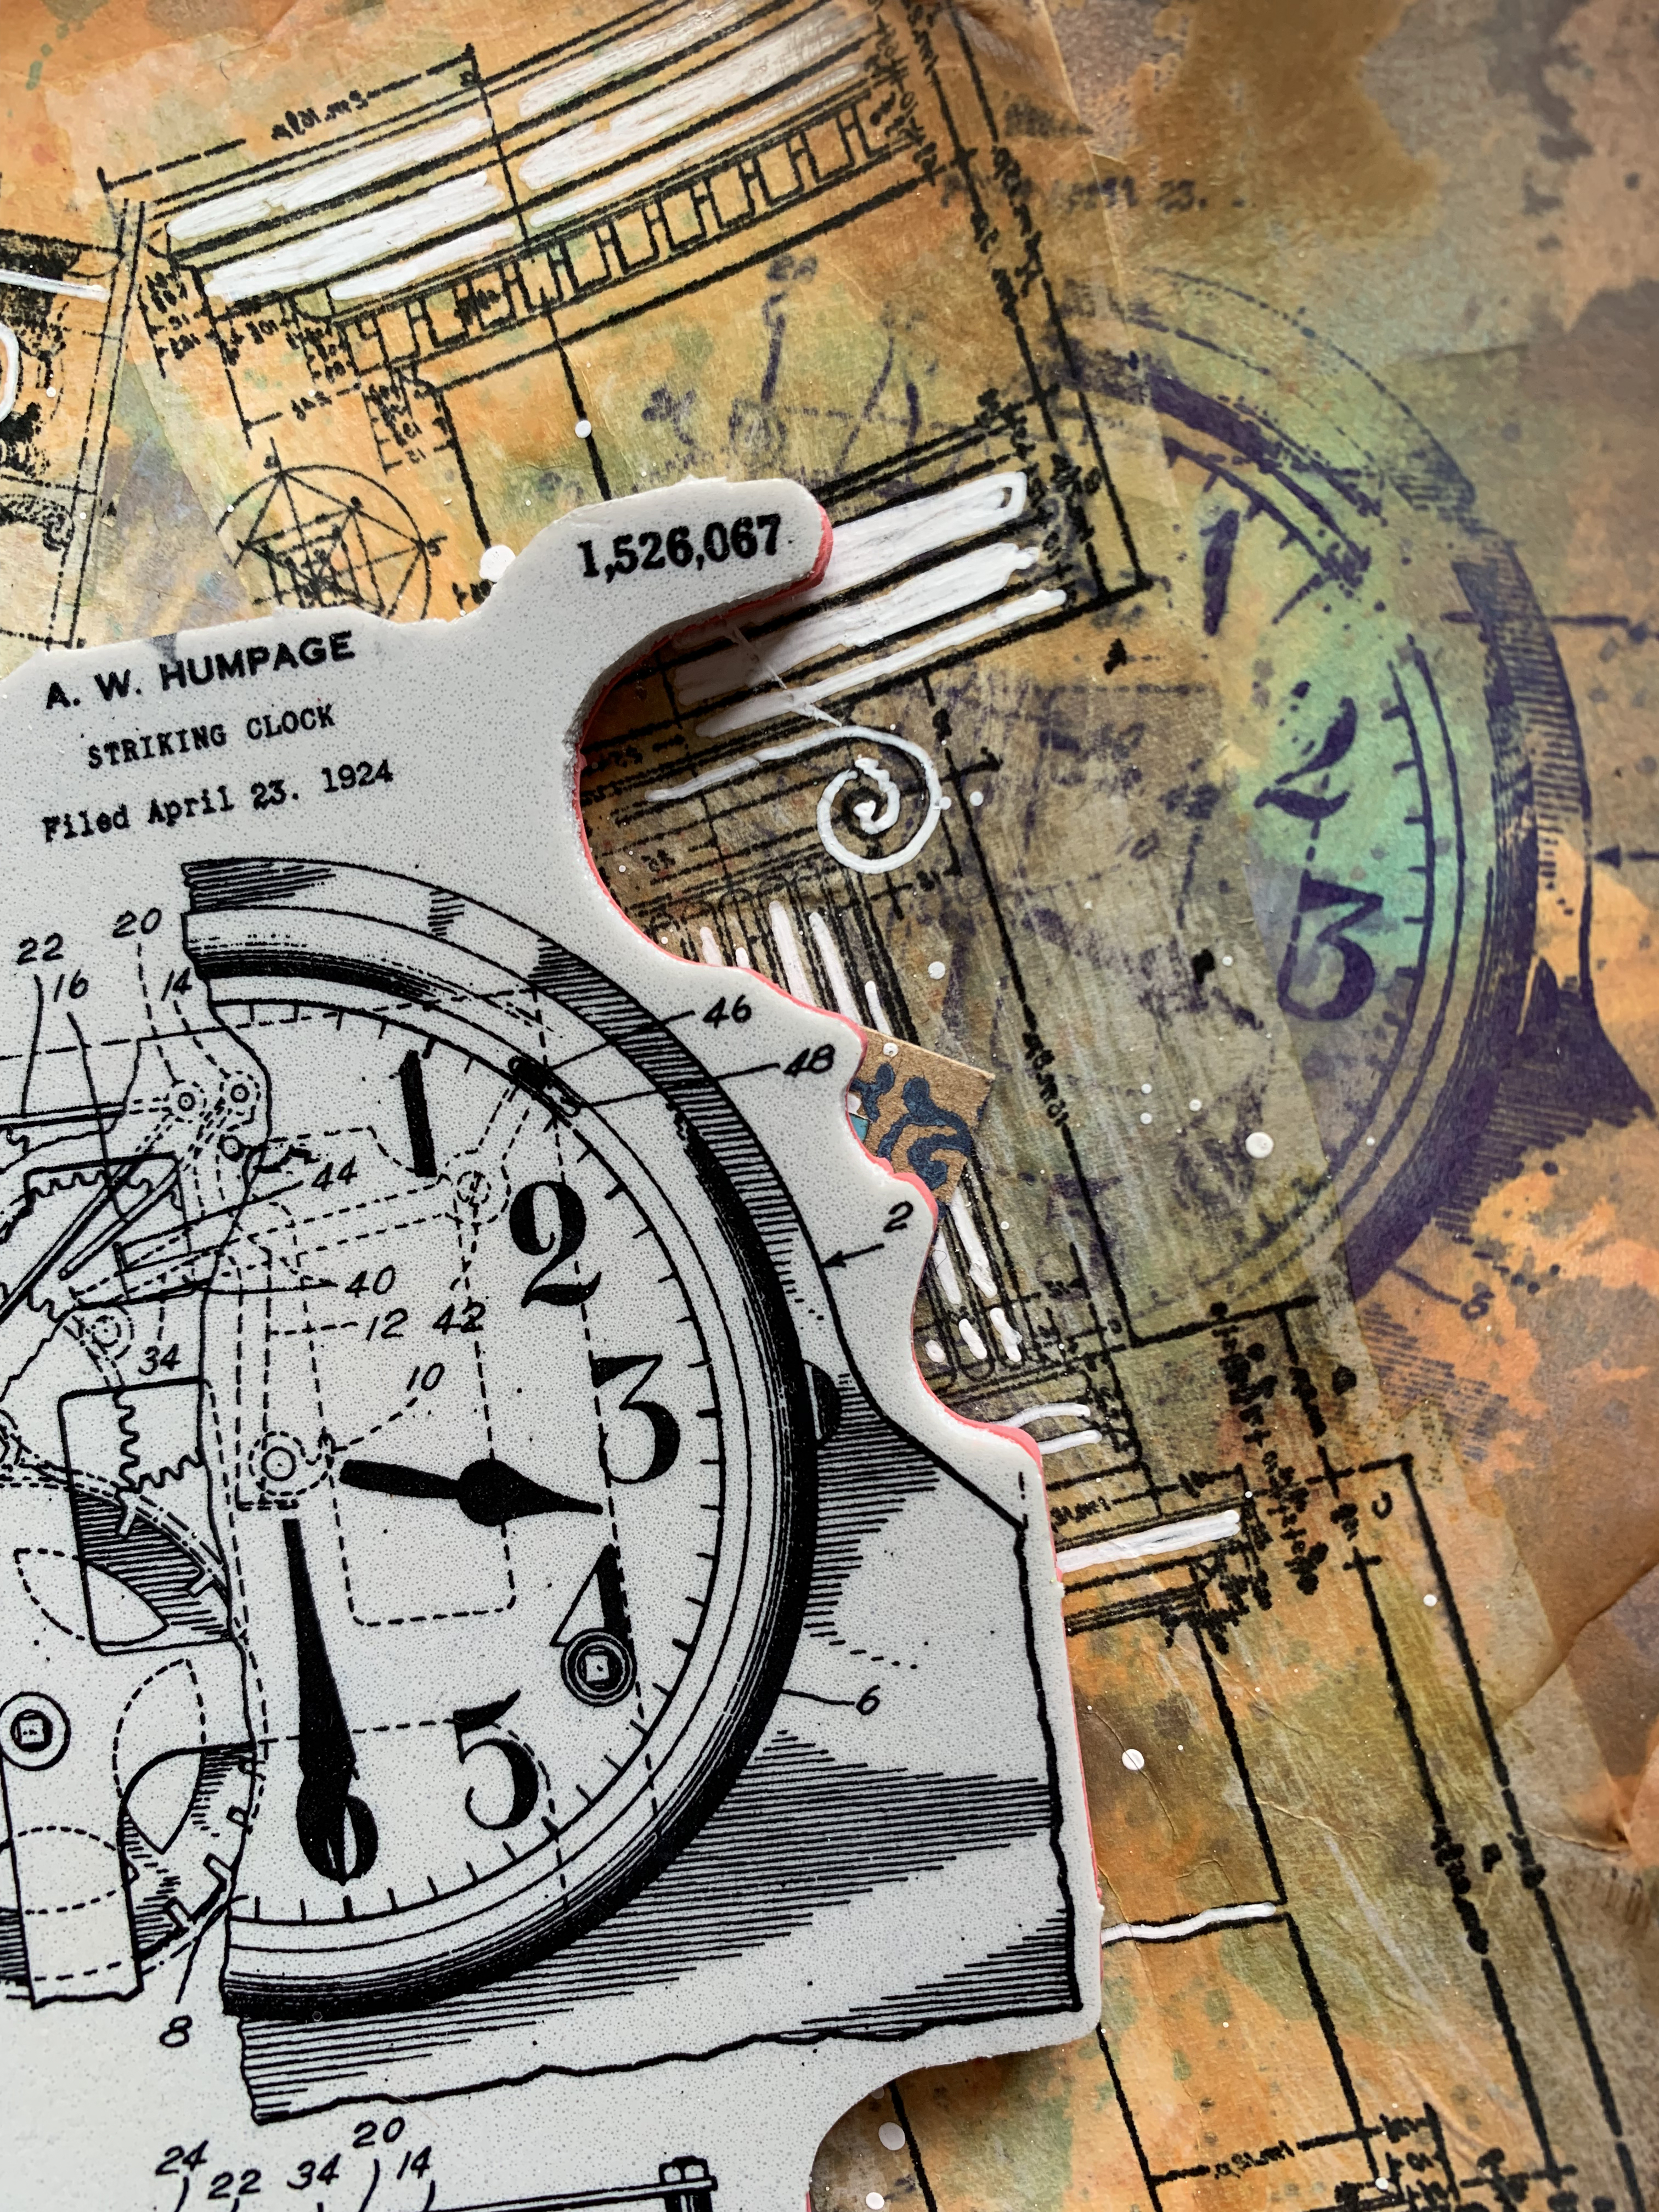

2. I stamped on tissue paper using Ranger Archival ink.  I then adhered the tissue paper images to the background using Ranger Vintage Distress Collage Medium.
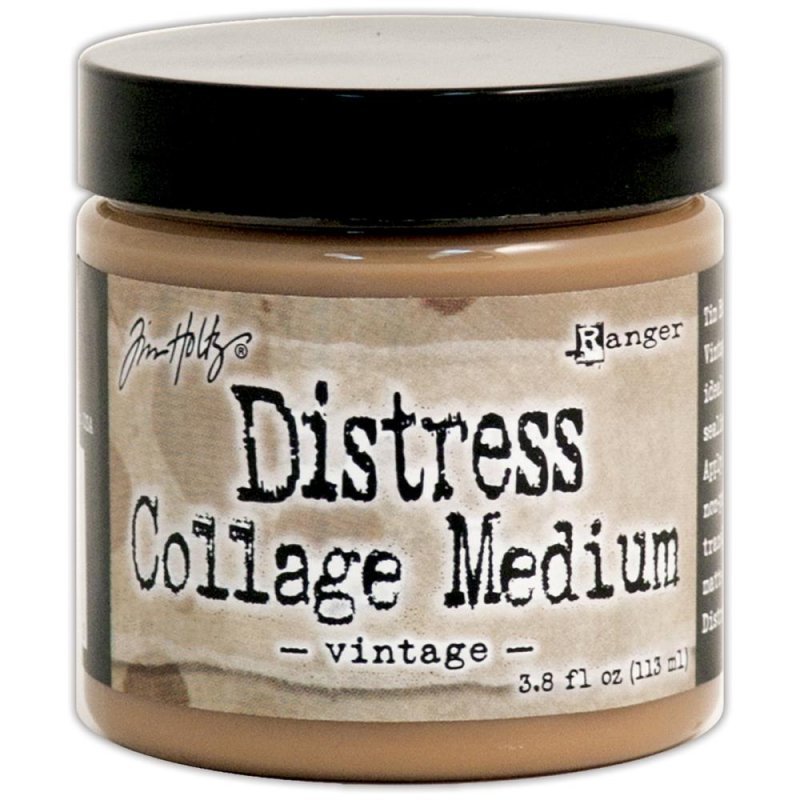 This gel medium is designed for gluing, layering and sealing mixed media projects. When it dries it gives your projects an aged tint.
3. When the tissue paper was dry, I drew attention to the designs highlighting aspects of the stamp with a Ranger white opaque pigment pen.  This is the simple painting technique that I have fallen in love with!
4. Next, I stamped directly on the MultiCraft Craft Decor burlap ribbon. I used a stamp positioner because I had to stamp several times to get a dark image.
5. Finally, I created a border on a photo mat and filled in the spaces with the Ranger white opaque pigment pen because it looks so cool! 
6. To finish off the layout I wanted to customize some wooden embellishments so I used Ranger Alcohol Pearls to color the wood pieces. It works really well and gives the embellishments a rich shiny finish. 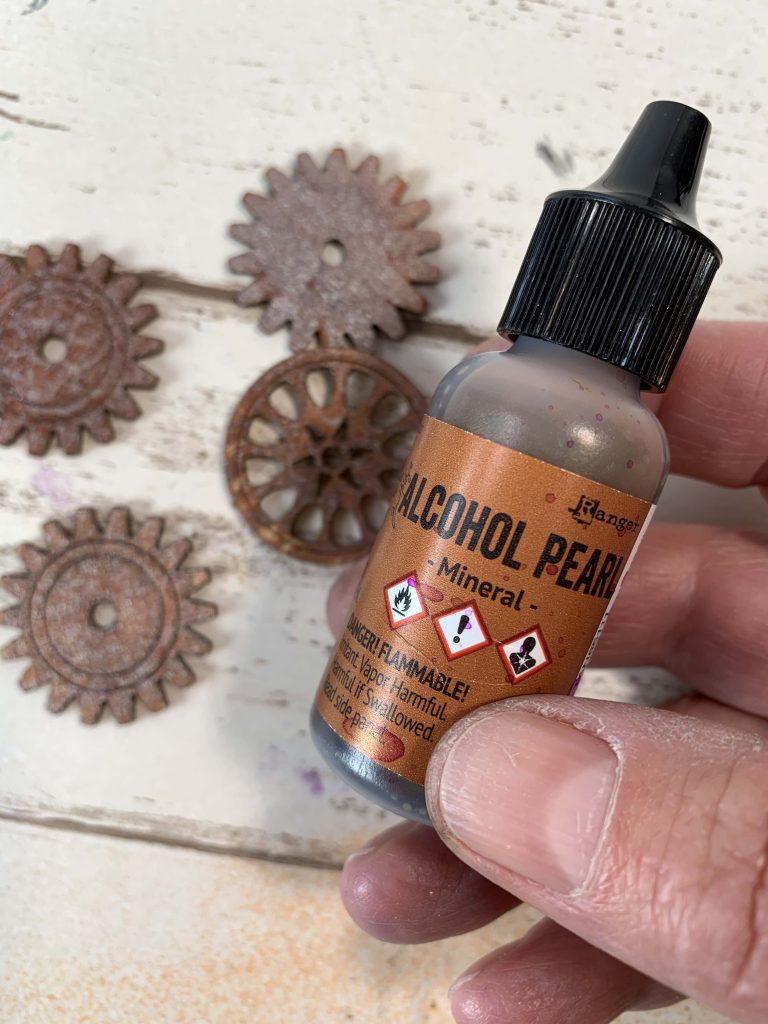
7. Everything was adhered down using Glue Dots Adhesives. 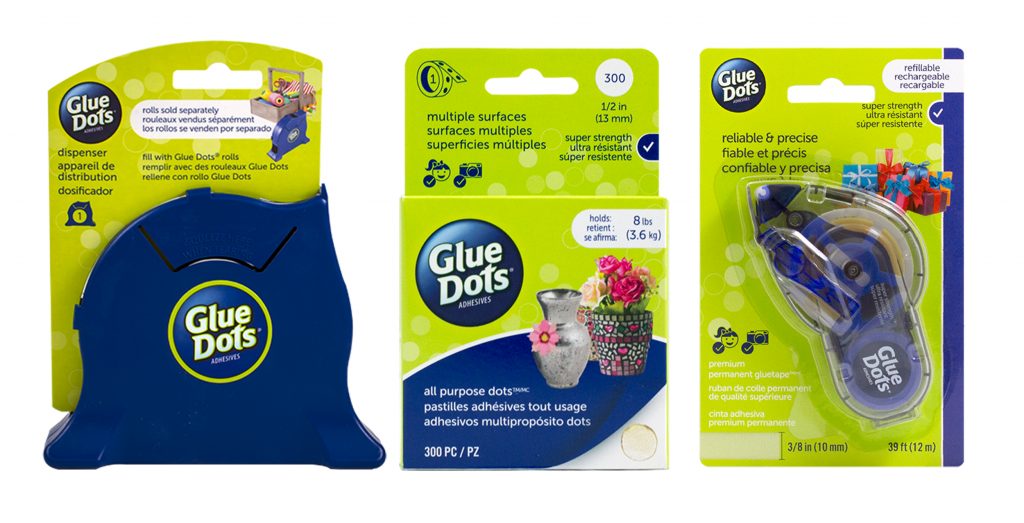 When you’re having trouble adhering embellishments like wood or burlap this adhesive works perfectly!
Have a wonderful day everyone!

To see more of Kerry Engel’s work follow her on INSTAGRAM – Click Here