


Hey Creative Scrapbooker Fans! For today’s blog post, I’m sharing with you my Have a Cozy Day Wall Hanging. To create my wall hanging, I’ve used the Cozy Days Collection from Simple Stories Dies from Elizabeth Craft Designs
 Ink from Ranger Ink
  Adhesive from Scrapbook Adhesives by 3L
  You’ll want to grab a cup of your favourite beverage and learn how to recreate my wall hanging at home.
 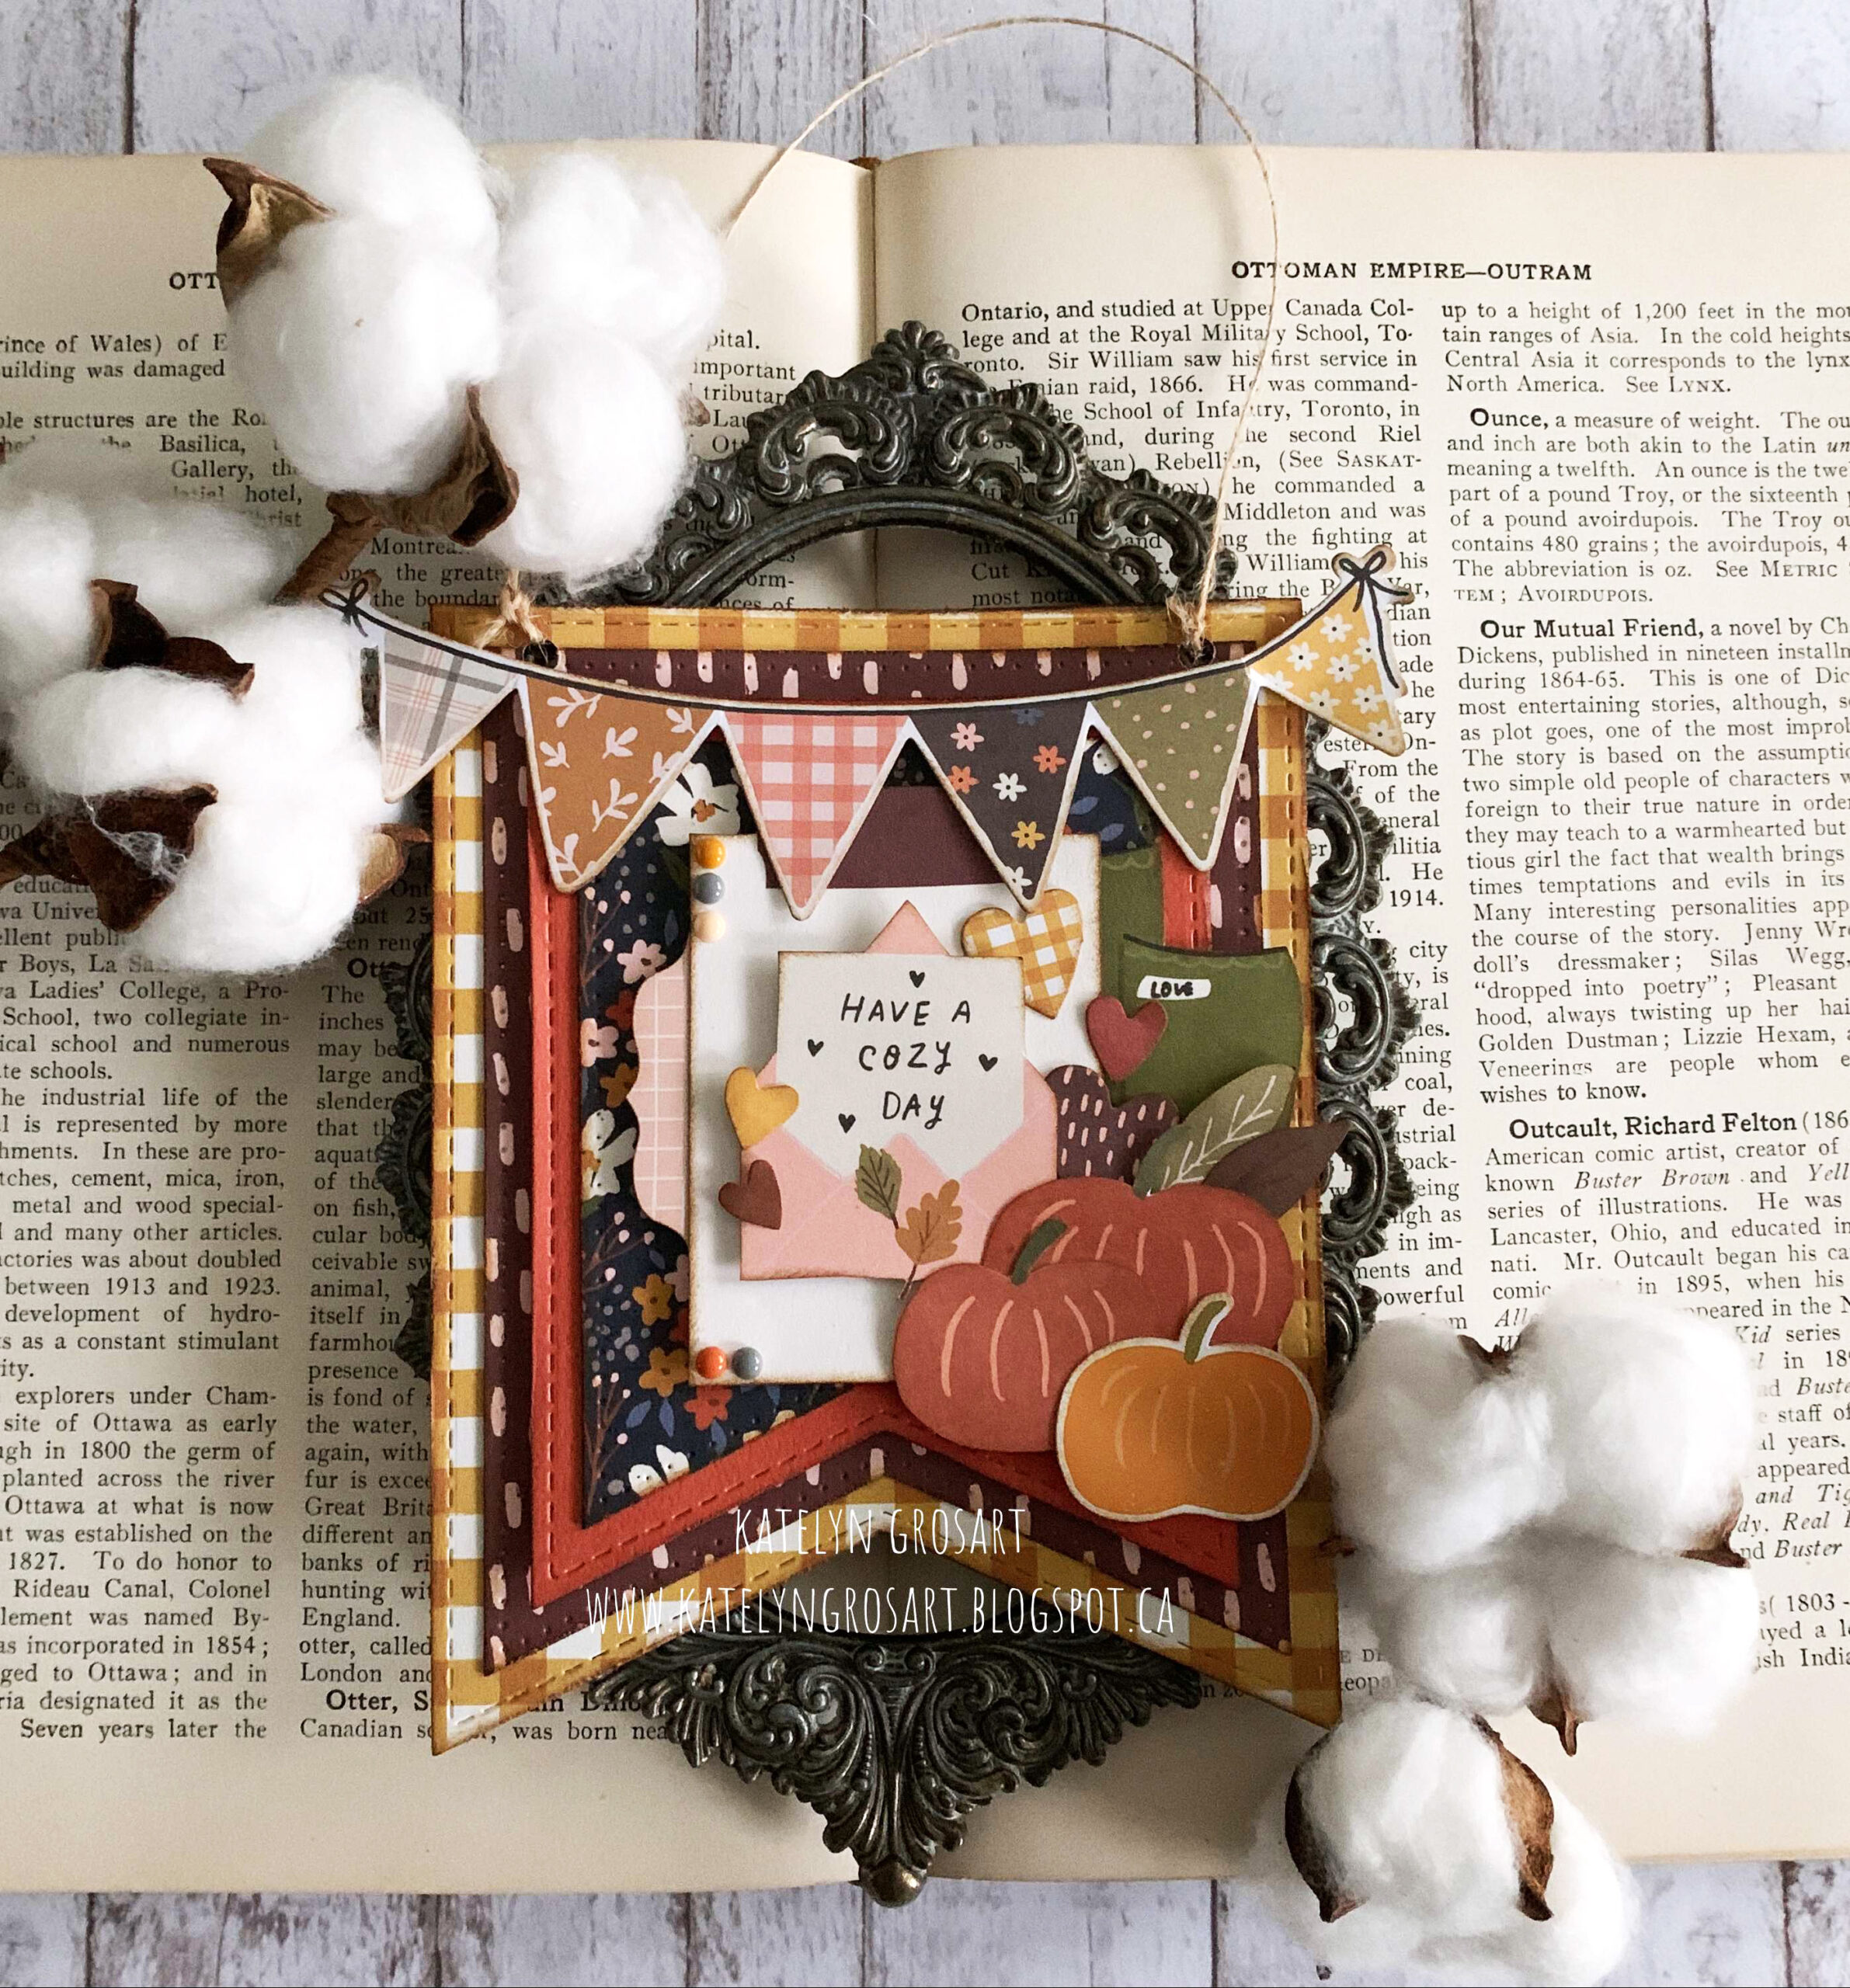 To start, you’ll need the yellow plaid pattern paper out of the Cozy Days Paper Pack from Simple Stories. Die cut the 4 ½” Stitched Fishtails from Elizabeth Craft Designs out of the paper. Distress the edges of the fishtail. Ink the edges of the fishtail using Walnut Stain Distress Ink and a blending tool with foam from Ranger Ink.
  Next, you’ll need the burgundy/pink dash pattern paper out of the Cozy Days Paper Pack from Simple Stories. Die cut the 4” Stitched Fishtails from Elizabeth Craft Designs out of the paper. Distress the edges of the fishtail. Ink the edges of the fishtail using Walnut Stain Distress Ink and a blending tool with foam from Ranger Ink.
  Now, you’ll need the Color Vibe – Textured Cardstock in Pumpkin from Simple Stories. Die cut the 3 ½” Stitched Fishtails from Elizabeth Craft Designs out of the paper. Distress the edges of the fishtail. Ink the edges of the fishtail using Walnut Stain Distress Ink and a blending tool with foam from Ranger Ink.
  Next, you’ll need the navy with floral pattern paper out of the Cozy Days Paper Pack from Simple Stories. Die cut the 3” Stitched Fishtails from Elizabeth Craft Designs out of the paper. Distress the edges of the fishtail. Ink the edges of the fishtail using Walnut Stain Distress Ink and a blending tool with foam from Ranger Ink.
  The last piece of patterned paper you’ll need is the cut apart pattern paper out of the Cozy Days Paper Pack from Simple Stories. Fussy cut the boots and the plain square with washi tape on top of it. Ink the edges of the boots and square using Walnut Stain Distress Ink and a blending tool with foam from Ranger Ink.
  Out of the Cozy Days Bits and Pieces from Simple Stories, you’ll need the banner, five hearts, two pumpkins, the have a cozy day envelope and two leaves. Fussy cut around the two pumpkins, two leaves and the envelope. Ink the edges of all the pieces using Walnut Stain Distress Ink and a blending tool with foam from Ranger Ink.
  Out of the Cozy Days Cardstock Stickers from Simple Stories, you’ll need the light orange pumpkin and pink plaid tab. Ink the edges of the two pieces using Walnut Stain Distress Ink and a blending tool with foam from Ranger Ink.
  Using E-Z Runner from Scrapbook Adhesives by 3L to adhere the 4” fishtail to the 4 ½” fishtail. Adhere the 3” fishtail to the 3 ½” fishtail. Use 3D Foam Squares from Scrapbook Adhesives by 3L to adhere the 3 ½” fishtail to the 4” fishtail.
  Using E-Z Runner from Scrapbook Adhesives by 3L to adhere the boots 1/8” from the right and 1 ¼” from the top of the 4 ½” fishtail. Adhere the tab to the left hand side of the square with washi tape as desired. Use 3D Foam Squares from Scrapbook Adhesives by 3L to adhere the square with washi tape 1 1/8” from the right and 1” from the top of the 4 ½” fishtail. Use foam squares to adhere the Cozy Days envelope to the middle of the square.
  Use E-Z Runner and 3D Foam Squares from Scrapbook Adhesives by 3L to adhere three hearts to the right-hand side of the envelope and square as desired. Use E-Z Runner from Scrapbook Adhesives by 3L to adhere the other two hearts to the left-hand side of the envelope as desired.
  Use E-Z Runner and 3D Foam Squares from Scrapbook Adhesives by 3L to adhere the three pumpkins to the bottom right hand side of the envelope and square as desired. Use Dodz from Scrapbook Adhesives by 3L to adhere the two leaves as desired in amongst the pumpkins as hearts.
  Use E-Z Runner and 3D Foam Squares from Scrapbook Adhesives by 3L to adhere the banner to the top portion of the fishtails as desired. Adhere two enamel dots out of the Cozy Days 60 Enamel Dots from Simple Stories to the bottom left corner of the square. Adhere three enamel dots out of the Cozy Days 60 Enamel Dots from Simple Stories to the top left corner of the square.
  To finish the wall hanging, punch two holes at the top of the fishtails. Tie a piece of twine through the two holes to create the wall hanging portion of the wall hanging.
  Here are a few closeup photos of my wall hanging.
  Thank you for joining me today and taking the time to check out my blog post. I hope that my Have a Cozy Day Wall Hanging has inspired you to recreate your own at home. You can find more of my work on my blog at http://www.katelyngrosart.blogspot.ca
Happy Creating!

Supplies Used:
Ranger Ink: Distress Ink – Walnut Stain and Blending Tool with Foam
Scrapbook Adhesives by 3L: 3D Foam Squares, Dodz and E-Z Runner Permanent Tape
Elizabeth Craft Designs: Stitched Fishtails
Simple Stories: Cozy Days Collection – Patterned Paper Pack, Bits & Pieces, 60 Enamel Dots & Cardstock Stickers and Color Vibe – Textured Cardstock – Pumpkin
Subscribe today to Creative Scrapbooker Magazine

