


Hey Creative Scrapbooker Fans! Katelyn Grosart here today sharing with you how to create a little boy birthday card using the Welcome Baby Boy Collection from Echo Park Paper Co.  To create my card, I’ve also used a variety of products from Ranger Ink, Dies from Elizabeth Craft Designs, Super Stock from Creative Scrapbooker Magazine and adhesive from Scrapbook Adhesives by 3L. You’ll want to grab a cup of your favourite beverage and learn how to recreate my card at home.
  To start, you’ll need the Little One Paper out of the Welcome Baby Boy Paper Pack from Echo Park Paper. Die cut a 4” Stitched Rounded Rectangle from Elizabeth Craft Designs out of the patterned paper. Ink the edges of the paper using Chipped Sapphire Distress Ink and a blending tool with foam from Ranger Ink.
  Next, you’ll need the It’s a Boy Paper out of the Welcome Baby Boy Paper Pack from Echo Park Paper. Die cut a 3 ¾” Fitted Rounded Rectangle from Elizabeth Craft Designs out of the patterned paper. Ink the edges of the paper using Chipped Sapphire Distress Ink and a blending tool with foam from Ranger Ink.
  You’ll need the Boy Tags Paper out of the Welcome Baby Boy Paper Pack from Echo Park Paper. Die cut a 3 ½” Stitched Rounded Rectangle from Elizabeth Craft Designs out of the patterned paper. Ink the edges of the paper using Chipped Sapphire Distress Ink and a blending tool with foam from Ranger Ink.
  Cut out the star square off of the 4×4 Journaling Cards Paper out of the Welcome Baby Boy Paper Pack from Echo Park Paper. Die cut a 3” Fitted Rounded Square from Elizabeth Craft Designs out of the patterned paper. Ink the edges of the paper using Chipped Sapphire Distress Ink and a blending tool with foam from Ranger Ink.
  You’ll need the Multi Journaling Cards Paper out of the Welcome Baby Boy Paper Pack from Echo Park Paper. Die cut a 2” Fitted Rounded Square from Elizabeth Craft Designs out of the patterned paper. Ink the edges of the paper using Chipped Sapphire Distress Ink and a blending tool with foam from Ranger Ink.
  Next, you’ll need the Welcome Baby Boy Ephemera from Echo Park Paper. Out of the ephemera pack, you’ll need 3 banners, the scallop square frame, the forever label, and the plaid frame (you’ll flip the frame).
  Ink the edges of the pieces using Chipped Sapphire Distress Ink and a blending tool with foam from Ranger Ink.
  Next, you’ll need the Welcome Baby Boy Chipboard from Echo Park Paper. Punch out the large tiger, two small blue buttons, a green button, and a yellow button. Ink the edges of the chipboard pieces using Chipped Sapphire Distress Ink and a blending tool with foam from Ranger Ink.
  Die-cut a ½” Diagonal Stitched Fishtail from Elizabeth Craft Designs out of a piece of Super Stock from Creative Scrapbooker Magazine. Cut the fishtail down to 2 1/8”. Apply Jet Black Archival Ink from Ranger Ink to the Happy Birthday sentiment out of the Build Your Own Sentiments 1 Stamp Set from Elizabeth Craft Designs and stamp onto the right-hand side of the fishtail.
 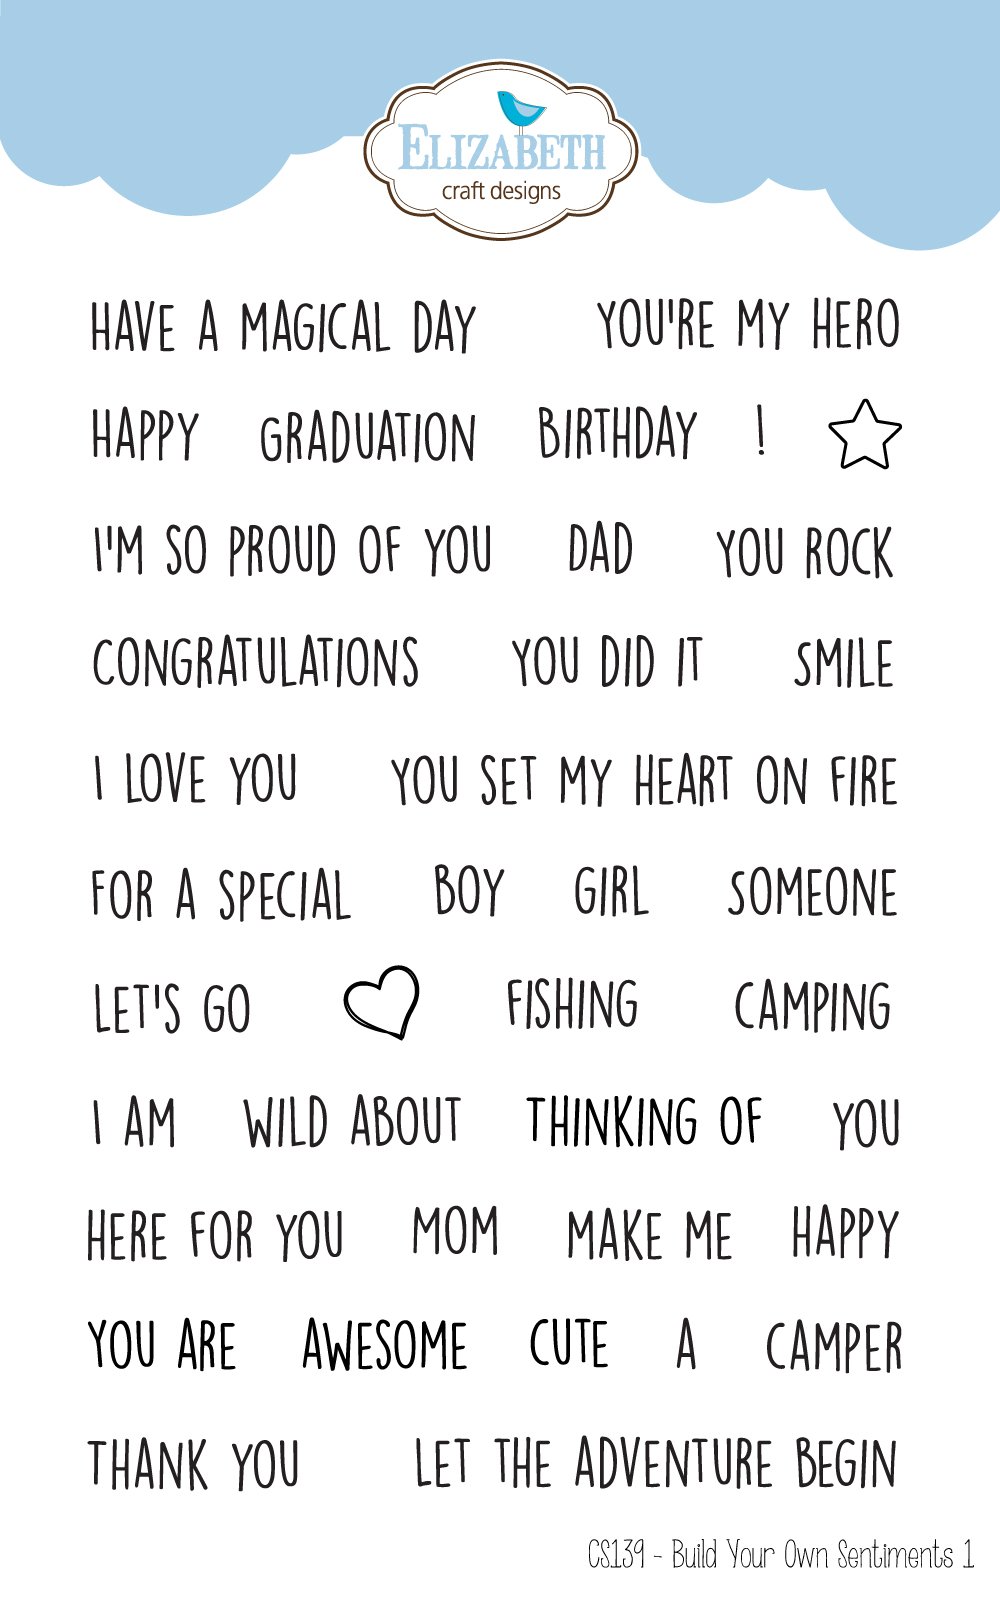 Ink the edges of the fishtail using Chipped Sapphire Distress Ink and a blending tool with foam from Ranger Ink.
  Use E-Z Runner from Scrapbook Adhesives by 3L to adhere the blue plaid rectangle to the leaf rectangle. Adhere the dot paper to the blue plaid paper.
  Use E-Z Runner from Scrapbook Adhesives by 3L to adhere the three banners to the left-hand side of the white frame. Use 3D Foam Squares from Scrapbook Adhesives by 3L to adhere the white frame ¾” from the bottom and all the way to the right-hand side of the leaf paper.
  Use E-Z Runner from Scrapbook Adhesives by 3L to adhere the forever label to the middle of the white frame. Adhere the white polka dot square behind the scalloped square. Adhere the scallop square to the middle of the star square. Use 3D Foam Squares from Scrapbook Adhesives by 3L to adhere the star square to the middle of the white frame.
  Use 3D Foam Squares from Scrapbook Adhesives by 3L to adhere the tiger to the middle of the scallop square.
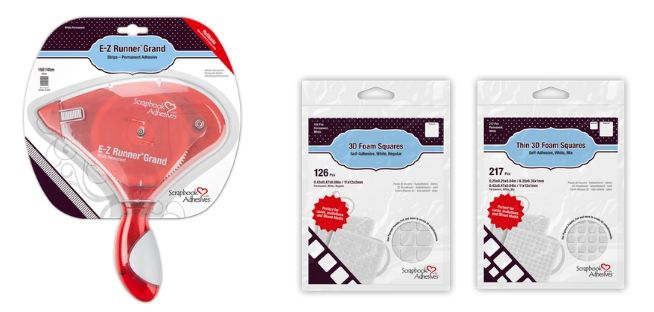 Use E-Z Runner from Scrapbook Adhesives by 3L to adhere the Happy Birthday fishtail 1 1/8” from the bottom and 2” from the left of the leaf paper.
  Use a Dodz from Scrapbook Adhesives by 3L to adhere one of the blue buttons to the left-hand side of the Happy Birthday fishtail.
 Use Dodz to adhere the remaining three buttons to the top right corner of the dot paper.
  To finish the card, cut a piece of Super Stock from Creative Scrapbooker Magazine that measures 4” x 10 ½”, score at 5 ¼”. Adhere the card front to the card base.
  Here are a few close-up photos of my card.
  Thank you for joining me today and taking the time to check out my blog post. I hope that my Happy Birthday Card has inspired you to recreate your own at home.
You can find more of my work on my blog at http://www.katelyngrosart.blogspot.ca
Happy Creating!

Supplies Used:
Ranger Ink: Distress Ink – Chipped Sapphire, Jet Black Archival, and Blending Tool with Foam
Echo Park Paper: Welcome Baby Boy Paper Pack, Welcome Baby Boy Ephemera, and Welcome Baby Boy Chipboard
Elizabeth Craft Designs: Stitched Rounded Rectangle, Fitted Rounded Rectangle, Diagonal Stitched Fishtails, and Build Your Own Sentiments 1 Stamp Set
Creative Scrapbooker Magazine: Super Stock Cardstock
Scrapbook Adhesives by 3L: 3D Foam Squares, Dodz and E-Z Runner Permanent Tape
Enter to WIN WIN WIN our Shine On Sweepstakes


Comments are closed.