


Hey Creative Scrapbooker Fans, Katelyn Grosart here! For today’s blog post, I’m sharing with you how to create this Wander, Explore Wall Hanging. To create the project, I used the Safe Travels Collection from Simple Stories.
 Dies from Elizabeth Craft Designs.
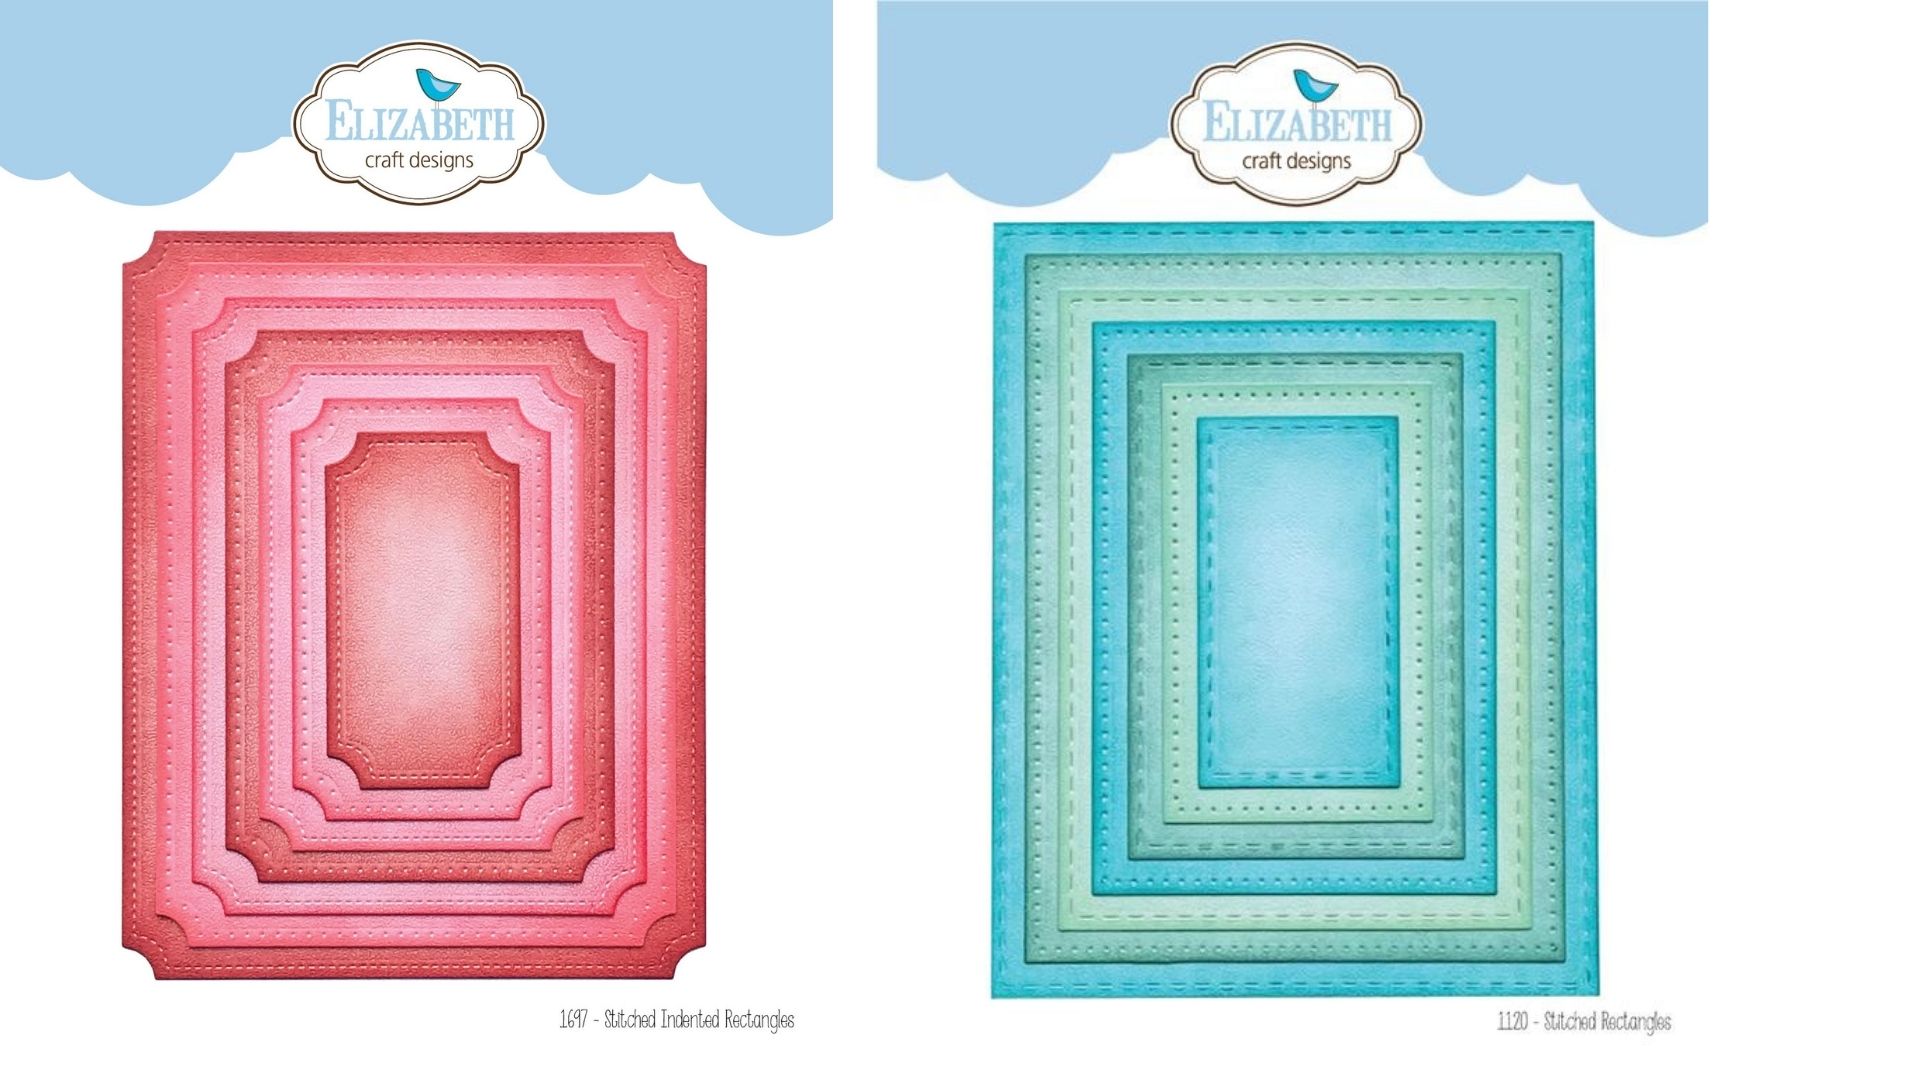 Ink and blending tool from Ranger Ink.
  Adhesive from Scrapbook Adhesives by 3L.
  You’ll want to grab a cup of your favourite beverage and learn how to recreate my wall hanging at home.
To start, you’ll need the Happy Travels Paper out of the Safe Travels Paper Pack from Simple Stories. Die cut a 4 ½” Stitched Indented Rectangle from Elizabeth Craft Designs out of the patterned paper. Distress the edges of the paper. Ink the edges of the rectangle using Black Soot Distress Ink and a Blending Tool with Foam from Ranger Ink.  Next, you’ll need the Blush Color Vibe Textured Cardstock from Simple Stories. Die cut a 4 ¼” Fitted Indented Rectangle from Elizabeth Craft Designs out of the patterned paper. Distress the edges of the paper. Ink the edges of the rectangle using Black Soot Distress Ink and a Blending Tool with Foam from Ranger Ink.
  Now, you’ll need the Take Me Somewhere Paper out of the Safe Travels Paper Pack from Simple Stories. Die cut a 4” Stitched Indented Rectangle from Elizabeth Craft Designs out of the patterned paper. Distress the edges of the paper. Ink the edges of the rectangle using Black Soot Distress Ink and a Blending Tool with Foam from Ranger Ink.
  Next, you’ll need the Olive Color Vibe Textured Cardstock from Simple Stories. Die cut a 3 ¾” Fitted Indented Rectangle from Elizabeth Craft Designs out of the patterned paper. Distress the edges of the paper. Ink the edges of the rectangle using Black Soot Distress Ink and a Blending Tool with Foam from Ranger Ink.
  You’ll need the Weekend Vibes Paper out of the Safe Travels Paper Pack from Simple Stories. Die cut a 3 ½” Stitched Indented Rectangle from Elizabeth Craft Designs out of the patterned paper. Distress the edges of the paper. Ink the edges of the rectangle using Black Soot Distress Ink and a Blending Tool with Foam from Ranger Ink.
  Next, you’ll need the 3×4 Elements Paper out of the Safe Travels Paper Pack from Simple Stories. Cut out the pink 3×4 card and fussy cut the backpack with hiking boots out. Distress the edges of the 3×4 card. Ink the edges of the card and fussy cut image using Black Soot Distress Ink and a Blending Tool with Foam from Ranger Ink.
  Cut out the Floral Tag off the Tags Paper out of the Safe Travels Paper Pack from Simple Stories. Distress the edges of the tag. Ink the edges of the tag using Black Soot Distress Ink and a Blending Tool with Foam from Ranger Ink.
  You’ll need the Journal Elements Paper out of the Safe Travels Paper Pack from Simple Stories. Cut out the memory element and the arrow/white element. Distress the edges of both elements. Ink the edges of the elements using Black Soot Distress Ink and a Blending Tool with Foam from Ranger Ink.
  Out of the Safe Travels – Bits & Pieces from Simple Stories, you’ll need the wander, explore, adventure and three hearts. Ink the edges of the wander, explore and three hearts using Black Soot Distress Ink and a Blending Tool with Foam from Ranger Ink.
  Use E-Z Runner from Scrapbook Adhesives by 3L to adhere the pink dot rectangle to the floral rectangle. Adhere the chevron rectangle to the pink dot paper. Adhere the multi coloured dot rectangle to the olive rectangle. Use 3D Foam Squares from Scrapbook Adhesives by 3L to adhere the olive rectangle to the chevron rectangle.
  Use E-Z Runner from Scrapbook Adhesives by 3L to adhere the 3×4 card to the middle of the multi dot rectangle. Adhere the arrow element to the middle of the 3×4 card. Use 3D Foam Squares from Scrapbook Adhesives by 3L to adhere the floral tag to the middle of the arrow element.
  Use E-Z Runner from Scrapbook Adhesives by 3L to adhere the adventure word to the top right hand side of the memory element. Adhere the memory element to the middle of the floral tag as desired. Adhere the wander and explore strips to the bottom left side of the memory element as desired.
  Use 3D Foam Squares from Scrapbook Adhesives by 3L to adhere the backpack with hiking boots to the right side of the memory word on the memory card. Use E-Z Runner from Scrapbook Adhesives by 3L to adhere the hearts as desired around the backpack with hiking boots.
  Next, you’ll need the arrow washi tape out of the Safe Travels Washi Tape set from Simple Stories. Tear a piece for the top right, bottom right and bottom middle portion of the memory element as desired. Choose five brads off of the Safe Travels – Decorative Brads from Simple Stories. Adhere two brads in the top right side of the tag as desired. Adhere one brad to the top left side of the tag as desired. Adhere the remaining two brads in the bottom left portion of the 3×4 card as desired.
  Choose a couple of arrows off of the Safe Travels – Foam Stickers from Simple Stories. Adhere the two arrows in amongst the hiking boots and compass as desired.
  To finish the wall hanging, punch two holes at the top portion of the wall hanging. Tie a piece of twine through both holes to create the hanging portion for your wall hanging.
  Here are a few closeup photos of my wall hanging.
  Thank you for joining me today and taking the time to check out my blog post. I hope that my Wander, Explore Wall Hanging has inspired you to recreate your own at home.
Happy Creating!

You can find more of my work on my blog at: http://www.katelyngrosart.blogspot.ca
Supplies Used:
Ranger Ink: Distress Ink – Black Soot and Blending Tool with Foam
Simple Stories: Safe Travels Paper Pack, Safe Travels Foam Stickers, Safe Travels Washi Tape Set, Safe Travels Bits & Pieces and Color Vibe Textured Cardstock – Blush & Olive
Elizabeth Craft Designs: Stitched Indented Rectangles and Fitted Indented Rectangles
Scrapbook Adhesives by 3L: 3D Foam Squares and E-Z Runner Permanent Tape
Misc: Twine


1 Comment
Lovely! A few years ago I used a sentiment “safe travels ” on a sympathy card for a dear friend who camped a lot.. This was so pretty, brought back memories of a lovely couple. I like that! Beautiful layout!