


Hey Creative Scrapbooker Fans! For today’s blogpost, I’m sharing with you how to create this So Very Thankful Tag which uses The Simple Life Collection from Simple Stories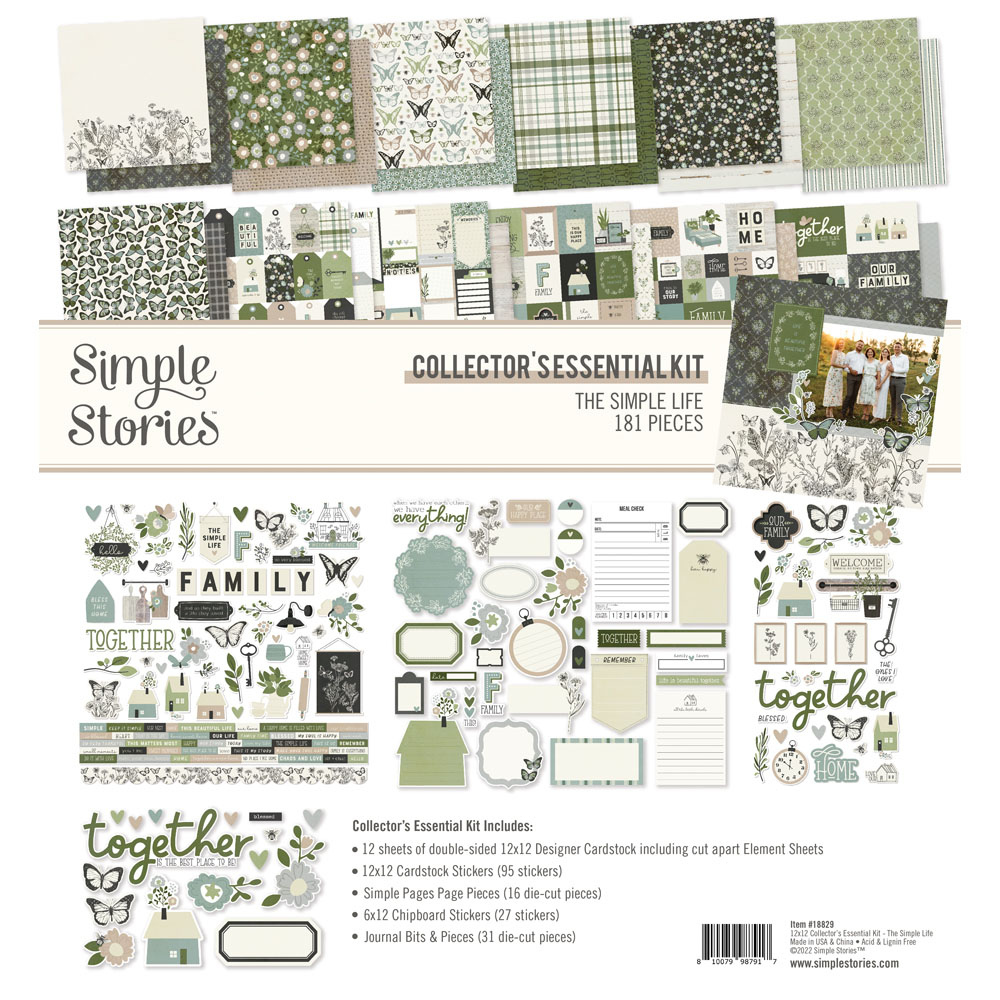 Aswell as adhesive from Scrapbook Adhesives by 3L.
 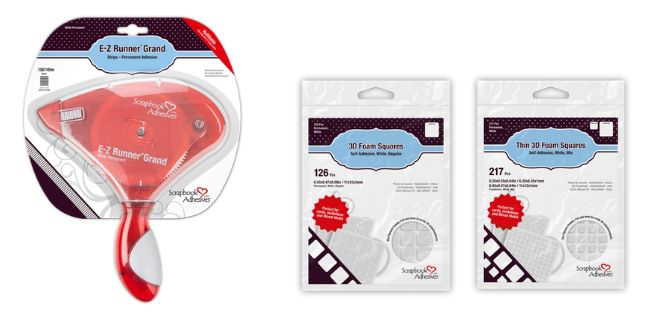 You’ll want to grab a cup of your favourite winter beverage and learn how to recreate my tag at home.
  To start, you’ll need a tag. I used a white tag and cut it down to 3 1/8” x 5 ½”. Take the dark plaid patterned paper out of The Simple Life 6×8 Paper Pad from Simple Stories. Trace the tag around the patterned paper. Cut the patterned paper tag out. Sand the edges of the patterned paper tag.
  Out of The Simple Life 6×8 Paper Pad from Simple Stories, you’ll need the white floral paper and the light washed wood paper. Cut the white floral paper to 2 7/8” x 4 ½”. Cut the light washed wood paper to 2 5/8” x 4 ¼”. Sand the edges of both papers.
  Out of The Simple Life Journal Bits from Simple Stories, you’ll need the pocket watch and the branch frame. Cut the branch frame in half. Fussy cut around the pocket watch. Sand the edges of both pieces.
  Out of The Simple Life Bits & Pieces from Simple Stories, you’ll need the Butterfly, plants in the pots and the sentiment. Fussy cut around the butterfly and plants.
  Use E-Z Runner from Scrapbook Adhesives by 3L to adhere the dark plaid patterned paper to the tag.
  Use E-Z Runner from Scrapbook Adhesives by 3L to adhere the white floral paper to the dark plaid tag. Adhere the light washed wood paper to the white floral paper.
  Use E-Z Runner from Scrapbook Adhesives by 3L to adhere the pocket watch ¼” from the right and ¾” from the bottom of the light washed wood paper. Adhere the butterfly ¼” from the right and ¼” from the top of the light washed wood paper. Adhere the branch frame all the way to the left and ½” from the top of the light washed wood paper.
  Use E-Z Runner and 3D Foam Squares from Scrapbook Adhesives by 3L to adhere the two pots of plants as desired on the tag. Mine covered where the branch frame and pocket watch meet. Use adhesive and foam squares to adhere the So Very sentiment to the bottom portion of the tag as desired.
  Choose 7 of The Simple Life Enamel Dots from Simple Stories and adhered as desired on the tag. To finish the tag, tie a piece of green twine through the hole at the top of the tag.
  Here are some closeups of the finished tag.
  Thank you for joining me today and taking the time to check out my blog post. I hope that my So Very Thankful Tag has inspired you to recreate your own at home.

You can find more of my work on my blog at: http://www.katelyngrosart.blogspot.ca
Simple Stories:
The Simple Life 6×8 Paper Pad
The Simple Life Bits & Pieces
The Simple Life Journal Bits
The Simple Life Enamel Dots
Scrapbook Adhesives by 3L: 3D Foam Squares and E-Z Runner Permanent Tape
Misc.: Tag and Green Twine
Subscribe Today to Creative Scrapbooker Magazine


1 Comment
Nice layout. Gonna give it a go. Looking for a tag trading group. Anyone out there who could use another member or who wants to join me in forming one?
Cheers!