


Hey Creative Scrapbooker Fans! For today’s blogpost, I’m sharing with you how to create this Joyful Moments Tag using a variety of products from the Elizabeth Craft Designs Everyday Elements collection. 
You’ll want to grab a cup of your favourite beverage and learn how to recreate my tag at home.  To start, you’ll need a white tag that measures 3 1/8” x 6 ¼”. Take the circle stencil out of the Planner Essentials – Planner Stencils 1 from Elizabeth Craft Designs. Place the stencil on the left-hand side of the tag. Using a blending tool with foam and Dina Wakley Media Acrylic Paint in Sand from Ranger Ink, blend paint through the left side of the stencil. Remove the stencil. Allow the paint to dry. Out of the Elizabeth Craft Designs Everyday Elements – Happy Stamp set, you’ll need the text stamp. Apply Shaded Lilac Distress Oxide Ink from Ranger Ink to the stamp and stamp randomly on the tag a total of seven times. Reapply ink to the stamp as needed.
  Next, I used a library card found in the front of a book, you can use a patterned paper or a piece from the dictionary. Cut it to 1 ½” x 4 ¾”, tear ¼” from the bottom of the paper.
 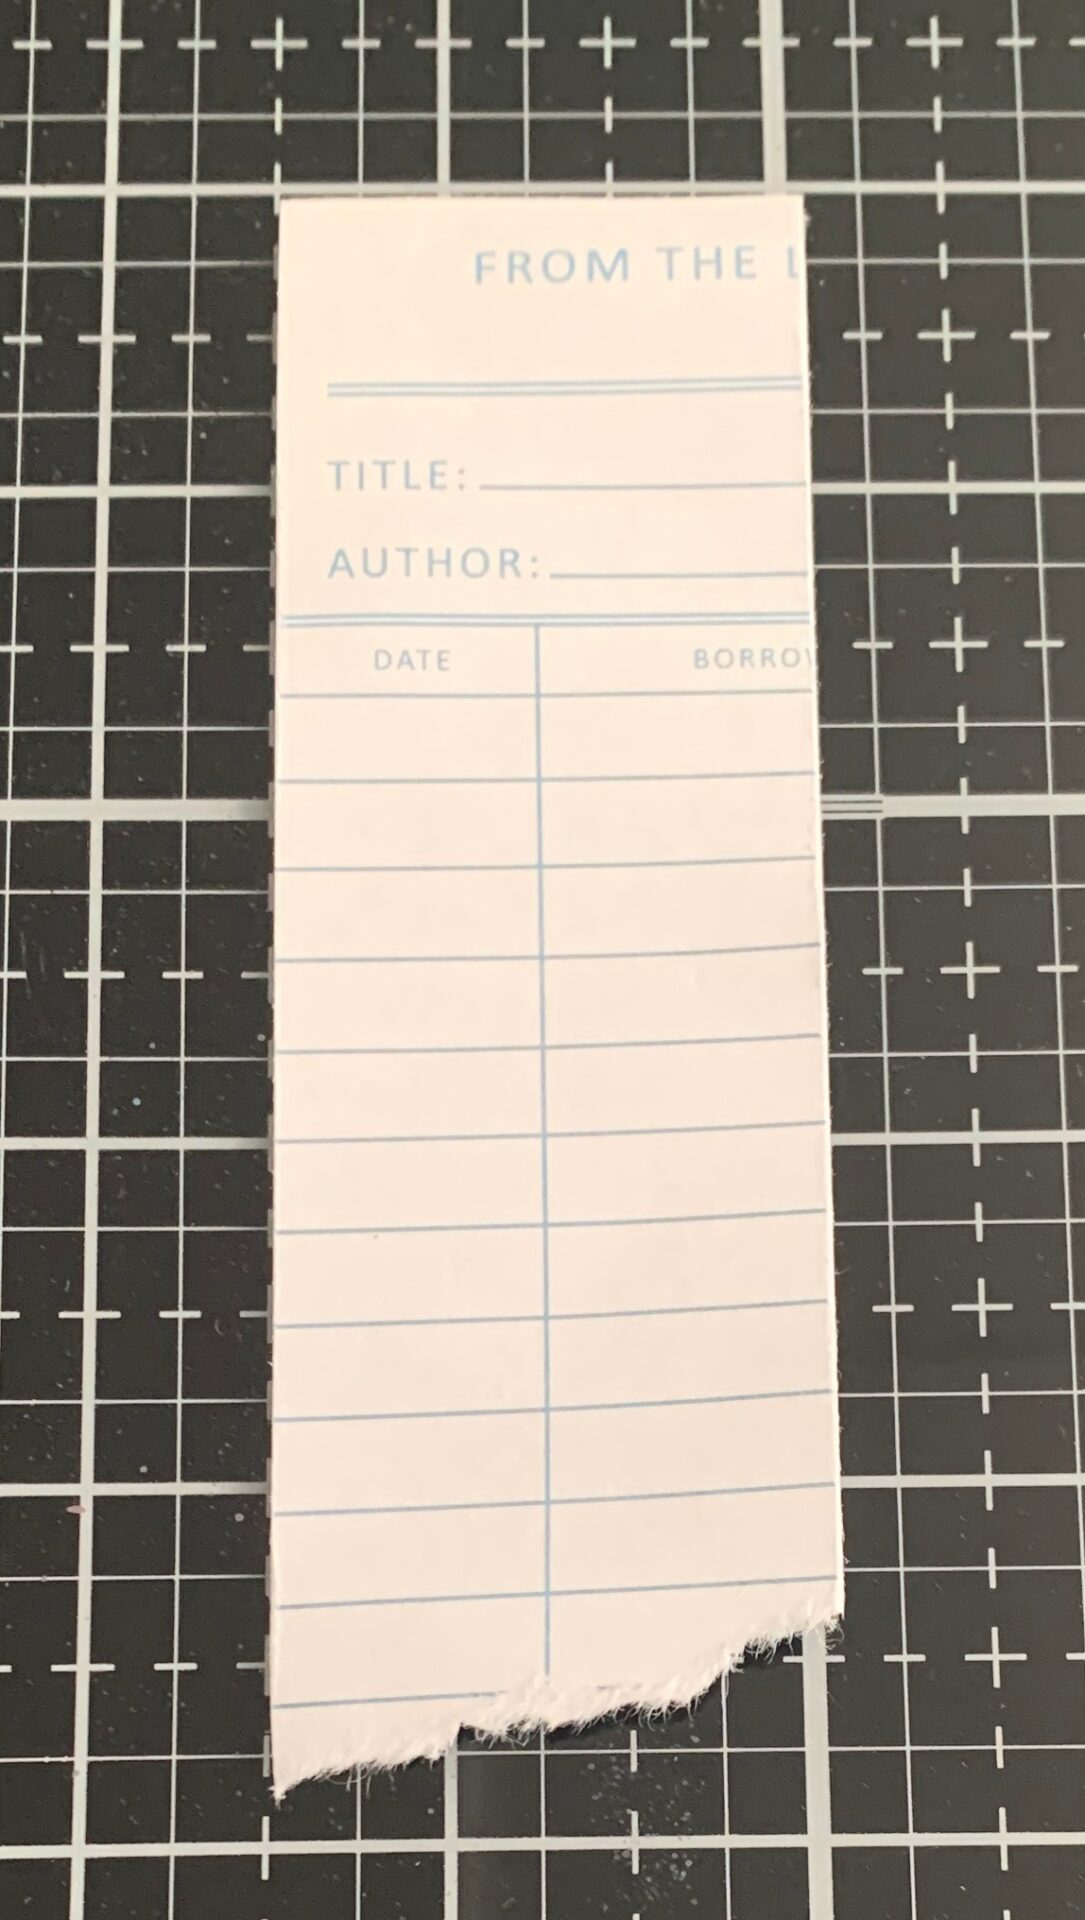 Out of the Dina Wakley Media Collage Sparks Collection 2 from Ranger Ink, you’ll need to choose a patterned paper piece.
  Die cut the scallop border out of the Elizabeth Craft Designs Everyday Elements – Lace Border Die from the patterned paper.
  You’ll need the paper you just used for the border strip. Die cut the 2” Postage Stamp out of the Elizabeth Craft Designs Everyday Elements – Postage Stamps Die. Sand the edges of the stamp.
 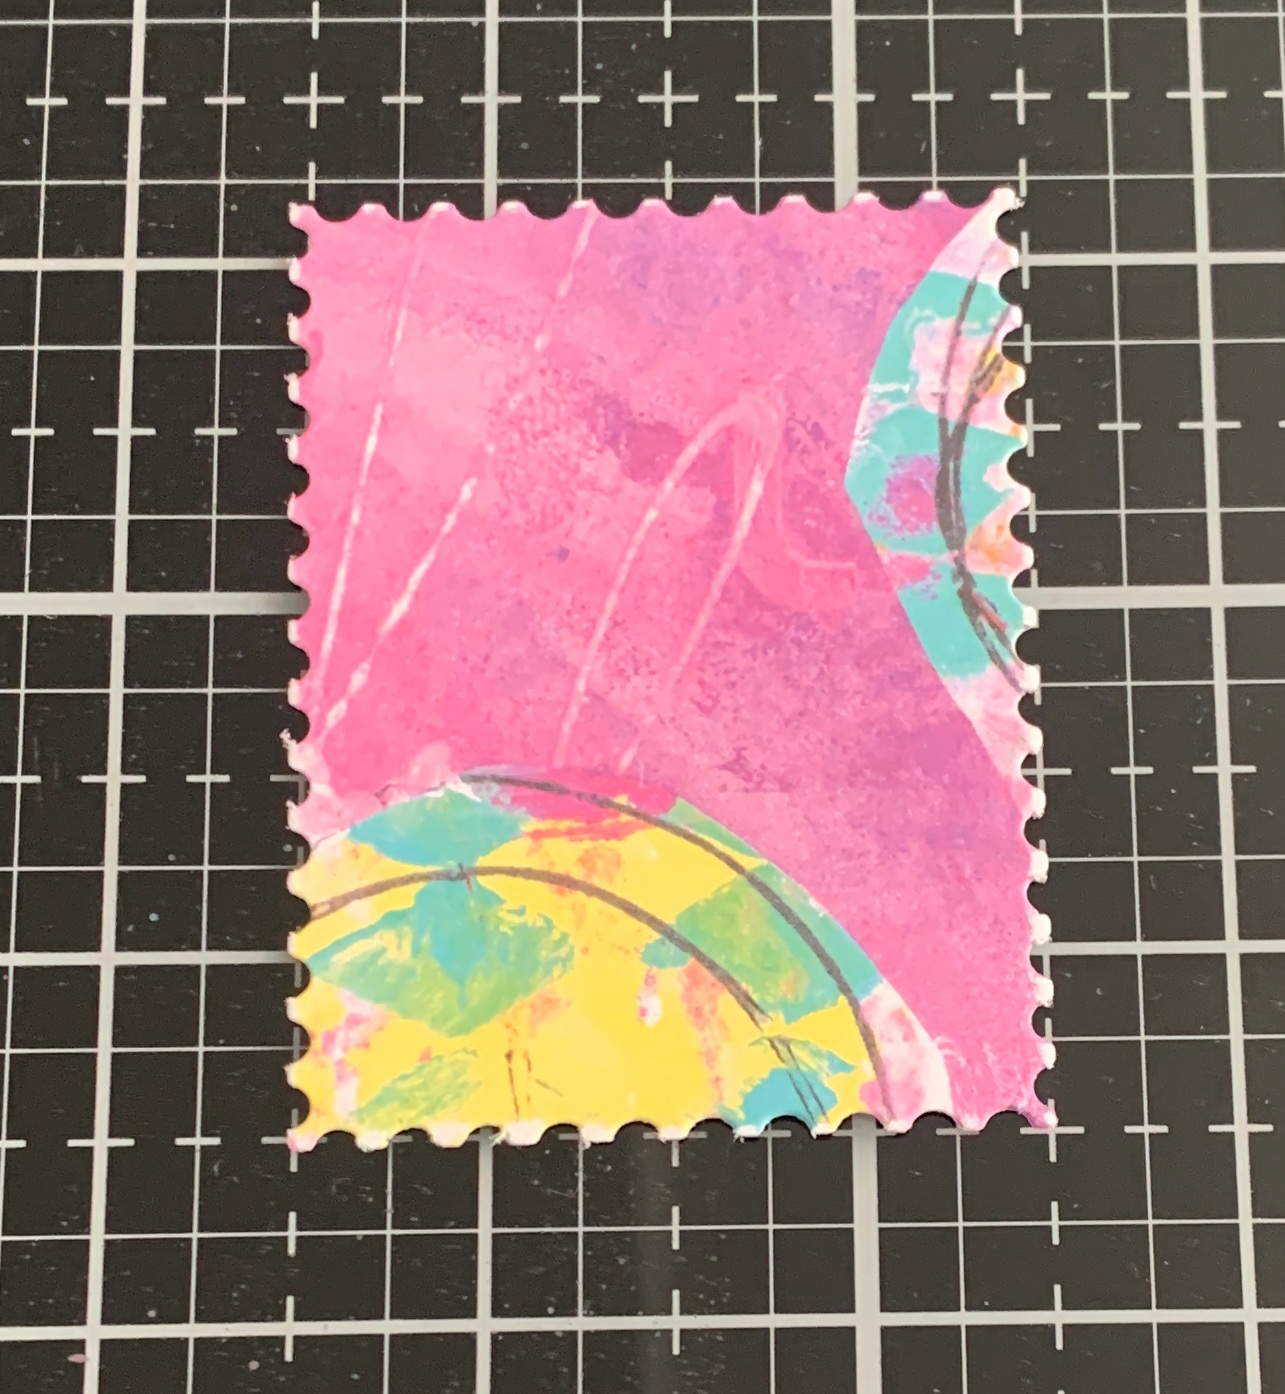 Out of the Dina Wakley Media Collage Sparks Collection 2 from Ranger Ink, you’ll need to choose a patterned paper piece. Die cut the honeycomb out of the Everyday Elements – Layered Honeybee Die from Elizabeth Craft Designs from the patterned paper. Sand the edges of the honeycomb.
  Out of the Everyday Elements – Happy Stamp from Elizabeth Craft Designs, you’ll need the leaf circle. Apply Bundled Sage Distress Oxide Ink from Ranger Ink to the stamp and stamp onto a piece of White Soft Finish Cardstock from Elizabeth Craft Designs. Reapply ink to the stamp and stamp on the same piece of cardstock. Fussy cut around the two stamped images.
 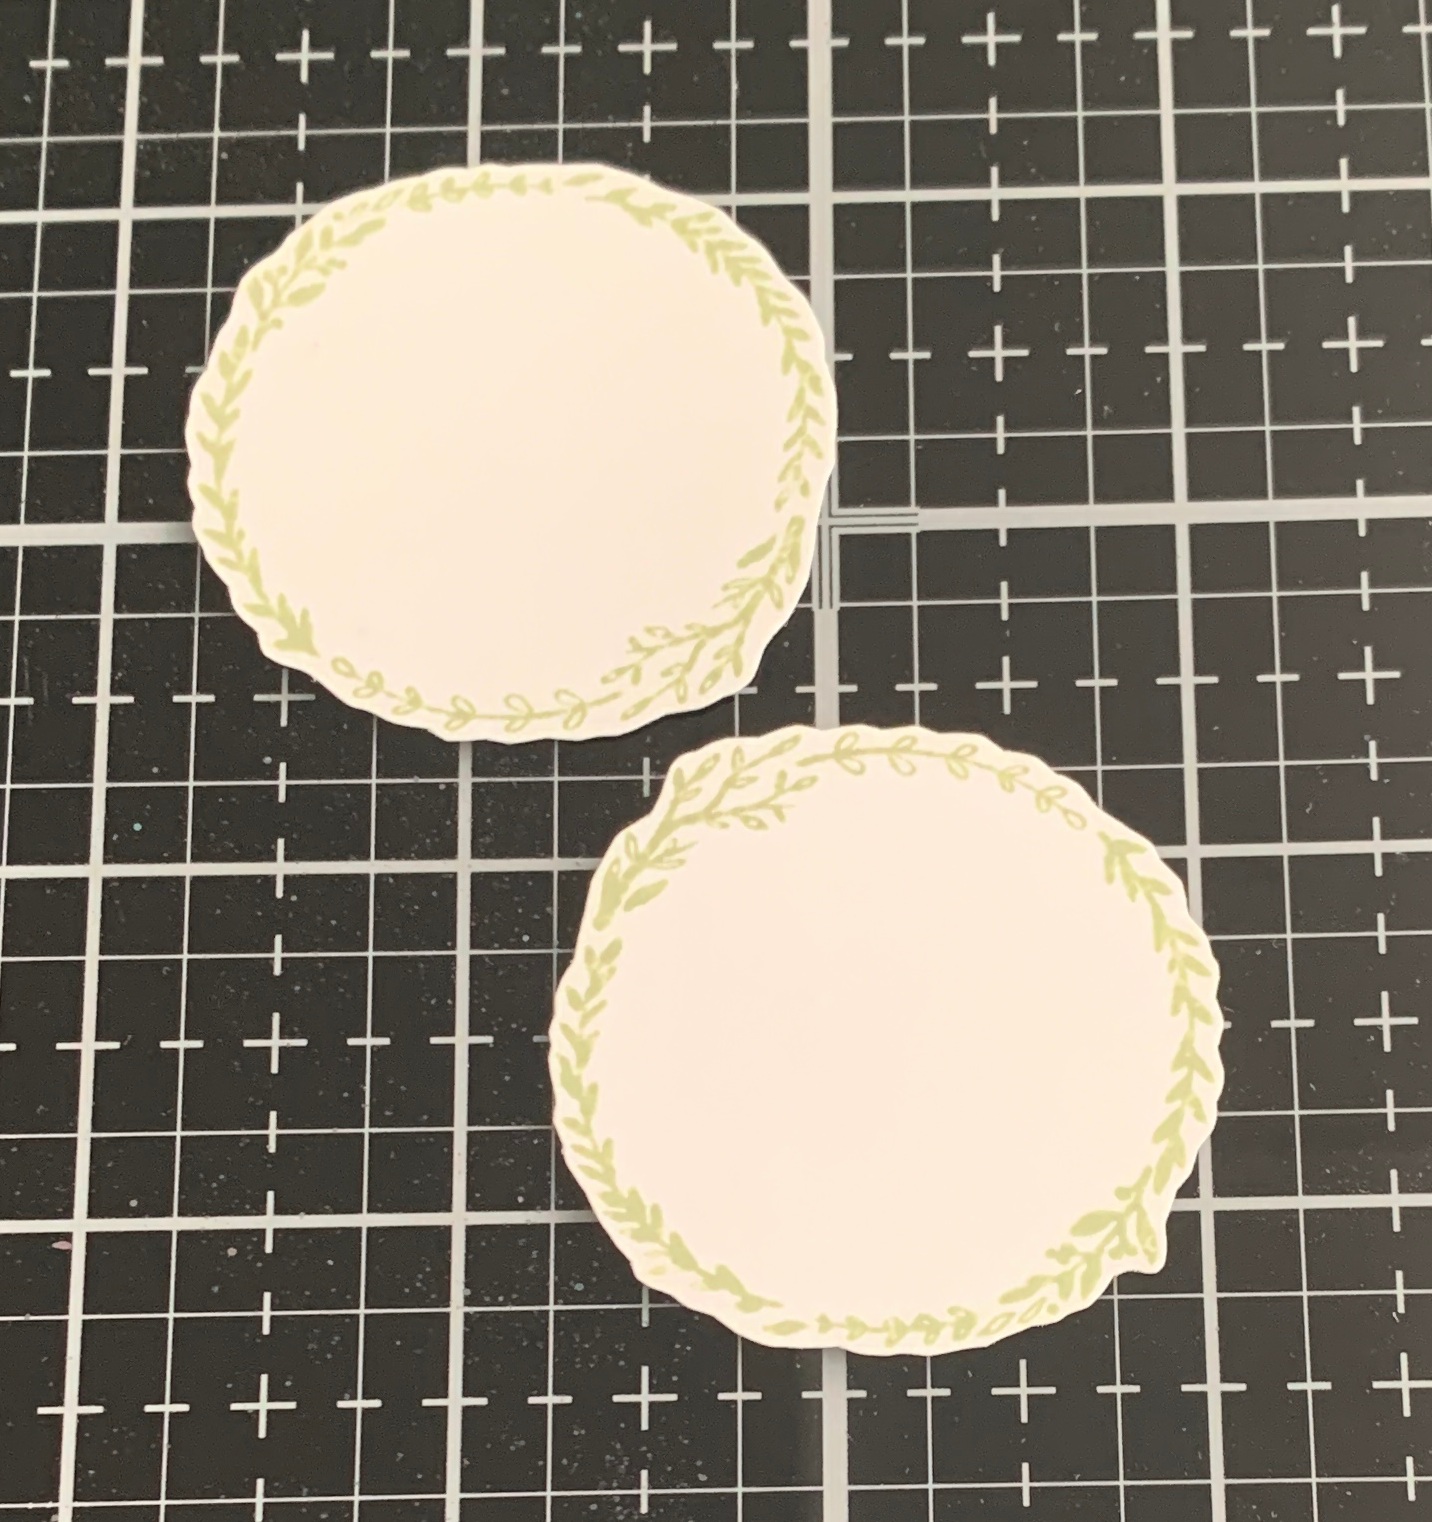 Out of the Everyday Elements – Happy Stamp from Elizabeth Craft Designs, you’ll need the joyful moments stamp. Apply Chipped Sapphire Distress Oxide Ink from Ranger Ink to the stamp and stamp onto a piece of White Soft Finish Cardstock from Elizabeth Craft Designs. Cut the two words into two word strips.
  From the Everyday Elements – Stemmed Flowers from Elizabeth Craft Designs, choose two of the stemmed flowers and die cut out of a piece of White Soft Finish Cardstock from Elizabeth Craft Designs. Colour the stemmed flowers Dina Wakley Media Scribble Sticks 1 & 2 from Ranger Ink and a waterbrush. Out of the two sets, I used Lime, Lemon, Magenta, Eggplant and Evergreen.
  Use E-Z Runner from Scrapbook Adhesives by 3L to adhere the library card or your chosen media ¾” from the left and 7/8” from the top of the tag.
  Adhere the scallop border 3/8” from the left and 1/8” from the top of the tag.
  Use E-Z Runner from Scrapbook Adhesives by 3L to adhere one of the stamped leaf circles all the way to the left and 1 ¼” from the top of the tag. Adhere the other leaf circle all the way to the right and 1 3/8” from the bottom of the tag. Adhere the honeycomb 3/8” from the left and 1 ¾” from the top of the tag.
 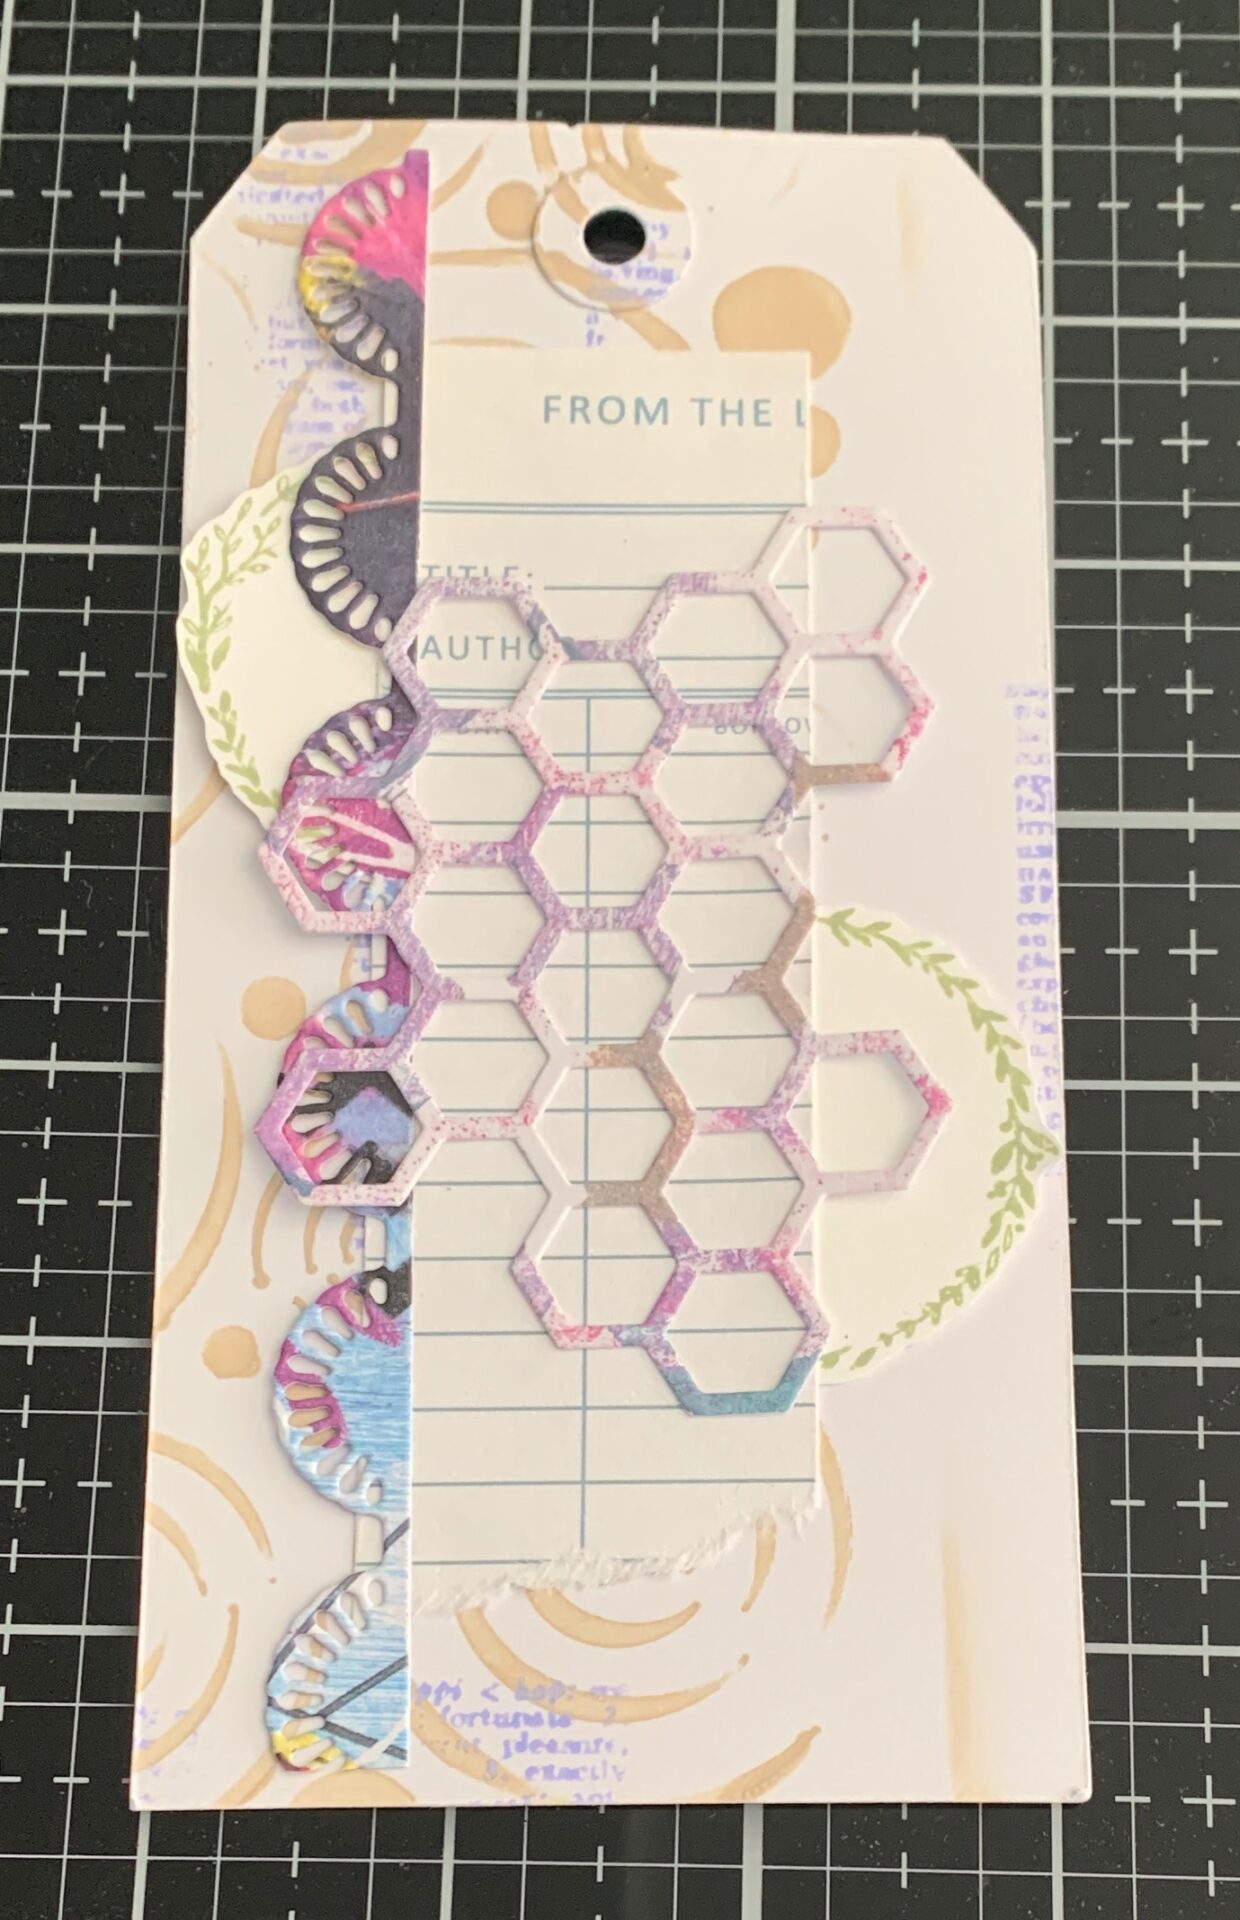 Use 3D Foam Squares from Scrapbook Adhesives by 3L to adhere the postage stamp ½” from the right and 1 ½” from the bottom of the tag.
  Use E-Z Runner from Scrapbook Adhesives by 3L to adhere the two stemmed flowers as desired to the middle of the stamp.
  Use E-Z Runner from Scrapbook Adhesives by 3L to adhere the two word strips to the bottom right of the stamp as desired.
 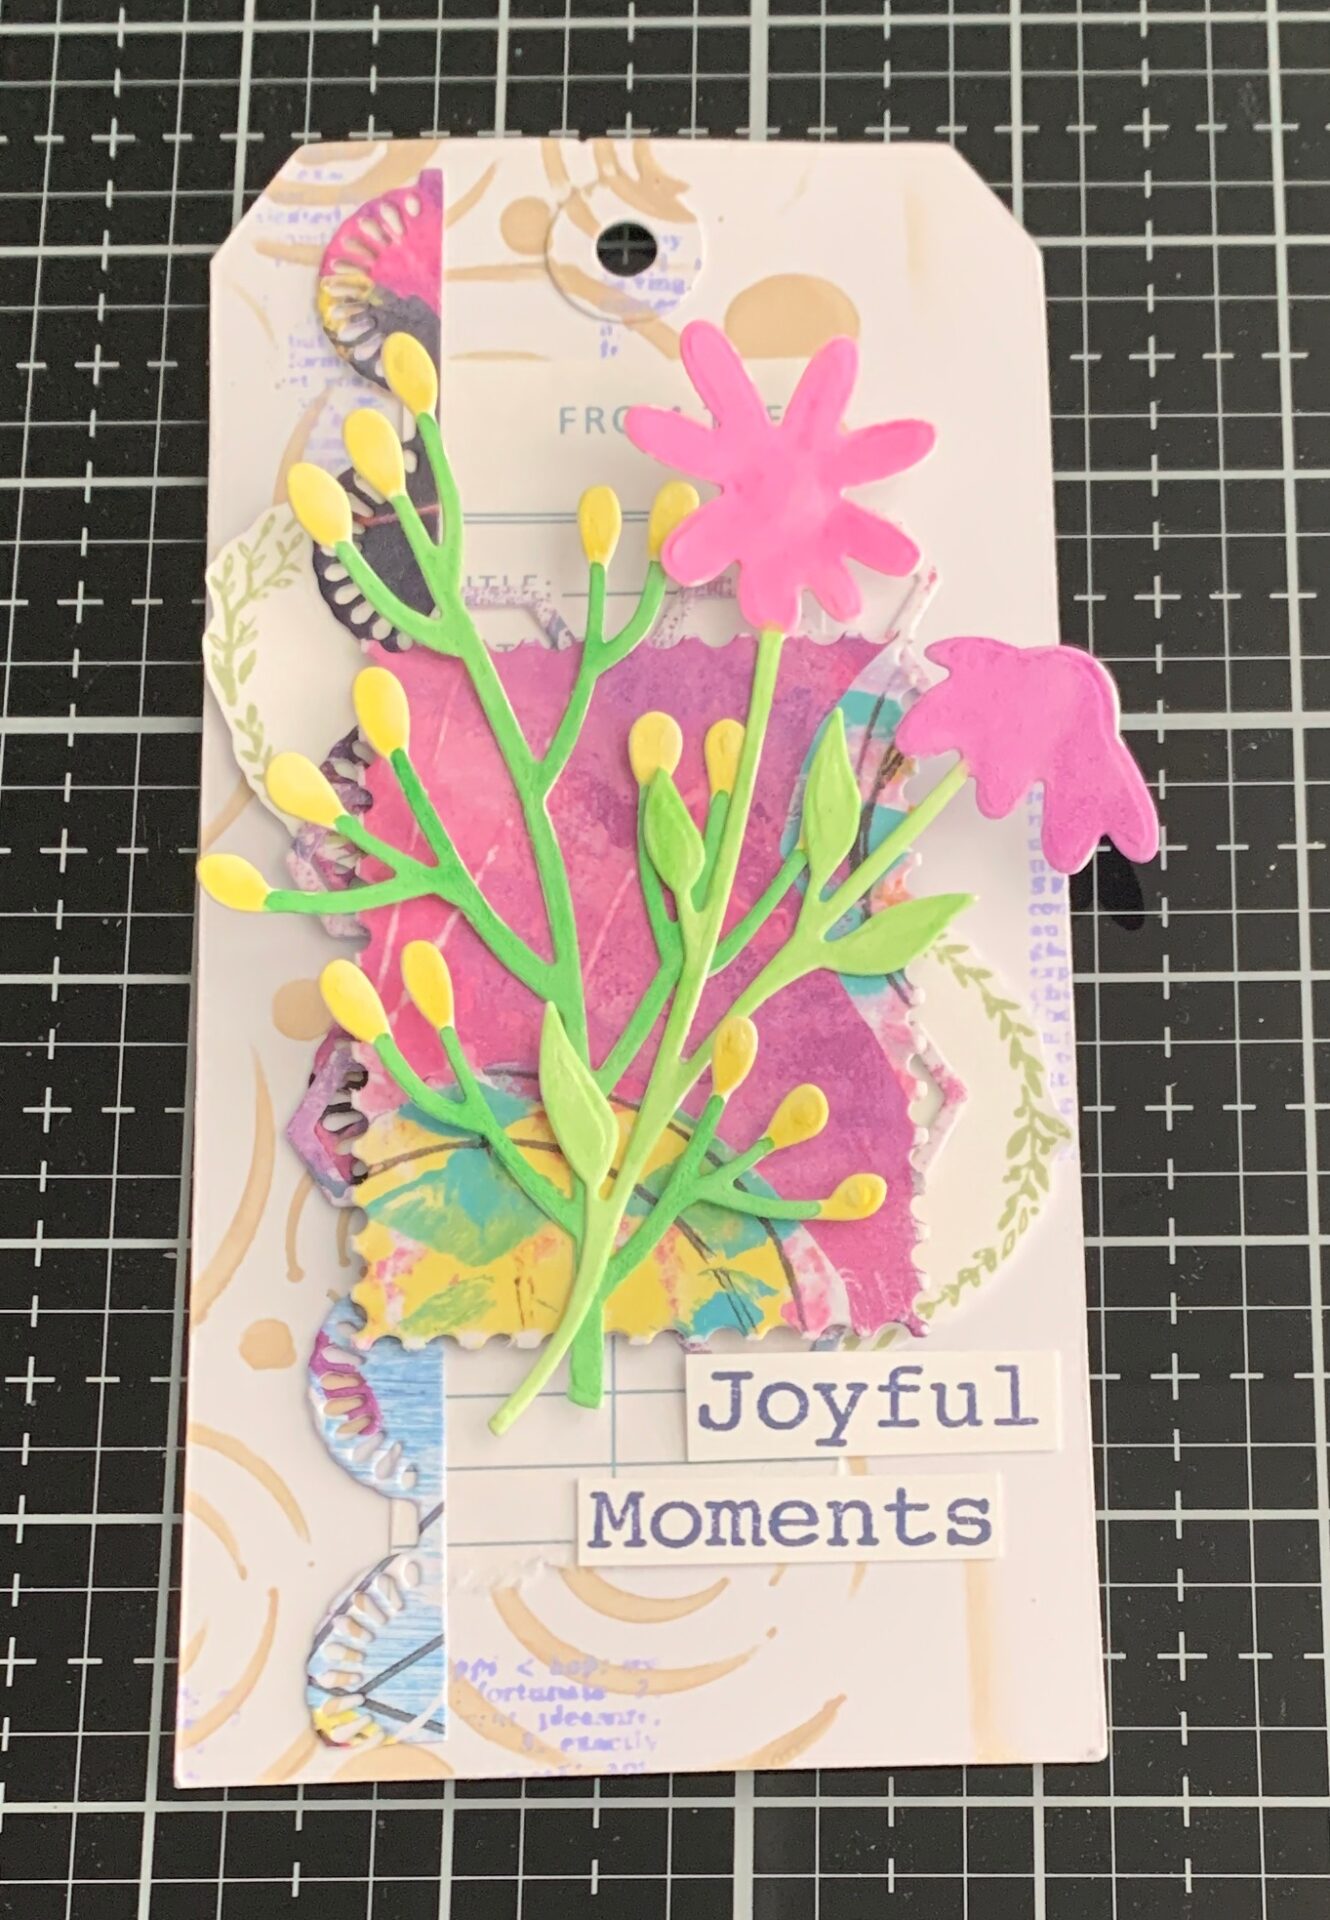 Use a white gel pen to add dots to the flowers as desired. Tie a piece of twine through the hole at the top of the tag.
  To finish the tag, use a paintbrush to splatter Tarnished Brass Distress Spray Stain from Ranger Ink on the tag as desired. Allow time for the splatters to dry.
Here are some closeups of the finished tag.  Thank you for joining me today and taking the time to check out my blog post. I hope that my Joyful Moments Tag has inspired you to recreate your own at home.

You can find more of my work on my blog at: http://www.katelyngrosart.blogspot.ca
Elizabeth Craft Designs:
Everyday Elements Collection
– Happy Stamp Set
– Lace Borders Die Set
– Layered Honeybee Die Set
– Postage Stamps Die Set
– Stemmed Flowers Die Set
Planner Essentials – Planner Stencils 1
White Soft Finish Cardstock
Ranger Ink:
Distress Oxide Ink – Shaded Lilac, Bundled Sage, & Chipped Sapphire
Distress Spray Stain – Tarnished Brass
Dina Wakley Media
– Scribble Sticks 1 & 2
– Acrylic Paint – Sand
– Collage Sparks 1 & 2
Blending Tool with Foam
Scrapbook Adhesives by 3L
3D Foam Squares
E-Z Runner Permanent Tape
Misc.: Twine, White Tag, Library Card, and White Gel Pen
Subscribe Today to Creative Scrapbooker Magazine


3 Comments
The flowers are just wonderful. I like the way you colored them
What a sweet tag! I love the cheerful colors.
So pretty!