


Hey Creative Scrapbooker Fans! For today’s blog post, I’m sharing with you how to create these masculine Happy Birthday Cards using the Cogwood Grove Collection from Simply Stated Design.
 The Build Your Own Sentiments 1 stamp set from Elizabeth Craft Designs
 A variety of adhesives from Scrapbook Adhesives by 3L – including the E-Z Runner Grand and 3D Foam Squares.
 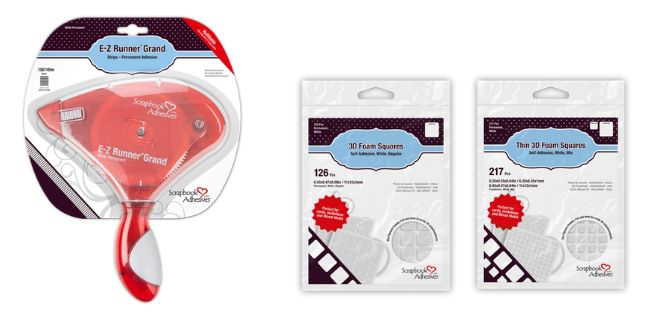 Creative Scrapbooker Super Stock and Ranger Tim Holtz Distress ink. Grab a cup of your favorite beverage and follow along to recreate these cards at home.
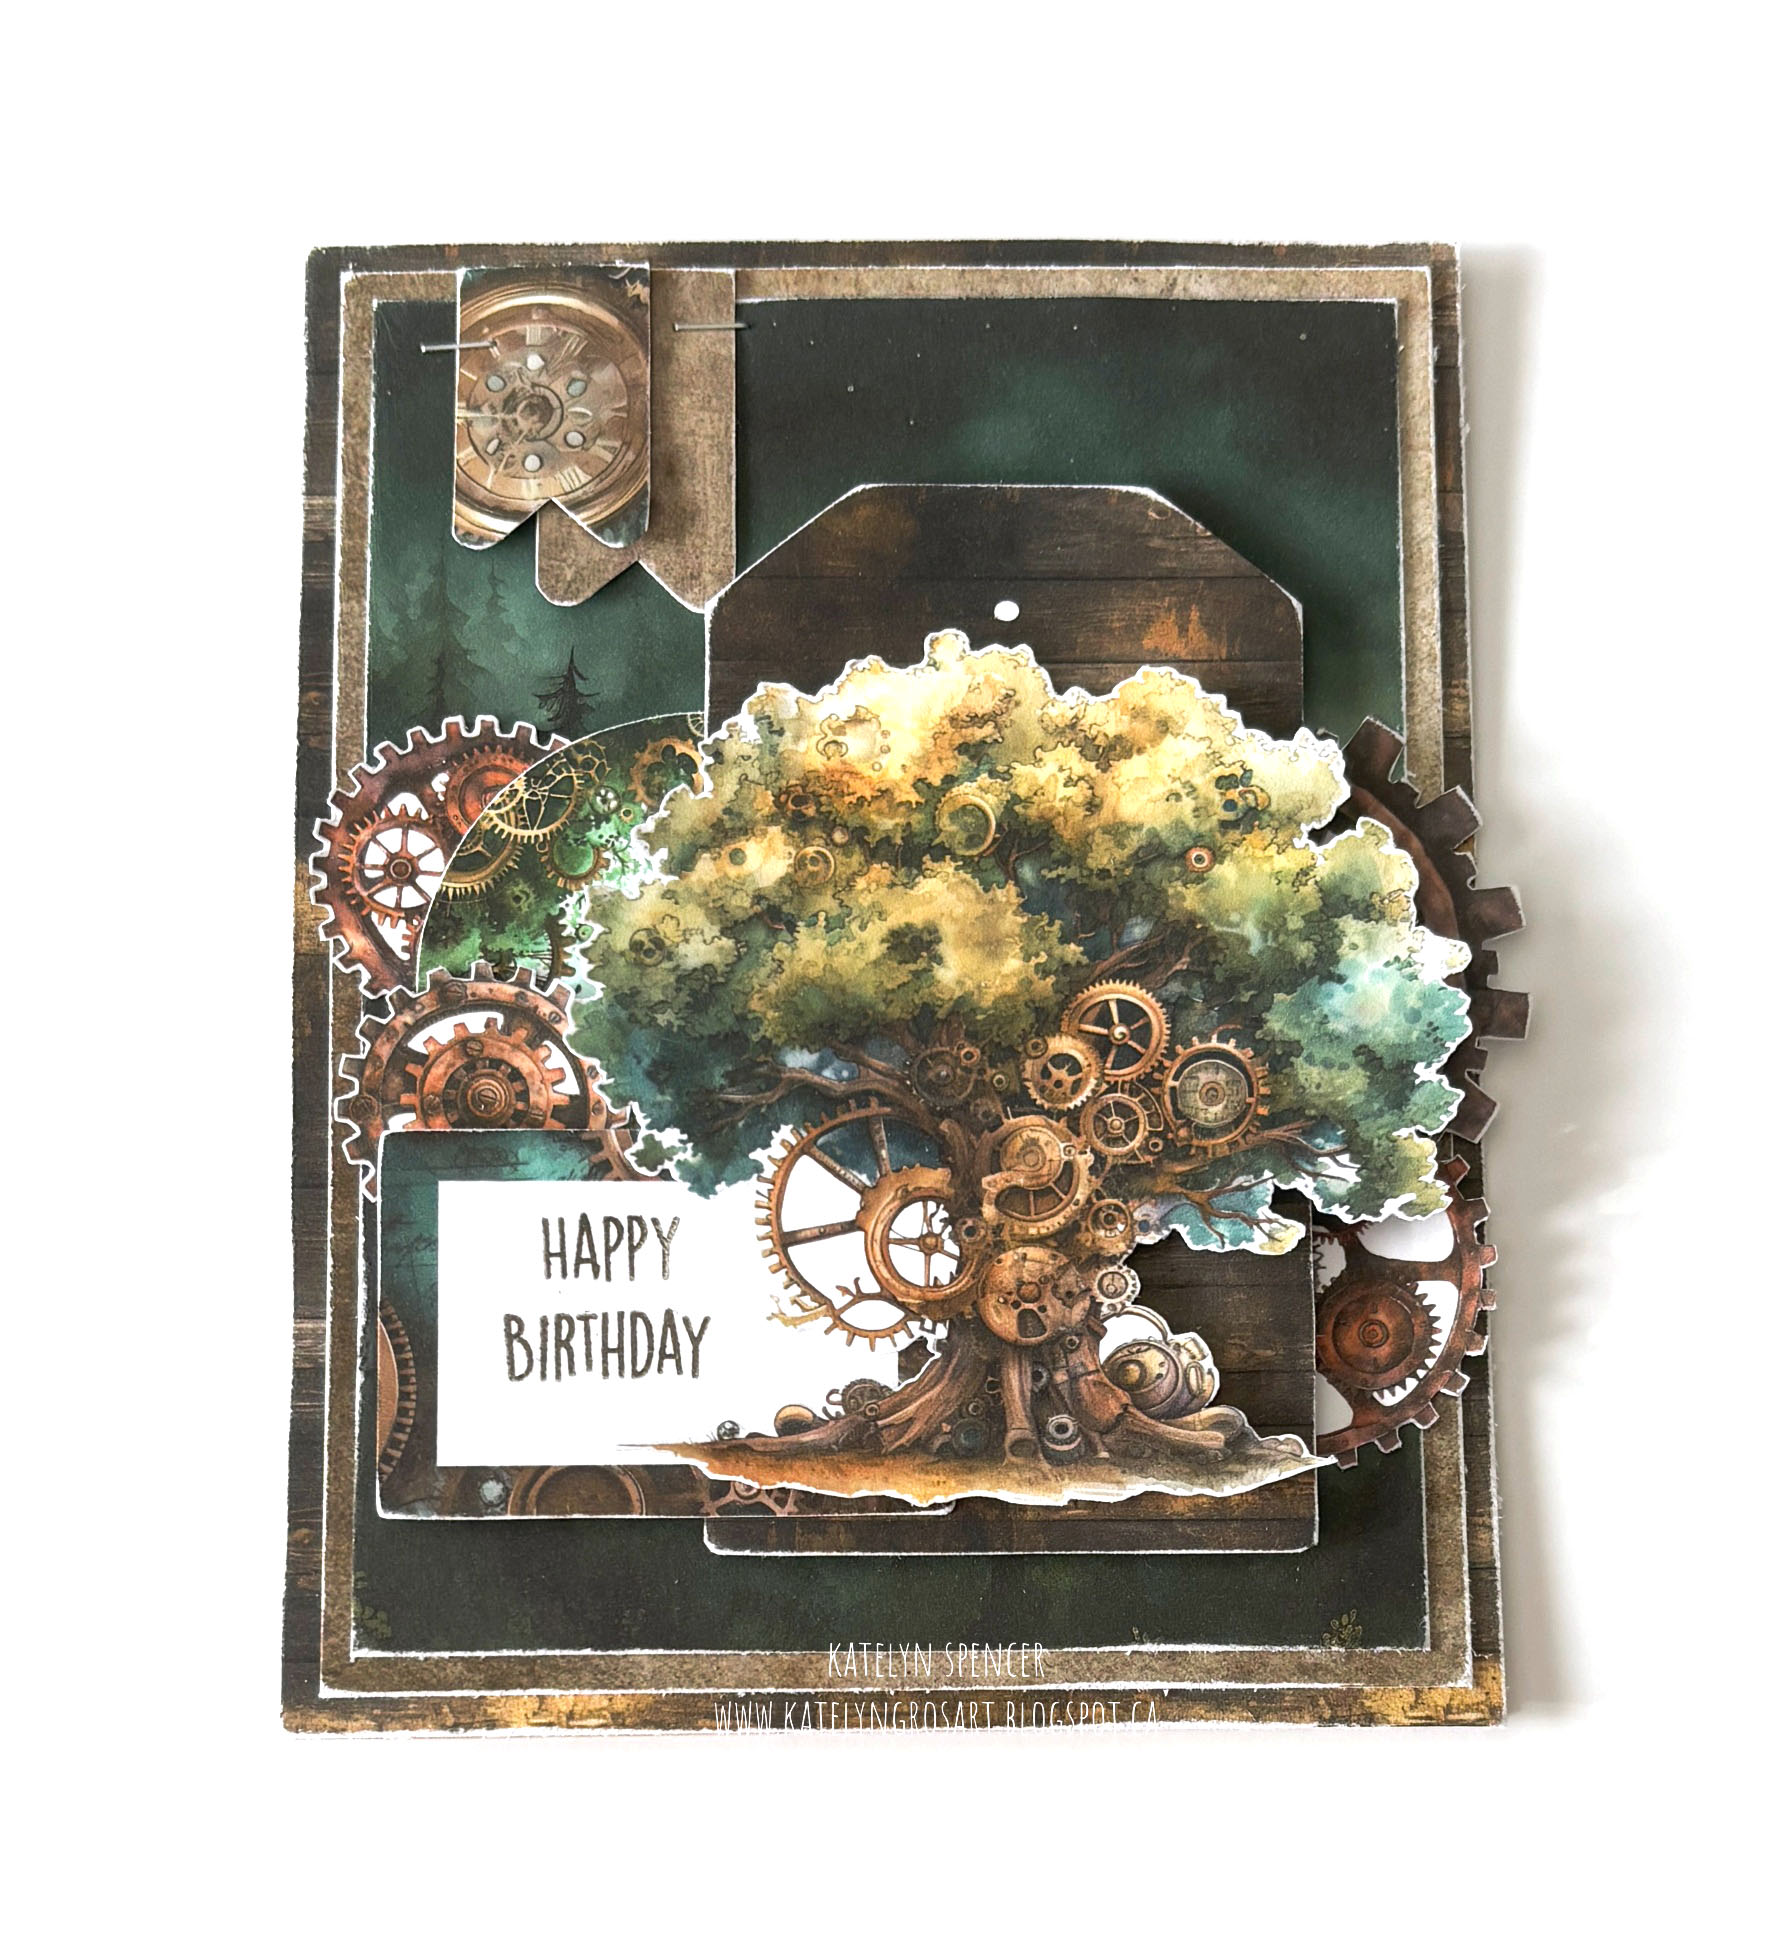
Instructions for the Tree Happy Birthday Card:
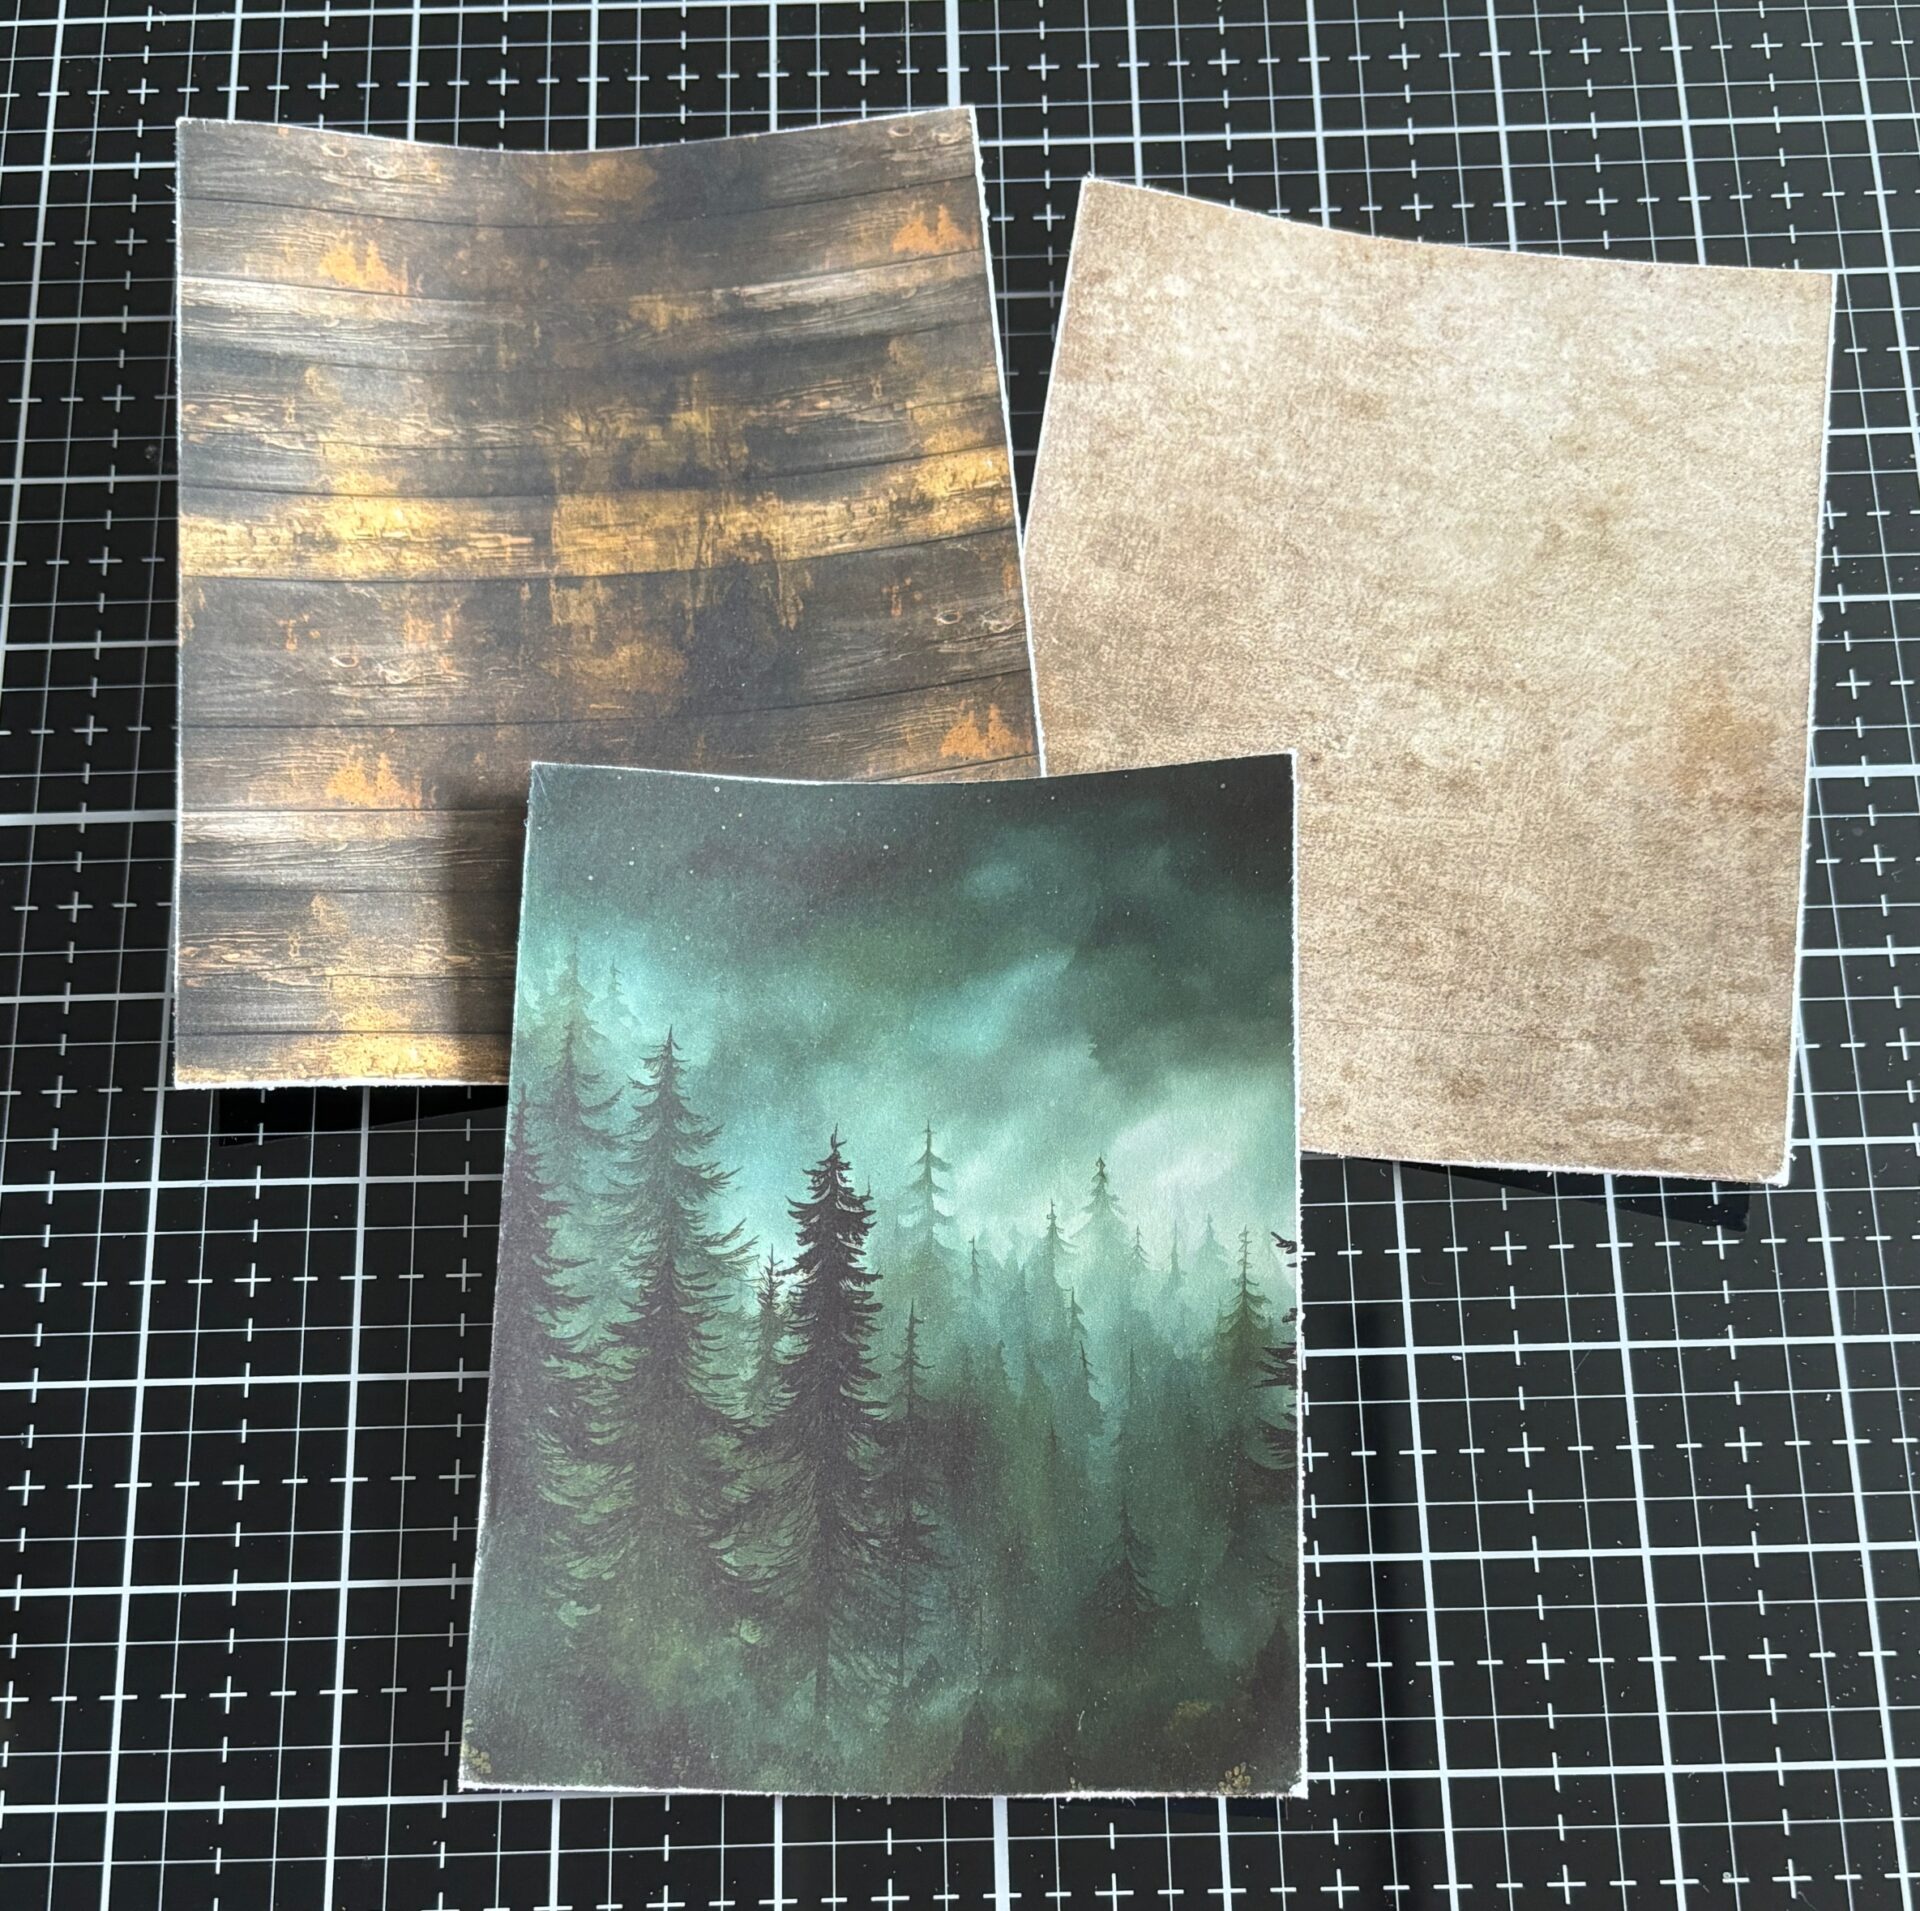
- Cut the woodgrain paper to 4 ¼” x 5 ½”, the tan paper to 4” x 5 ¼”, and the forest paper to 3 ¾” x 5” from the Cogwood Grove Paper 9 by Simply Stated Design. Sand the edges of all three papers.
- From the Cogwood Grove Trees Ephemera by Simply Stated Design, select the tree with gears. You can either keep the white border or fussy cut it out.

- Using the Cogwood Grove Essentials Ephemera from Simply Stated Design, gather the woodgrain tag, two banners, one large cog, two medium cogs, one small cog, and the circle with cogs. Sand the edges of all the pieces and cut one banner to 1 ¼” and the other to 1 1/8”.

- Take the cog rectangle and apply Ground Espresso Distress Archival Ink from Ranger Ink to the Happy Birthday sentiment from the Build Your Sentiments 1 set by Elizabeth Craft Designs. Stamp it on the left side of the rectangle and sand the edges.

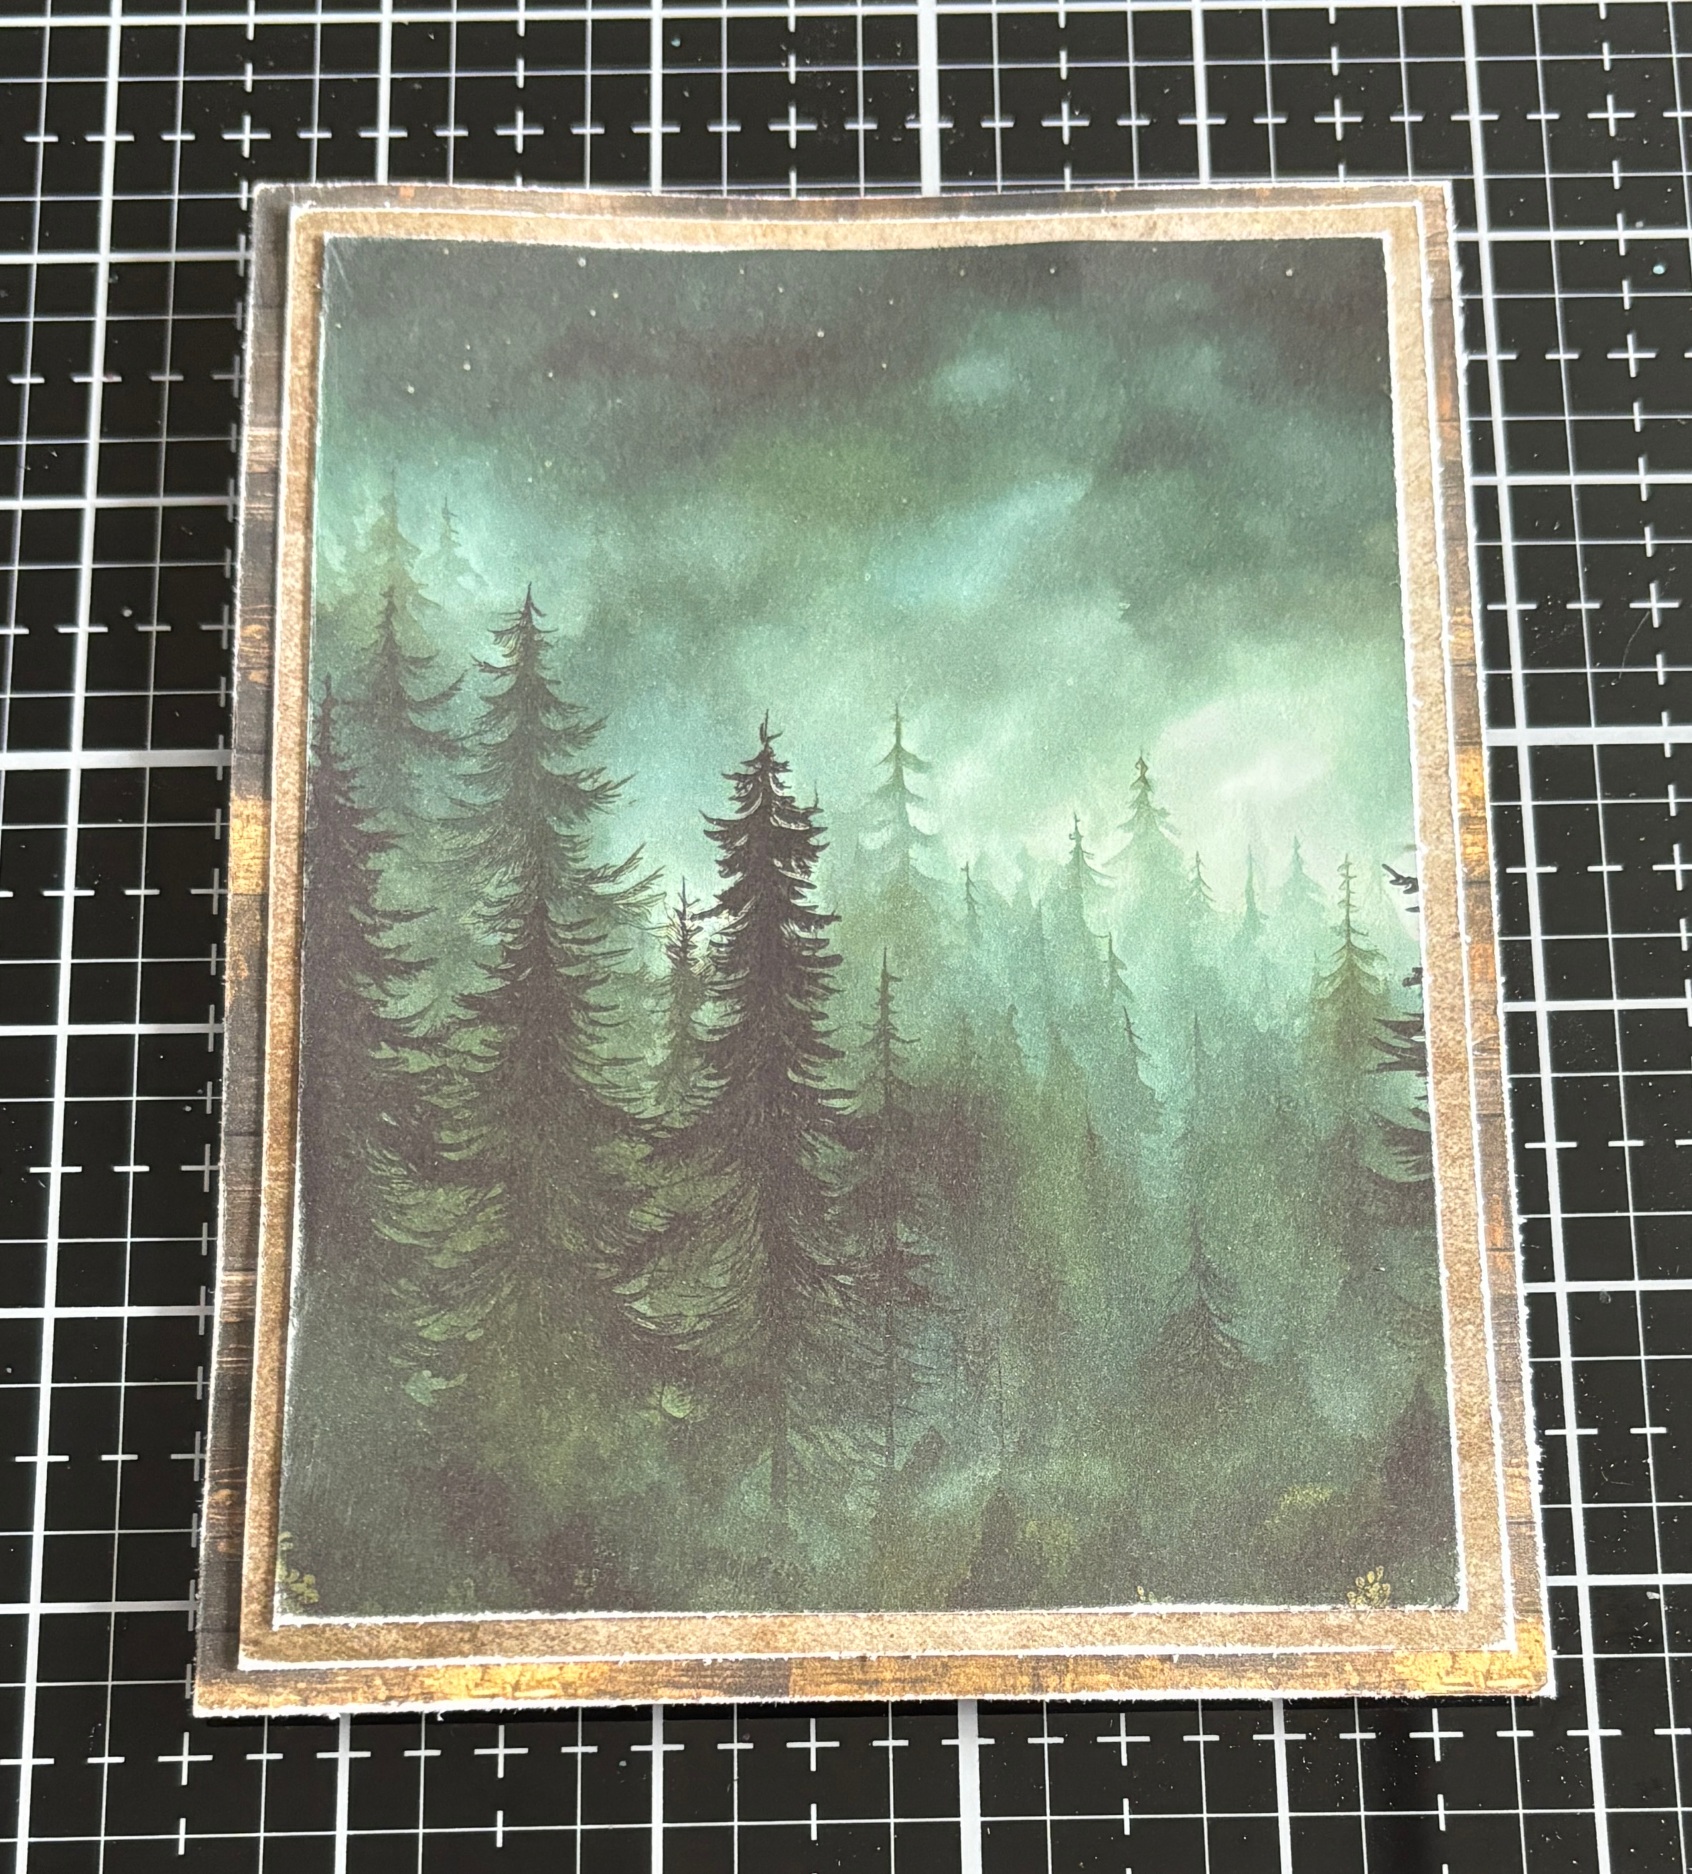
- Use E-Z Runner Adhesive from Scrapbook Adhesives by 3L to adhere the tan paper to the woodgrain paper, then adhere the forest paper to the tan paper.
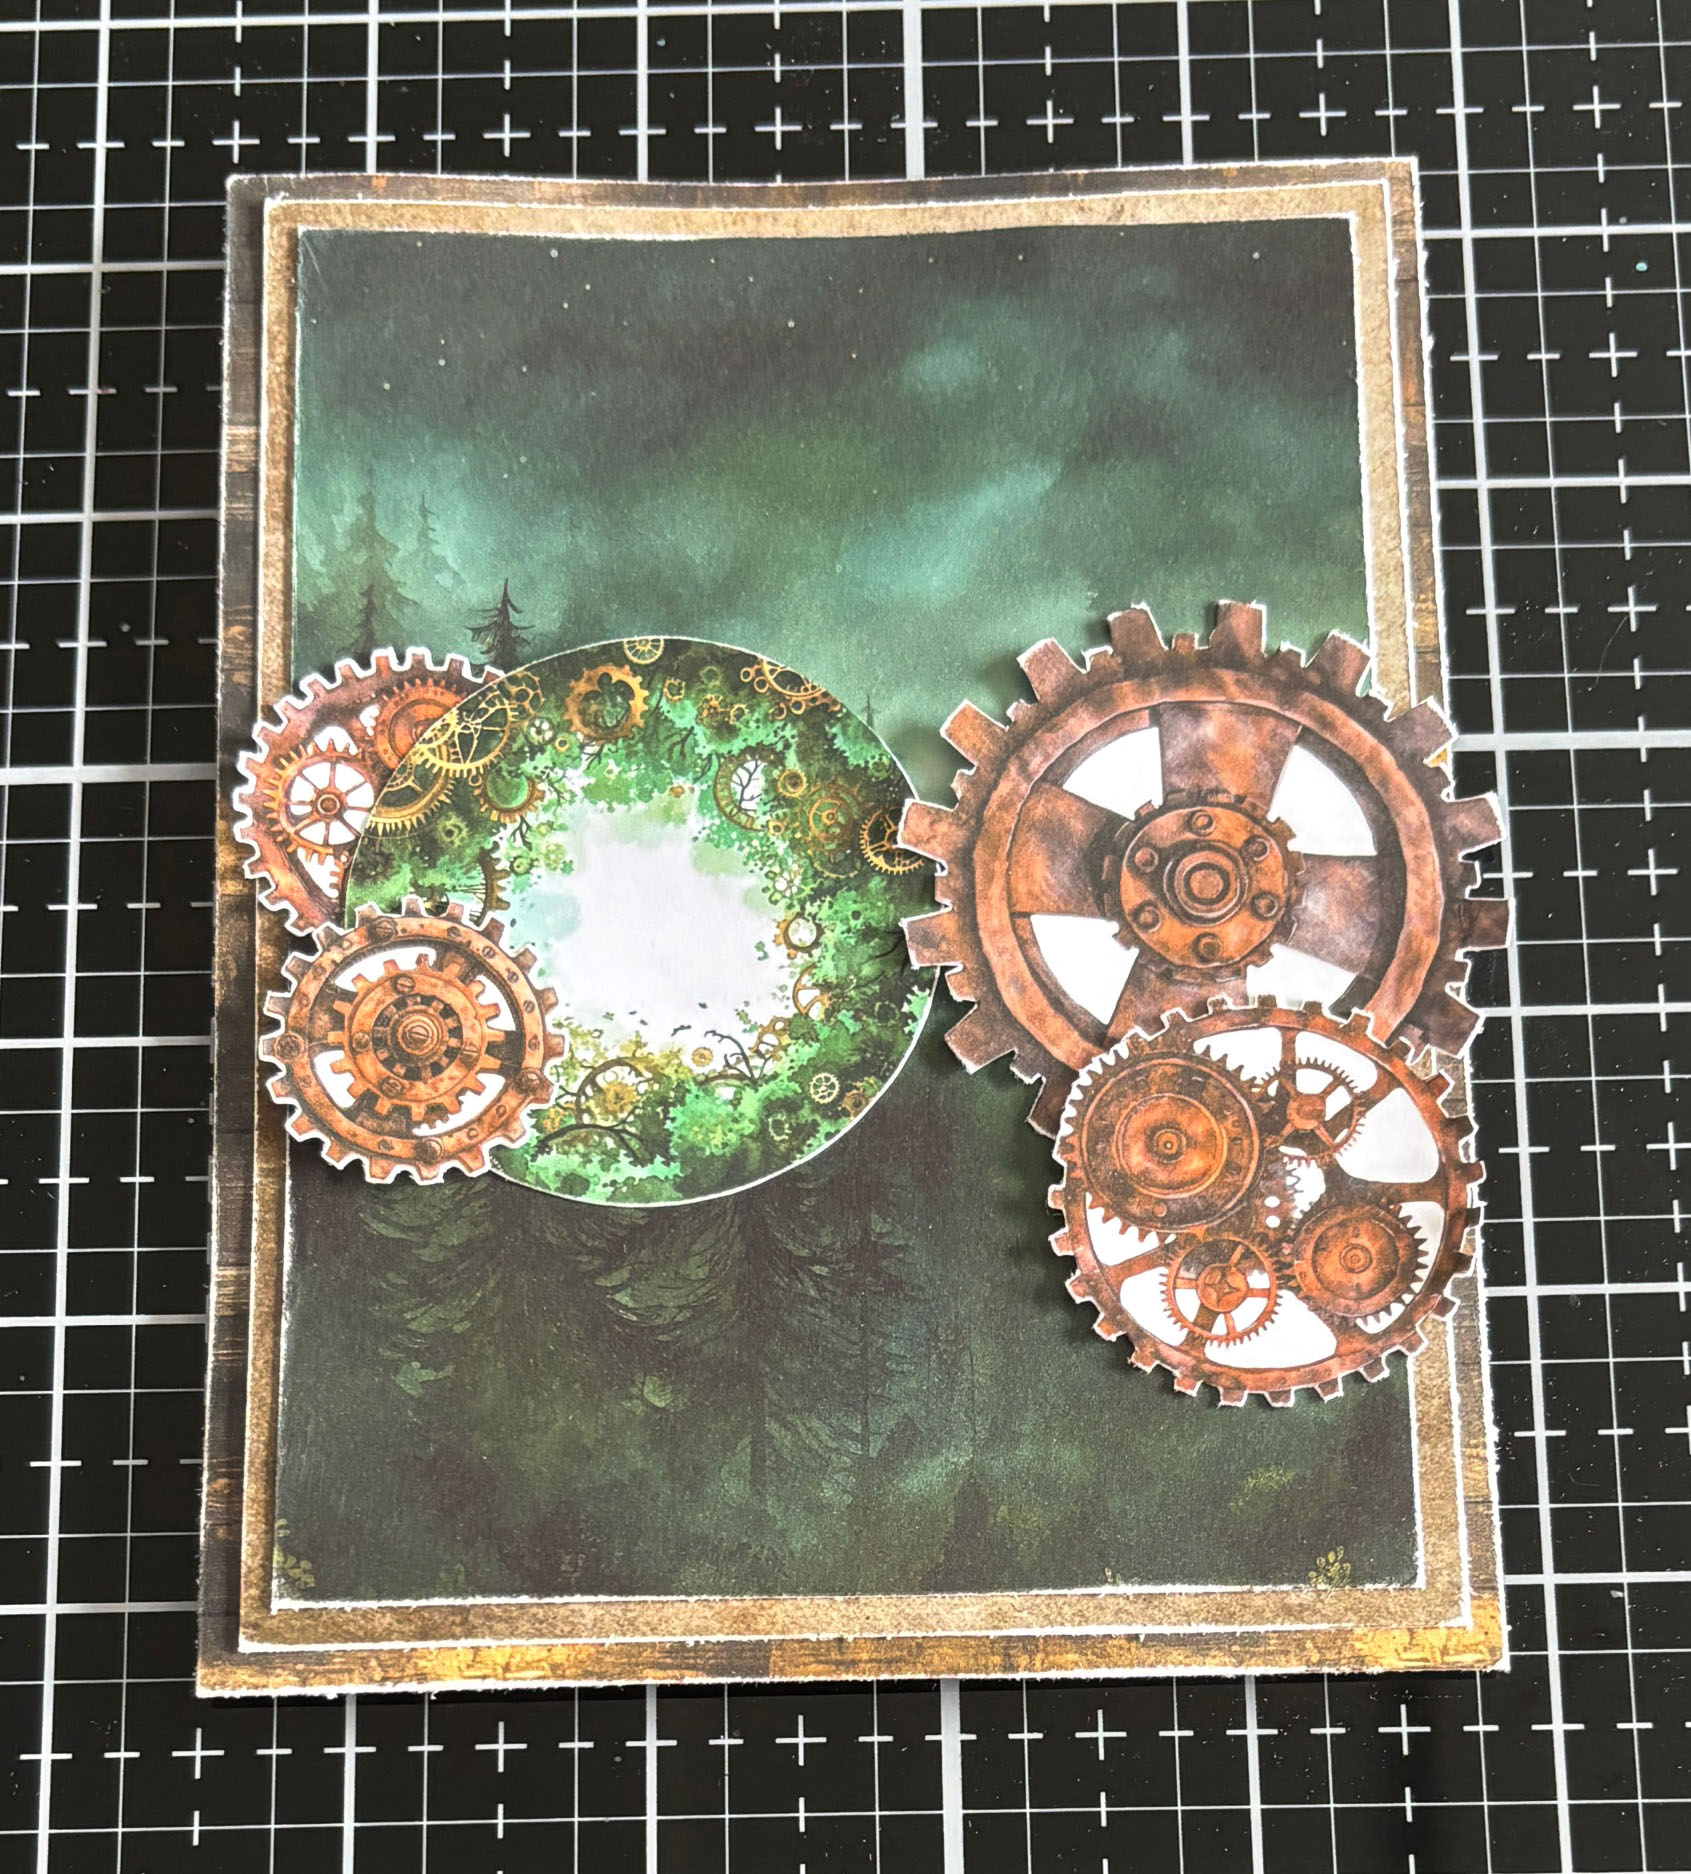
- Adhere the large cog 2 ¾” from the left and 1 ½” from the top of the forest paper. Next, adhere a medium cog 2 ¾” from the left and 5/8” from the bottom of the forest paper, and another medium cog to the top left side of the circle with cogs. Place the circle with cogs 1 ¾” from the right and 1 5/8” from the top, and the small cog 1/16” over from the left and 2 ½” from the top.
- Use 3D Foam Squares from Scrapbook Adhesives by 3L to adhere the woodgrain tag 3/8” from the right and ¾” from the top of the forest paper. Attach the cog rectangle 1/16” from the left and ½” from the bottom.
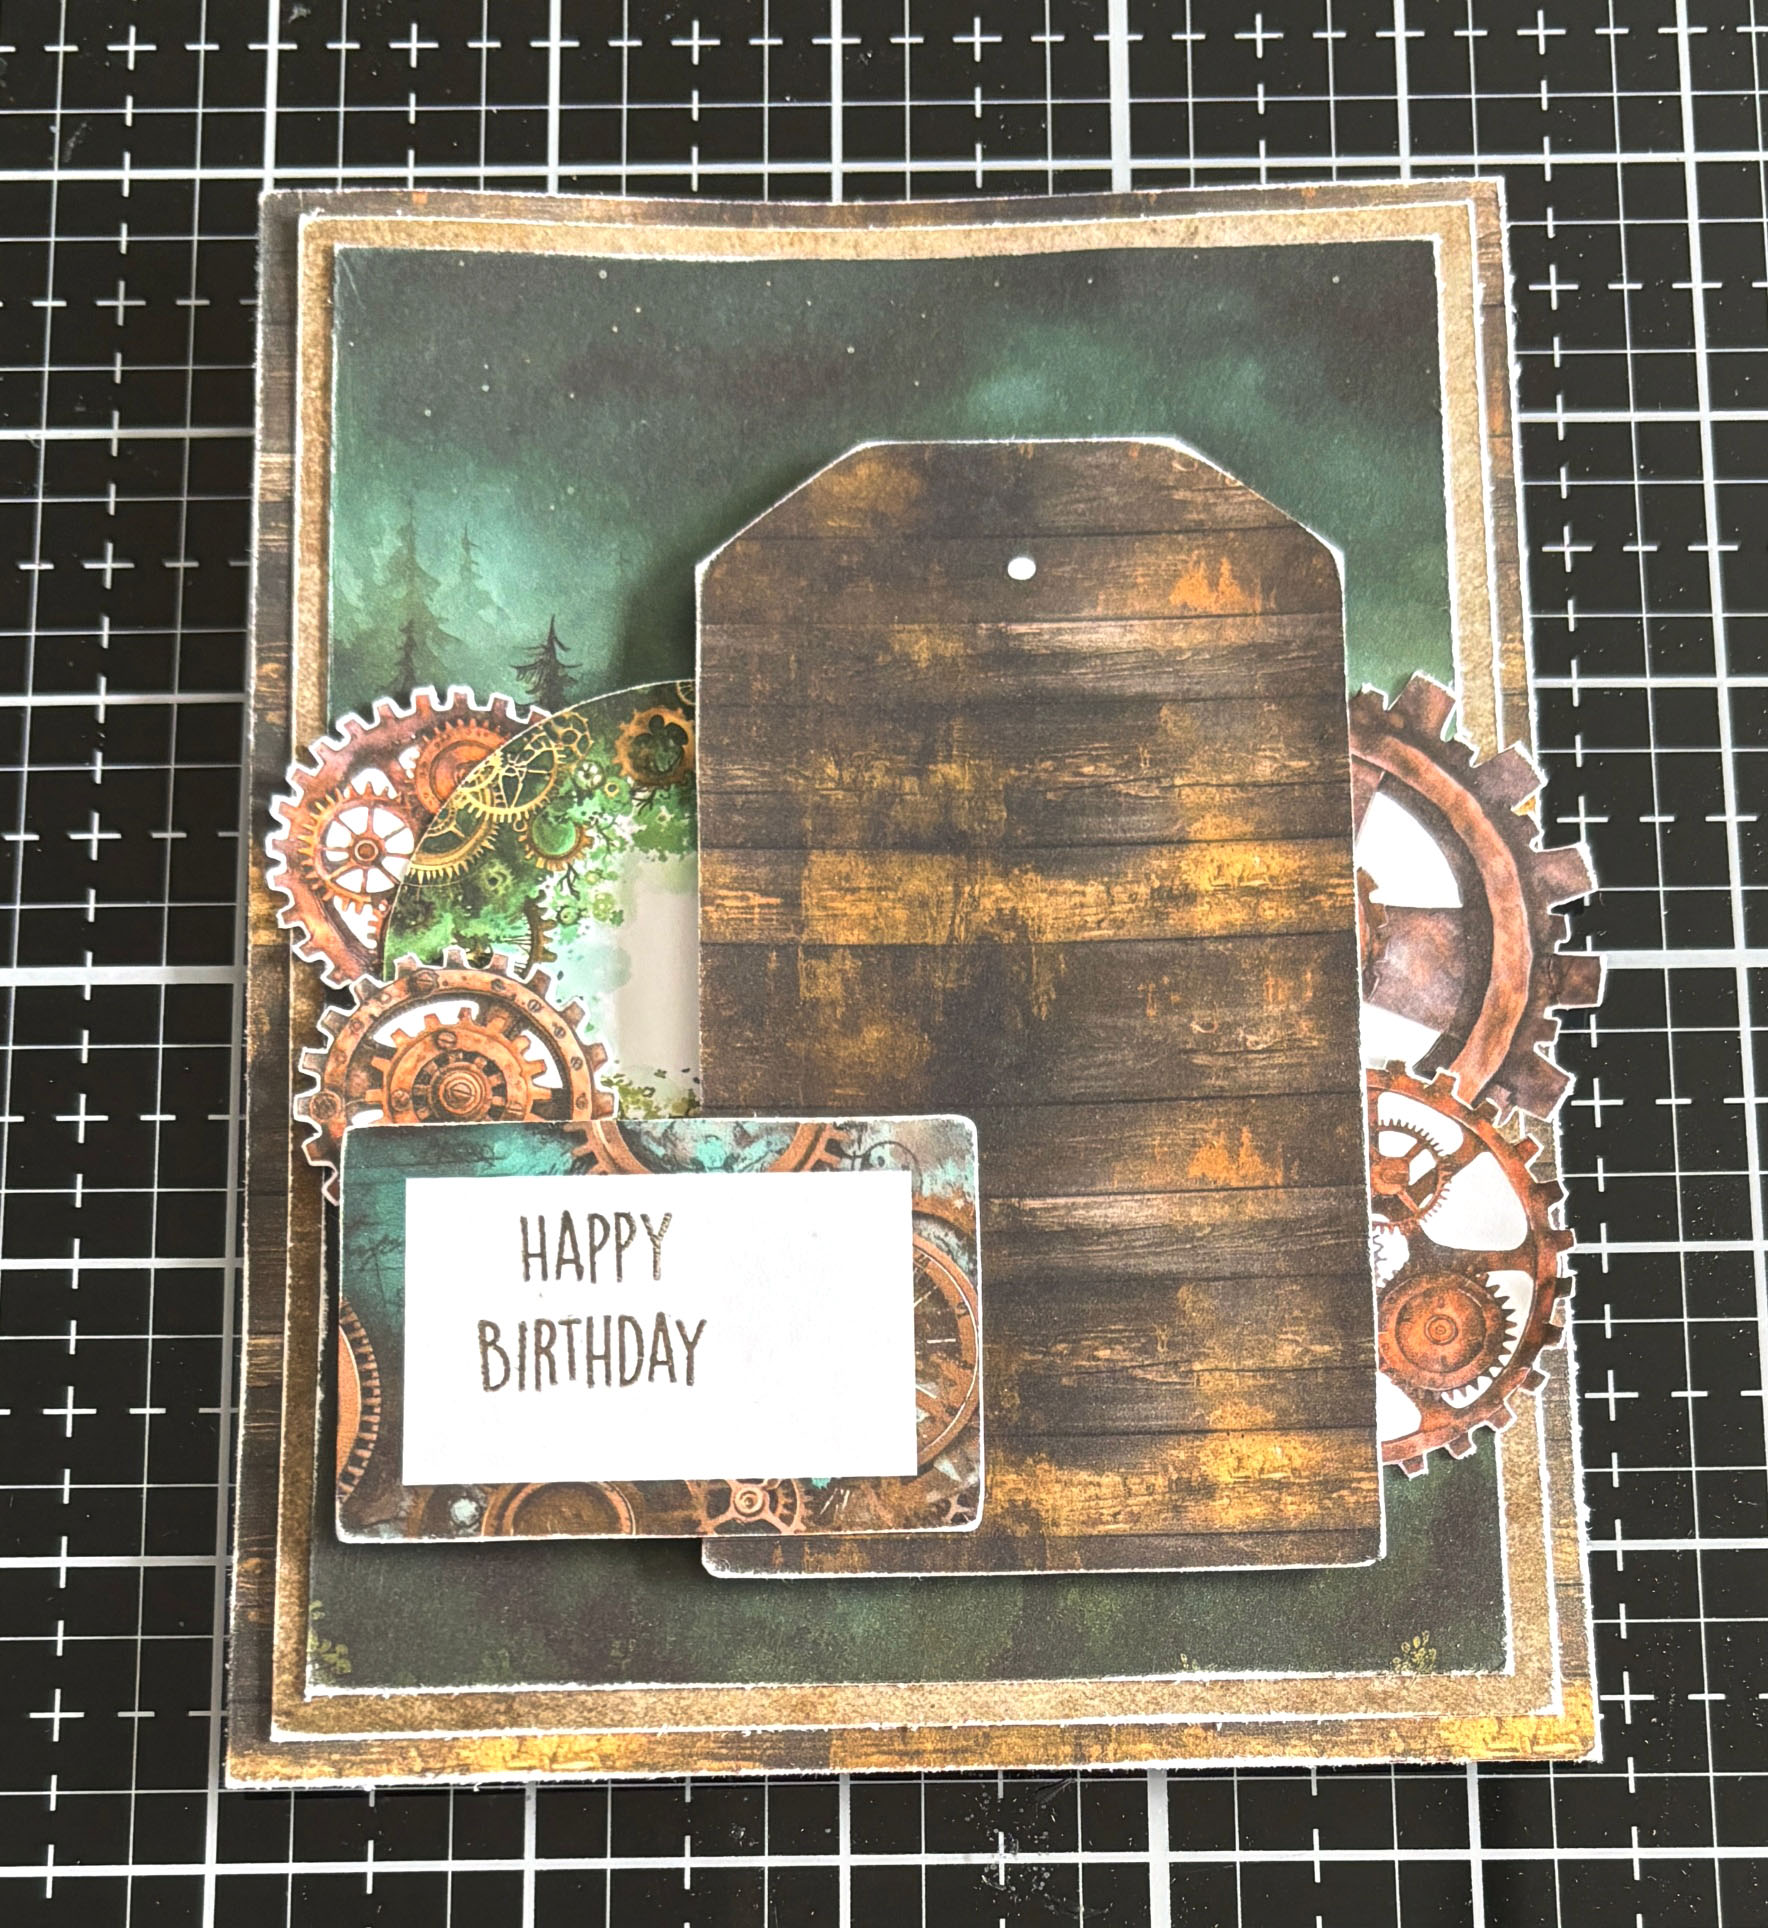
- Adhere the tree to the tag using 3D Foam Squares as desired. Staple the two banners to the top left portion of the card front. Finally, cut a piece of Super Stock cardstock from Creative Scrapbooker Magazine to 4 ¼” x 11”, score at 5 ½”, and adhere the card front to the card base using E-Z Runner from Scrapbook Adhesives by 3L.
_____________________________________________________________________________________________________________
 Instructions for the Houses in the Tree Happy Birthday Card:
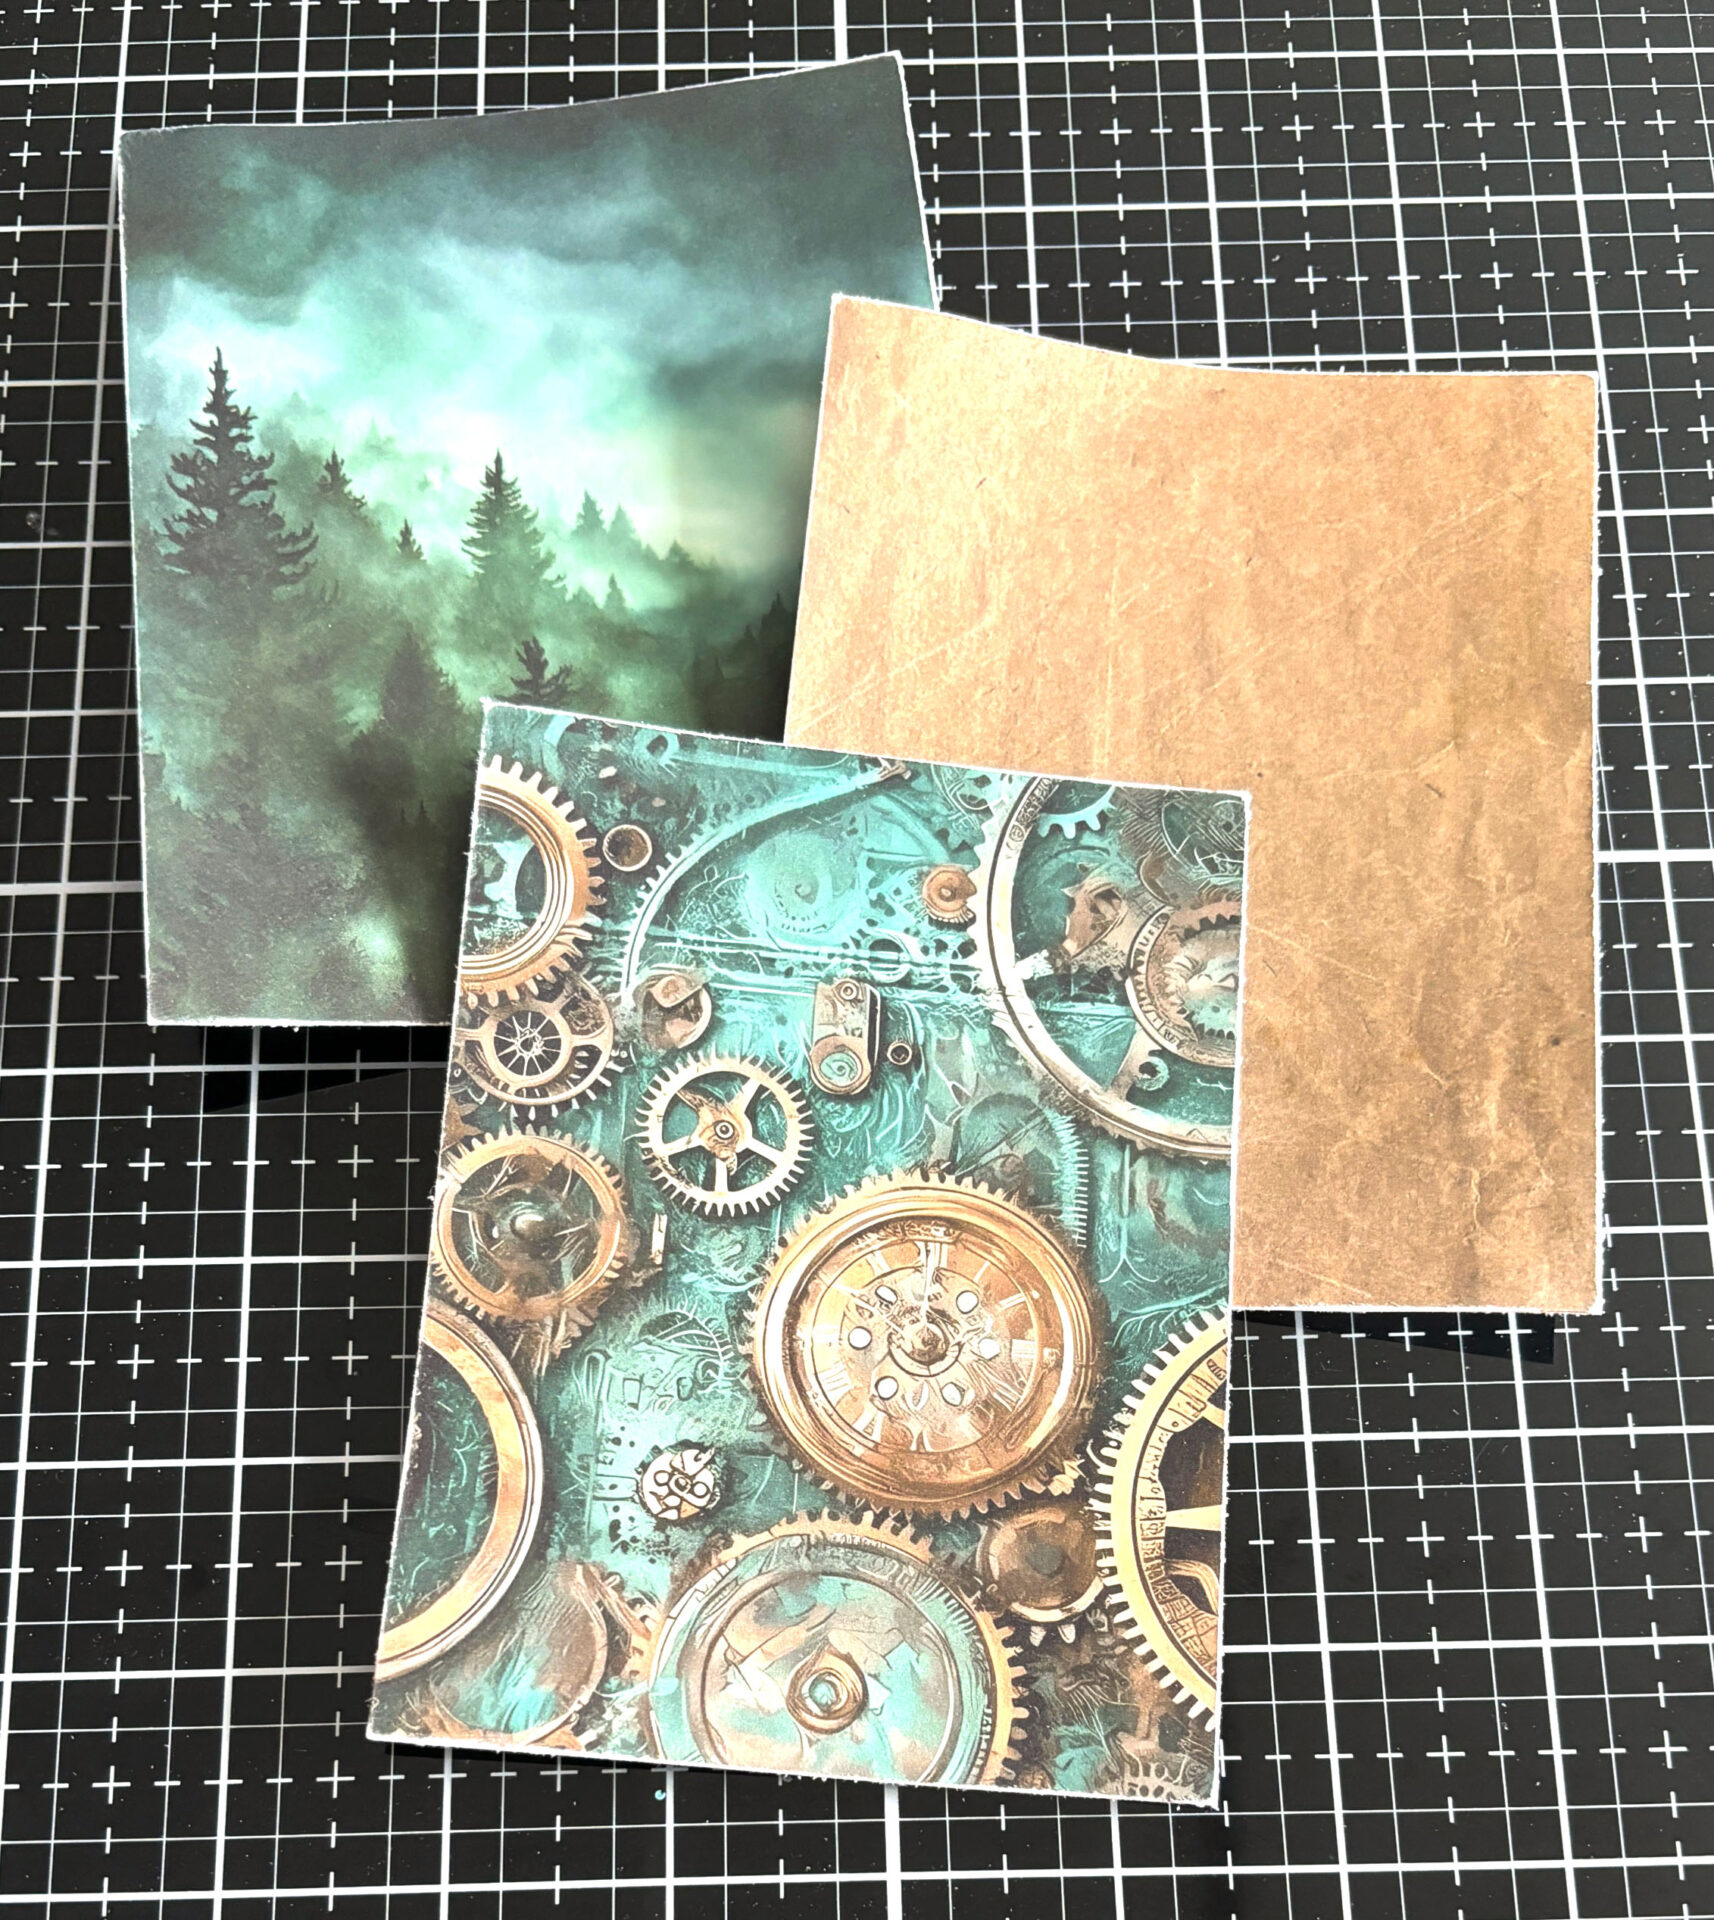
- Cut the forest paper to 4 ¼” x 5 ½”, the dark tan paper to 4” x 5 ¼”, and the cog paper to 3 ¾” x 5” from the Cogwood Grove Paper 10 by Simply Stated Design. Sand the edges of all three papers.
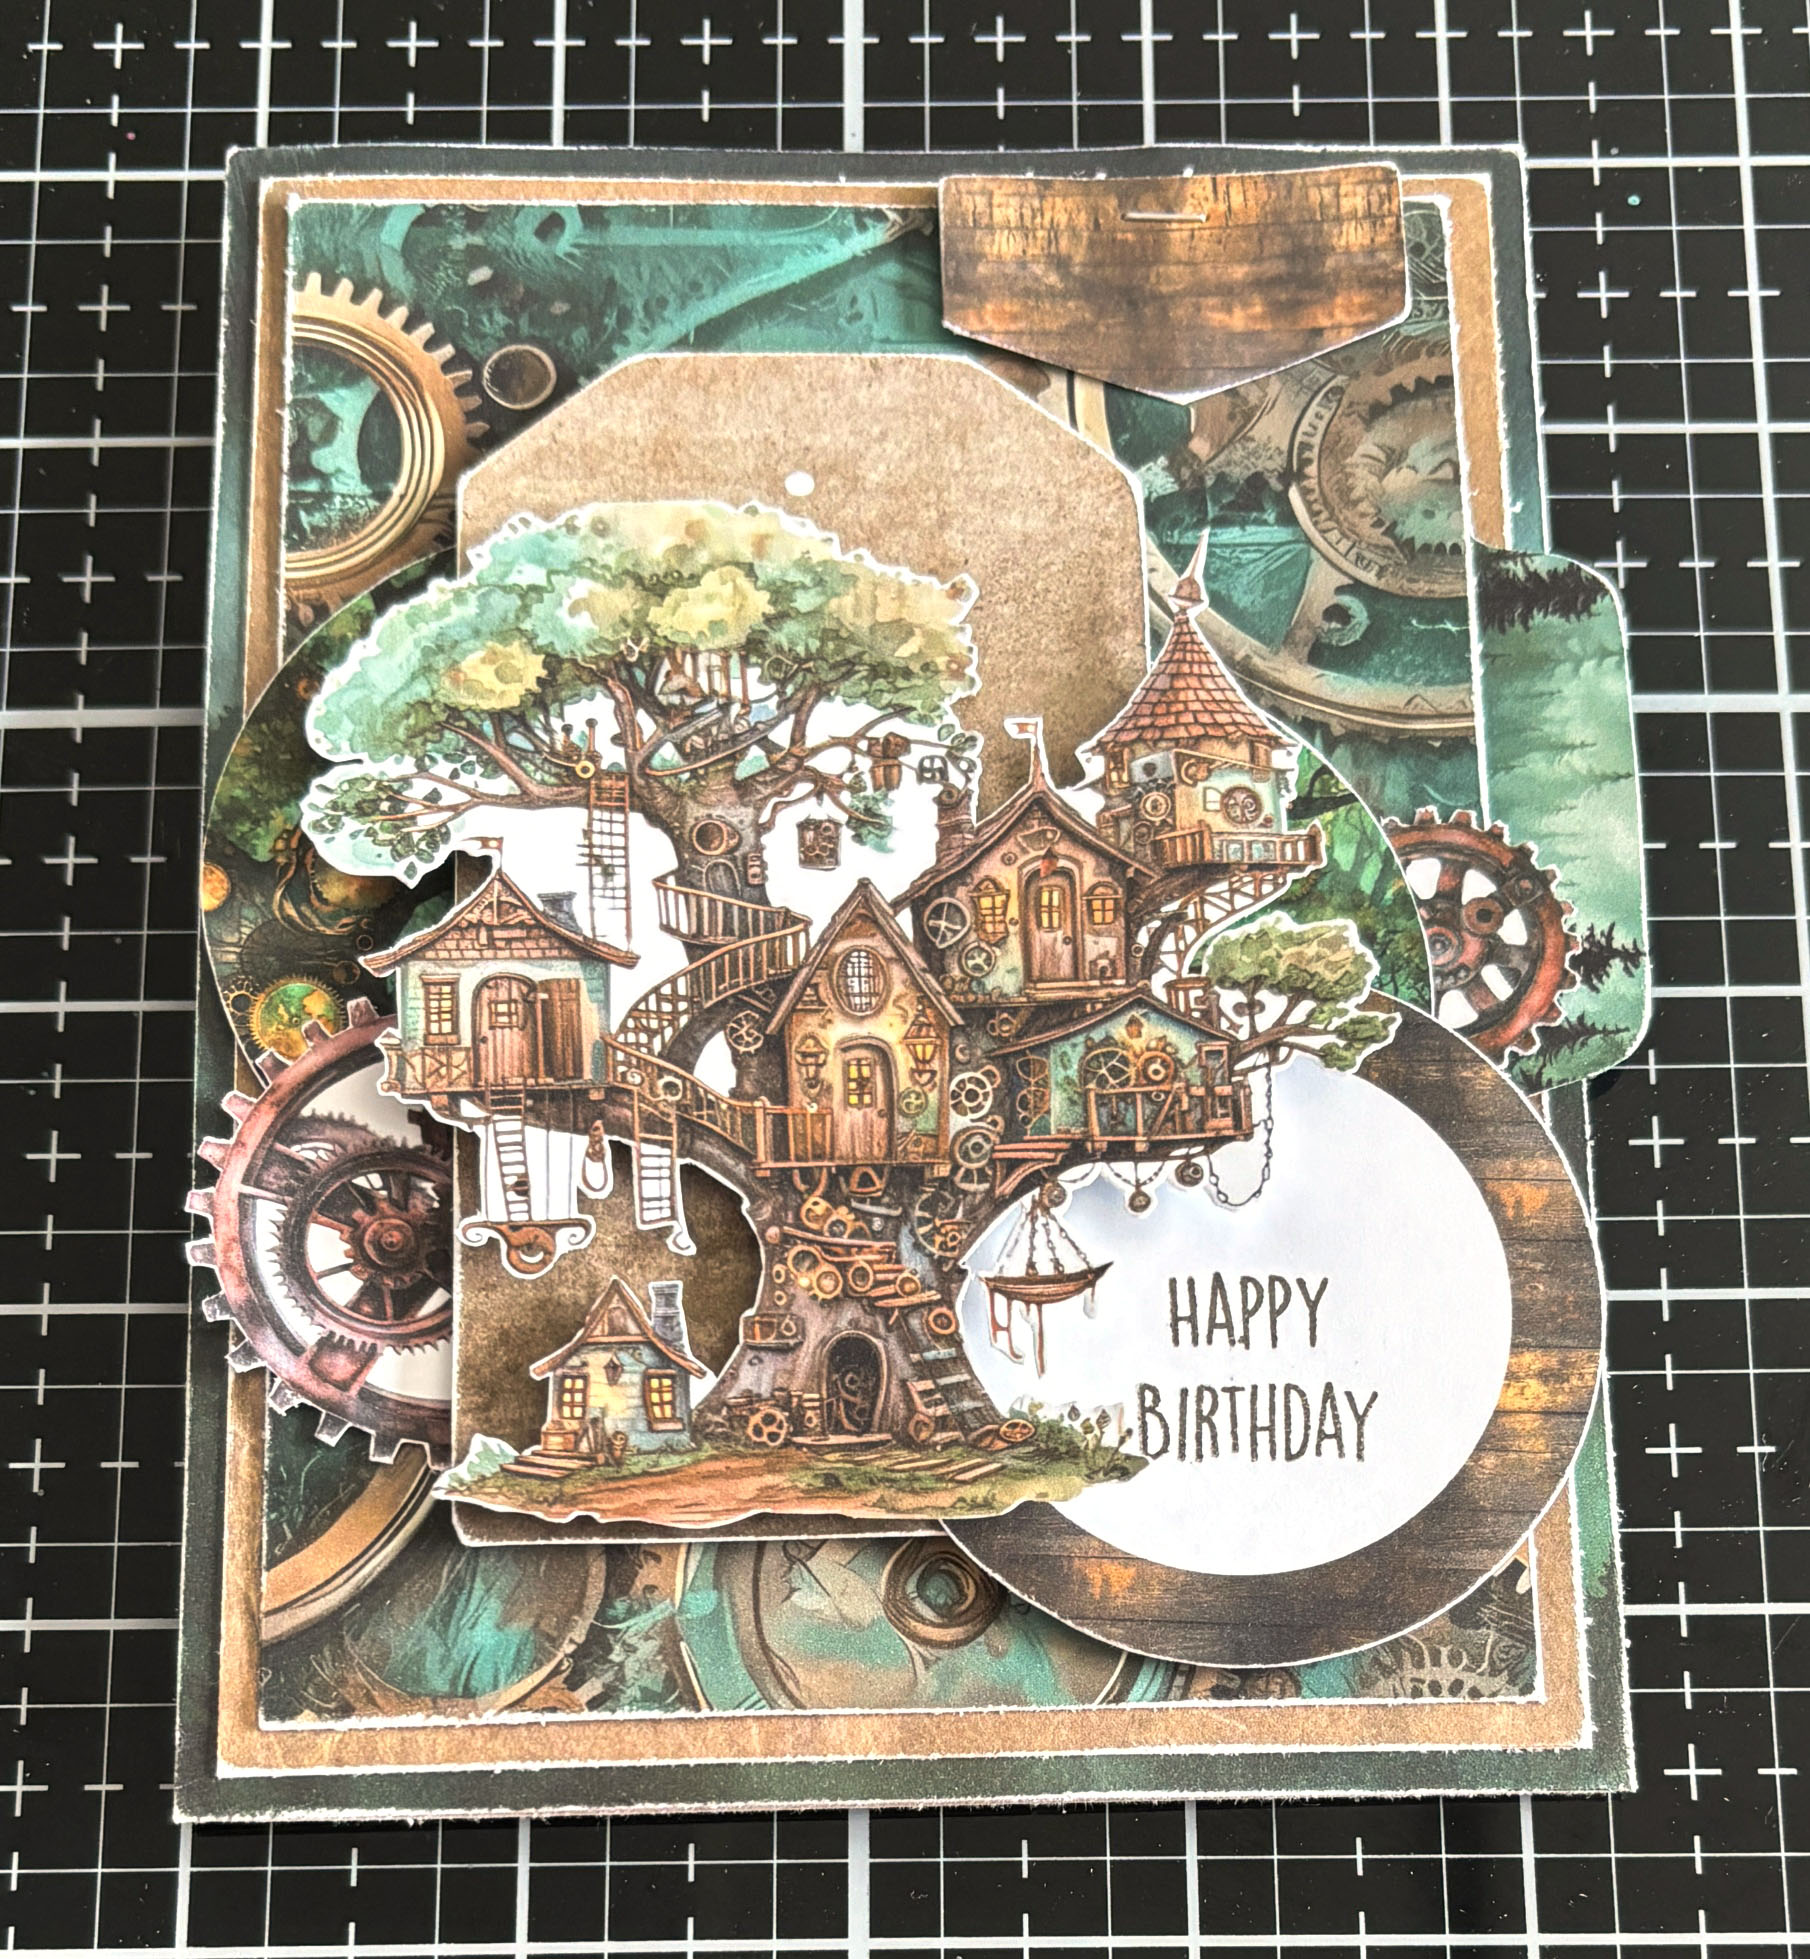
- From the Cogwood Grove Trees Ephemera by Simply Stated Design, select the houses within the tree. You can either keep the white border or fussy cut it out.
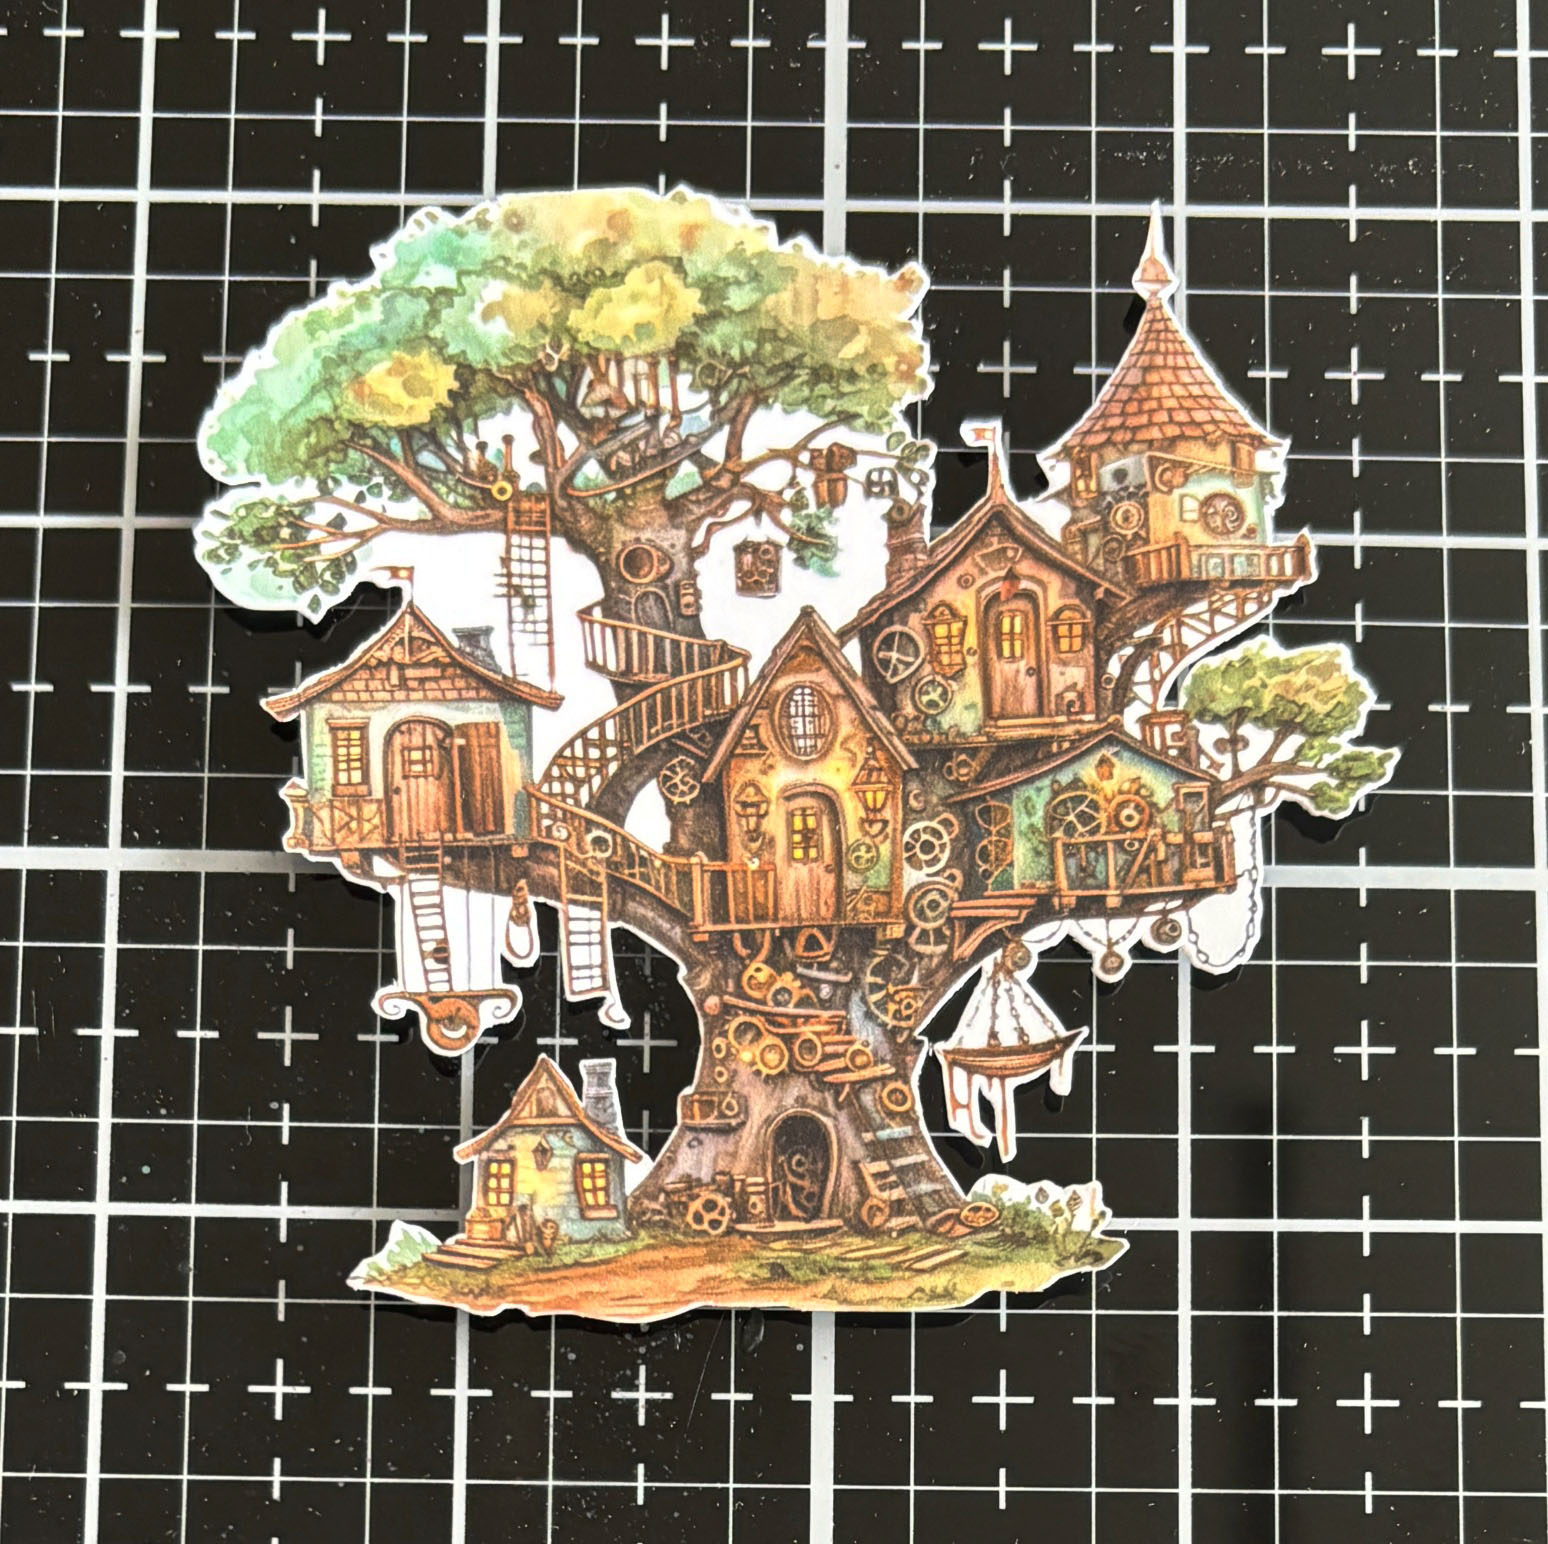
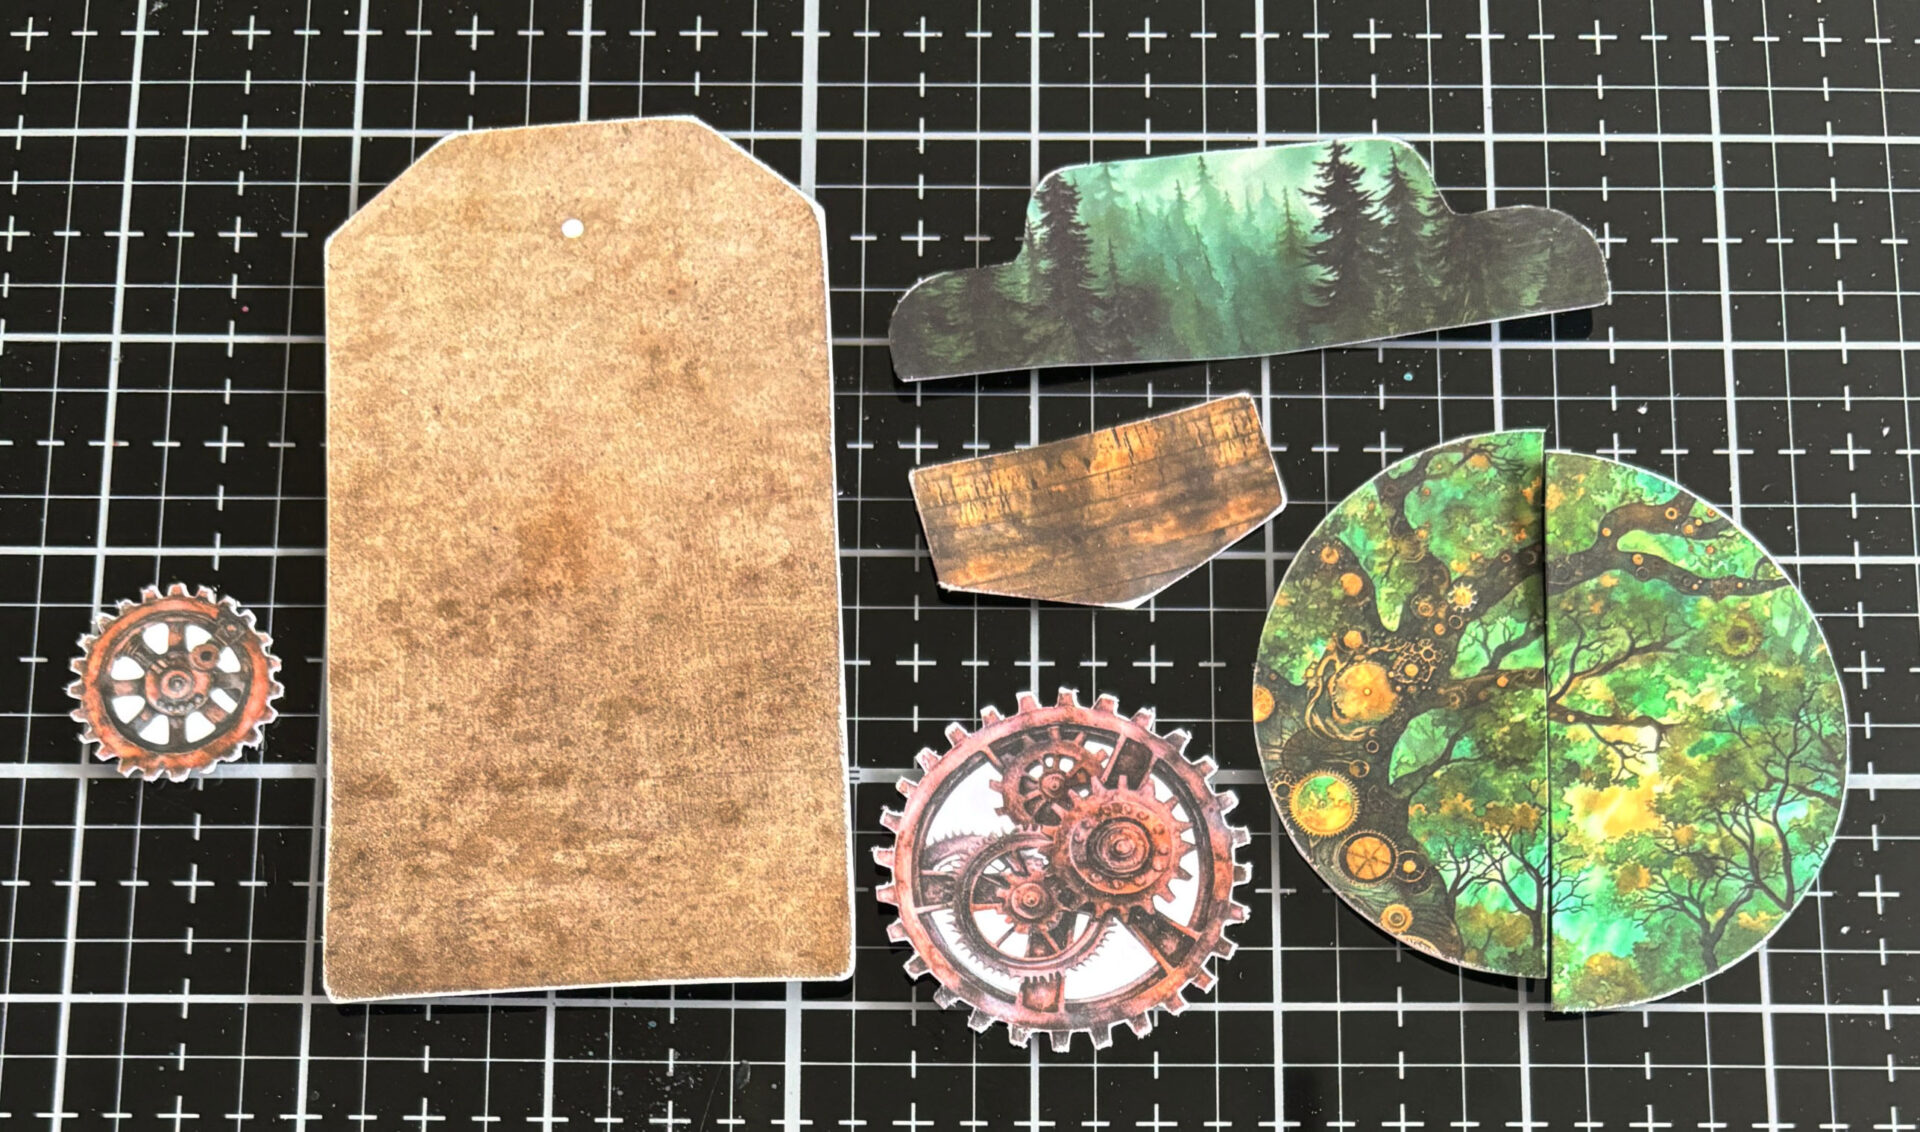
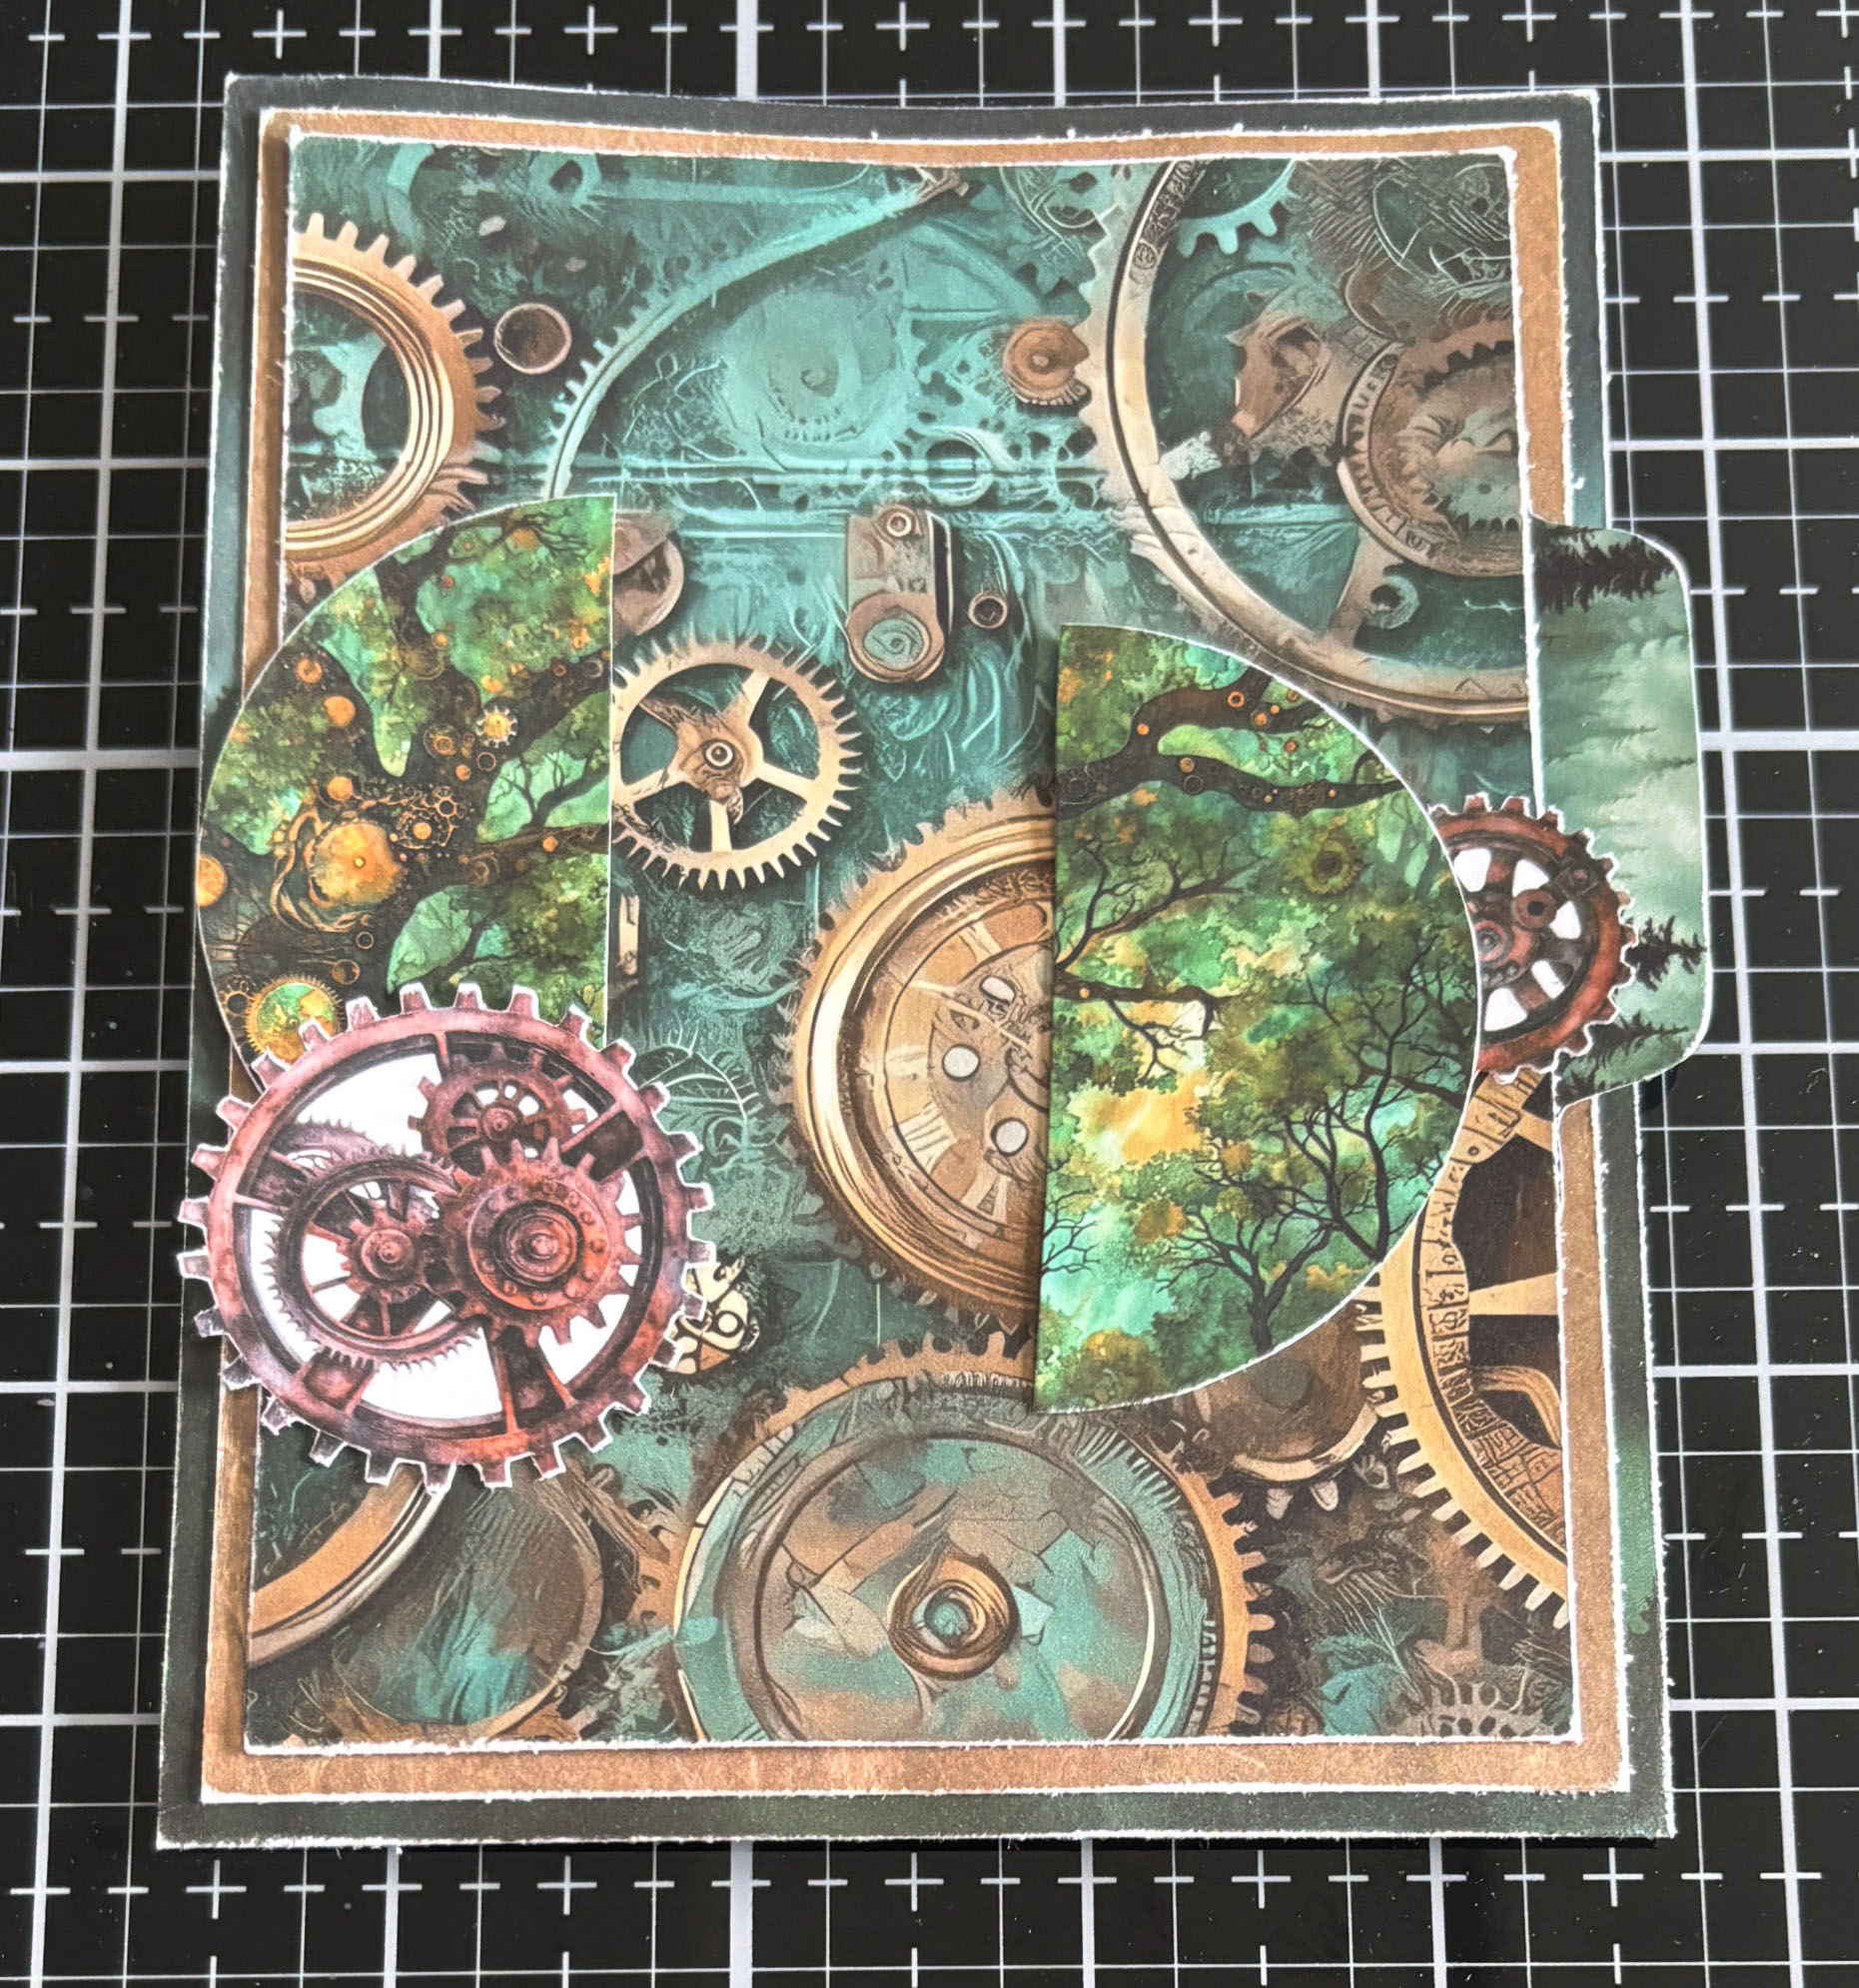
- Using the Cogwood Grove Essentials Ephemera from Simply Stated Design, gather the light tan tag, woodgrain triangle banner, one medium cog, one small cog, forest tab, and the circle with tree and cogs. Cut the circle with tree and cogs in half and sand the edges.
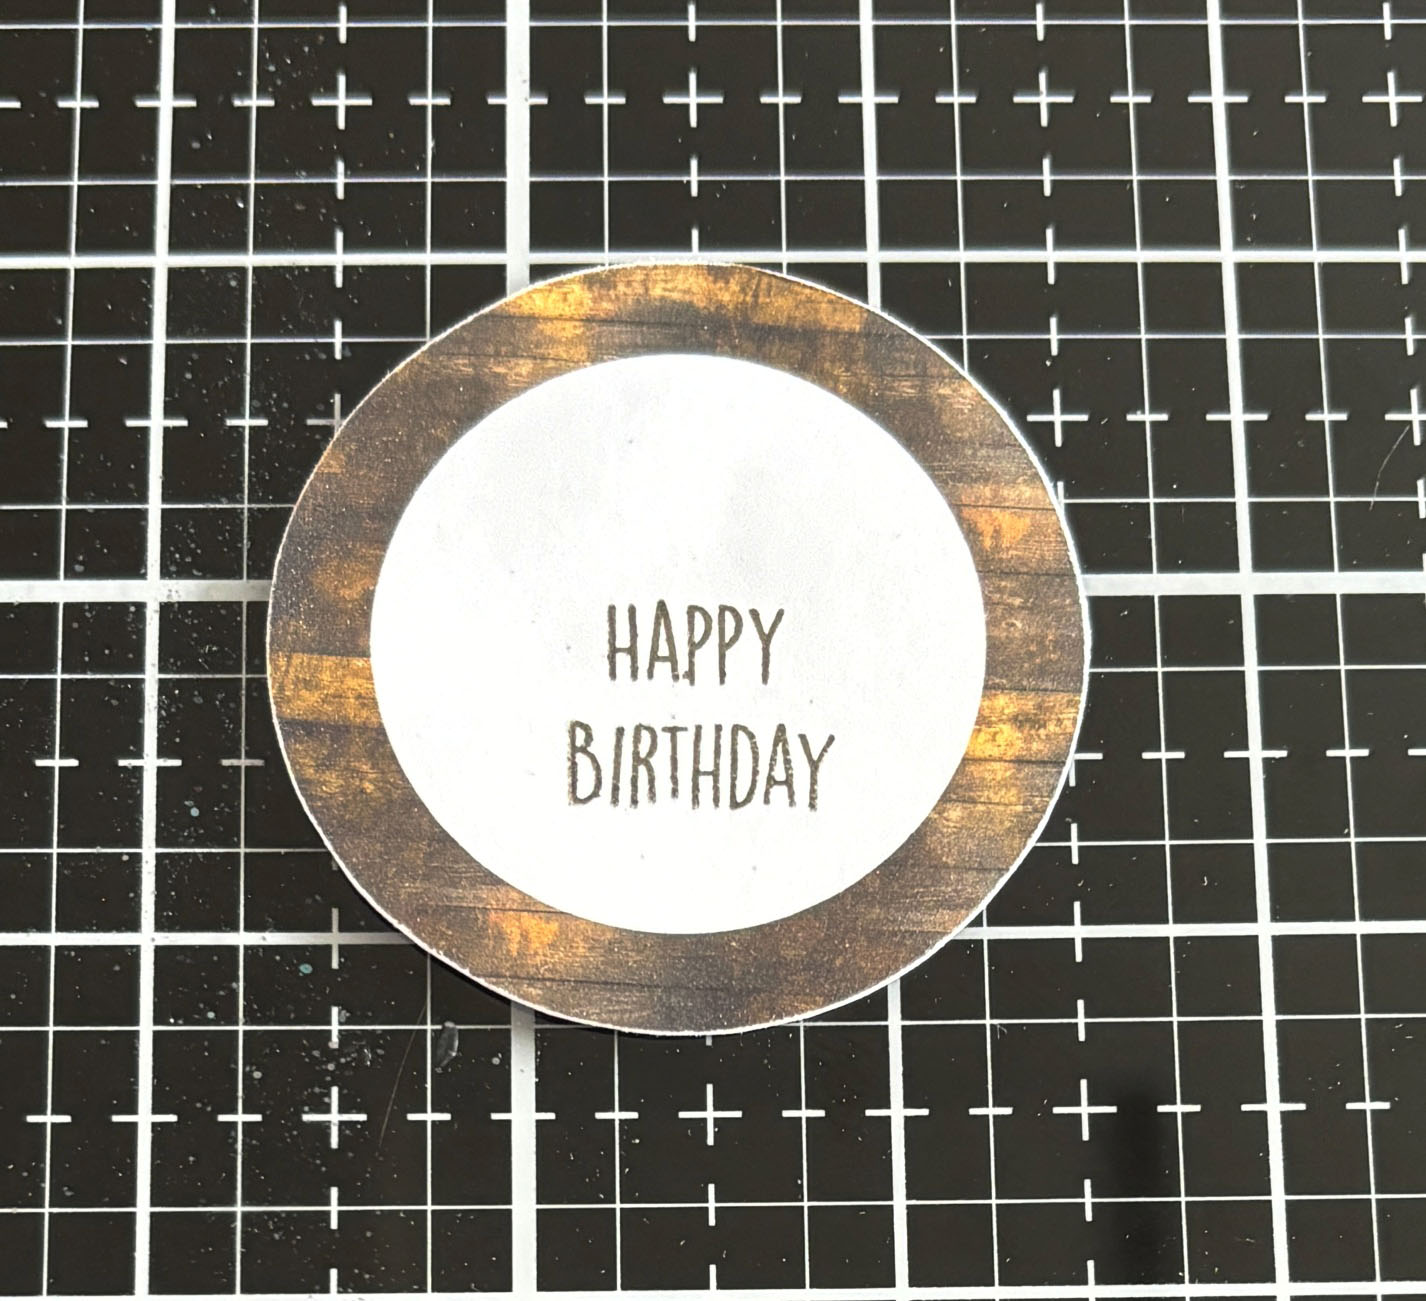
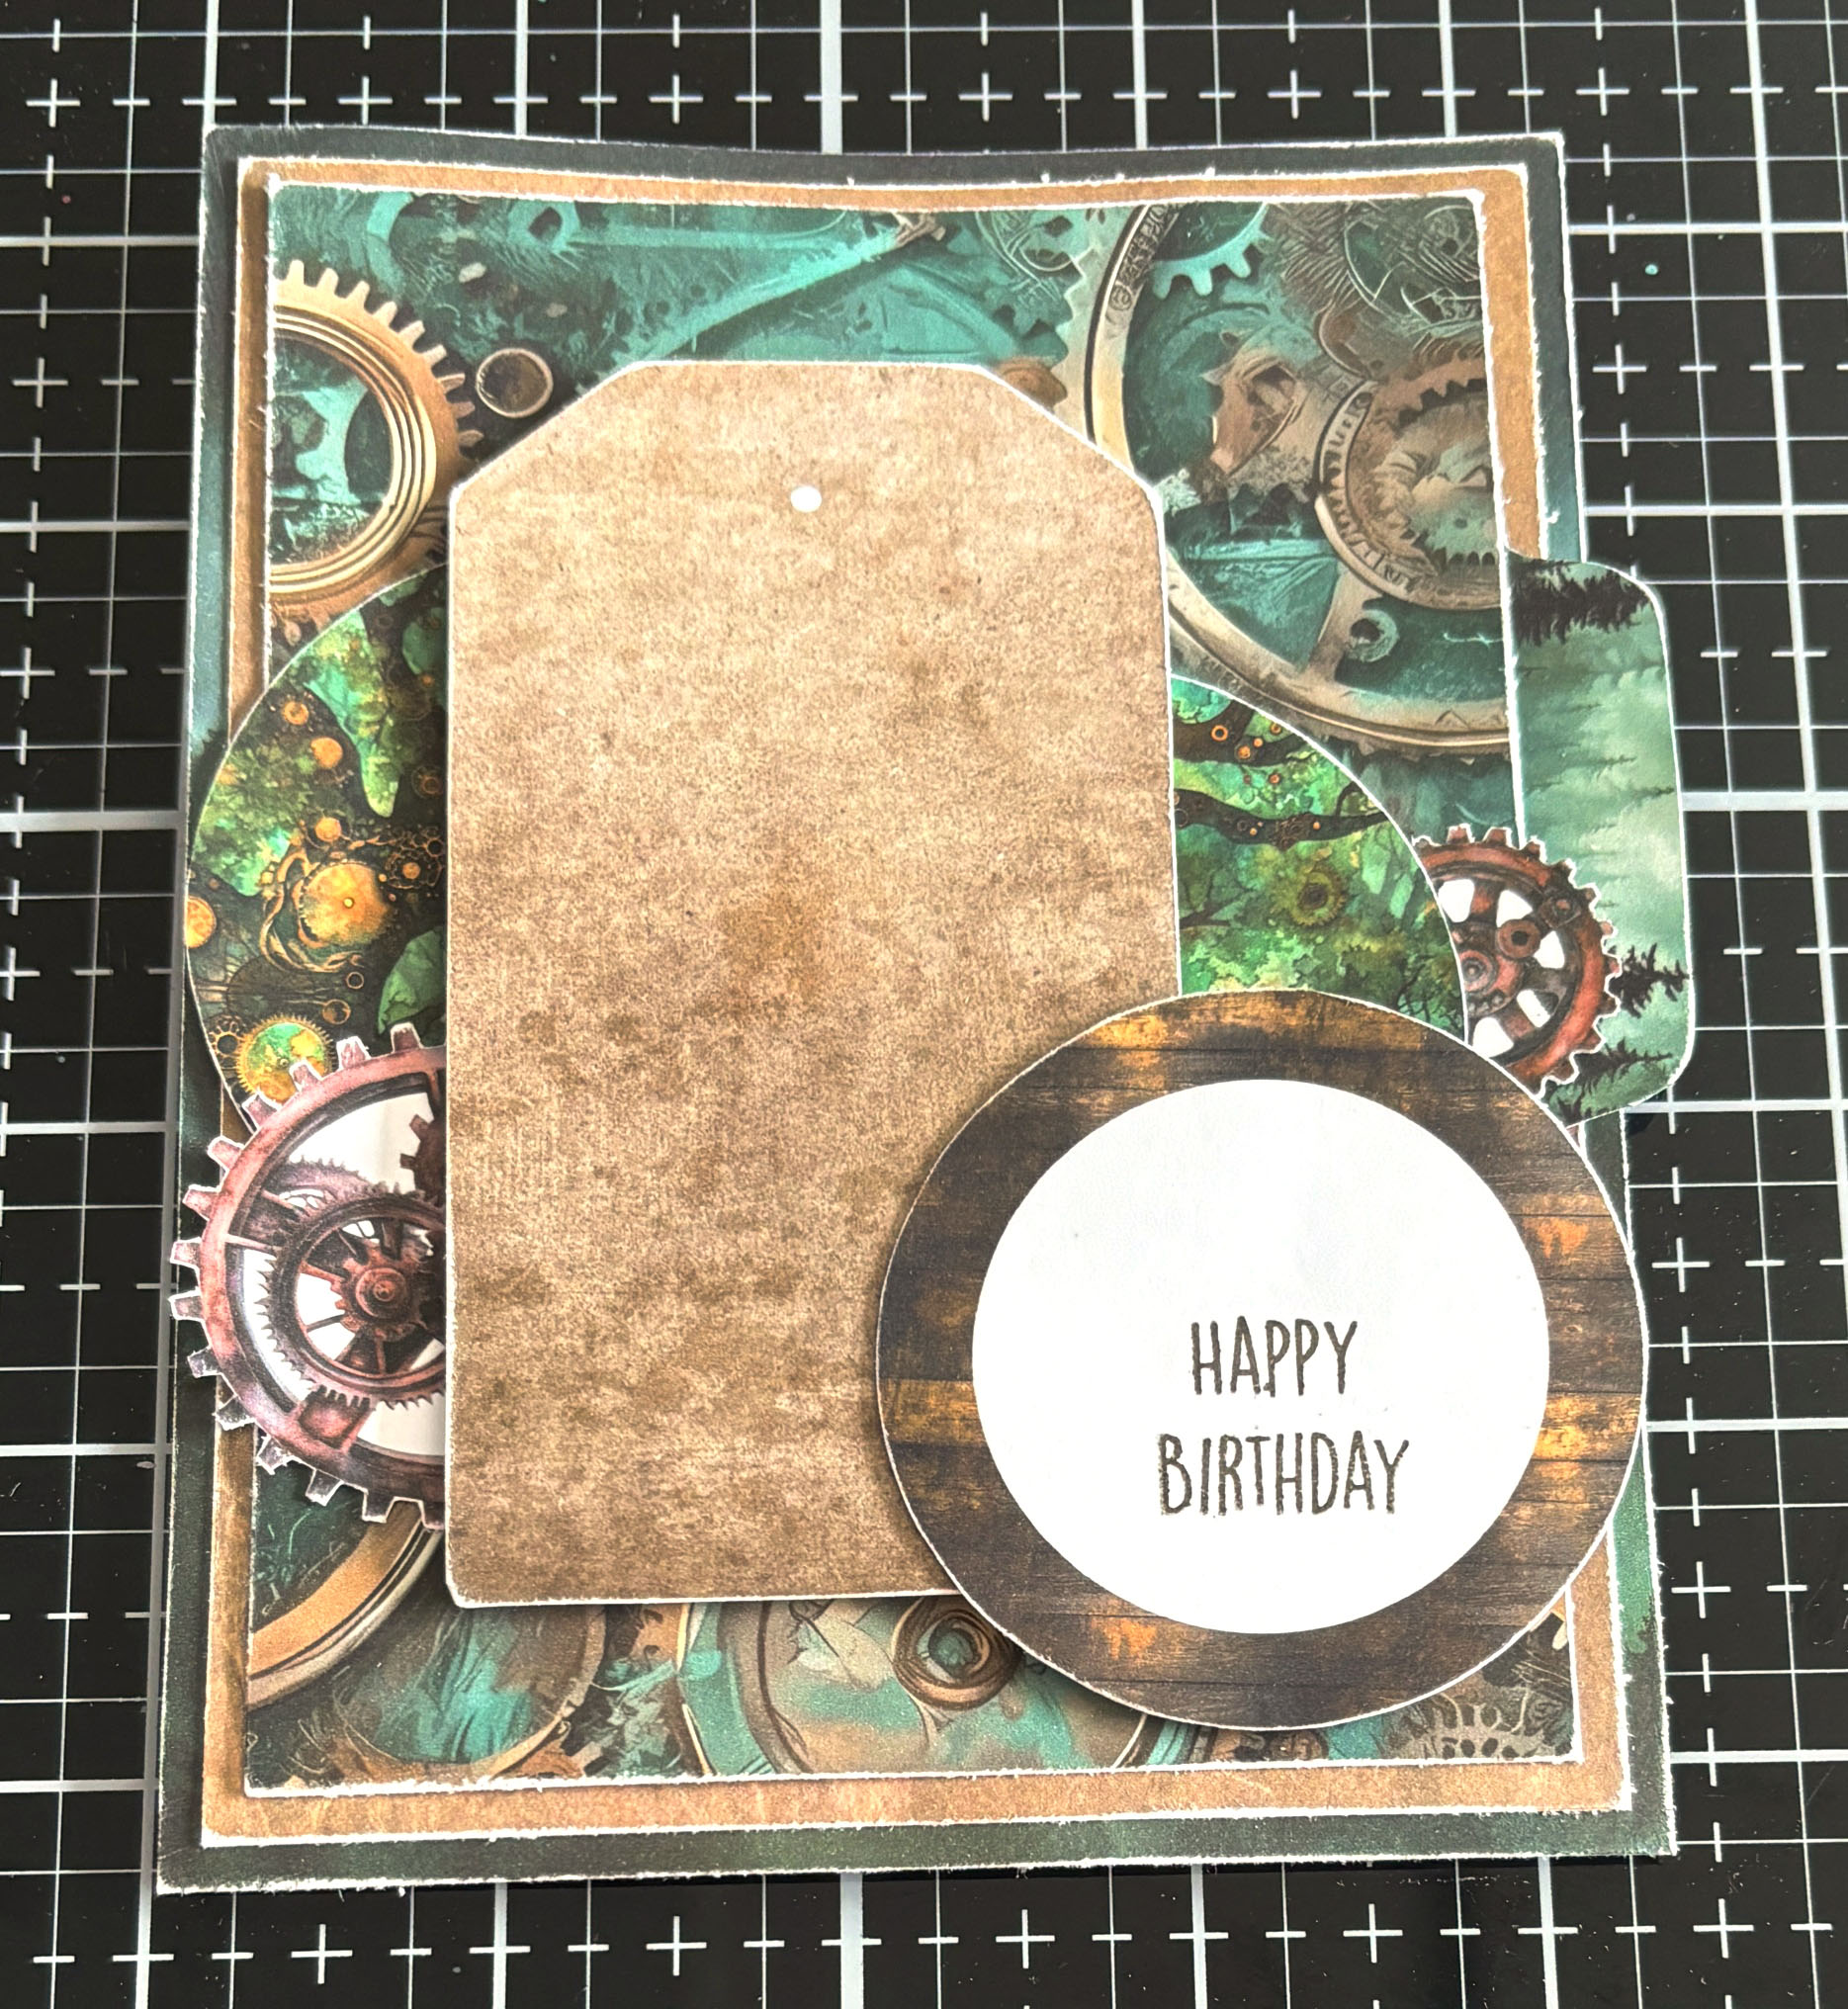
- Take the woodgrain circle and apply Ground Espresso Distress Archival Ink from Ranger Ink to the Happy Birthday sentiment from the Build Your Sentiments 1 set by Elizabeth Craft Designs. Stamp it on the bottom portion of the circle and sand the edges.
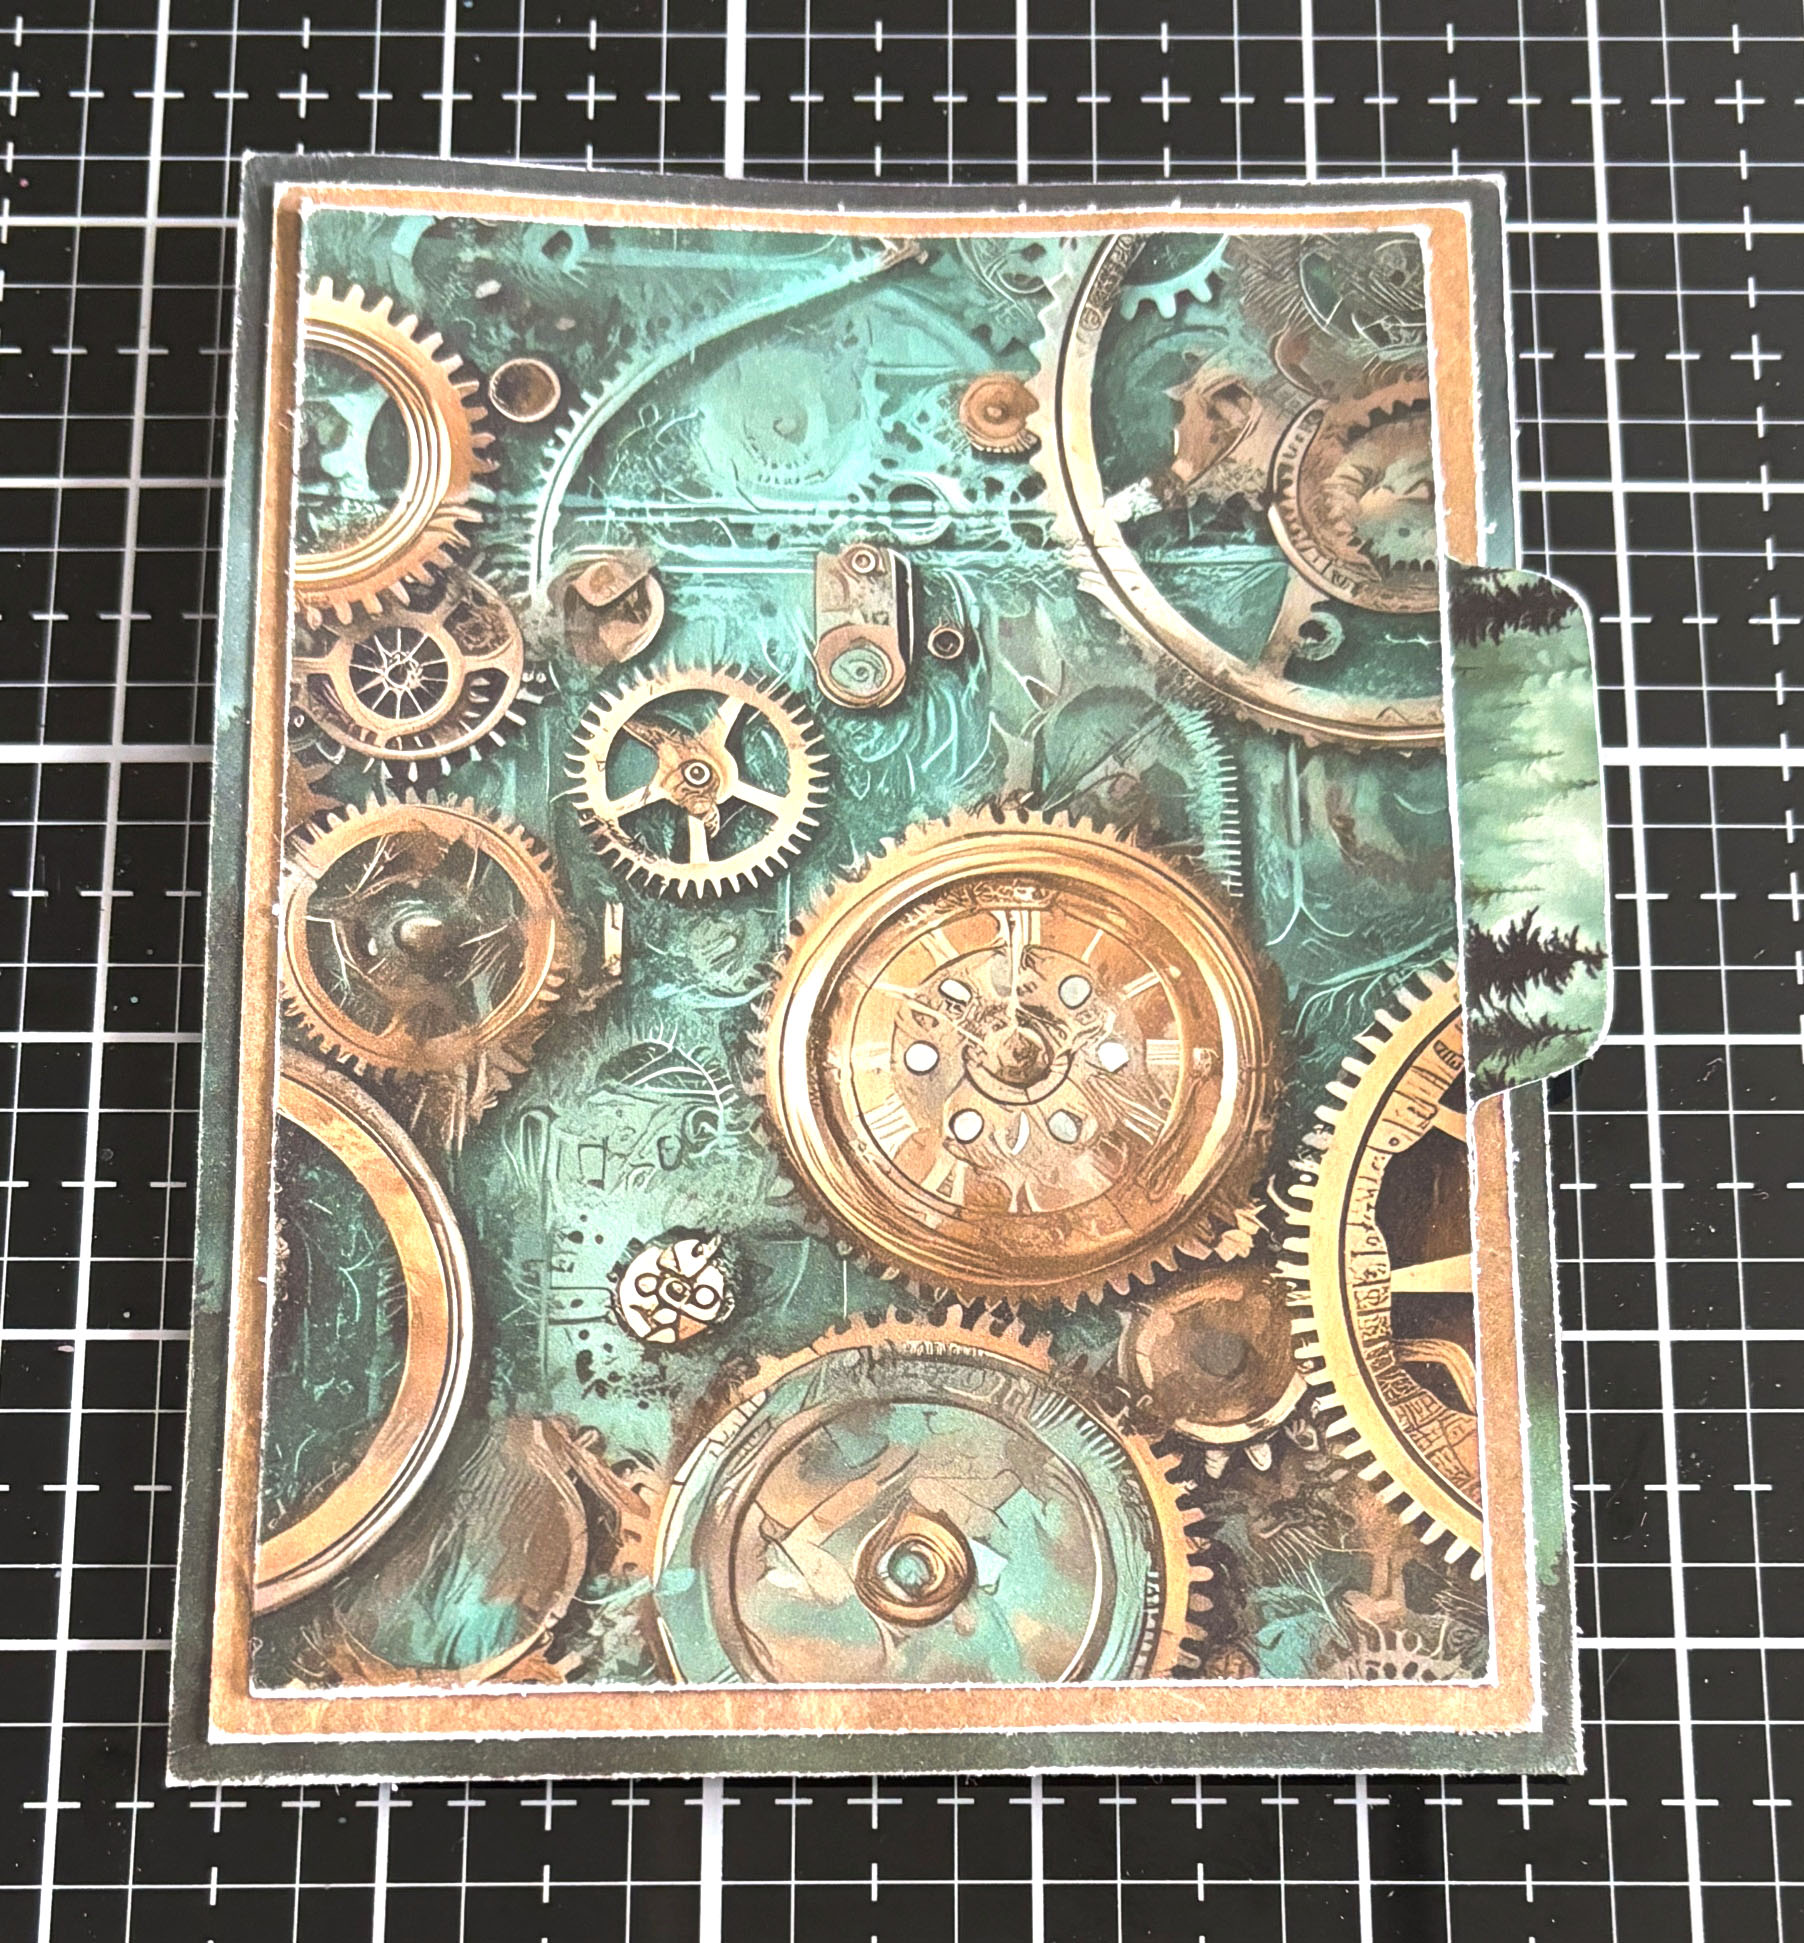
- Use E-Z Runner Adhesive from Scrapbook Adhesives by 3L to adhere the dark tan paper to the forest paper, then attach the forest tab 1 ¼” from the top of the cog paper. Adhere the cog paper to the dark tan paper.
- Adhere the small cog to the middle portion of the right side of the tree with cogs circle. Place the right half of the circle with tree and cogs 2 ½” from the left and 1 5/8” from the top, and the left half 3” from the right and 1 1/8” from the top. Attach the medium cog 3” from the right and ¾” from the bottom.
- Use 3D Foam Squares from Scrapbook Adhesives by 3L to adhere the tan tag 1” from the right and 5/8” from the top of the cog paper. Attach the woodgrain circle 2” from the left and 1/8” from the bottom.
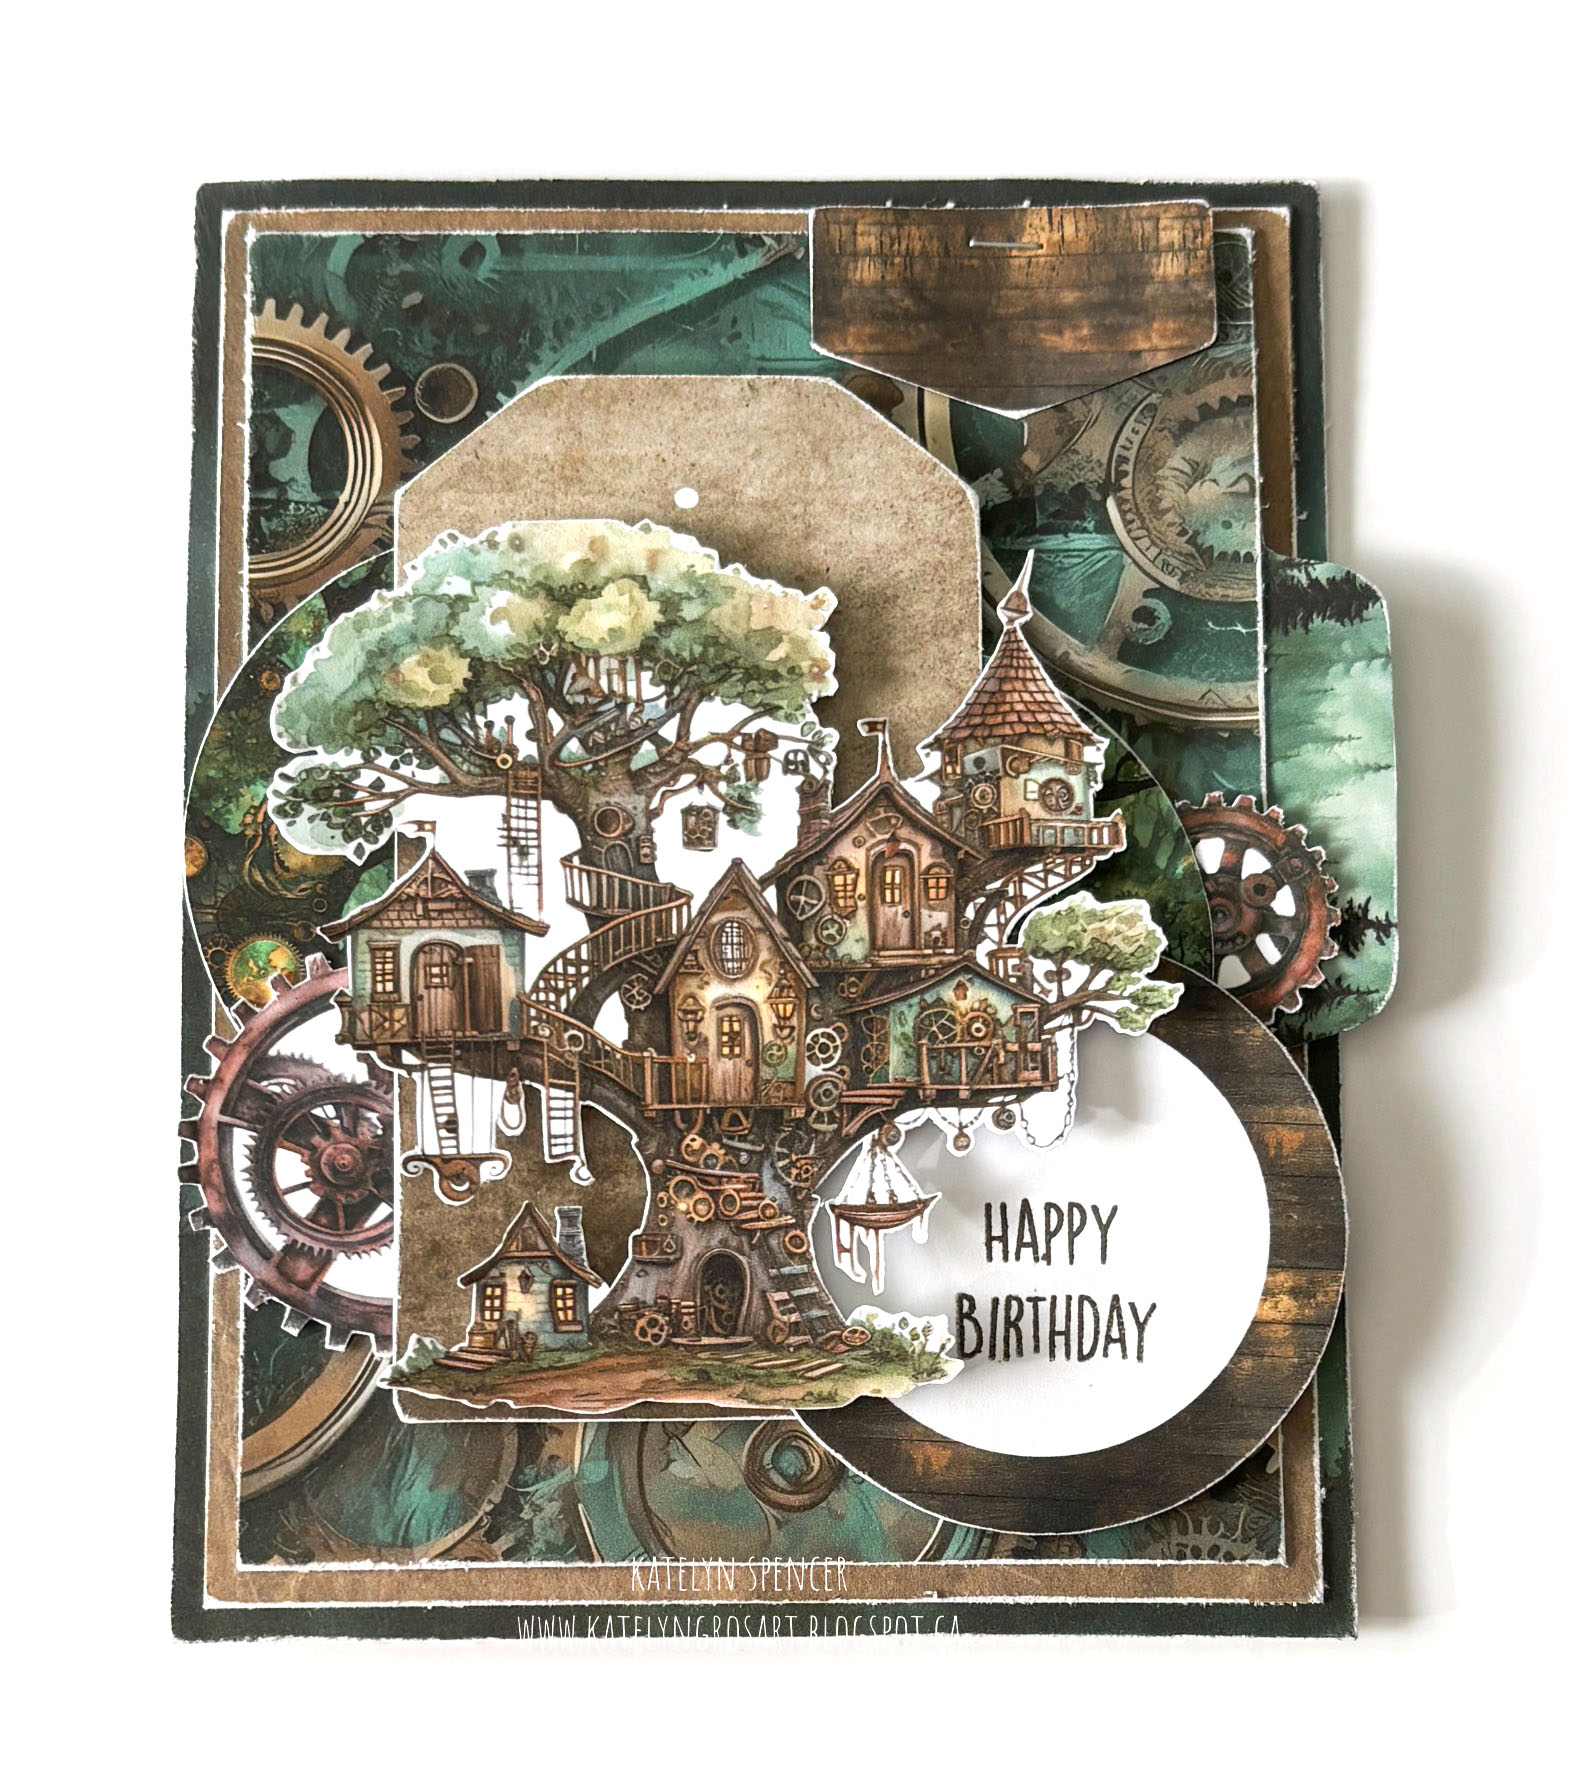
- Adhere the tree to the tag using 3D Foam Squares as desired. Staple the woodgrain triangle banner to the top right portion of the card front. Finally, cut a piece of Super Stock cardstock from Creative Scrapbooker Magazine to 4 ¼” x 11”, score at 5 ½”, and adhere the card front to the card base using E-Z Runner from Scrapbook Adhesives by 3L.
Here are some closeup photos of both m
Thank you for joining me today and taking the time to check out my blog post. I hope that my Masculine Happy Birthday Cards, featuring Simply Stated Design, have inspired you to recreate your own at home.

You can find more of my work on my blog at: http://www.katelyngrosart.blogspot.ca
Simply Stated Design: Cogwood Grove Paper 9, Cogwood Grove Paper 10, Cogwood Grove Trees Ephemera and Cogwood Grove Essentials Ephemera
Ranger Ink: Distress Archival Ink – Ground Espresso
Elizabeth Craft Designs: Build Your Sentiments 1
Scrapbook Adhesives by 3L: 3D Foam Squares and E-Z Runner Permanent Tape
Creative Scrapbooker Magazine: Super Stock
Misc: Mini Stapler
Let us be your Happy Mail! Subscribe today!

