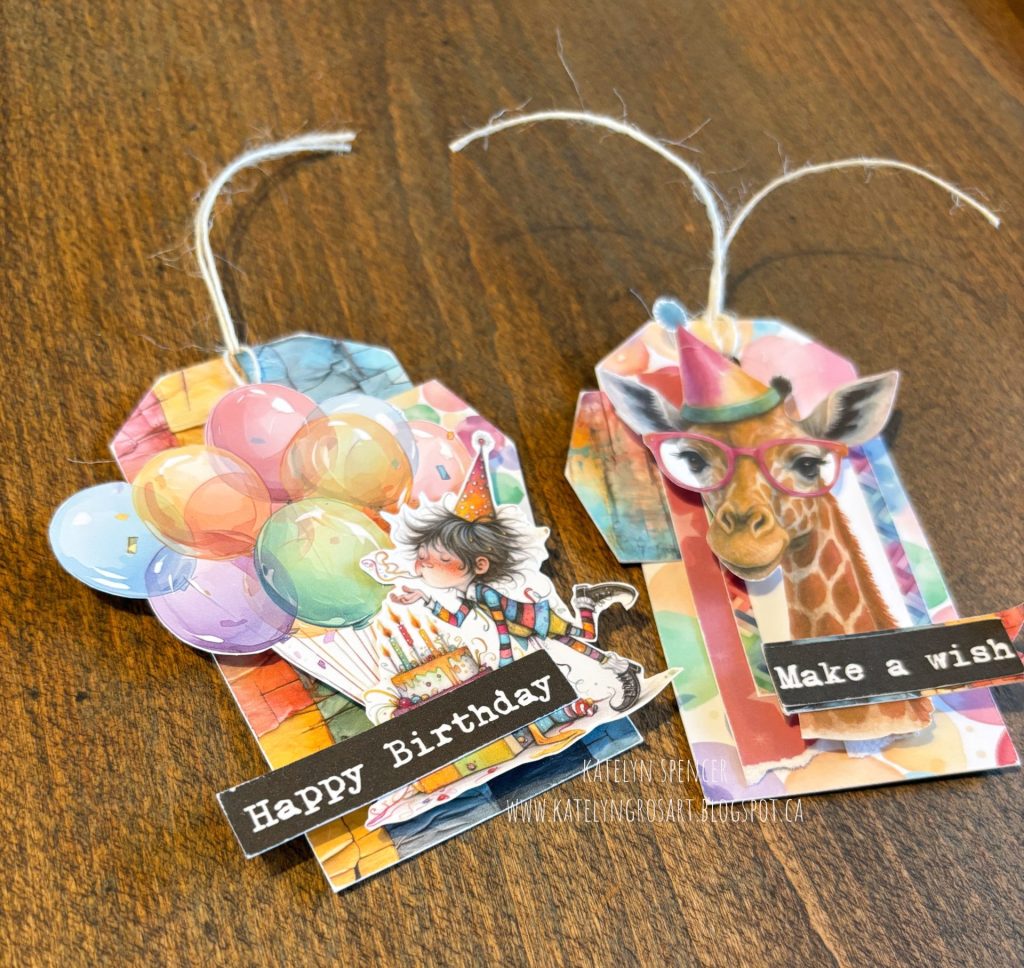
Birthday Gift Tags are a fun and creative way to personalize your presents, and today designer Katelyn Spencer is here to show you how to make your own! These playful tags feature the Age Is Just A Number Collection and Party Time Ephemera from Simply Stated Desgin.Along with adhesives from Scrapbook Adhesives by 3L. Grab your favourite beverage and follow along step by step to recreate these vibrant birthday tags at home. Happy Birthday Tag The first tag weโll create is the Happy Birthday Tag. Out of the Age Is Just a Number Essentials Ephemera from Simply Stated Design, youโll need the peeling paint tag, dot banner and happy birthday sentiment. Sand the edges of all three elements. Next, youโll need the Age Is Just a Number Balloons Ephemera from Simply Stated Design, choose one of the medium sized balloon bunches. I cut around the balloons to get rid of…
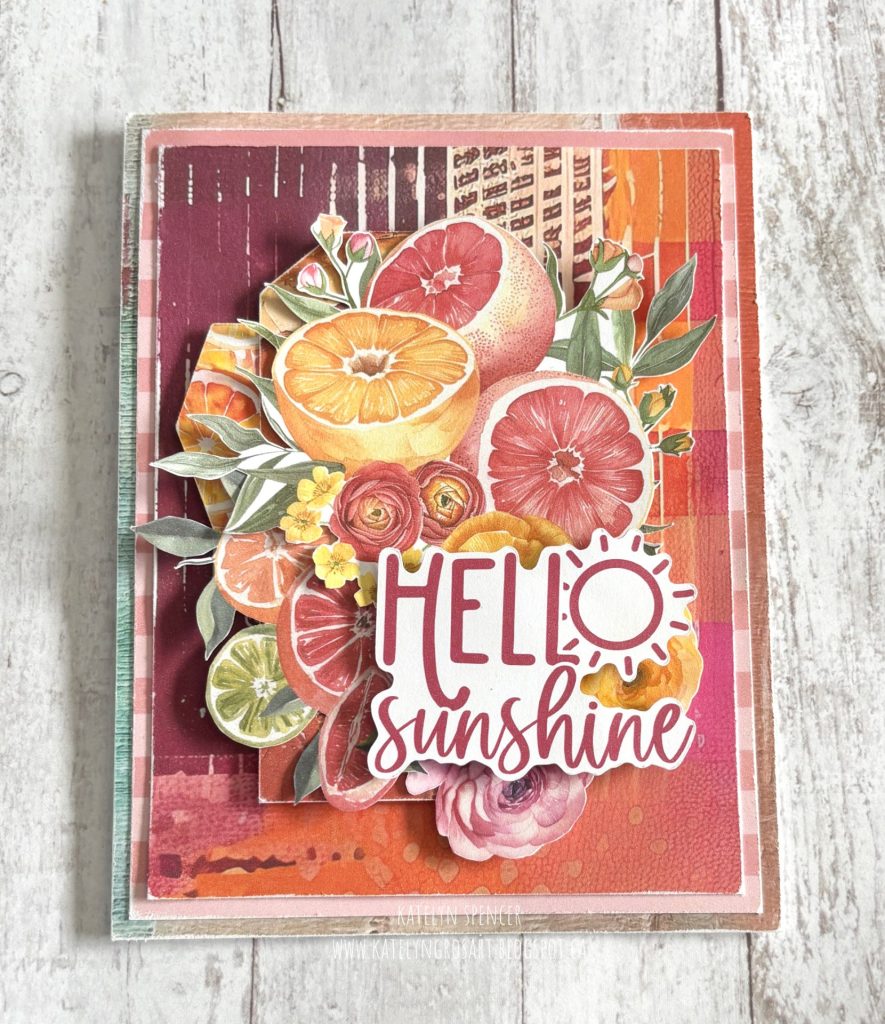
Looking to brighten someone’s day? This Hello Sunshine Card is just what you need! Created with the Sweet Summer Florals Collection from Simply Stated Design. Super Stock from Creative Scrapbooker Magazine, and adhesives from Scrapbook Adhesives by 3L, this vibrant project is as sunny as it gets. Letโs dive into the details so you can make your own Hello Sunshine Card at home. Cut a piece measuring 4 ยผโ x 5 ยฝโ from Sweet Summer Florals Paper 4 (Simply Stated Design). Cut another measuring 3 ยพโ x 5โ from Paper 2. Sand the edges of both. Cut a piece measuring 4โ x 5 ยผโ from Solid Paper 1. Sand the edges. From the Essentials Ephemera, gather the Hello Sunshine sentiment, citrus banner, and citrus tag. Sand the edges of the banner and tag. From the Florals Ephemera, select the large citrus and floral cluster. Choose to keep or fussy cut…
Hey Creative Scrapbooker Fans! Today, Iโm sharing a beautiful Wish Card tutorial featuring the Simply Stated Design Vintage Chic Collection.Along with Super Stock from Creative Scrapbooker Magazine, and adhesives from Scrapbook Adhesives by 3L. This step-by-step guide will help you create your own elegant, vintage-inspired card at home. Step 1: Prepare Your Papers To start, youโll need Vintage Chic Paper 1, Vintage Chic Paper 7, and Vintage Chic Paper 5 from Simply Stated Design. Cut Vintage Chic Paper 7 to 4 ยพโ x 6 ยพโ. Cut Vintage Chic Paper 1 to 4 ยฝโ x 6 ยฝโ. Cut Vintage Chic Paper 5 to 4โ x 6โ. Sand the edges of all three papers. Insert CSM February Photo 1 Step 2: Add a Layered Base Cut Vintage Chic Solid Paper 6 to 4 ยผโ x 6 ยผโ and sand the edges. Step 3: Select Your Frame Choose a white square frame from…
Hey Creative Scrapbooker Fans! Are you ready to dive into a fun and creative project? Today, I’m sharing how to create a gorgeous Winter Character Wall Hanging that is perfect for your seasonal home decor. This project features the Winter Birds Collection from Simply Stated Design, dies from Elizabeth Craft Designs, and adhesives from Scrapbook Adhesives by 3L. Grab your favorite winter beverage, and let’s get started! Step-by-Step Instructions: Materials Needed: Simply Stated Design: Winter Birds Collection โ Paper 1, Paper 3, Trees Ephemera, Bird Ephemera, and Essentials Ephemera Elizabeth Craft Designs: Stitched Indented Rectangle Dies Scrapbook Adhesives by 3L: 3D Foam Squares and E-Z Runner Permanent Tape Misc: Twine Step 1: Prepare Your Paper Elements Begin by die-cutting the 4โ Indented Rectangle from Paper 1 and the 4 ยฝโ Indented Rectangle from Paper 3 of the Winter Birds Collection. These layered rectangles will form the base of your wall…
Hey Creative Scrapbooker Fans! Katelyn Spencer here for todayโs blog post, Iโm excited to share a fun and spooky project โ Halloween tags perfect for treats and decorations. Iโve created these tags using the Halloween Town Collection from Simply Stated Design, along with adhesive products from Scrapbook Adhesives by 3L. Grab your favorite fall beverage, and letโs get started! Supplies Simply Stated Design: Halloween Town Quirky Ephemera, Scenes Ephemera, Essentials Ephemera, Sentiments Ephemera, Halloween Town Paper 10 Scrapbook Adhesives by 3L: 3D Foam Squares, E-Z Runner Grand Permanent Tape Miscellaneous: Twine Step-by-Step Guide Tag 1: Got Candy? 1. Prepare the Base To start, cut a 1 ยพโ x 2 ยพโ piece from the black and gold paper (Halloween Town Paper 10) and a 1 ยฝโ x 2 ยพโ piece from the script paper. Sand the edges of both papers for a vintage look. 2. Add Ephemera Use the Halloween Town…
Hey Creative Scrapbooker Fans! For todayโs blog post, Iโm excited to share with you how to create a beautiful Congrats Card using the Pop Up Book Card Base from Simply Stated Design. This project also features elements from the By The Light of The Moon Collection by Simply Stated Design. A sentiment from the Tim Holtz Floristry stamp set by Stampers Anonymous. Adhesive from Scrapbook Adhesives by 3L and a ink from Ranger. Grab your favorite summertime beverage and get ready to recreate this stunning card at home! Here is a look at the fabulous inside of this gorgeous design. To start, youโll need the Pop Up Book Card Base from Simply Stated Design. This essential component includes both the card base and the inside pop-up feature that brings your card to life. Next, select the By The Light of The Moon Solid Paper 2 from Simply Stated Design. Cut…
Hey Creative Scrapbooker Fans! For todayโs blog post, Iโm sharing with you how to create this pretty Gift Box using a variety of Dies and Stamps from Elizabeth Craft Designs, along with the Queen Bee Collection from Simply Stated Design, Mildliner Pens from Zebra, Ink from Ranger, and Adhesive from Scrapbook Adhesives by 3L. Grab a cup of your favorite beverage and learn how to recreate my Elizabeth Craft Designs Gift Box at home.To start, choose two patterned papers from the Queen Bee 12×12 Paper Pack by Simply Stated Design. Next, take the Cover Die from the Book Box Die Set by Elizabeth Craft Designs. Die cut the Cover Die from one of the patterned papers. Flip the patterned paper over so your Cover Die cuts on the white side of the second patterned paper. This ensures everything lines up with the cover and the inside piece. Next, youโll need…
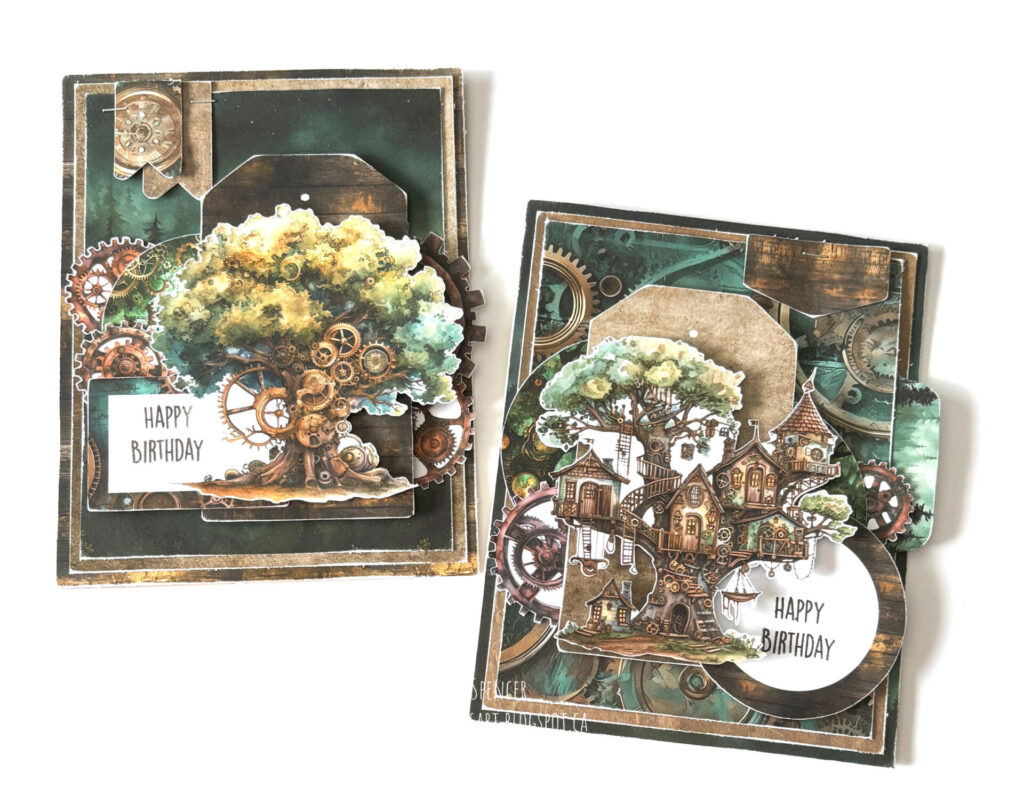
Hey Creative Scrapbooker Fans! For todayโs blog post, Iโm sharing with you how to create these masculine Happy Birthday Cards using the Cogwood Grove Collection from Simply Stated Design. The Build Your Own Sentiments 1 stamp set from Elizabeth Craft DesignsA variety of adhesives from Scrapbook Adhesives by 3L – including the E-Z Runner Grand and 3D Foam Squares. Creative Scrapbooker Super Stock and Ranger Tim Holtz Distress ink.ย Grab a cup of your favorite beverage and follow along to recreate these cards at home. Instructions for the Tree Happy Birthday Card: Cut the woodgrain paper to 4 ยผโ x 5 ยฝโ, the tan paper to 4โ x 5 ยผโ, and the forest paper to 3 ยพโ x 5โ from the Cogwood Grove Paper 9 by Simply Stated Design. Sand the edges of all three papers. From the Cogwood Grove Trees Ephemera by Simply Stated Design, select the tree with…
Hello and Happy Fall! Kim here with some layouts to share, inspired by the September Sketchy Challenge. Itโs no secret that I LOVE a good sketch as a starting place for scrapbooking. It seems to be what my brain seeks to start my creative process. Iโm not one to always follow a sketch exactly. I never see absolutes with a sketch. Some folks see a sketch and distinguish what is a photo, paper and embellishment, they want to know what size to print photos and cut paper to make an exact replica, this is not wrong, just not my way. I, however see a sketch and think looser. What if the photo was paper or vice-versa, could an embellishment be a photo, one photo could hold the โweightโ of many photos, a photo could be a journal block, etc. I do not look to replicateย the sketch, though sometimes it…
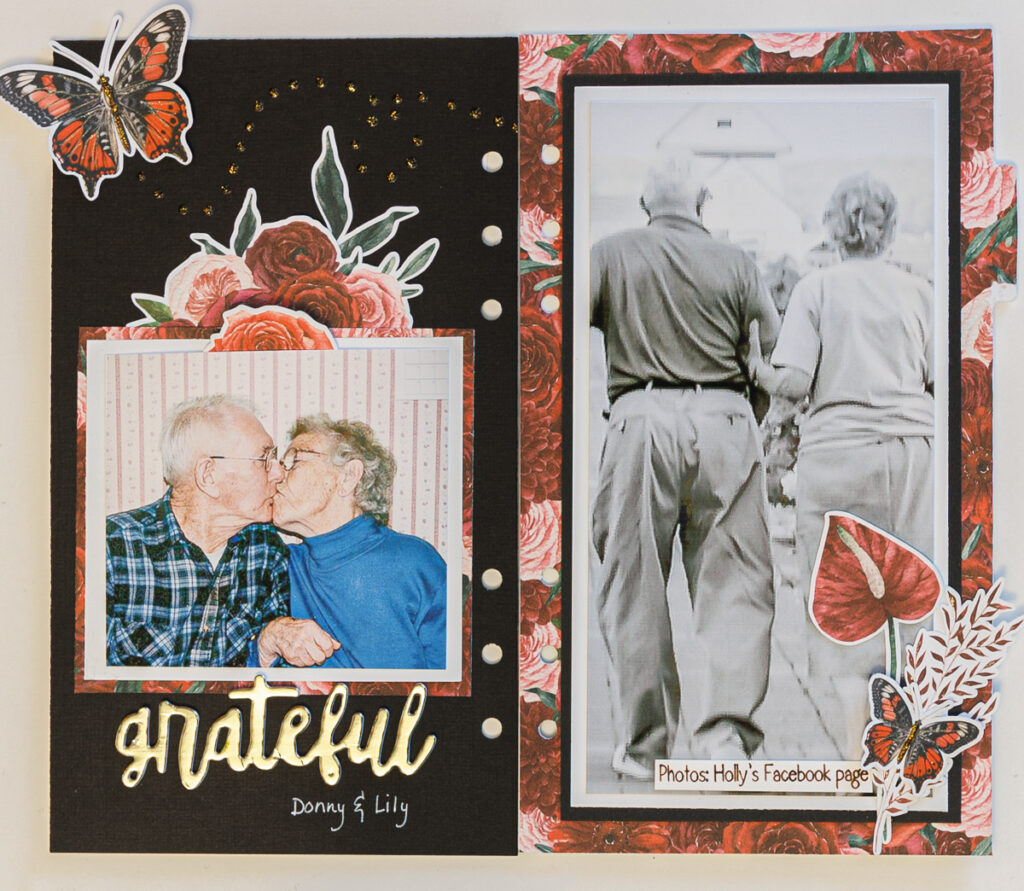
Hello Creative Scrapbookers! Kim here, hope you are settling into a great summer routine and finding time to enjoy these lovely, long days! I love the extra energy the sunshine seems to gift us, I find time to enjoy so much more, and that includes scrapbooking. Even after a busy day, I am ready for an hour or two to unwind in my craft room. This week I pulled out the March Sketchy Challenge again. My first layout with this sketch can be found on the Facebook Sketchy Gallery. I took the scale down to an 8.25 x 8.25, and believe it or not I used an instruction book that came with a recent purchase. Itโs a good base to create over, travellers notebook size and a fun way to up-cycle some waste. Once I have figured out where I want my papers and emebellishments to be, I like to…