


Planner Pages with Elizabeth Craft Designs and Els Van de Burgt
July is a festive month in North America, marked by two significant national celebrations. On July 1st, Canada Day, Canadians come together to celebrate the formation of their country with parades, concerts, fireworks, and family gatherings. Just a few days later, on July 4th, the United States observes Independence Day, commemorating the nation’s declaration of independence from British rule. This day is celebrated with patriotic displays, fireworks, barbecues, and a variety of community events, highlighting the shared spirit of freedom and national pride in both countries.
Check out this Canada Day and Fourth of July planner page created by Els Van de Burgt featuring a variety of Elizabeth Craft Designs products.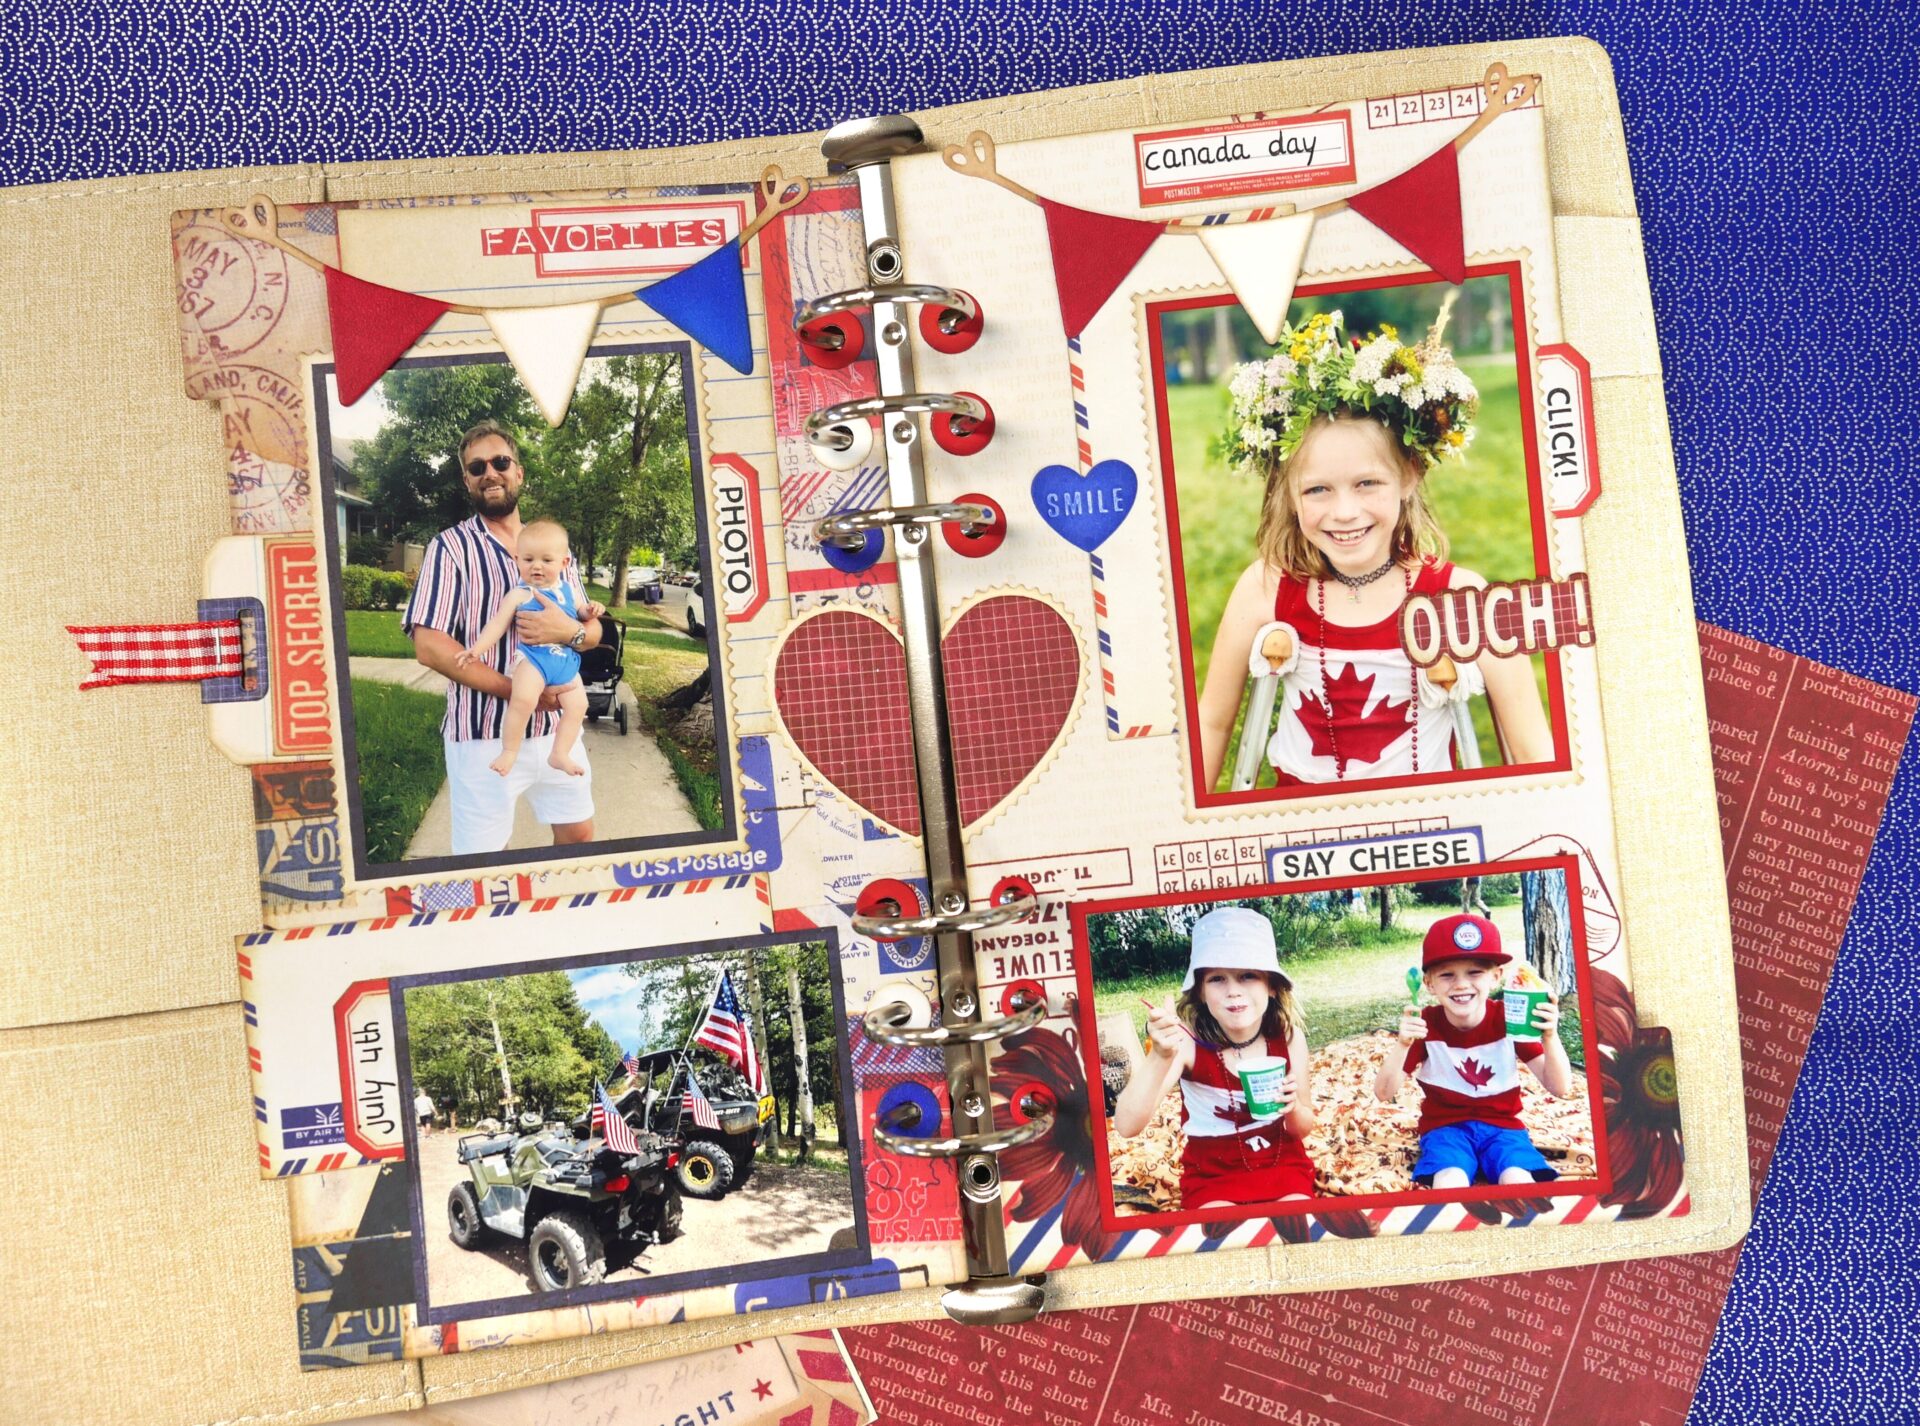
Supplies
Elizabeth Craft Designs Supply List
- 2145 – Pocket Page Fillers 1 – Full-size Postage Stamps
- 2146 – Pocket Page Fillers 2 – Full-size Postage Stamps
- 2147 – Pocket Page Fillers 3 – Full-size Page
- CS339 – Photos from the Past
- 1736 – Reinforcement Variety Pack
- 2039 – Summer State of Mind
- 2057 – Tab 6 with Turnbutton Frame
- PB07 – Reminiscence the Book 7
- 508 – 64mm Double-sided Tape
- PSF144 – Soft Finish Cardstock
Other Supplies
- Tim Holtz Distress Ink – Blueprint Sketch, Frayed Burlap
- VersaFine Ink – Nocturne
- OlO Markers: O 7.3, BV 2.6, R 0.6
- Cardstock: Beige, Red
Instructions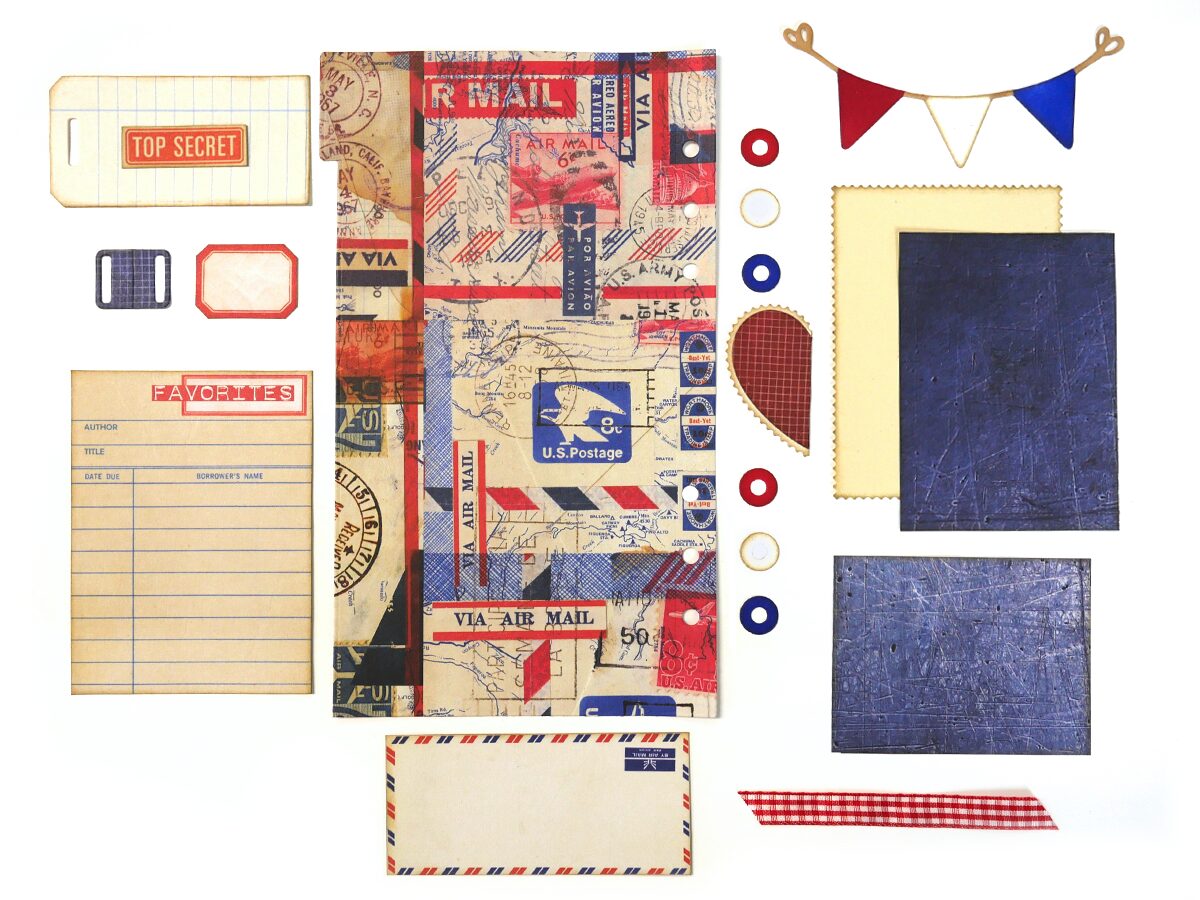
- Prepare Your Base: Using the Reminiscence the Book 7 cardstock, cut out your labels, rectangle frames, and the base page with the Tab 6 with Turnbutton Frame die set. With the Pocket Page Fillers 2 die set, die cut the postage stamp heart. Cut the heart down the middle and set one half aside for your second page. Cut your page reinforcers from cardstock.
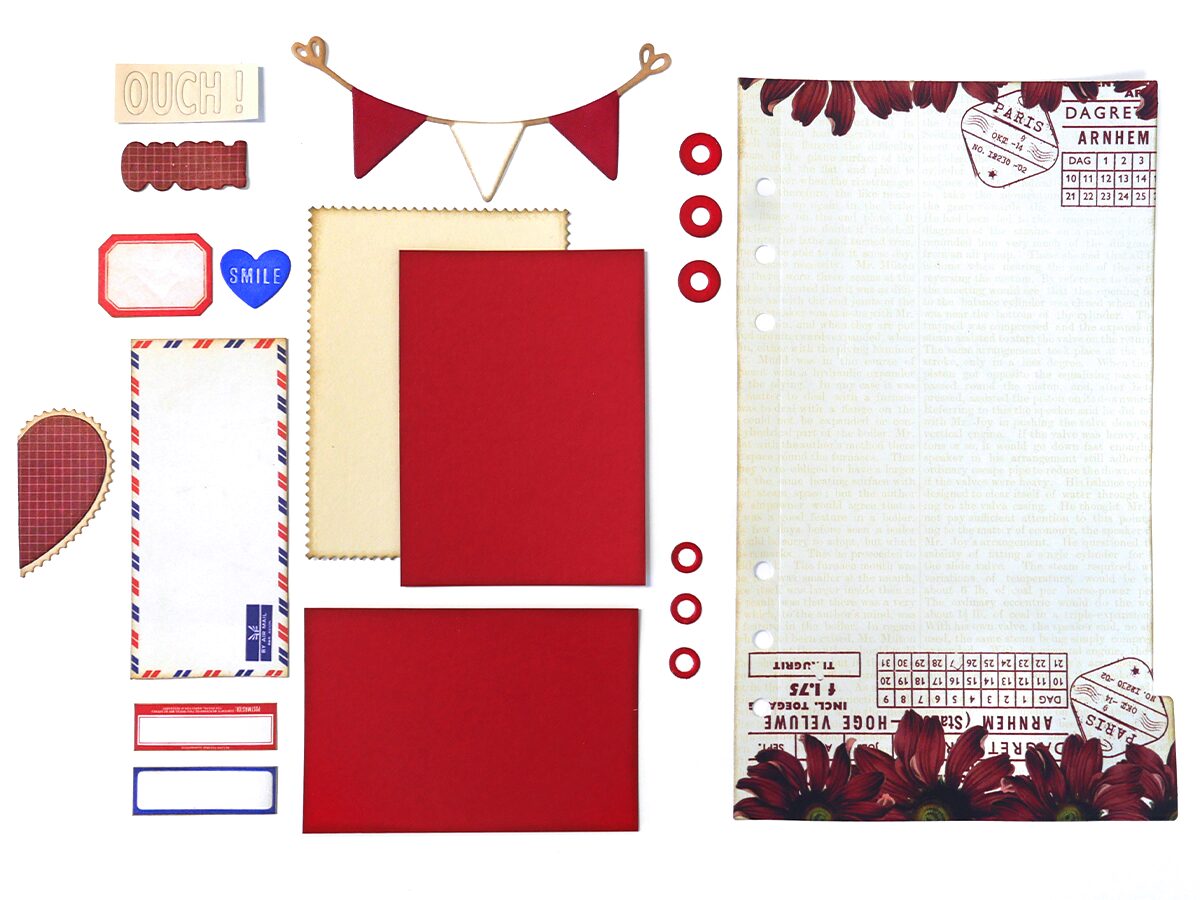
- Repeat for Second Page: Follow the same steps for your second page. Die cut the “ouch” sentiment from the Pocket Page Fillers 3 die set using cardstock backed with double-sided adhesive.
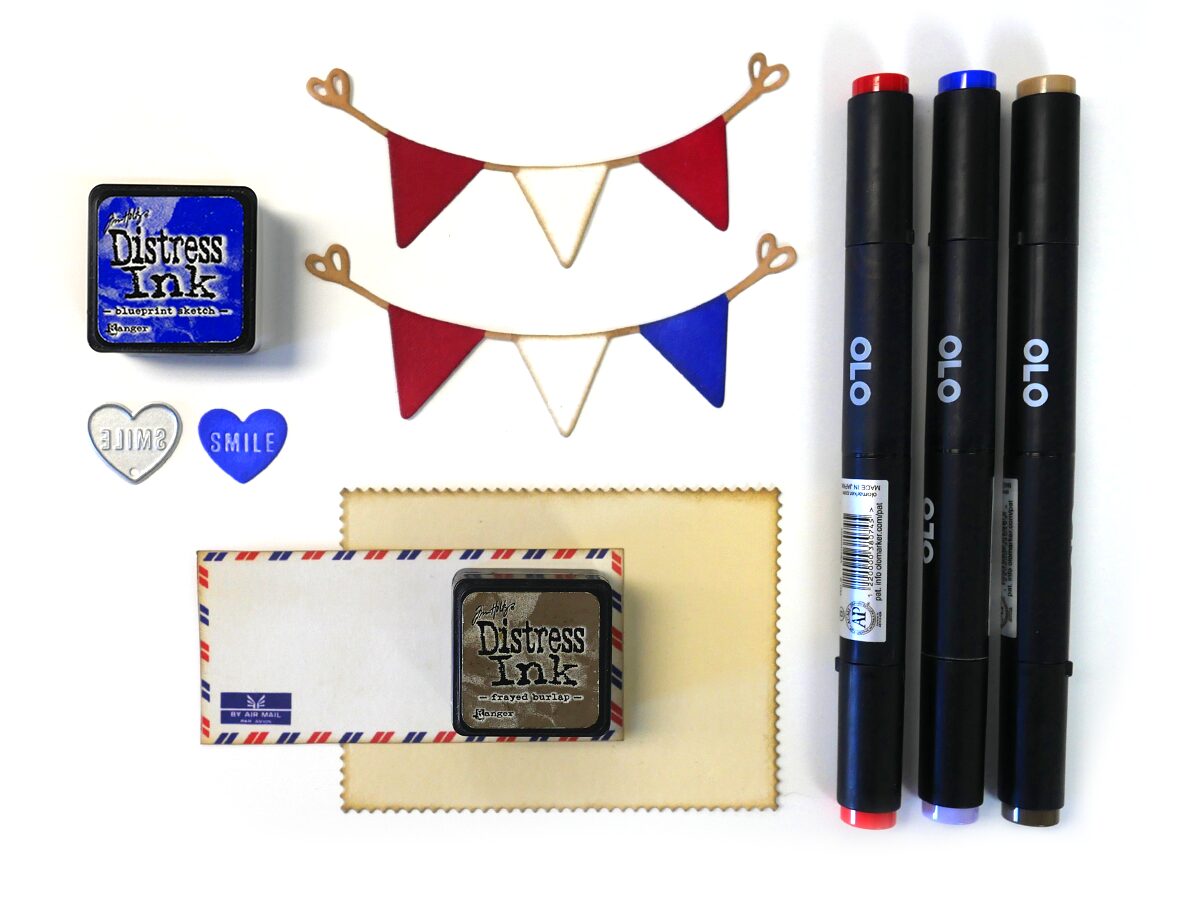
- Create Party Banners: Using white soft finish cardstock, die cut two party banners from the Summer State of Mind die set. Color them with red, white, and blue OlO Markers as shown. Edge all of your pieces with frayed burlap ink. Color the “smile” heart with blueprint sketch ink.
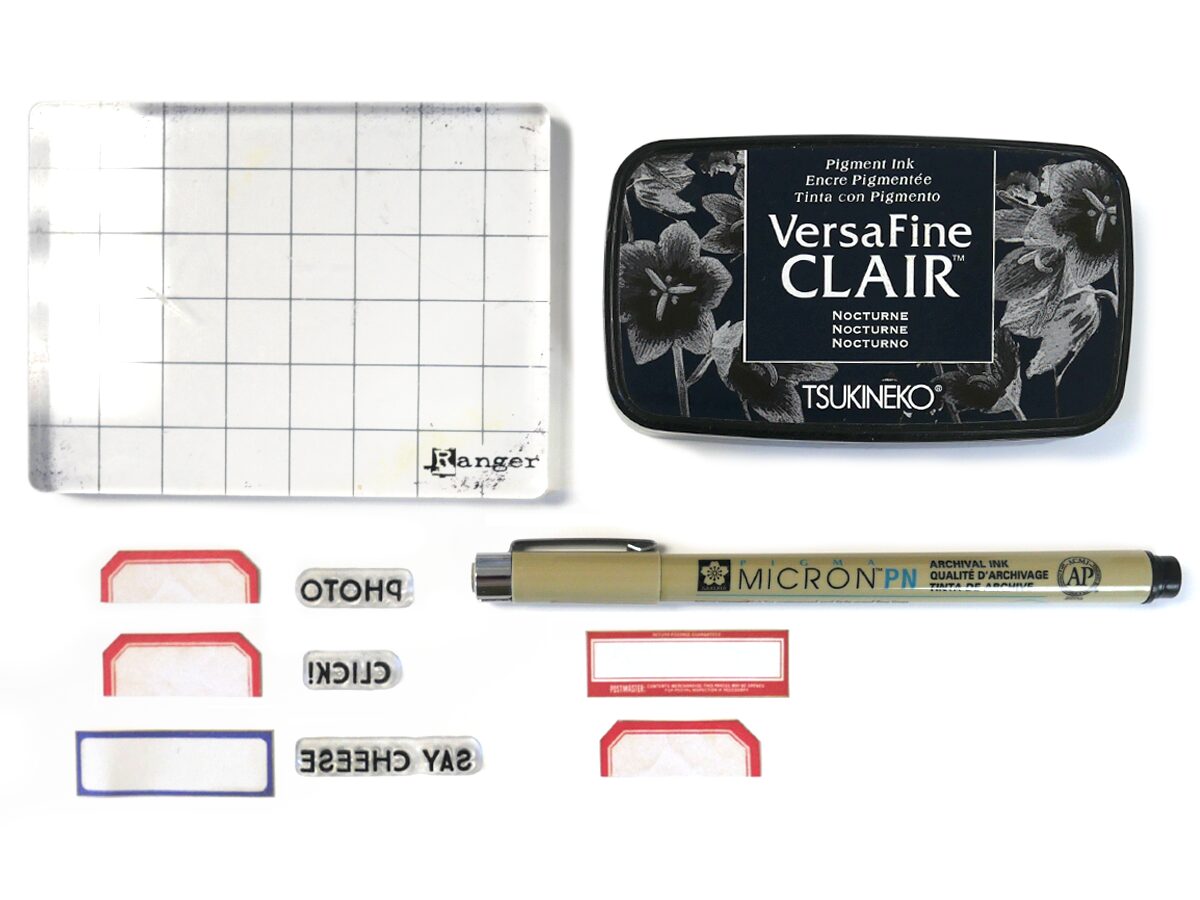
- Stamp and Label: Cut your labels in half, and use a stamping block to stamp sentiments from the Photos from the Past stamp set. Use a pen to write in your own labels.
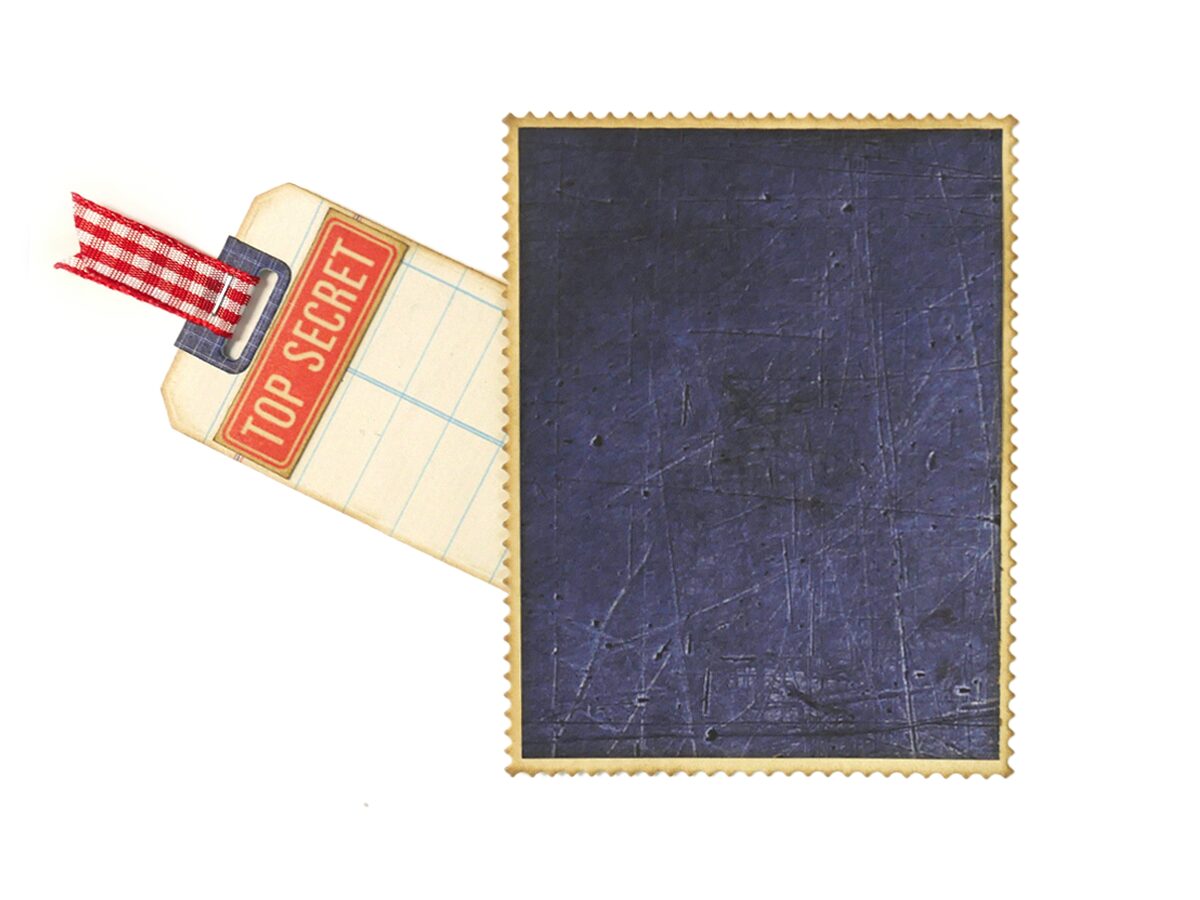
- Assemble and Embellish: Cut your tag and tag reinforcer from the Pocket Page Fillers 2 die set and assemble as shown. Thread a piece of ribbon through the reinforcer. Glue the stamp frame down on three edges, leaving the left edge unglued to create a tag pocket for secret journaling. Assemble your planner pages as shown, add your chosen images, and enjoy!
Celebrate these special days with a personalized touch using Elizabeth Craft Designs products, making your planner pages as memorable as the events themselves!

WIN WIN WIN a $500 Gift Card from Ranger just by sharing your project featuring Tim Holtz Distress Products! YAHOOO!
CLICK HERE for mor information and to enter TODAY!

