Kim Gowdy was very buys this week creating spooky Halloween cards. One of her favourite things to do and you can tell! Check out this card she designed. How gorgeous! Kim designed the background using one of her gel mono prints she created using the Ranger Gel Printing Plate AND Ranger Dina Wakley Media Acrylic Paint. She stamped the Stampers Anonymous stamps on Deli Paper. Using Ranger Archival Ink. She then cut out the pumpkins and with hat and adhered them to the mono print using Ranger Dina Wakley Media Matte Gel Medium. Using Zebra Doodler’z Gel Glitter Pens she outlined all the stamped images. This made the images glitter! You can see it here. Next, for some more added fun Kim Added Tonic Studios Nuvo Glow Drops.When the lights turn off these little drops glow!ย How fun is that! Finally Kim, used her Tonic Studios Tim Holtz Guillotine Cutter…
Okay – everyone needs the Art Impressions RIDES Interactive Dies and Stamp Sets! Spooky Wagon Christmas Truck ย and Birthday Buggy! I have completely fallin’ in love! Check out Jil Lebel’s card featuring the Spooky Wagon Set!ย How adorable! STOP THE CAR – and go grab these while their still hot! Happy Friday Friends
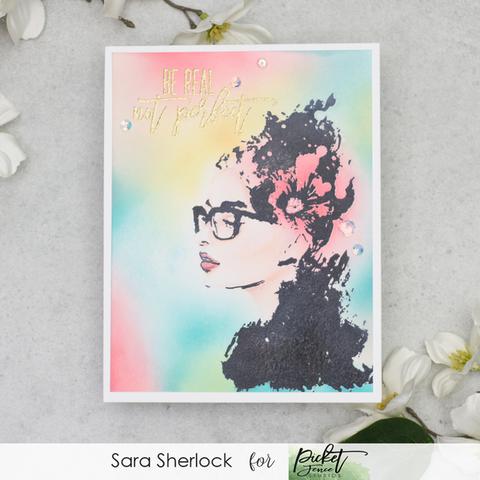
The Iconic Sara Stamp Set by Picket Fence Studios has me SWOONING! Wow!ย I just love it. Here is a design featuring this stamp set I found over on the Picket Fence Studios blog designed by Sara Sherlock. So gorgeous!ย Love the watercolours! Be sure to pop on over to their blog (CLICK HERE) for all the product details on how Sara created this card. Sara is the designer and Sara is the stamp name…I thought that was PERFECT! Happy Tuesday Friends!
Hey everyone – Kerry Engel here today on the Creative Scrapbooker Magazine blog! When I first saw this die set from Stamp Anniething I was immediately drawn to it; maybe itโs because I had just listened to a podcast about King Tutankhamen or maybe it was because I love geometric shapes.ย I have a stash of papers that I made on my gel plate that I knew would be perfect for the pyramid. If you want to learn gel plate printing check out this free tutorial that Kim Gowdy and I did for The Great Canadian virtual Carnival last fall.ย https://www.youtube.com/watch?v=yrZL_wdFxho If you donโt have any gel plate prints you could use cardstock or create custom papers using Ranger Distress Oxide inks. ย I created the backgrounds on Creative Scrapbooker Super Stock with Ranger Distress Oxide Inks. I did a search on Pinterest of the pyramids at night to find…
Halloween is in the AIR!!!! I have been lovin’ all the spooky creations that have been popping up all over social media! I particularly LOVED this little shaker card designed by Betty Lim-Silvernailย that I found on her blog featuring all kinds of products by Stamp Anniething! Betty designed the shaker on her card using the Stamp Anniething Shaker Basics Die Set 1 and the Spider Web Shaker Die Add On. She fill her shaker with the sweetest Stamp Anniething Sprinkles – Friday Night Sprinkles and Batty for You. The Stamp Anniething paper Betty used included the Awakening Glitter Pack and the super cute Pumpkins Paper Pack. And of course, Betty used the Stamp Anniething Natalie-Lil’ Devil Stamp Set. LOVE IT! Be sure to pop on over to Stamp Anniething and check out their HUGE selection of MUST HAVE fun products!!!! Happy Thursday Friends!
To say that I am addicted to my (PT-P300BTAD) is a little of an under statement. This little machine is a game changer for me. FAST, EASY, TONS of OPTIONS and the added bonus of printing on ribbon – I am in scrappy heaven. WOWZERS! From printing custom sentiments, in different fonts, in different colours on different backgrounds for cards – to adding journaling strips to my layouts and planner pages… and then of course labelling just about EVERYTHING!ย Seriously – you need to add this little gadget to your MUST HAVE TOOLS! Here are a few examples of a FEW of the different varieties of drop-in cartridges that are EFFORTLESS to use! Here is a little example of a card I designed using the to create the sentiment on this mystical greeting card. Take a minute or two and watch as I put this card together from start to…
The Therm O Web Rina K. Designs Electro Pop Collection OOZES summer! Summer vacation, summer pool parties, summer vibes, summer umbrellas, and basically EVERYTHING bright and fun and SUMMER. Here is card designed by Ellen Haxelmans featuring Rina K. Designs productsย that 100% says – HELLO SUNSHINE! Can’t you just feel those summer vibes!ย I love it soooo much!ย My summer advice to you – Always say YES to pineapples!!! Ellen used a variety of products from the line on her card but my favourite is the Rina K. Designs Electro-Pop Neon Glitz. Sparkly, bright texture that with light up any cloudy day! For a complete list of supplies and products used to create Ellen’s card take a minute to venture on over to the Therm O Web blog. CLICK HERE Happy summer sunshine and pineapples friends! PS – Join me in the Village! I would LOVE to see you…
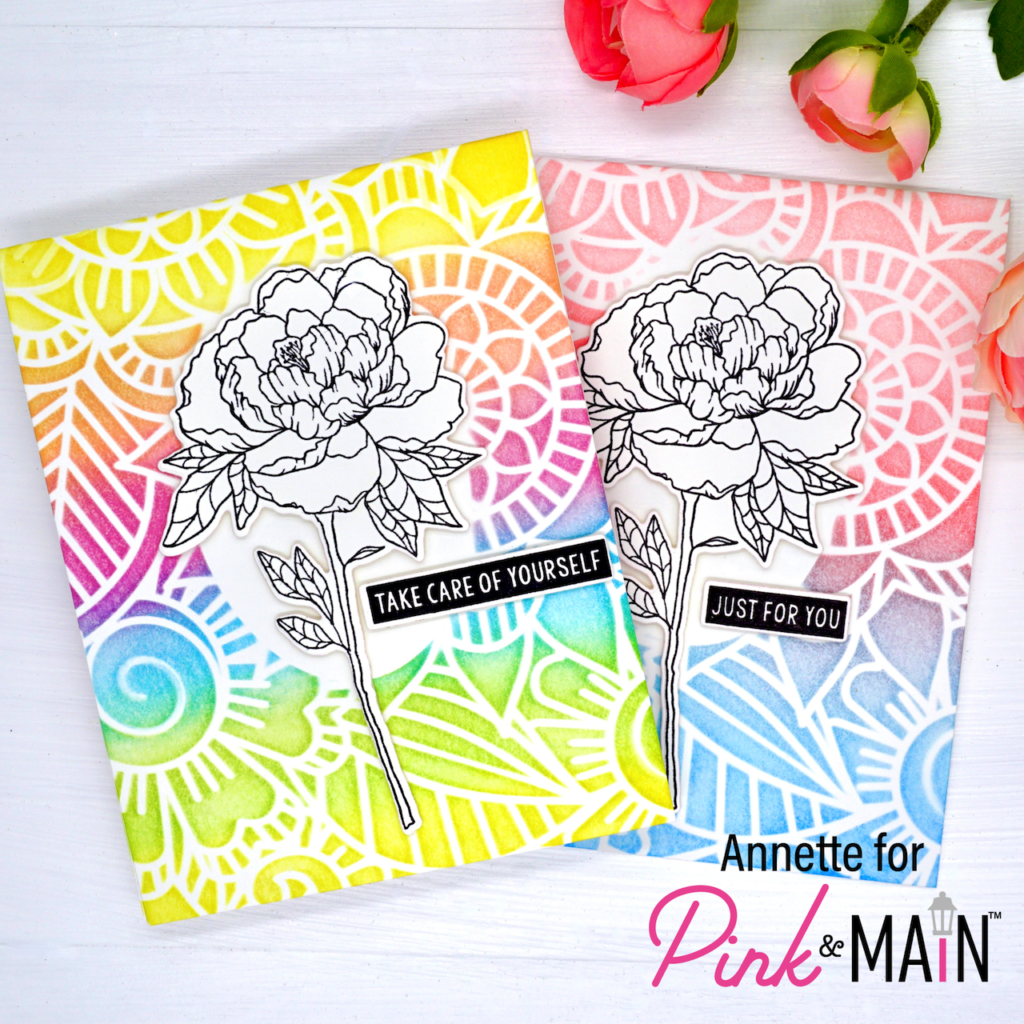
Yesturday, I popped over to the Pink & Main blog with a coffee in hand and browsed through all their FABULOUS inspiration. Their design team is the BOMB.COM! From flowers to rainbows, to butterflies – their latest release says BRING ON SUMMER! Here is a little card design I fell in love with by one of my favourite designers, Annette Allen. Annette used the Pink & Main Pretty Peony Stamp and Coordinating Die Set. Along with the Pink & Main Mask it Oval (everyone needs this) and their Floral Stencil. Did you know that Pink & Main has a subscription kit? There are a number of options available and you get HAPPY MAIL each and every month! LA LA LOVE IT! Happy Monday Friends! Did you enter to win a 500$ shopping spree yet? What the heck are you waiting for?!?!?!?!??!?!?!?!? CLICK HERE to enter your name into the draw…
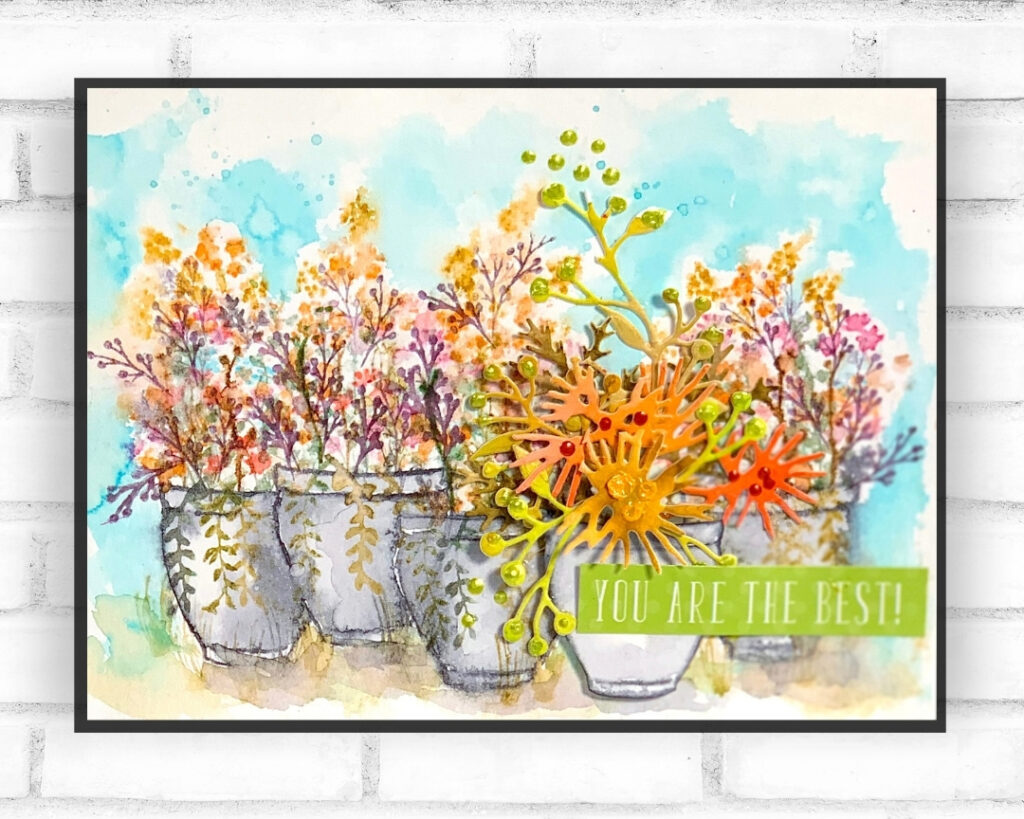
My summer garden inspired the big floral explosion on this card. This was the first time Iโve used these watercolor stamps by Art Impressions. It was very addictive. Watching the bouquets come to life is magical.ย Creating depth with a mask. To create the row of stamped pots I made a mask out of the pot and used it to create depth. The first pot I stamped was the third on from the left. After I stamped the middle pot I laid down the mask on top of it and then stamped a pot to the left, overlapping the image a bit. Then I put the mask down on that second pot and stamped the far left, over lapping again.ย The pot on the far right was stamped last. Build a bouquet. Using the Art Impressions foliage and flower sets I created the bouquets inside my pots. Layering the branches…
STOP whatever you are doing! Seriously. If you love butterflies, RUN and grab the Floral Butterfly collection from Heartfelt Creations. ย This collection includes patterned paper, stamps and dies. BUT without a doubt my favourite element in this collection is this HUGE butterfly stamp and coordinating die! Check out this stunning card featuring this collection by Tracy McLennon. CLICK HERE to visit Tracy’s blog for all the details. Summer is just about here in Alberta…I CAN’T wait for the butterflies! Happy Monday Friends! PS – ONLY THREE MORE DAYS – then our EARLY BIRD RATES in the Village are gone forever!!!! Don’t miss out!