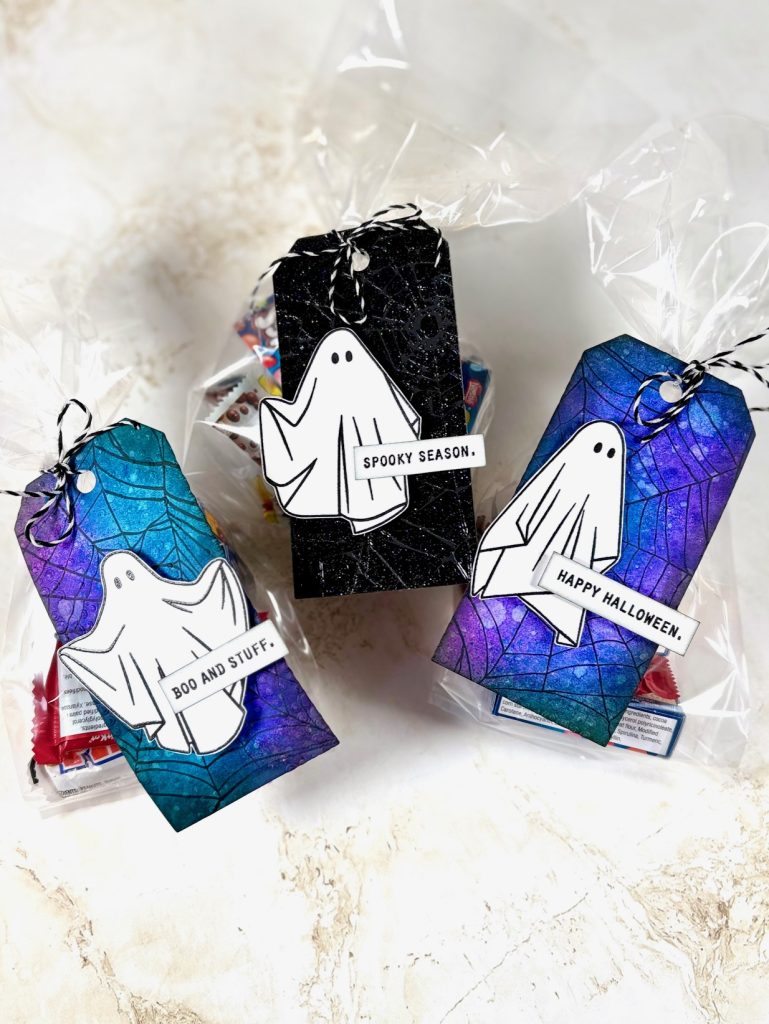
Spooky Treat Tags are the perfect Halloween project to show off your creativity and favorite products from Stampers Anonymous and Ranger! For today’s blog I will share the step-by-step photos and easy instructions to help you craft these eerie and fun tags — ideal for dressing up your Halloween treat bags. I started out by pulling out two favourite Halloween stamp sets by Tim Holtz for Stampers Anonymous — Boo Crazy CMS495 and Spooky Spirits CMS492 — and let them inspire these playful ghostly creations. How to Create the Spooky Treat Tags Stamp the BackgroundStamp the cobweb image from Boo Crazy CMS495 onto Ranger Mixed Media cardstock using Ranger Black Soot Archival Ink. Die Cut Tag, Stamp and EmbossUse the Sizzix Tag Collection die set to create the tag shape. Stamp a variety of ghost images and sentiments from Spooky Spirits CMS492. Heat set with Ranger Clear Embossing Powder. Cut…
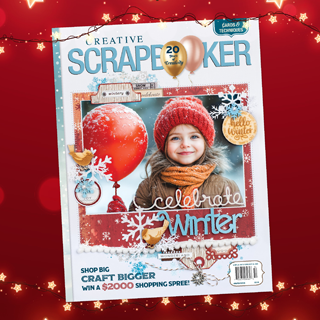
A chapter has ended — and what a beautiful story it has been. On October 15, 2025, we announced that Creative Scrapbooker Magazine will be publishing its final issue, the Winter 2025 edition. This decision comes with full hearts, deep gratitude, and an overwhelming sense of pride for the 20 years of creativity we’ve shared together. From a spark of an idea around a campfire to a beloved quarterly magazine that inspired readers across Canada, the United States, and beyond — this has been a journey built on passion, community, and the joy of handmade art. Reflecting on Two Decades of Creativity Over the past 20 years, Creative Scrapbooker Magazine has filled homes, classrooms, and craft rooms with ideas, laughter, and inspiration. Together, we’ve celebrated thousands of scrapbook layouts, cards, and mixed media projects. We’ve shared techniques from some of the most talented artists in the paper crafting world and…
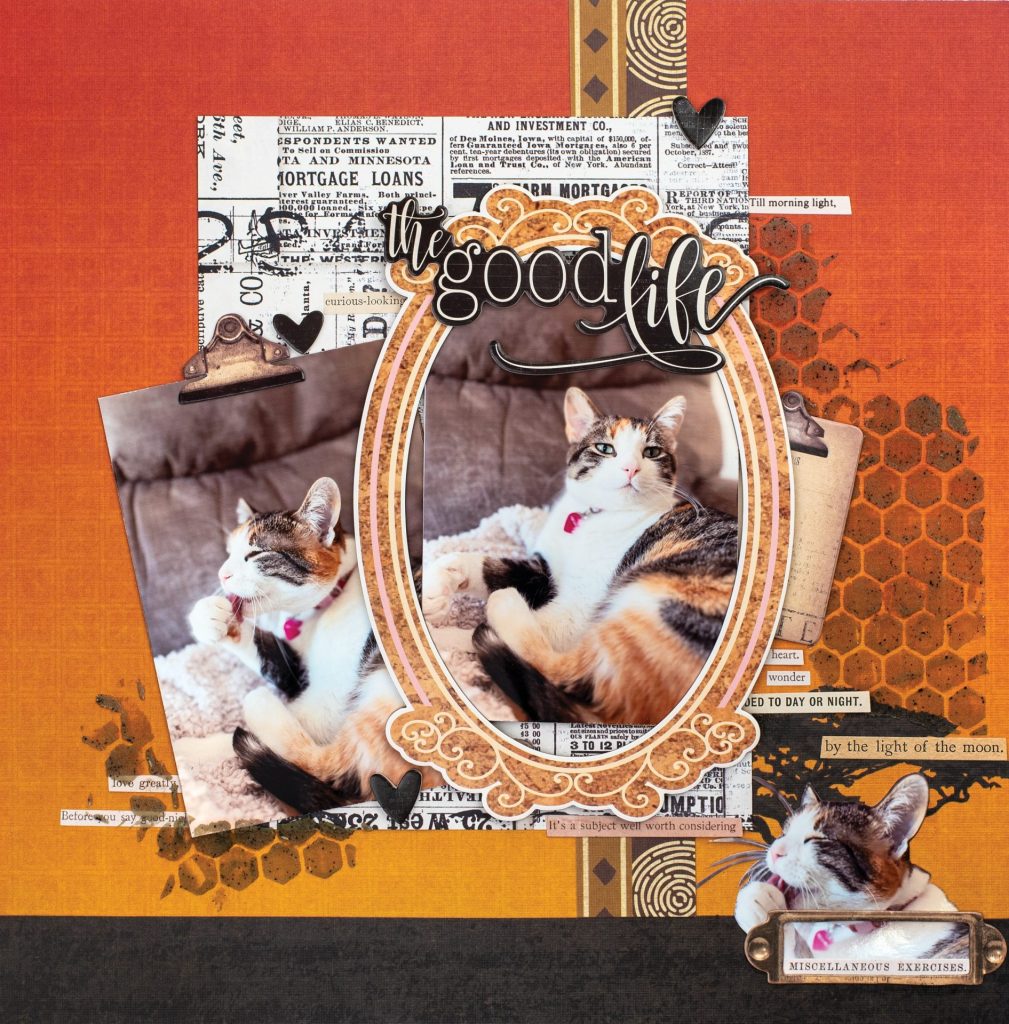
Welcome to The Good Life, where naps are an art form and texture steals the show! Designer Desiree Saskiw captured her pampered feline’s best “I run this house” poses in a warm, layered layout that’s equal parts cozy and cool. Desiree reached for her Ranger Distress Grit Paste – Crypt and the Stampers Anonymous Tim Holtz Honeycomb Stencil to create that perfectly imperfect background texture. The subtle raised hexagons add just enough grunge to balance out the soft, snuggly photos — proving that even the fluffiest cat deserves a little edge. The layout’s fiery oranges and vintage neutrals come together with Simple Stories and DCWV patterned papers, plus a sprinkle of Tim Holtz Idea-ology stickers and dimension from Scrapbook Adhesives by 3L. The result? A purr-fectly balanced mix of grit, warmth, and feline fabulousness. So grab your stencils, your pastes, and maybe your favorite nap buddy — because The Good…
WINNER – Jennifer Kosko This week’s Why Not Win Wednesday – SICKE WITH THE BEST — literally! Our friends at Scrapbook Adhesives by 3L® are giving one lucky crafter an incredible $151.59 prize package filled with their most trusted adhesives and crafting must-haves. From innovative E-Z Runner® dispensers to 3D Foam adhesives and metallic transfer foils, this collection is designed to help you create with precision, dimension, and confidence. Whether you’re cardmaking, scrapbooking, or experimenting with mixed media, these products make every project come together beautifully. CLICK HERE to enter your name into the draw! Don’t wait — contest closes Friday, October 10th at MIDNIGHT MDT!. Good luck my friends! Is your Creative Scrapbooker Magazine collection missing a gem? Don’t let that gap stare at you from the shelf. Back issues are calling your name—grab the one you’re missing and complete the story!
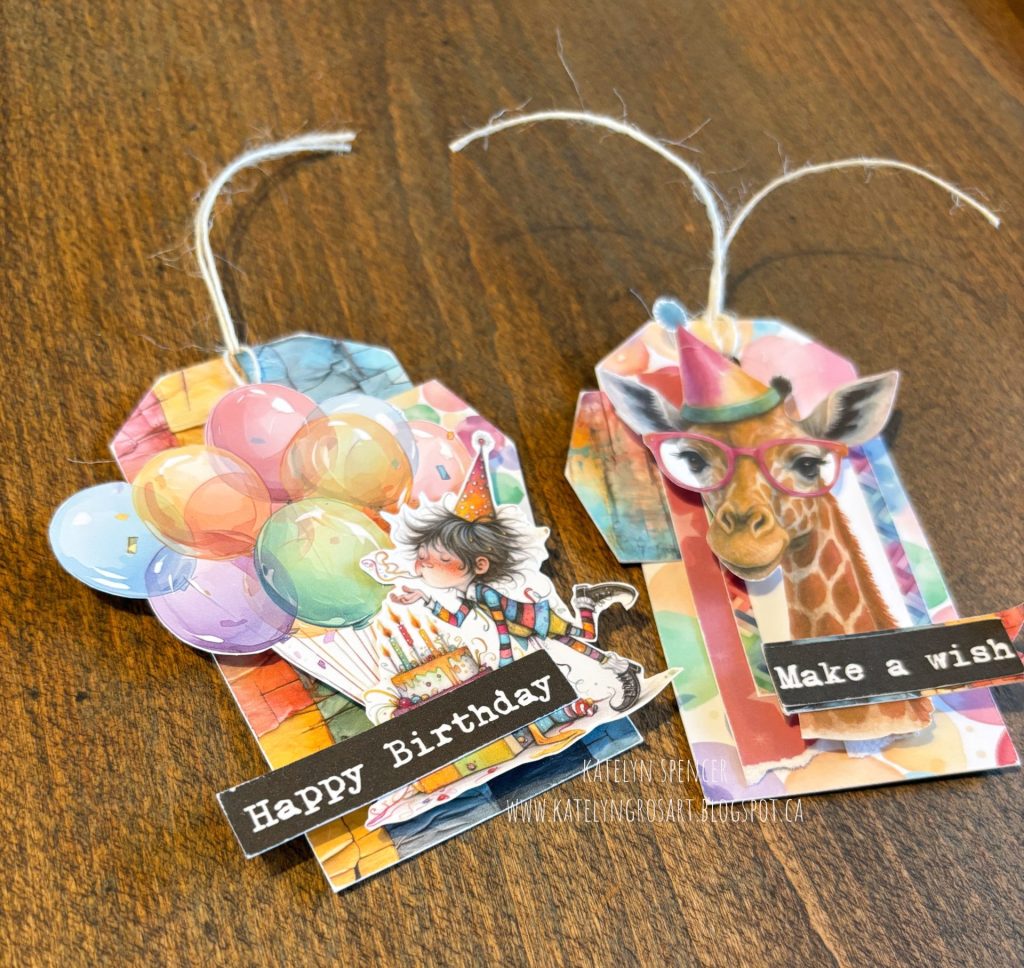
Birthday Gift Tags are a fun and creative way to personalize your presents, and today designer Katelyn Spencer is here to show you how to make your own! These playful tags feature the Age Is Just A Number Collection and Party Time Ephemera from Simply Stated Desgin.Along with adhesives from Scrapbook Adhesives by 3L. Grab your favourite beverage and follow along step by step to recreate these vibrant birthday tags at home. Happy Birthday Tag The first tag we’ll create is the Happy Birthday Tag. Out of the Age Is Just a Number Essentials Ephemera from Simply Stated Design, you’ll need the peeling paint tag, dot banner and happy birthday sentiment. Sand the edges of all three elements. Next, you’ll need the Age Is Just a Number Balloons Ephemera from Simply Stated Design, choose one of the medium sized balloon bunches. I cut around the balloons to get rid of…
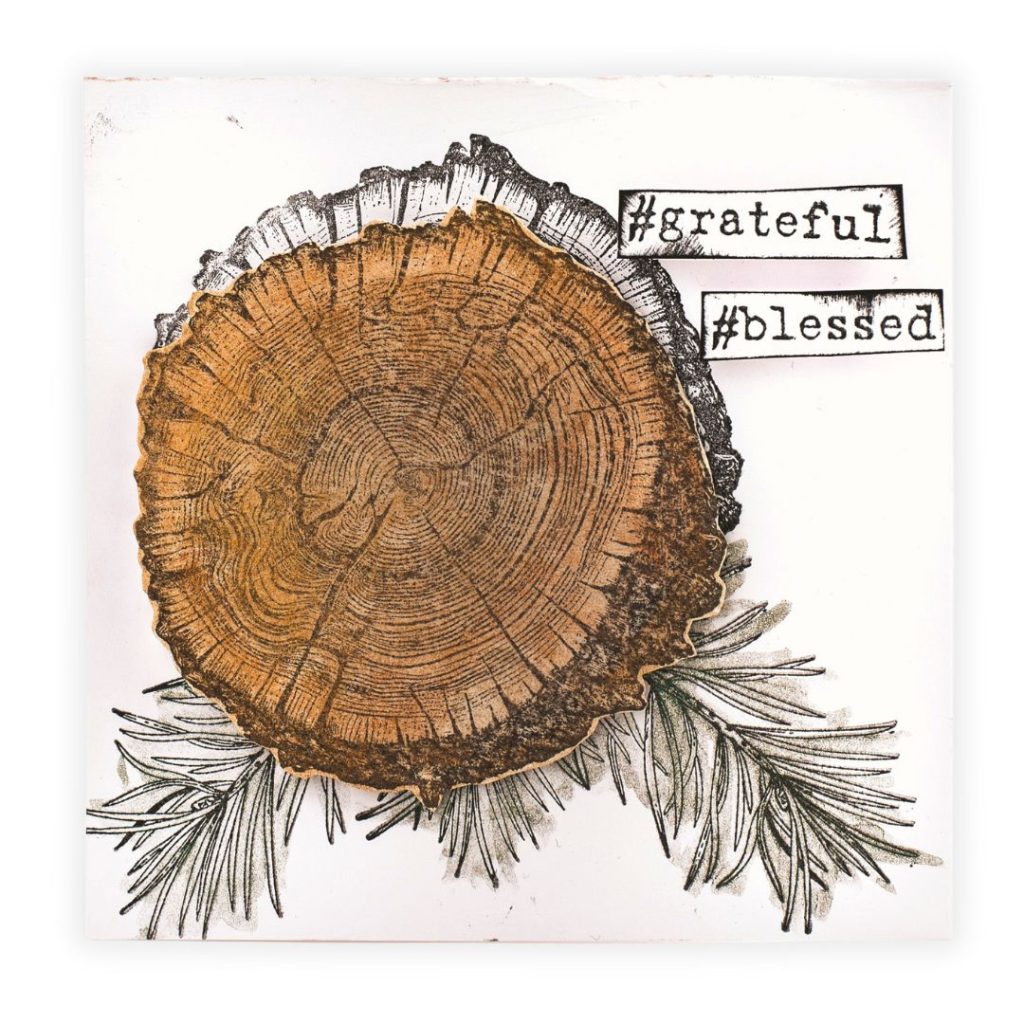
If you’re looking for a rustic yet elegant handmade card idea, this project by designer Nicole Wright is the perfect inspiration. Using the Stampers Anonymous Tim Holtz Forest Floor Set 2 stamp set, Nicole created a stunning wood slice focal point that combines stamping and watercolouring techniques. Follow the step-by-step instructions below to recreate this project at home. Supplies Used – Stampers Anonymous Tim Holtz Forest Floor Set 2 stamp set – Creative Scrapbooker Super Stock cardstock – Ranger Archival Ink (Jet Black) – Ranger Tim Holtz Distress Spritz (Fossilized Amber, Rusty Hinge) – Ranger Dina Wakely Media Brush – Scrapbook Adhesives by 3L 3D Foam Squares – OLFA Scissors Step-by-Step Instructions Step 1: Create Your Card Base Cut Creative Scrapbooker Super Stock cardstock to 10″ x 5″ and fold in half to create a 5″ x 5″ card base. Ink the wood slice stamp from the Stampers Anonymous Tim…
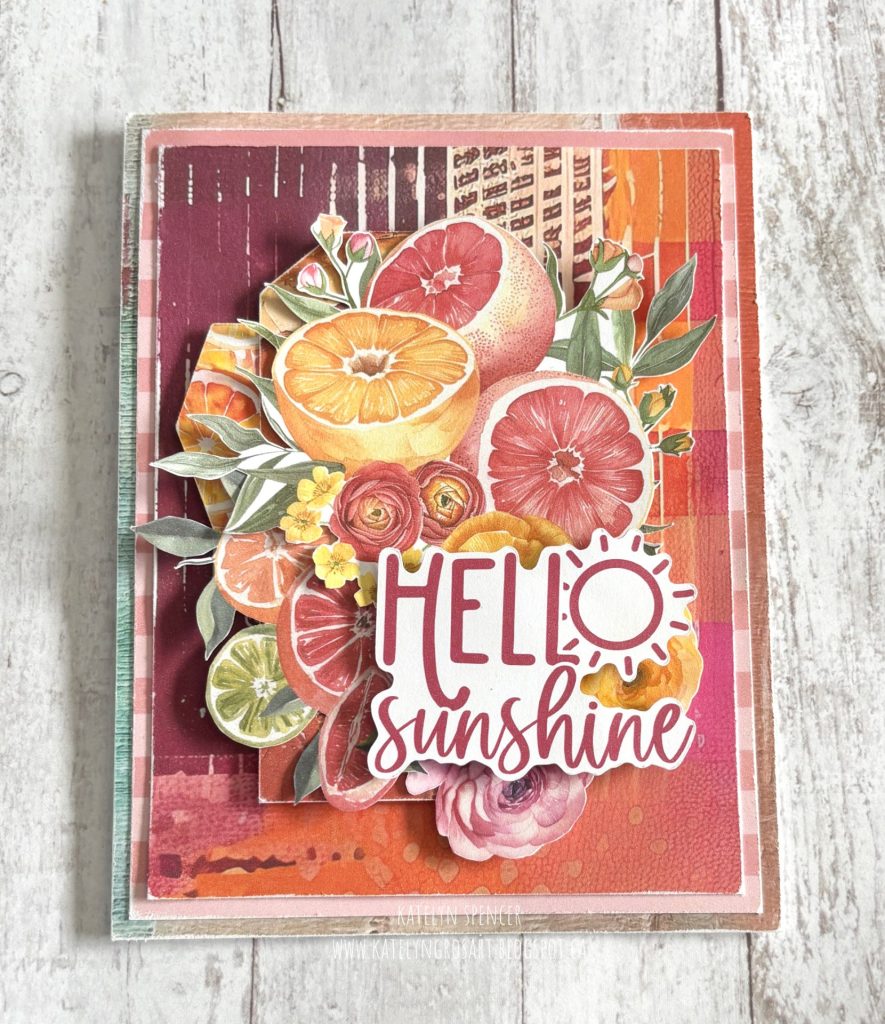
Looking to brighten someone’s day? This Hello Sunshine Card is just what you need! Created with the Sweet Summer Florals Collection from Simply Stated Design. Super Stock from Creative Scrapbooker Magazine, and adhesives from Scrapbook Adhesives by 3L, this vibrant project is as sunny as it gets. Let’s dive into the details so you can make your own Hello Sunshine Card at home. Cut a piece measuring 4 ¼” x 5 ½” from Sweet Summer Florals Paper 4 (Simply Stated Design). Cut another measuring 3 ¾” x 5” from Paper 2. Sand the edges of both. Cut a piece measuring 4” x 5 ¼” from Solid Paper 1. Sand the edges. From the Essentials Ephemera, gather the Hello Sunshine sentiment, citrus banner, and citrus tag. Sand the edges of the banner and tag. From the Florals Ephemera, select the large citrus and floral cluster. Choose to keep or fussy cut…
Dare 2B Artzy products bring fun and flair to this vibrant spring-inspired bicycle card designed by Karla Yungwirth! This joyful project appears in the Spring issue of Creative Scrapbooker Magazine and bursts with colour, creativity, and cheerful energy—perfect for anyone who adores papercrafting. Build with Dare 2B Artzy Stamps and Dies To create the main focal point, Karla turned to the Dare 2B Artzy Bike Bouquet stamps and coordinating dies. She used Zebra Pen Mildliners for soft, vibrant colouring and stamped the images with Ranger Tim Holtz Distress Oxide inks. Layering the elements added dimension and charm to the card. Dare 2B Artzy Stencils and Patterned Paper Magic For the background, Karla selected a polka dot texture using the Dare 2B Artzy Circle Duo Stencil Set. She combined it with papers from the Countryside Floral Collection to create a beautifully balanced spring palette that’s lighthearted and elegant. Add Pop with…
Floral bouquet card making just got a fresh, fabulous twist! In this quick and cheerful tutorial, you’ll learn how to stamp, colour, glaze, and pop up a pretty bunch of tulips that will make anyone’s day bloom. Grab your favourite pens and let’s bring this bouquet to life—dimension and all! ✂️ Step-by-Step Instructions: How to Make a Dimensional Floral Bouquet Card 1. Stamp the base imageStamp the Art Impressions vase and tulip bouquet from the Farmhouse Container Set and Floral Long Stem Bouquet Set onto watercolour paper using Ranger Archival Ink. Repeat this step to make a second stamped image and set it aside. 2. Colour the bouquetUsing Zebra ClickArt pens and a water brush, colour the flowers and greenery on the base image. Skip the vase, as it will be covered later. 3. Cut out the vaseFrom the second stamped image, carefully cut out the vase using OLFA scissors.…
Hey Creative Scrapbooker Fans!Today, I’m excited to walk you through the process of creating a Happy Day Mini Album using the Simple Vintage Flower Shoppe Collection from Simple Stories. Along with adhesives from Scrapbook Adhesives by 3L. This cheerful project is filled with florals, fussy cut layers, and beautiful butterfly details—perfect for celebrating any special moment. Let’s dive in! Cover Page – Mini Album Front Design To create the base and cover of this Happy Day Mini Album, I used the Scalloped Rectangles Layering Die Set by Tonic Studios and the Marigold Gingham paper from Simple Stories. I layered in: *Bits & Pieces *Ephemera *Fussy cut accents from 2×2/4×4, 3×4 Elements, and Captured papers *Enamel Dots for added texture Page 1: Happy Bike Ride This page features a bike tag from the Tag Elements Paper. I added a sentiment from the Bits & Pieces collection for a joyful pop. Page…


