


 For those of you new to our blog I would like to welcome you to our regular feature – #RememberingChristy. One and half years ago our dear friend and work colleague, Christy Riopel passed suddenly away. Christy was a huge part of Creative Scrapbooker Magazine for close to 8 years and will forever be apart of our creative souls. On saturdays we celebrate Christy by sharing a project or two that Christy created. Our creative jar filled with her designs is literally endless 🙂
This week we are looking back to the Summer 2015 issue of Creative Scrapbooker Magazine. In this issue Christy designed layouts for her regular Tool Junkie Article, featuring embellishments she created out of polymer clay. Here is one of the creations.
Using Polymer Clay to Make Tile Embellishments
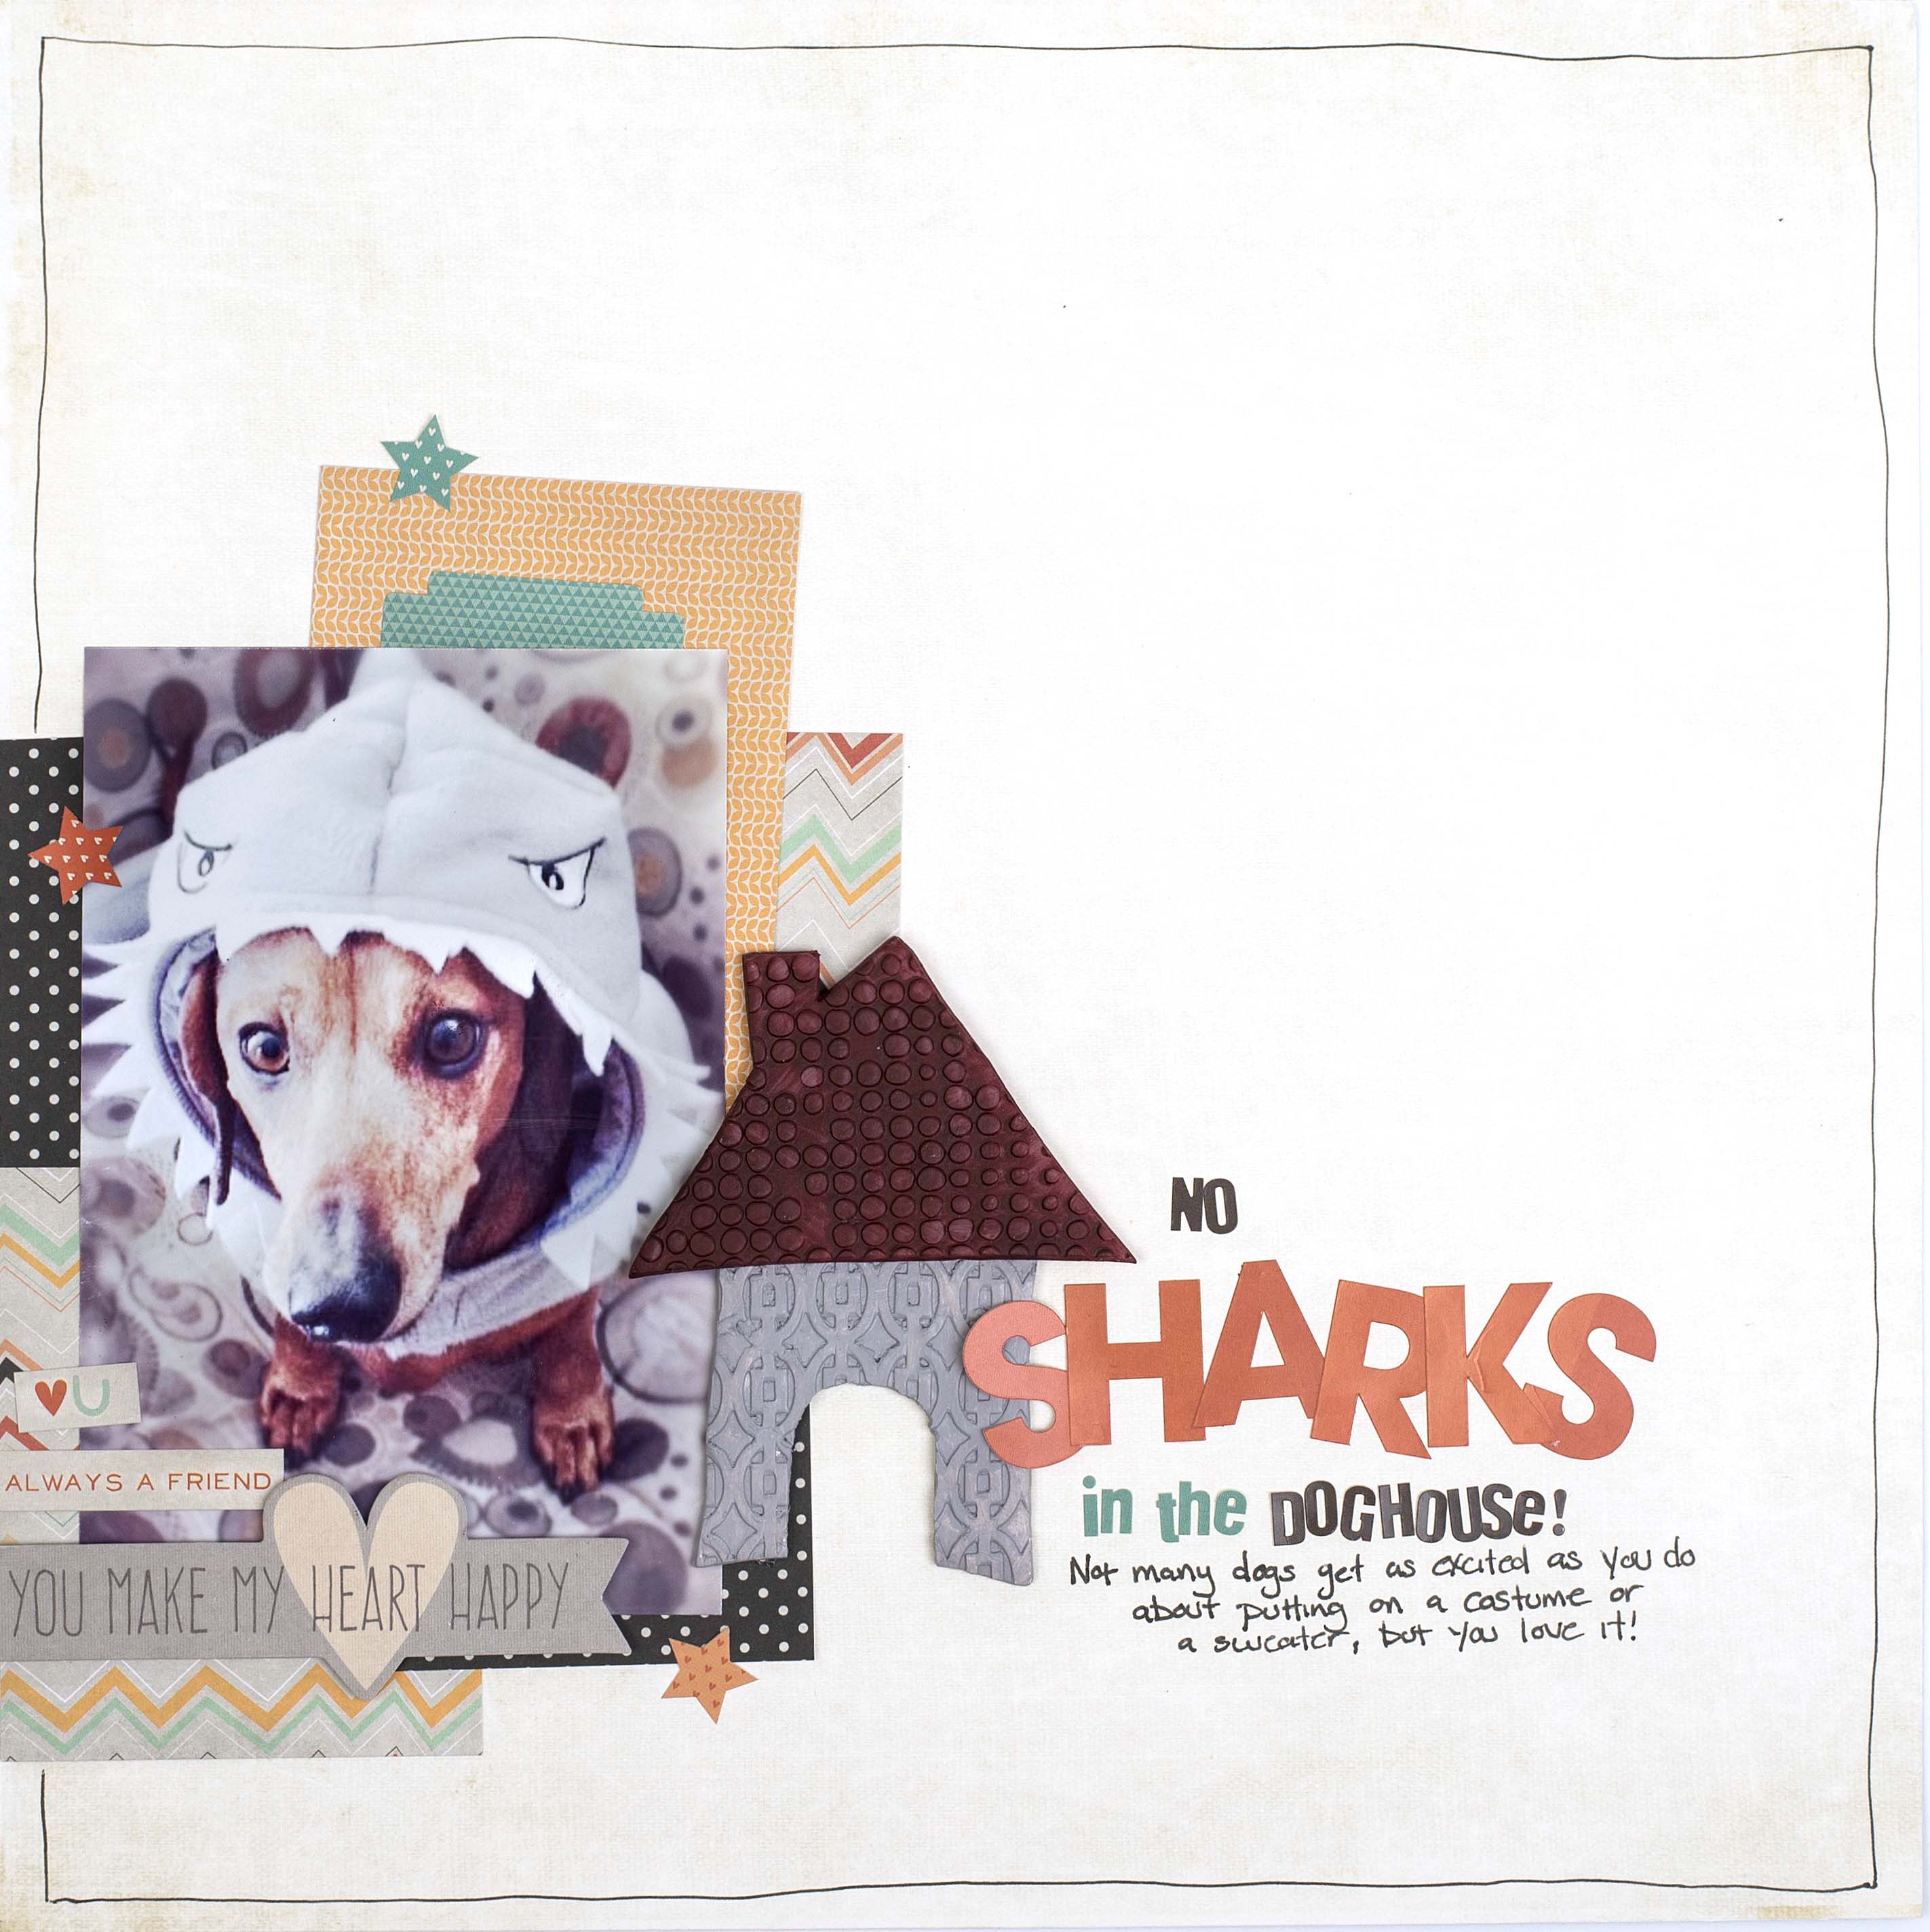
1. Brush the embossing folder with cornstarch to keep the clay from sticking.

2. Knead the polymer clay until soft and pliable, and then form it into a disk. Place the clay into the embossing folder and run it through the machine. It may need to be adjusted to make a slightly looser sandwich than usual.

3. Gently peel the clay from the folder. Some stretching may occur, but you can gently shape the clay back into its form.

4. Using Westcott scissors, cut the shape of the tiles from your clay. Bake the clay as directed on the package. Let cool and attach to your page. Clay can be painted with acrylic paint to customize.

Have a wonderful Saturday everyone.
 In loving memory of Christy Riopel – we continue to raise money for the Christy Riopel Art Scholarship. To date – one scholarship has been given through The Boys & Girls club of Calgary. This warms my heart knowing that Christy continues to spread gentle, caring and inspiring love through art in our world. Thank you so much to everyone who donates. We appreciate it from the bottom of our hearts.


