


Hey Creative Scrapbooker Fans! For today’s blog post, I’m sharing with you my Life was meant for Great Adventures Wall Hanging. To create my wall hanging, I’ve used the Adventure Collection from Wild Whisper Designs, Dies from Elizabeth Craft Designs, Ink from Ranger Ink and adhesive from Scrapbook Adhesives by 3L. You’ll want to grab a cup of your favourite beverage and learn how to recreate my wall hanging at home.  To start, you’ll need the Fitted Indented Square and Stitched Indented Square dies from Elizabeth Craft Designs. Die cut the 4 ¾” Stitched Indented Square out of kraft cardstock. Die cut the 4” Fitted Indented Square out of kraft cardstock. Distress the edges of both squares. Ink the edges of both squares using Walnut Stain Distress Ink and a Blending Tool with Foam from Ranger Ink.
  Next, you’ll need to choose three patterned papers out of the Adventure Collection Paper Pack from Wild Whisper Designs. As well you’ll need the Stitched Indented Square and Fitted Indented Square dies from Elizabeth Craft Designs. Die cut a 4 ½” Fitted Indented Square out of the first piece of patterned paper. Die cut a 4 ¼” Stitched Indented Square out of the second piece of patterned paper. Die cut a 3 ¾” Stitched Indented Square out the third piece of patterned paper. Distress the edges of all three squares. Ink the edges of all three squares using Walnut Stain Distress Ink and a Blending Tool with Foam from Ranger Ink.
  Out of the Adventure Card Pack from Wild Whisper Designs, you’ll need the 3×4 card that has the rectangle that is faded out slightly and the card with a label. Fussy cut the label and the faded out rectangle. Distress the edges of both pieces. Ink the edges of both pieces using Walnut Stain Distress Ink and a Blending Tool with Foam from Ranger Ink.
  Choose two of the border strips off the bottom of two of the patterned papers out of the Adventure Collection Paper Pack from Wild Whisper Designs. Cut one border strip down to 4 ¼”. Cut the border strip down to 4”. Ink the edges of the border strips using Walnut Stain Distress Ink and a Blending Tool with Foam from Ranger Ink.
  Fussy cut the sign out of the cut apart paper from the Adventure Collection Paper Pack from Wild Whisper Designs. Ink the edges of the sign using Walnut Stain Distress Ink and a Blending Tool with Foam from Ranger Ink.
  Out of the Adventure Ephemera Pack from Wild Whisper Designs, you’ll need, two tree stumps, three leaves, a bear, two arrows, a label and the life was meant for quote. Fussy cut around the two stumps, three leaves, two arrows, bear and label. Cut the life was meant quote into three strips. Ink the edges of the strips and all of the fussy cut images using Walnut Stain Distress Ink and a Blending Tool with Foam from Ranger Ink.
  Choose one Flair button out of the Adventure Flair Pack from Wild Whisper Designs.
  You’ll also need some of the Adventure Sequins from Wild Whisper Designs.
  Use E-Z Runner from Scrapbook Adhesives by 3L to adhere the 4 ½” square to the 4 ¾” square. Use E-Z Runner from Scrapbook Adhesives by 3L to adhere the 4 ¼” square to the 4 ½” square.
  Use E-Z Runner from Scrapbook Adhesives by 3L to adhere the 3 ¾” square to the 4” square. Use 3D Foam Squares from Scrapbook Adhesives by 3L to adhere the 4” square to the 4 ¼” square.
  Use E-Z Runner from Scrapbook Adhesives by 3L to adhere the small label so that ½” shows at the top and sits 3/8” from the right of the faded rectangle piece. Use E-Z Runner from Scrapbook Adhesives by 3L to adhere one of the tree stumps so that ½” shows at the left side and sits ½” from the left of the faded rectangle piece. Use E-Z Runner from Scrapbook Adhesives by 3L to adhere the faded rectangle piece ¾” from the top and all the way to the right hand side of the 3 ¾” square.
  Trim the bottom portion of the sign to your desired length for the wall hanging. Use E-Z Runner from Scrapbook Adhesives by 3L to adhere the sign 5/8” from the right of the 3 ¾” square and have the bottom of the sign sit at the bottom of the 4” square. Use E-Z Runner from Scrapbook Adhesives by 3L to adhere the 4 ¼” border strip 1” from the bottom of the 3 ¾” square. Use E-Z Runner from Scrapbook Adhesives by 3L to adhere the 4” border strip 5/8” from the bottom of the 3 ¾” square.
 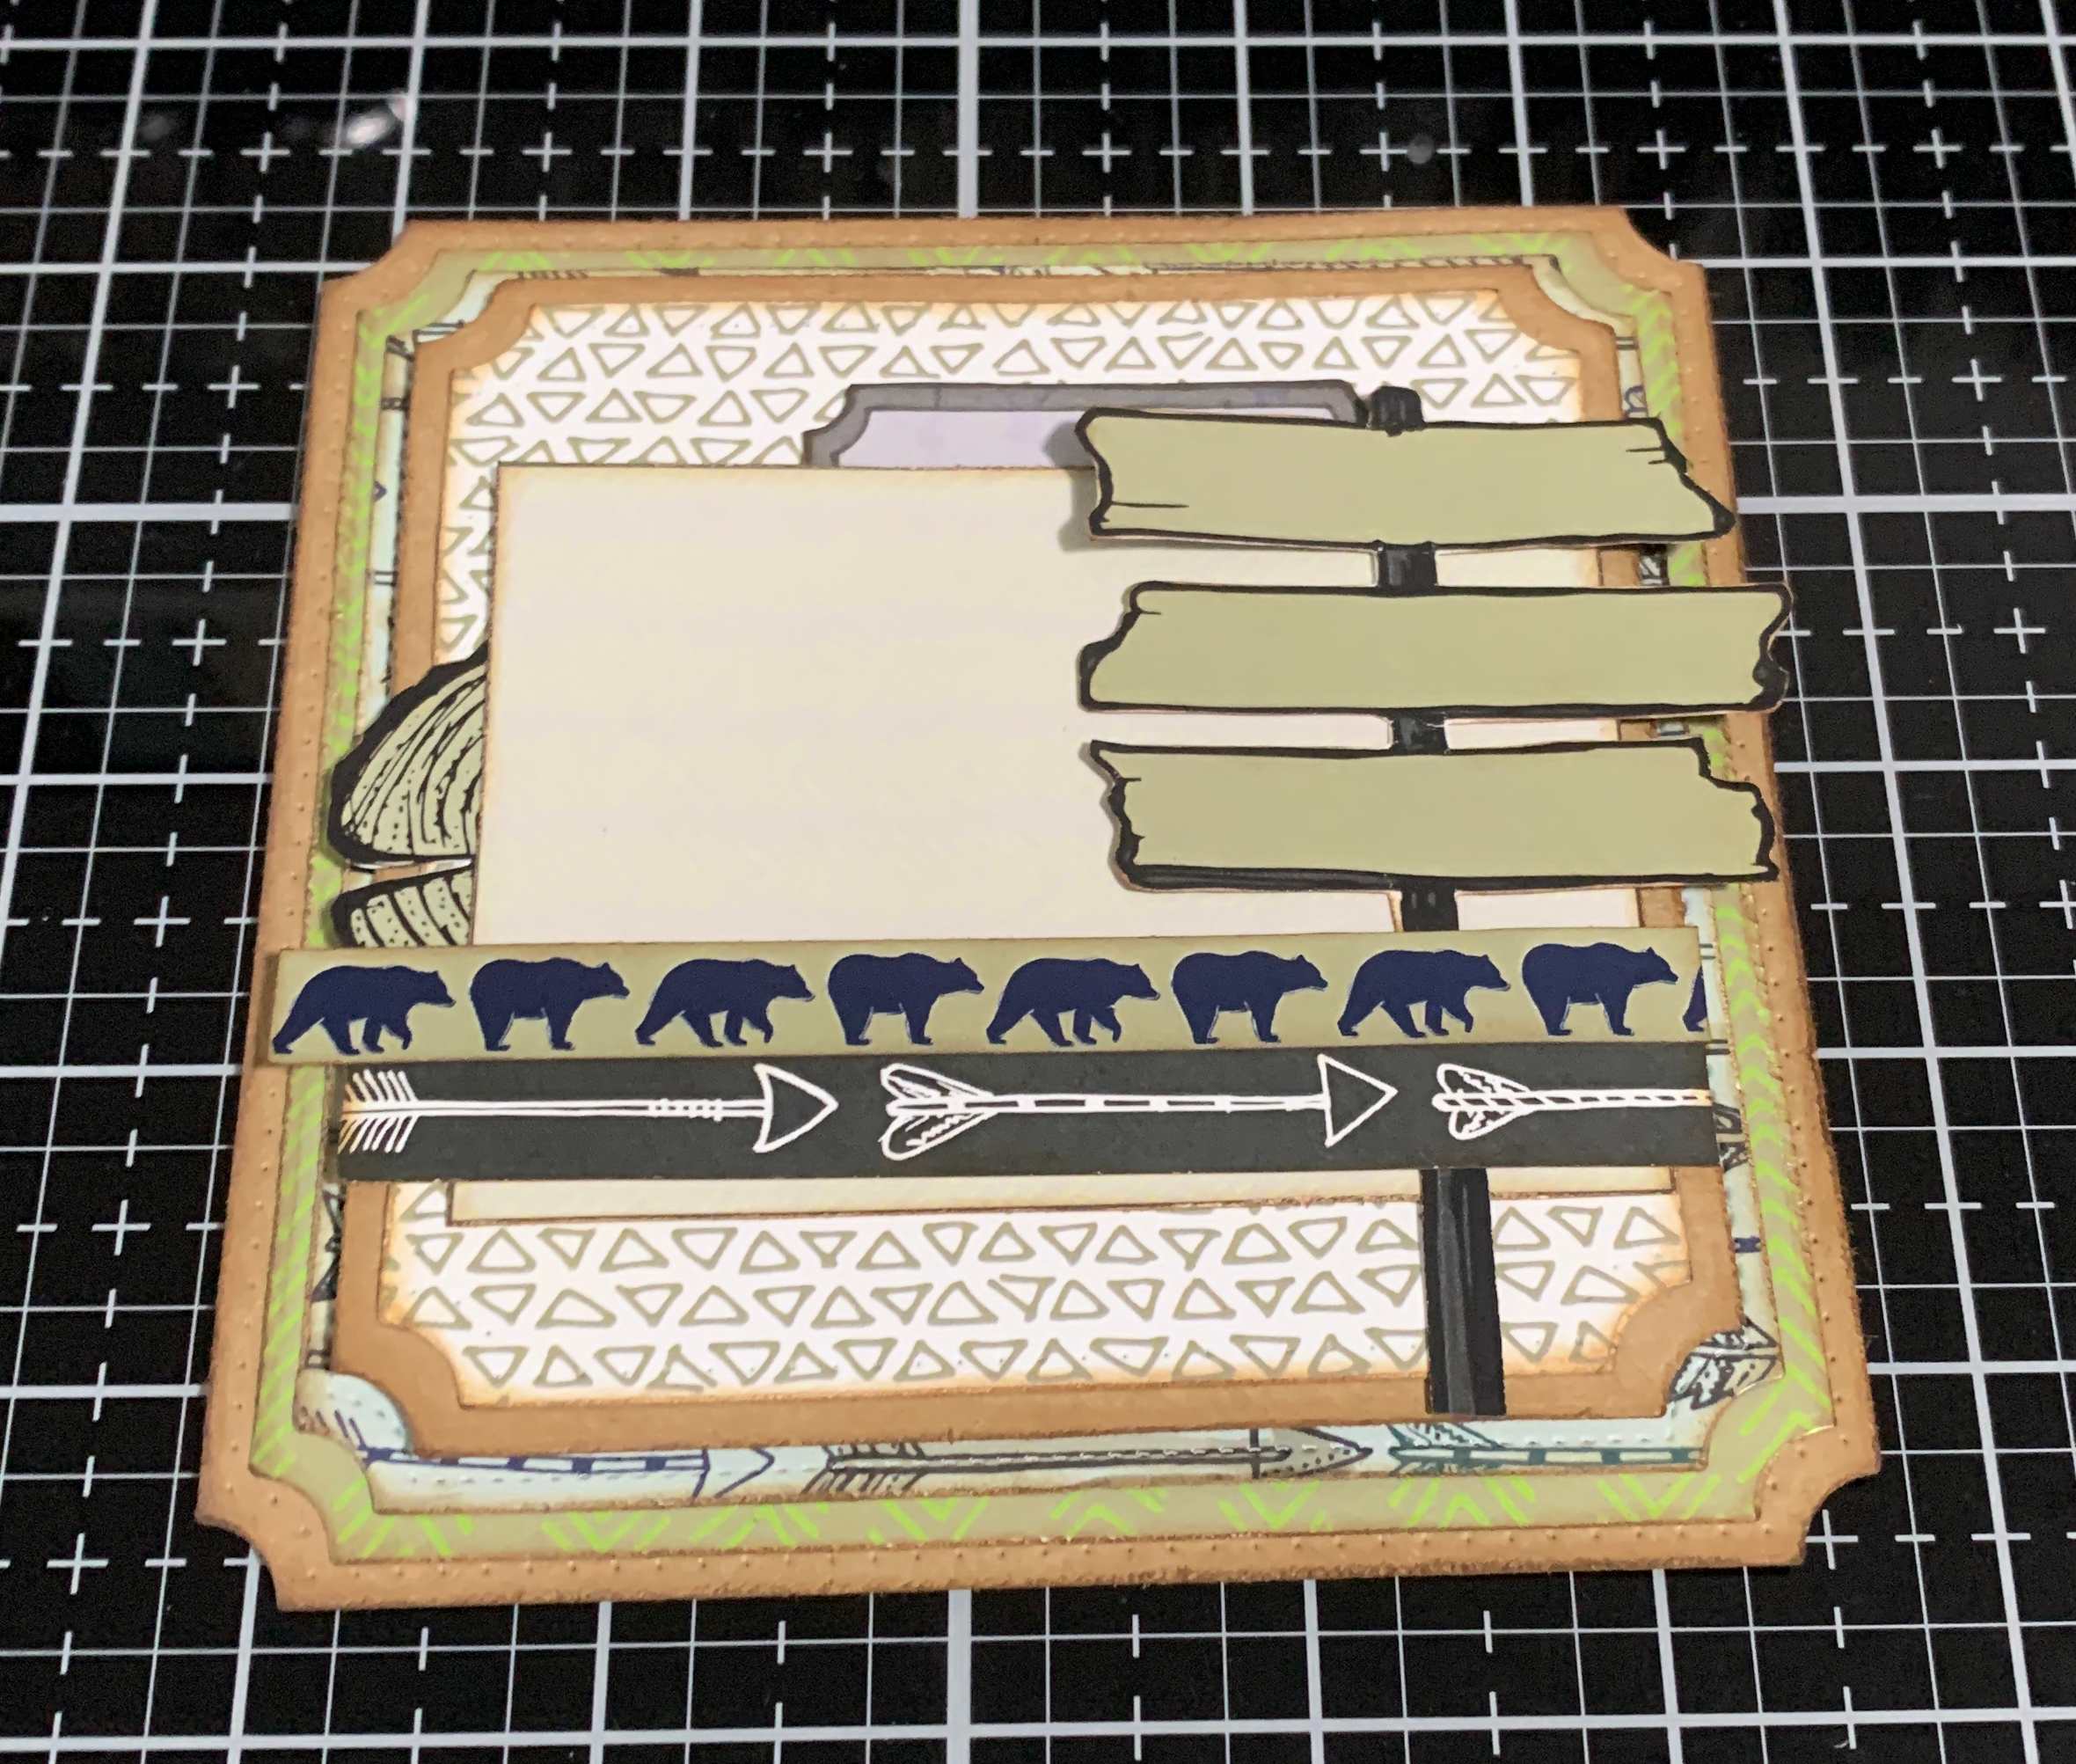 Use E-Z Runner from Scrapbook Adhesives by 3L to adhere the other tree stump in behind the sign as desired. Use E-Z Runner from Scrapbook Adhesives by 3L to adhere the large label in behind the sign and 4 ¼” border strip as desired. Use 3D Foam Squares from Scrapbook Adhesives by 3L to adhere the bear ½” from the left and ¾” from the bottom of the 3 ¾” square.
  To the bottom right of the bear, use E-Z Runner from Scrapbook Adhesives by 3L to adhere the three leaves as desired. Use E-Z Runner from Scrapbook Adhesives by 3L to adhere one of the arrows in behind the sign and bear as desired.
  Use Dodz from Scrapbook Adhesives by 3L to adhere the Flair button overtop of the bottom portion of the leaves. Use E-Z Runner and 3D Foam Squares from Scrapbook Adhesives by 3L to adhere the life was meant quote to the left of the bear. Use E-Z Runner from Scrapbook Adhesives by 3L to adhere the arrow below the Adventures word as desired. Use Dodz from Scrapbook Adhesives by 3L to adhere nine sequins as desired.
  To finish the wall hanging, punch two holes at the top of the wall hanging. Tie a piece of twine through both holes to create the hanger for your wall hanging.
  Here are a few closeup photos of my Wall Hanging.
  Thank you for joining me today and taking the time to check out my blog post. I hope that my Life was meant for Great Adventures Wall Hanging has inspired you to recreate your own at home. You can find more of my work on my blog at http://www.katelyngrosart.blogspot.ca
Happy Creating!

Supplies Used:
Ranger Ink: Distress Ink – Walnut Stain and Blending Tool with Foam
Scrapbook Adhesives by 3L: 3D Foam Squares, Dodz and E-Z Runner Permanent Tape
Elizabeth Craft Designs: Fitted Indented Square and Stitched Indented Square
Wild Whisper Designs: Adventure Paper Pack, Adventure Ephemera, Adventure Flair, Adventure Card Pack, and Adventure Sequins
Misc: Twine and Kraft Cardstock
Subscribe today to Creative Scrapbooker Magazine

