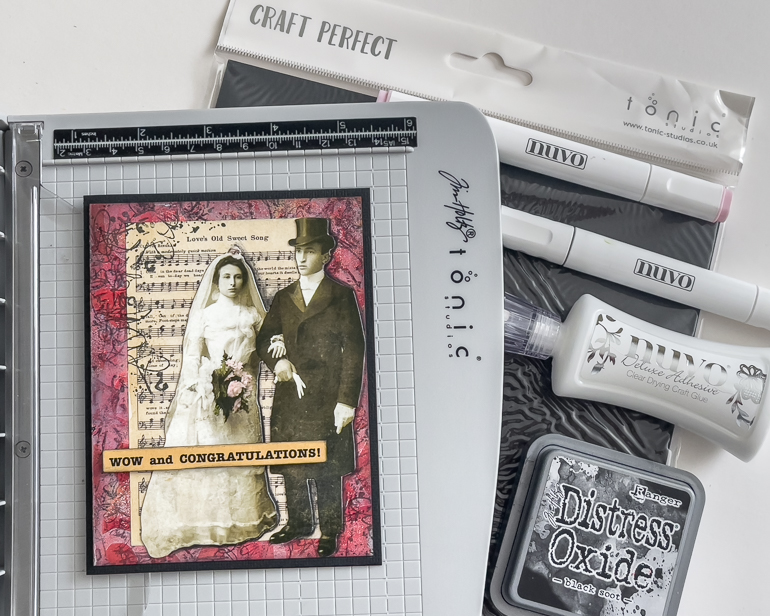
Kim here with a quick card share! This fun anniversary card came together pretty quick. My background is from a gel print I made last year. I often pull out my Ranger Gel Printing Plate and Ranger Dina Wakley Media acrylic paint and just play. These prints most often become backgrounds for cards, and itโs always great to have them on hand.On top of a black cardstock base, I layered up a piece of ephemera that I had on hand, then stamped some asemic writing [Paper Artsy stamp] ย with some Distress Oxide ย Ink. I found what I felt was the perfect couple from my Tim Holtz Paper Dolls collection and adhered it with Tonic Studios Nuvo Deluxe Adhesive [current FAV!!!!]. I quickly added soft colour to the brideโs flowers with my Tonic Studios Nuvo Alcohol Markers, they worked perfectly on the shiny surface of the paper dolls. I stained some…
Hello Creative Scrapbookers! Kim here with another puppy layout…I guarantee more will follow as my new puppy Kona is my current photography muse! I wanted to do some doodling for this layout, it’s a fun layer to the kraft paper I used as my base page! I pounced some gesso through the Dylusions daisy stencil using a makeup sponge. Once the gesso was dry I doodled away using my Zebra CLiCKART pens. Doodling is a fun way to turn off your brain while being creative! I took a page out of my Dylusions journal to use under my photos and as a fun way to document some text: EAT, SLEEP, PLAY! The Nuvo Deluxe Adhesive was perfect for adhering the sequin flowers and my Olfa Knife and Ruler get pulled out throughout the scrapbooking process, I LOVE straight lines and sharp cuts!My PUPPY title was easily made by adding Deco…
Hello Creative Scrapbookers! Kim here with a quick share of a recent layout inspired by the June 2022 Sketchy Challenge designed by Kerry Engel.This was a super quick layout to pull together, which was awesome when life is busy. Allowed me some creative head space as well as a sense of accomplishment when I add it to my album! I used a combination of Simply Stated Design papers and die cut embellishments and a few bits and pieces from my Ali Edwards stash. I just LOVE how easy it was to make these little embellishment clusters, there are so many lovely pieces to play with! My permanent tape runner from Scrapbook Adhesives by 3L was my adhesive of choice to keep all my parts together! I look forward to working with our second June Sketchy Challenge, stay tuned! Hopefully you are enjoying the beautiful issue of Creative Scrapbooker Magazine, if…
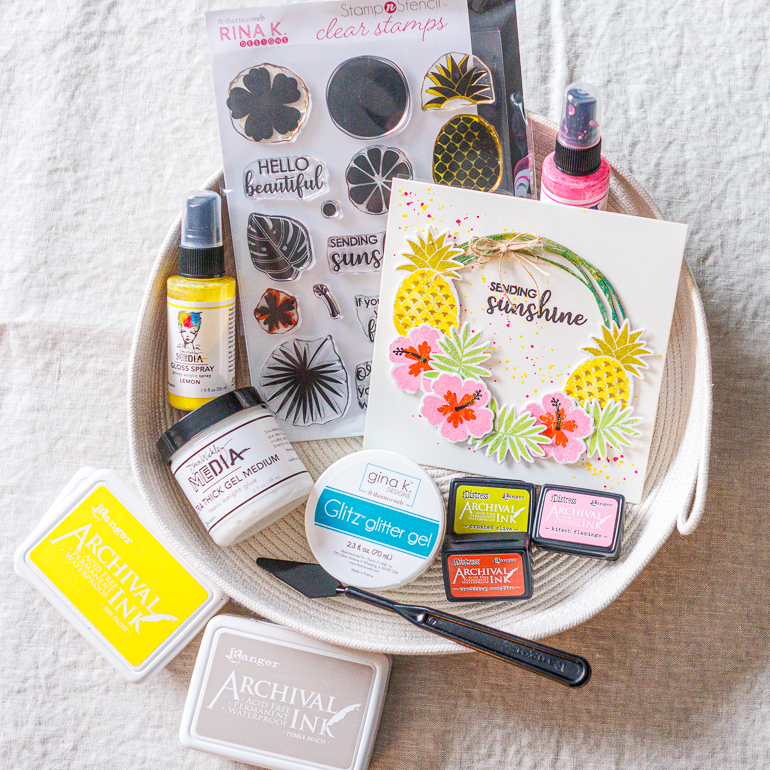
Hello Creative Scrapbookers! Kim here with a quick summery card! This card was too cute not to bring into the blog to share! I grabbed some things from my Therm O Web and Ranger stash and paired them for a fun outcome! I inked up a chipboard wreath from Southern Ridge Trading Company and adhered it to my card blank using Media Ultra Thick Gel Medium. Iโve been enjoying the ease of Tonic Studios Craft Perfect pre-cut & scored cards, they come in a variety of sizes, mine was 6×6. Now for the fun! I inked up my Therm O Web Rina K. Designs stamps using Ranger Archival inks in a variety of colours and layered them on Creative Scrapbooker Magazineโs Super Stock, this is a perfect weight card stock for cutting dies. After die cutting my images, I adhered them to the wreath with the Media Ultra Thick Gel…
Happy Tuesday friends! Kim Gowdy was on our latest web show – Scribble Sticks Gnome House Card creating this happy little fairy house card. Makes me want to see what is going on inside that adorable little house! Kim added the customized sentiment to her card using the (PT-P300BTAD). This little dude is a GAME CHANGER!One of the things I love about the P-Touch Cube is that the ribbon comes in different widths, colours, designs and textures! You can create labels that are thin or you can create labels that are thicker… all by changing out the ribbon cartridge. You can also change the colour of the ribbon, colour of the font, length of the ribbon, the font and so much more! Make everything custom or use one of the built in templates. TRULY making the possibilities ENDLESS with the Watch as Kim puta the Brother P-Touch Cube to work…
Adding journaling, sentiments or titles to your project has seriously NEVER been easier when you have the (PT-P300BTAD). This little dude is a GAME CHANGER!FAST, EASY, TONS of OPTIONS and the added bonus of printing on ribbon. Now if you just can’t find the right color or patterned that you are looking forย – Kim will show you how to change a glossy white label into a customized journaling strip that will work perfectly for your next project. TRULY making the possibilities ENDLESS with the Watch Kim in ACTION! https://www.youtube.com/watch?v=37IKphYAgFw Here is the final layout that Kim designed in her video using the to create the journaling strips. They used to be white and glossy – but no more!ย For more information on the P-Touch Cubeย PT-P300BTAD โ Happy label making my friends! Jackie Ludlage Join me in the Village of Inspired People!ย I would love to see you there!
Kim Gowdy was very buys this week creating spooky Halloween cards. One of her favourite things to do and you can tell! Check out this card she designed. How gorgeous! Kim designed the background using one of her gel mono prints she created using the Ranger Gel Printing Plate AND Ranger Dina Wakley Media Acrylic Paint. She stamped the Stampers Anonymous stamps on Deli Paper. Using Ranger Archival Ink. She then cut out the pumpkins and with hat and adhered them to the mono print using Ranger Dina Wakley Media Matte Gel Medium. Using Zebra Doodler’z Gel Glitter Pens she outlined all the stamped images. This made the images glitter! You can see it here. Next, for some more added fun Kim Added Tonic Studios Nuvo Glow Drops.When the lights turn off these little drops glow!ย How fun is that! Finally Kim, used her Tonic Studios Tim Holtz Guillotine Cutter…
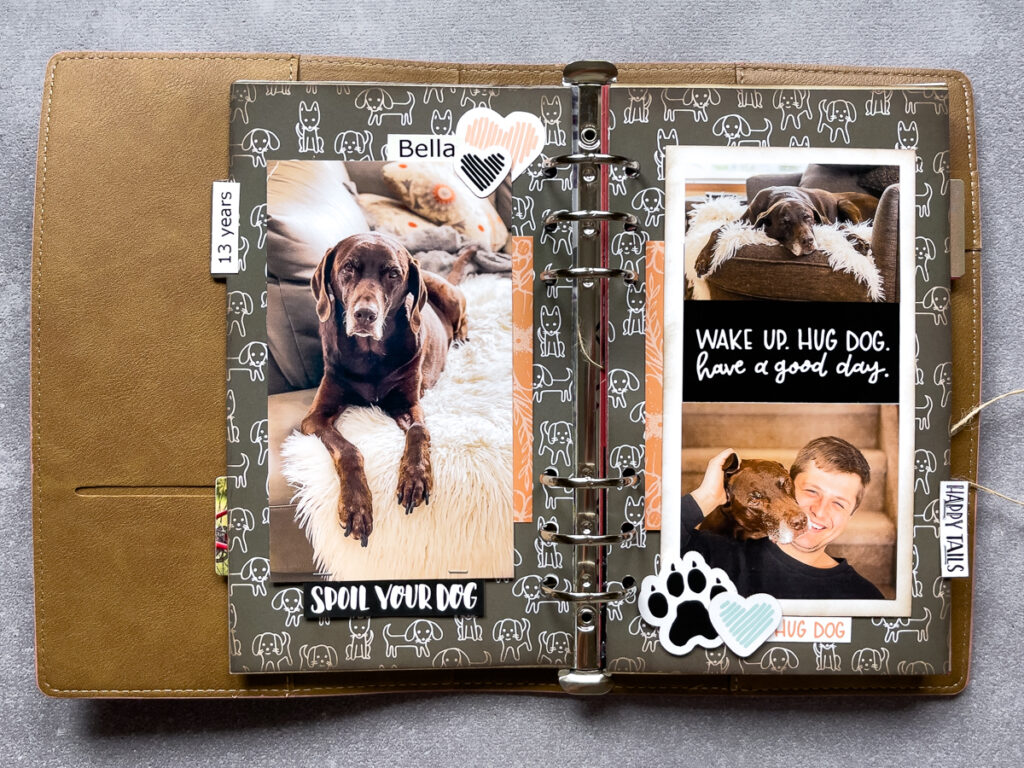
Size does matter, sometimes! There are times I want to create smaller than a 12×12. Not because itโs easier, because it works different creative muscles. I pulled out my planner from Elizabeth Craft Designs and used the July 2021 Sketchy Challenge as a starting point.When I work in the planner, I am always aware of what will โsplitโ down the center. Sometimes I will let photos or ephemera flow across the center if it doesnโt cut in an awkward place, i.e. splitting a person in half would not be good! Trust your brainโฆit will know right from wrong! Thanks for checking into my post! If you havenโt joined our Sketchy Challenge on Facebook, we welcome you! ~Kim
Hello Creative Scrapbookers! Kim here with a quick layout share inspired by the September Sketchy Challenge! When I use a sketch, my first goal is to make it my own! I rarely follow it exactly. When you see my layout, you may think it looks nothing like the sketch, but let me show you how I was inspired! I also challenged myself to use LOTS of product on this layout. I usually donโt use a lot of stickers, labels and die cuts on my layouts, but itโs good to step out of your comfort zone to work your creative brain! Let me show you my processโฆ Thanks for stopping by the Creative Scrapbooker Magazine blog to check out my layout. I hope it makes you look at sketches a bit differently I see sketches as a stepping stone to creative fun! Have a wonderful day! Do you have the latest…
Hello CSM scrapbookers! Kim here! It feels like itโs been so long since I last shared a projectโฆlikely because itโs so darn HOT in Alberta, which means my craft room is crazy hot! I melt in heat, making it hard to spend time there lately! Despite the heat, some Picket Fence Studio dies found their way to my room and called me to play. Both sets are designed for slimline cards, but as I played with them, so many ideas have come to mind for future scrapbooking use! My card is simple and FUN. My background was created with a cheap set of watercolour paints and Ranger water color paper. I literally just painted wide random stripes onto watercolour paper and let it dry. Using the two largest rectangle dies I cut my striped paper and a dark grey/black cardstock to create my background. Using an ephemera pack from the…