


Hey Creative Scrapbooker Fans!
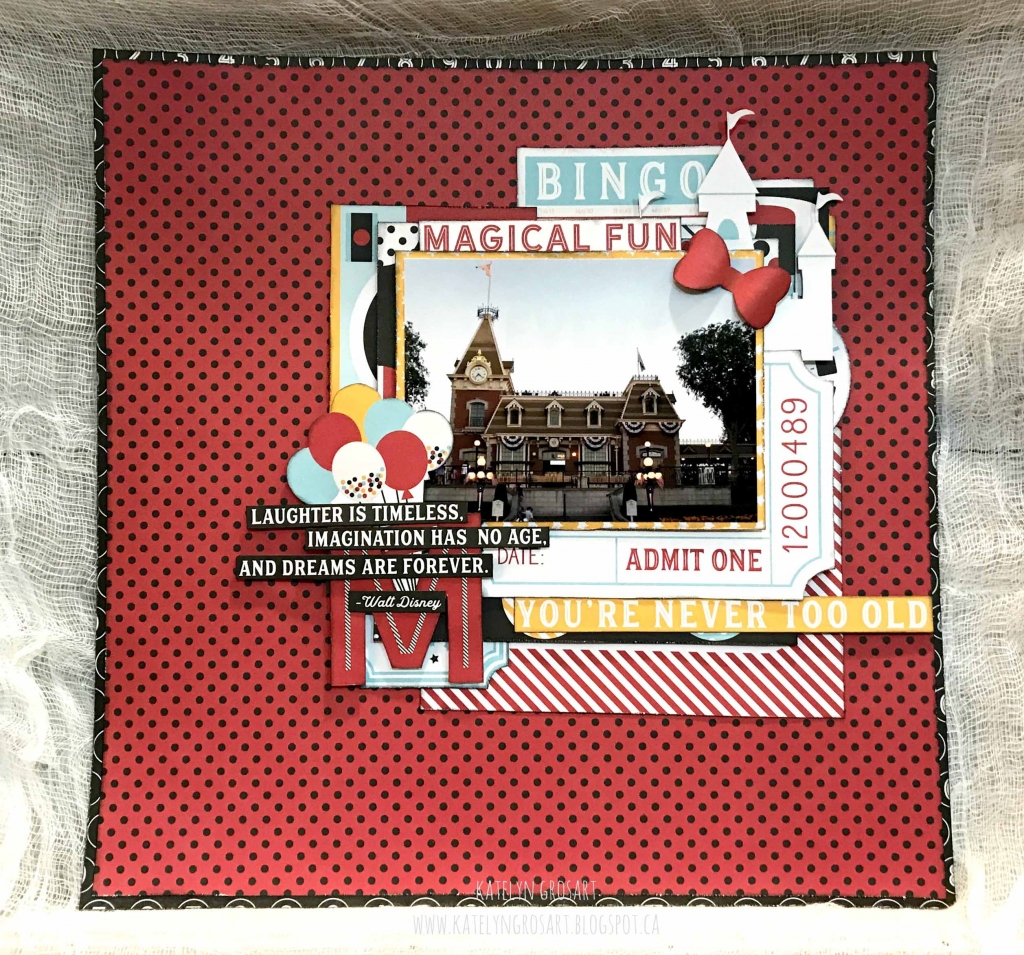
Summer holidays are almost here and I’m sure that many of you will be vacationing over the summer holidays at Disneyland with your family. So why not start by preparing some scrapbook layouts for your Disney vacation before you leave. Or if you already have those Disneyland photos to scrapbook, I hope that my Scrapbook Layout will inspire you to scrapbook those photos.
Using the Magic and Wonder Collection Kit from Echo Park some adhesive from Scrapbook Adhesives by 3L E-Z Runner Grand tape runner
 as well as a few products from Ranger Ink,
 I was able to create my Magical Fun scrapbook layout. You’ll want to grab a cup of your favourite beverage as I show you how I created some of the elements on my layout as well as I hope that I have inspired you to recreate this project in the comforts of your own home.
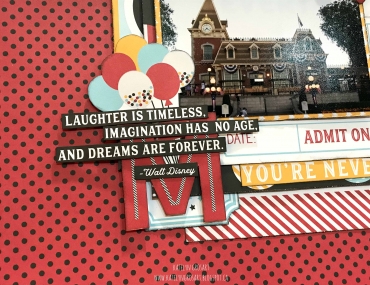
 To add some interest in the bottom left hand corner of the layout, I layered up a fussy cut set of balloons and a letter “M” underneath the quote. To create the quote, I used my paper trimmer to cut apart the quote from the border paper. Once the quote border was cut out, I trimmed the quote down to four strips and then layered them over top of the “M” and the balloons. You’ll also notice that all of the elements have been inked, I used Black Soot Distress Ink from Ranger Ink to ink the edges.
 In the bottom right hand corner of my layout, I cut the ticket image out of a 4”x6” card. This will allow you to do a bit of journaling as well as add a date to your layout. The “You’re Never Too Old” border is part of a longer border with quote from the border paper. I chose to cut the border off at the “old” portion as it fit with my layout the best.
 At the top of the layout just about the picture, you’ll notice that there are a variety of fussy cut images as well as some 3”x4” cards. Don’t be afraid to layer different elements to create extra depth and dimension. One of my favourite elements in the top portion of the layout is the castle and how you can see just parts of it.
 For the photo mat for the picture it’s from a 4”x6” card. Cut the card down to 4”x5 ¼” and then adhered the photo overtop. I found it easiest to adhere the Magical Fun title to the back of the 4”x5 ¼” card. To give the photo and photo mat some extra dimension, add photo squares behind the star photo mat. Have fun creating and making this layout to fit your own personal scrapbooking style. I love to fussy cut images and layer a variety of patterned paper to create lots of depth and interest on my layout. To create even more depth on your layout, foam square some of the images and adhere some images flat.Supplies Used:
Echo Park: Magic & Wonder 12×12 Collection Kit
Tim Holt for Ranger Ink: Black Soot Distress Ink and Blending Tool with Foam
Scrapbook Adhesives By 3L: EZ Runner Grand and 3D Foam Squares
Thanks so much for joining me today and I hope that you’re inspired to create this layout at home!You can find more of my work on my blog at: http://www.katelyngrosart.blogspot.ca
Happy Creating!
– Katelyn
SUBSCRIBE TODAY to our quarterly publication – delivered right to your door!


1 Comment
Really sweet layout Katelyn!