Welcome to the Creative Scrapbooker Magazine blog today. Its Karan Gerber and I thought I would share a Christmas Card with you using some products from Heartfelt Creations  My card is designed using the O Holy Night collection which was released last month.
 The mini poinsettias and leaves along with that delicate holly branch are from last year, but still one of my favorites go-to’s when doing Christmas Cards.
So let’s get started.
First, we will need to cut our papers, the card base is a 6×12 folded in half; the dark green is 5.75 x 5.75. I like the border the white automatically creates, if you prefer to have the green go to the full 6×6, that would look lovely too. The red is 5.25 x 5.25 and the wood looking paper is cut from the reverse of the center of this one and measures 5×5.
Using the Ornament Die set from Heartfelt; center the large die in the middle of the 5×5 wood grain paper and die cut out. Here is what it looks like after it has been die cut out.
  Using Ranger Aged Mahogany Distress Ink from Ranger, lightly ink the edges of the ornament. Using Gold Mirri Paper from HunkyDory die cut out the intricate die and using a die cut brush like Spellbinders Tool n One, poke out the extras
  Attach the gold mini die to the large one we cut from the card base and it will look like this.
 Let’s continue with stamping some poinsettias and holly. Using the holly cluster stamp and die set, stamp and cut out one set of the large poinsettias and 2 sets of the holly leaves on white card using Ranger Black Archival Ink.
  Color the poinsettias using Ranger Aged Mahogany Distress Ink.
  Using the Festive Holly Cardinal Set, stamp and cut out one of the branches. I colored the berries using a wink of Stella clear pen to add some shimmer. Color the leaves with Ranger peeled paint distress ink.
 Pierce the center of the poinsettias using the paper piercer to make room for the stamen, this is easier to do before misting the images as the paper can tear if you do this when the images are wet.
 Pierce center of poinsettia. Lightly mist and mold from the back. Insert stamen and a bit of glue. Detail with crystal clear when dry cut off the rest of the stamen and set in the center of the holly leaves. Using the O Holy Night Stamp and Die set. Stamp the image on Canson watercolor paper and use the wink the of Stella to color using your choice of Ranger Distress Inks. I used peeled paint; wild honey; vintage photo; Victorian velvet and a bit of broken china.
 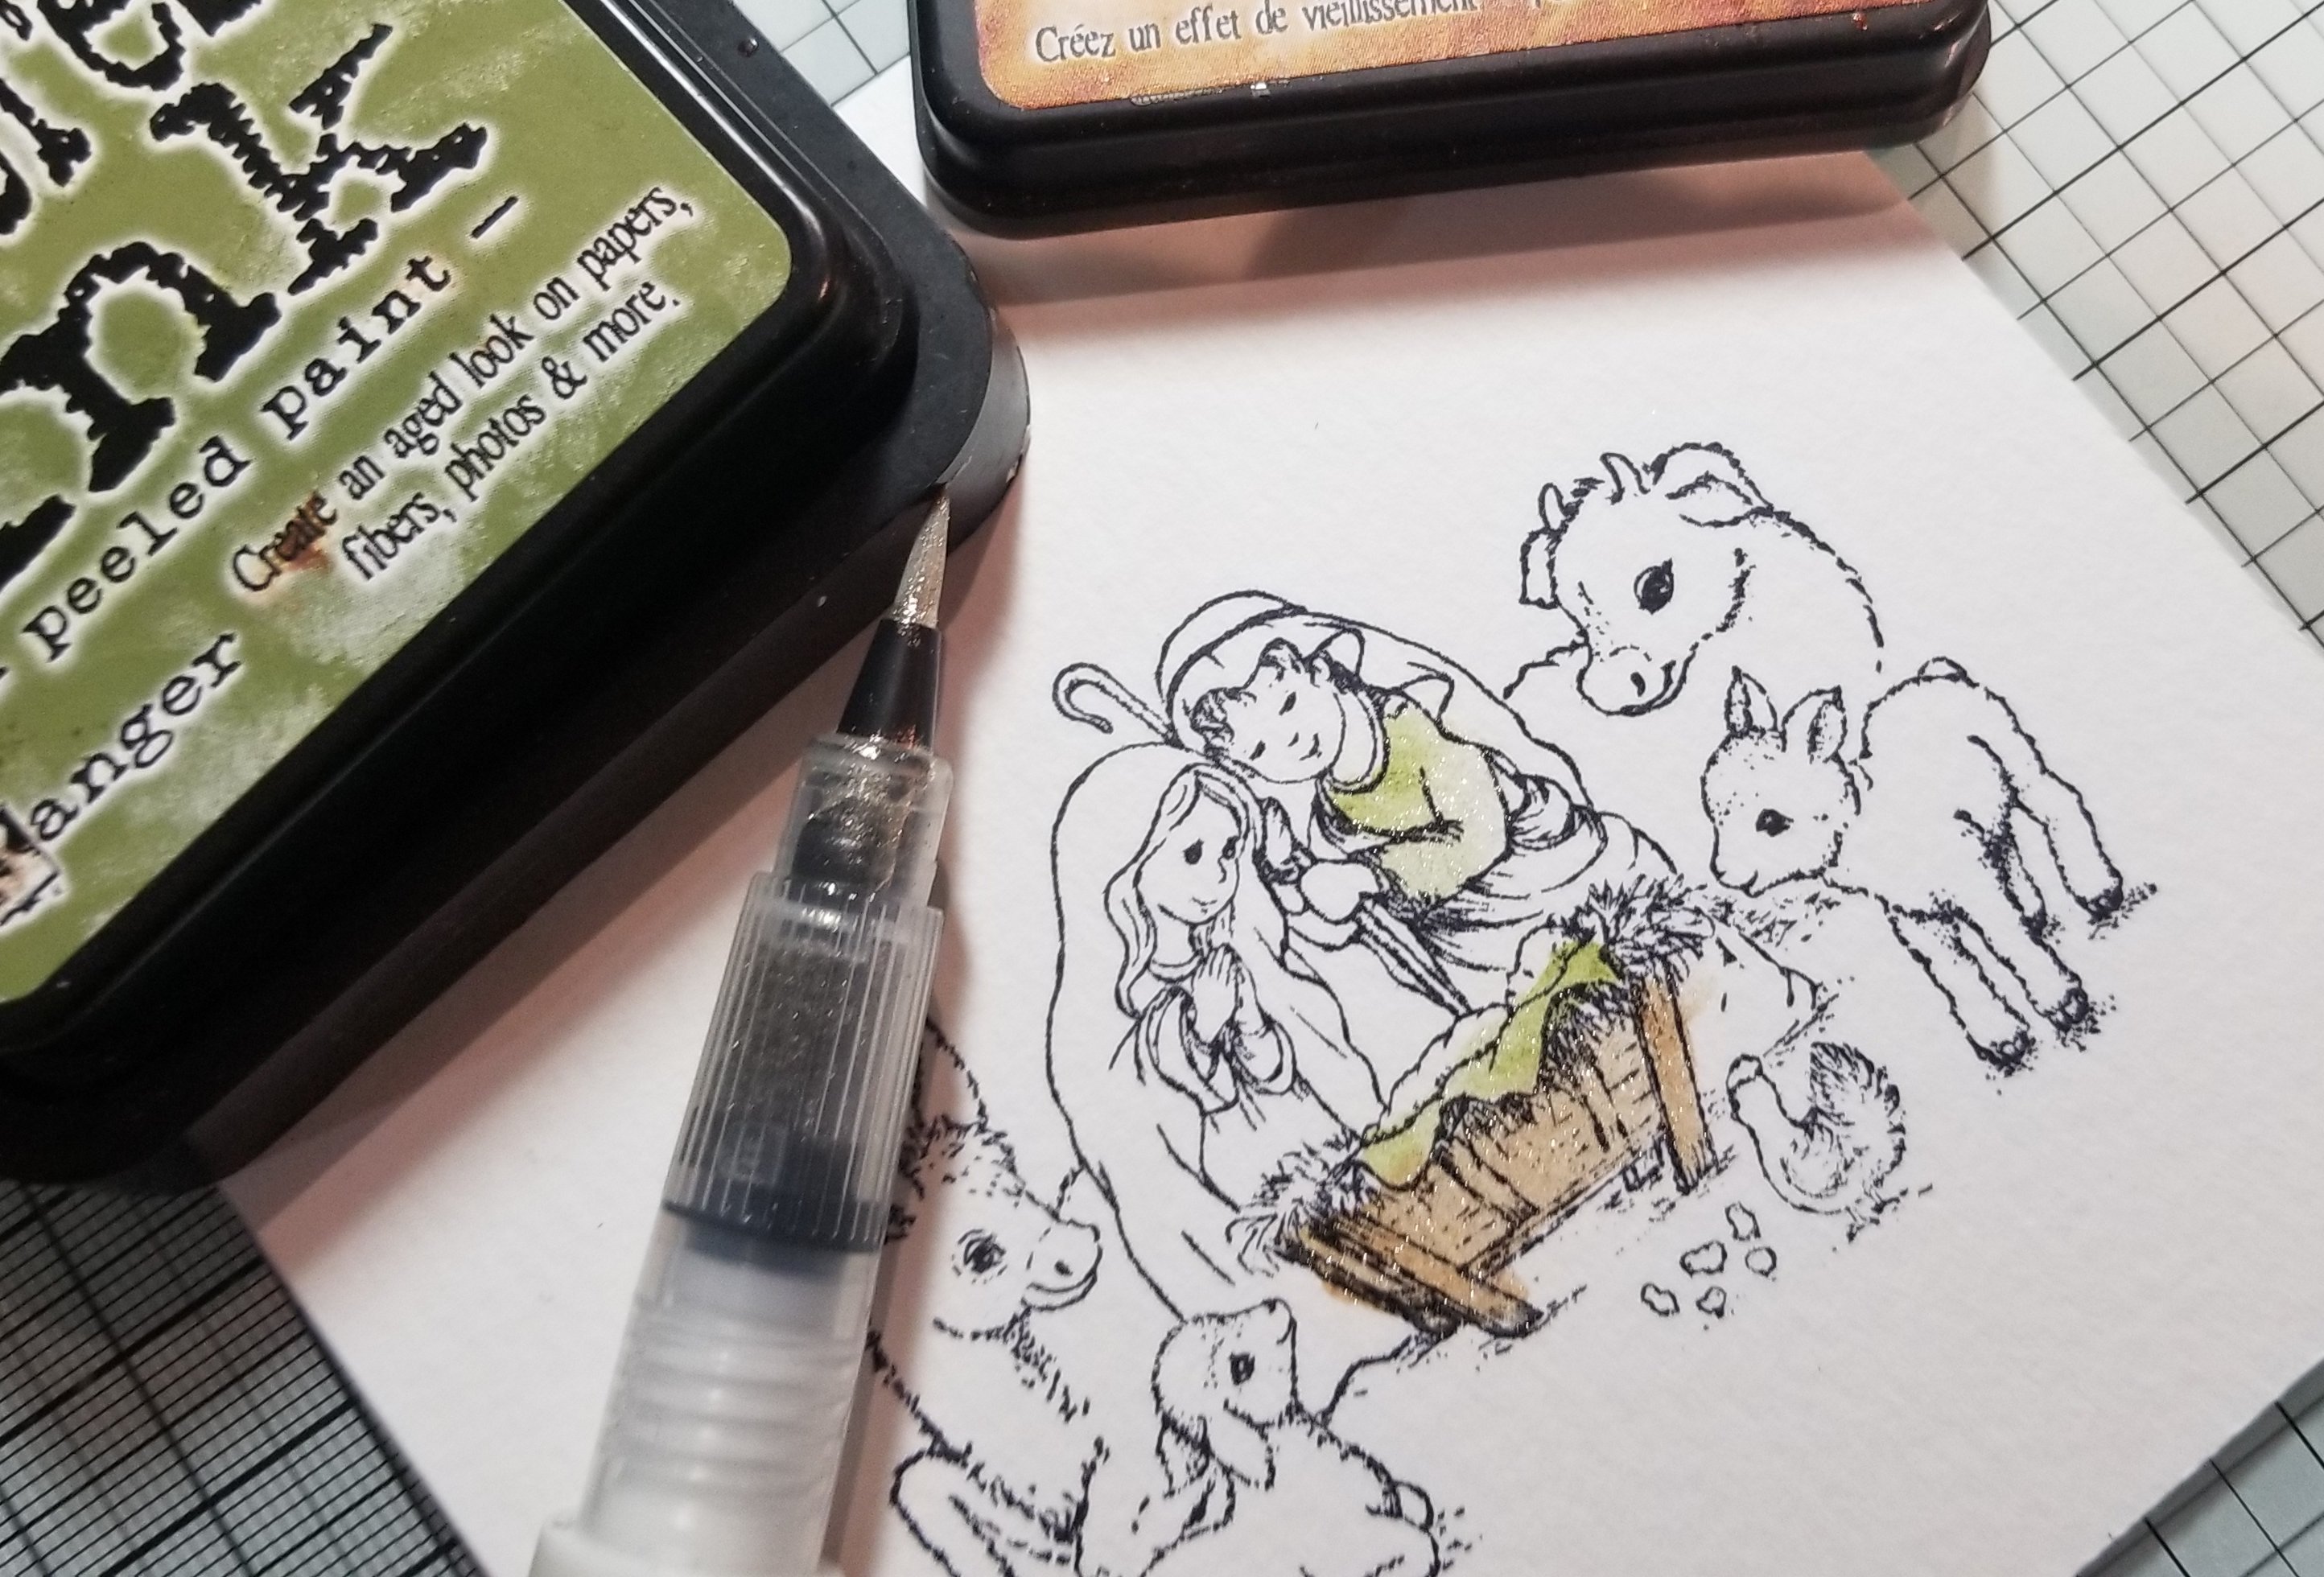 Don’t forget to cut out the sentiment from the border strip in the collection, I used Peace on earth but there are many others you can choose from too.
  Assemble your card and using foam adhesive pop the O Holy Night on top of the Ornament die as shown in my detail image below and your card is complete.
I hope you have enjoyed my card today.
Wishing you some happy holiday card making moments.

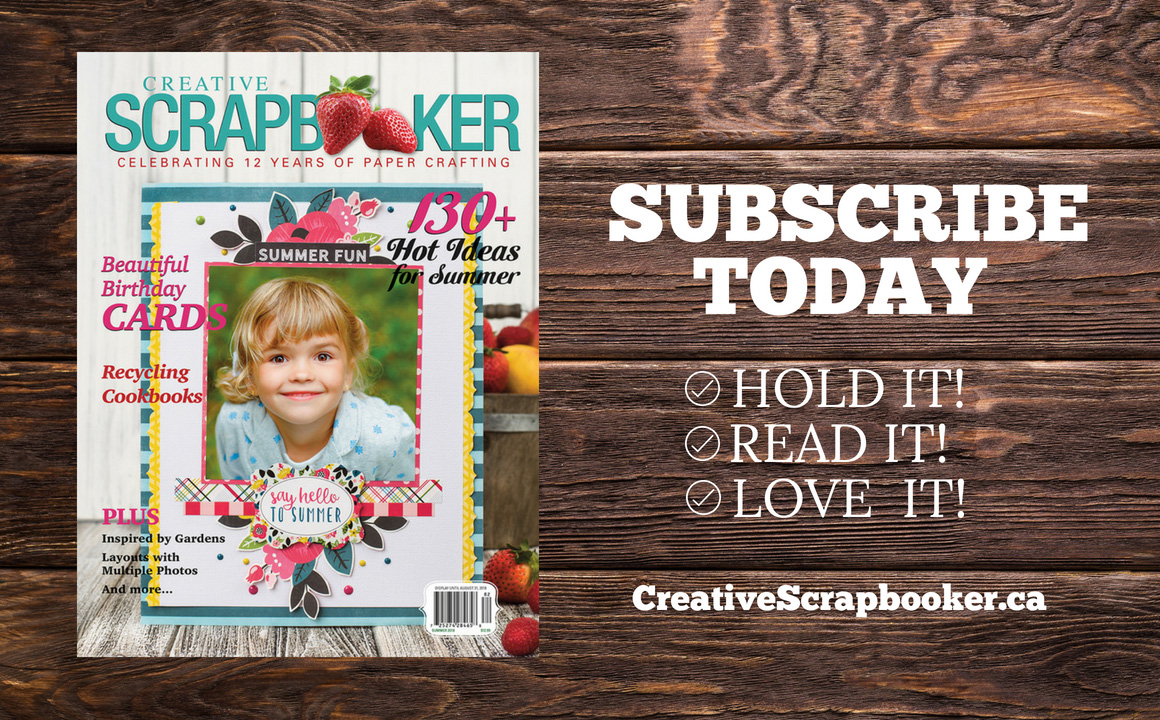
Subscribe today to Creative Scrapbooker Magazine – HOLD IT! READ IT! LOVE IT!