


Hey Creative Scrapbooker Fans! Halloween is only 3 days away and I’m excited to be back on the blog sharing with you my altered candle holder perfect to hang in any area of your home. The jumping-off point for my project was the collection Halloween Night from Wild Whisper
  Ink and blending tool by Ranger
  Dies from Elizabeth Craft Designs
  And adhesive from Scrapbook Adhesives by 3L
 I was able to create this Trick or Treat Altered Candle Holder. You’ll want to grab a cup of your favourite Halloween beverage as I share with you how to recreate my project at home.
To start, you’ll need a candle holder that is 4 ½” in diameter.  Next, you’ll need to pick two border strips off the bottom of two patterned papers out of the Halloween Night Paper Pack from Wild Whisper Designs. Cut one of the border strips down to 2 ¾”. Cut the other border strip down to 2 ½”. Ink the edges of both border strips using Black Soot Distress Ink and a blending tool with foam from Ranger Ink.
  Off of the Cut apart paper out of the Halloween Night Paper Pack from Wild Whisper Designs, you’ll need to fussy cut the large spider, blue skull and crossbones, the Absin label, the trick or treat square as well as another square that is the same size as the trick or treat square. Die cut the 2 ¾” Dashing Square from Elizabeth Craft Designs out of the Trick or treat square. Distress the edges of the two squares. Ink the edges of all of the pieces using Black Soot Distress Ink and a blending tool with foam from Ranger Ink.
  Off of the Label paper out of the Halloween Night Paper Pack from Wild Whisper Designs, you’ll need to fussy cut the deadly night, the deadly nightshade, poison, wood alcohol, poison laudanum, and D. Re. Distress the edges of all of the labels. Ink the edges of all of the labels using Black Soot Distress Ink and a blending tool with foam from Ranger Ink.
  Choose a piece of patterned paper out of the Halloween Night Paper Pack from Wild Whisper Designs. Die cut a 3 ¾” Dashing Circle from Elizabeth Craft Designs out of the paper. Distress the edges of the circle. Ink the edges of the circle using Black Soot Distress Ink and a blending tool with foam from Ranger Ink.
  Next, you’ll need the spider paper out of the Halloween Night Paper Pack from Wild Whisper Designs. Die cut a 4 ¼” Dashing Circle from Elizabeth Craft Designs out of the paper. Fussy cut five spiders from the same patterned paper. Distress the edges of the circle. Ink the edges of the circle and spiders using Black Soot Distress Ink and a blending tool with foam from Ranger Ink.
  Off of the skull paper out of the Halloween Night Paper Pack from Wild Whisper Designs, you’ll need to fussy cut two skulls out. Ink the edges of the skulls using Black Soot Distress Ink and a blending tool with foam from Ranger Ink.
  Out of the Halloween Night Flair from Wild Whisper Designs, you’ll need to choose three buttons.
  Off of the bottle paper out of the Halloween Night Paper Pack from Wild Whisper Designs, you’ll need to fussy cut seventeen bottles out, all of varying sizes. Ink the edges of the bottles using Black Soot Distress Ink and a blending tool with foam from Ranger Ink.
  The last element you’ll need is to die cut two Spider Webs from Elizabeth Craft Designs out of black cardstock. When looking at the first spider web, you’ll need to cut the smallest web out. When looking at the second spider web, you’ll need to cut the middle web out. Cut the middle web into two pieces.
  Use E-Z Runner from Scrapbook Adhesives by 3L to adhere to the 3 ¾” circle to the 4 ¼” circle. Use Foam squares from Scrapbook Adhesives by 3L to adhere to the 4 ¼” circle to the middle of the candle holder.
  Use E-Z Runner from Scrapbook Adhesives by 3L to adhere the white nightshade label to the middle of the 3 ¾” circle. Use Foam squares from Scrapbook Adhesives by 3L to adhere the 3” square to the middle of the 3 ¾” circle. Use EZ Runner from Scrapbook Adhesives by 3L to adhere the absinth label to the middle of the 3” square. Use Foam squares from Scrapbook Adhesives by 3L to adhere the 2 ¾” square to the middle of the 3” square. Use EZ Runner from Scrapbook Adhesives by 3L to the deadly blue label to the top portion of the 2 ¾” square. Use EZ Runner from Scrapbook Adhesives by 3L to adhere the 2 ¾” border strip underneath the 2 ¾” square. Use EZ Runner from Scrapbook Adhesives by 3L to adhere the 2 ½” border strip slightly overtop of the 2 ¾” border strip.
 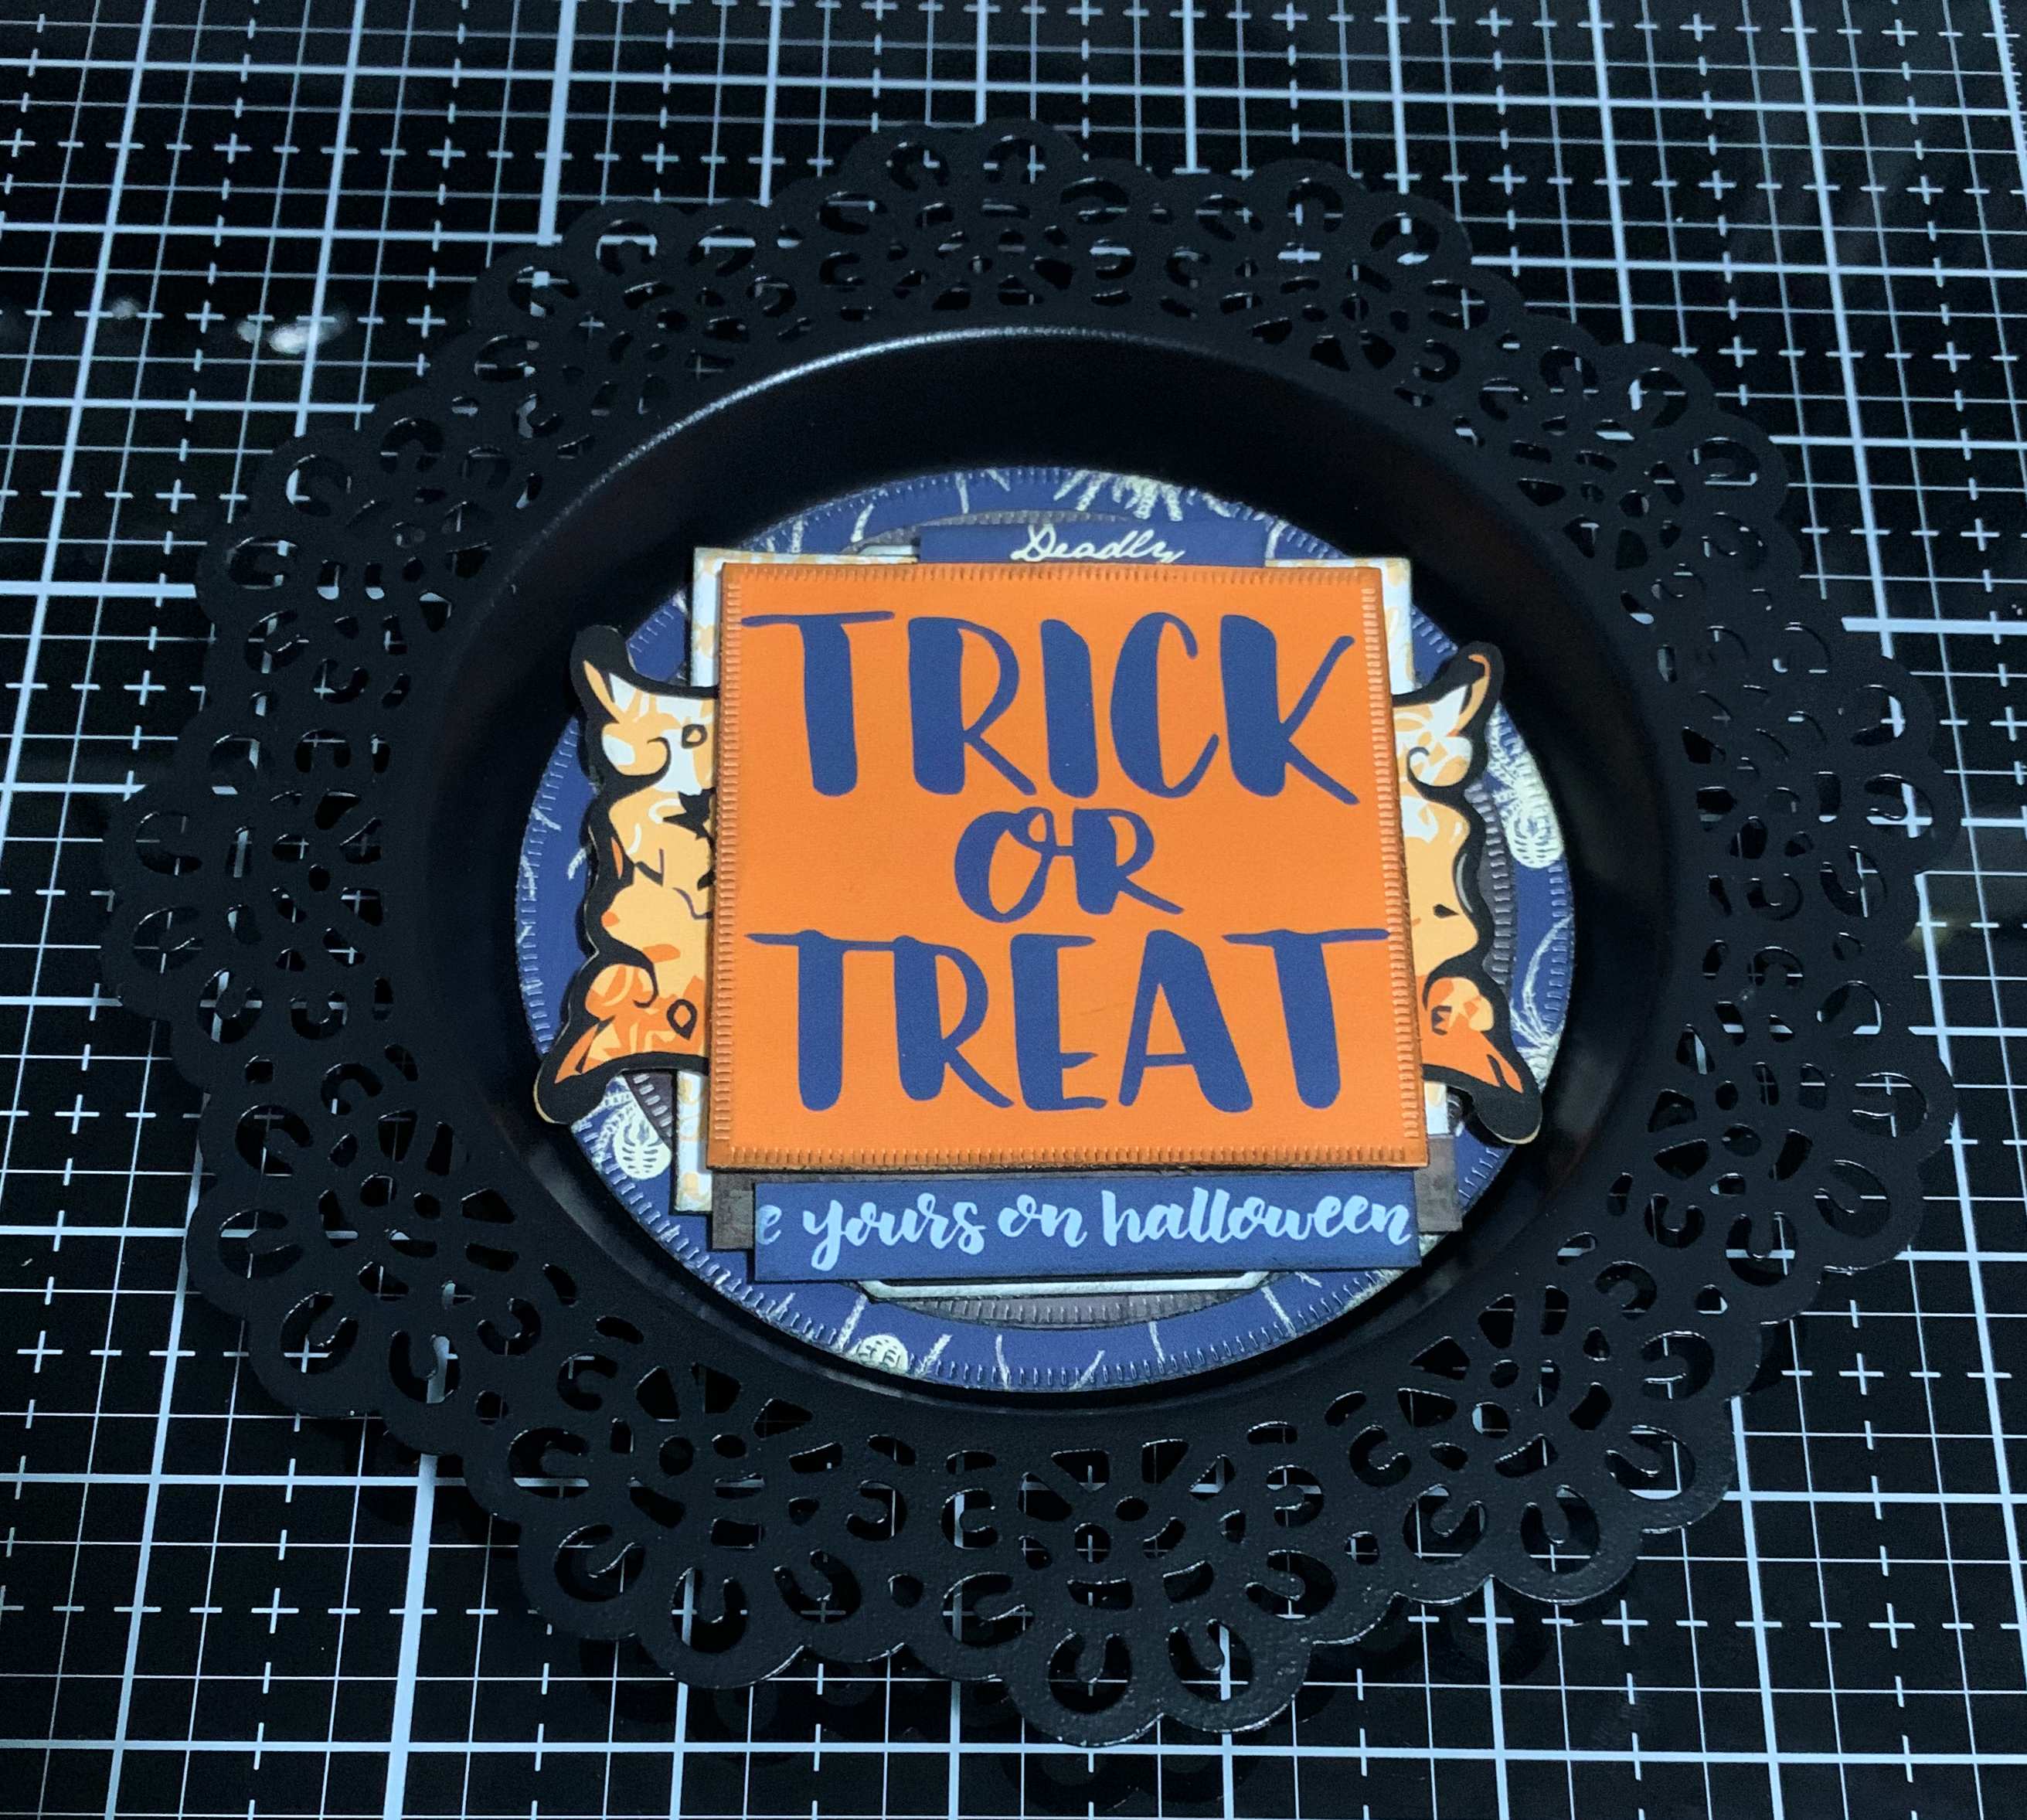 In the top left corner of the candle holder, use E-Z Runner, Dodz, 3D Foam Squares and thin 3D Foam Squares from Scrapbook Adhesives by 3L to adhere the D.RE label, small whole spider web, two flair buttons, large spider, two small spiders, five bottles and one skull as desired.
  On the right side of the candle holder, use E-Z Runner, Dodz, 3D Foam Squares and thin 3D Foam Squares from Scrapbook Adhesives by 3L to adhere the poison laud label, wood alcohol label, poison label, the two halves of the spider web, one flair buttons, three small spiders, twelve bottles, the skull and crossbones and one skull as desired.
 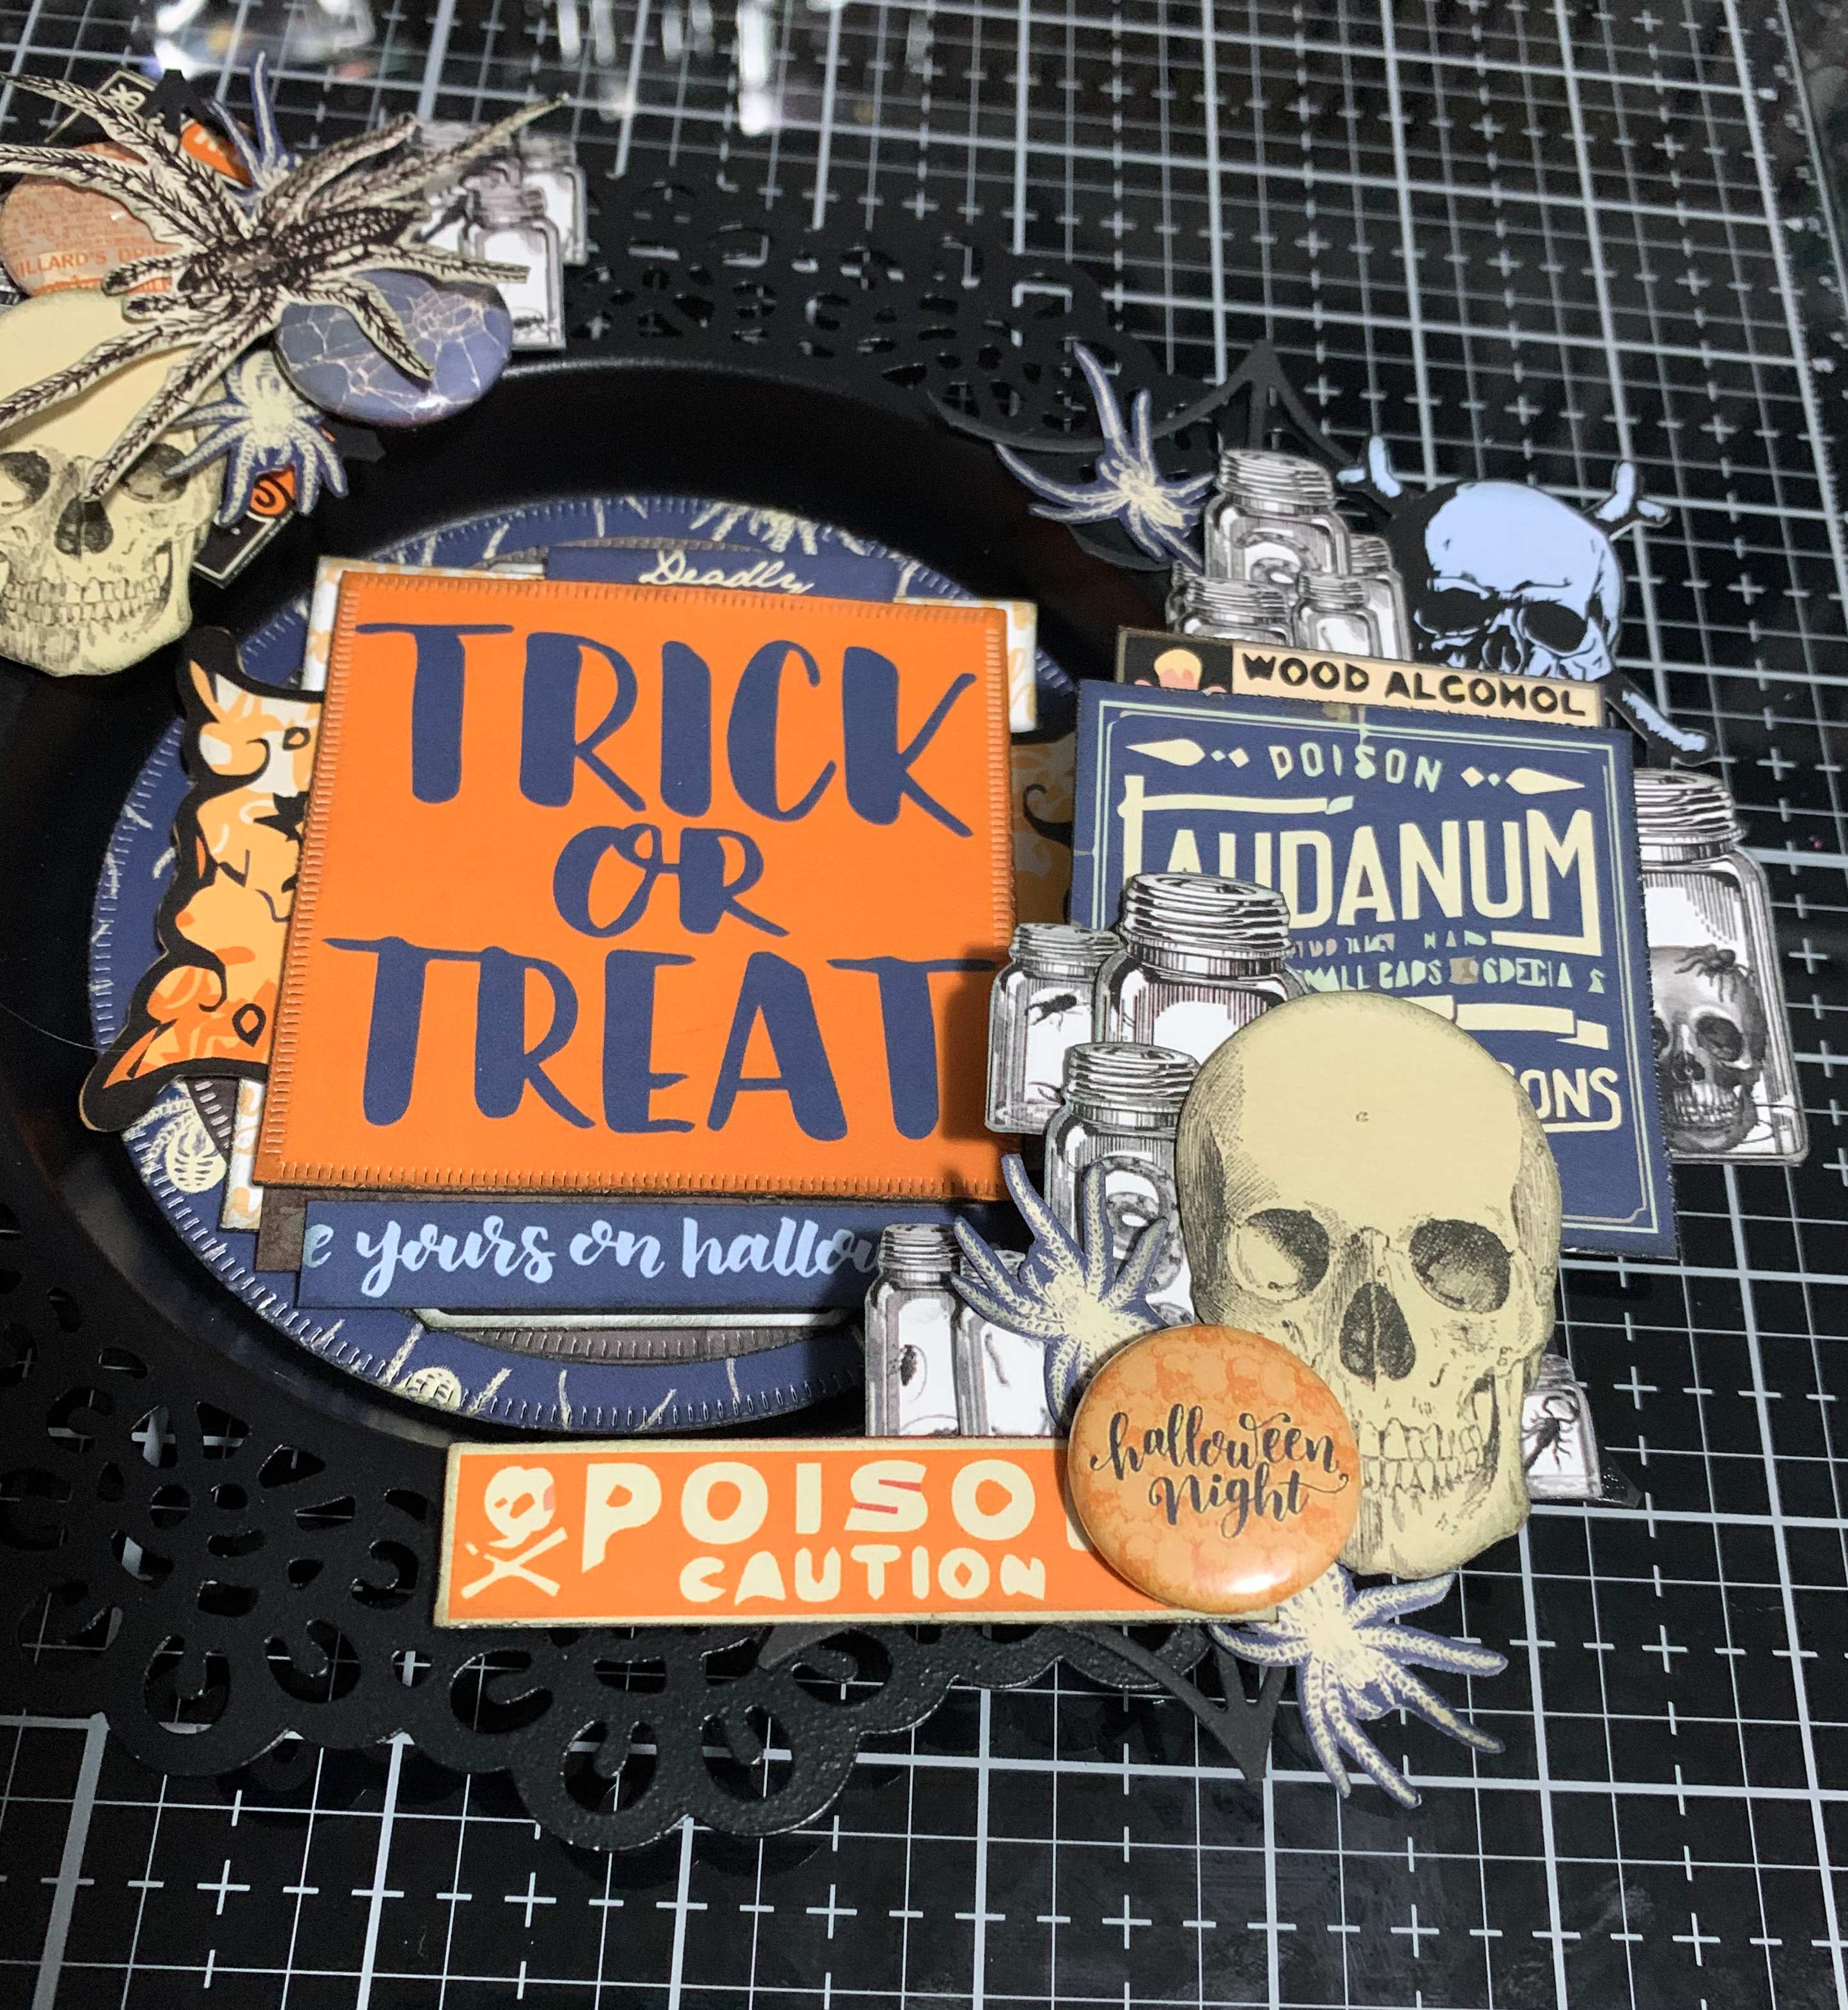 Here are a few closeup photos of mt Trick or Treat Altered Candle Holder.
  Thanks so much for joining me today and taking the time to check out my blog post. I hope that my Trick or Treat Altered Candle Holder has inspired you to recreate your own at home. Supplies Used:
Wild Whisper Designs: Halloween Night Paper Pack and Halloween Night Flair
Ranger Ink: Black Soot Distress Ink & Blending Tool with Foam
Elizabeth Craft Designs: Dashing Circles, Dashing Squares, and Spider Web
Scrapbook Adhesives by 3L: 3D Foam Squares, Thin Foam Squares, E-Z Runner Permanent Tape and Dodz.
Misc: Candle Holder
You can find more of my work on my blog at: http://www.katelyngrosart.blogspot.ca
Happy Creating!

Subscribe today to Creative Scrapbooker Magazine


3 Comments
Love the project.
Like your Halloween crafts
Wow Katelyn, this is stunning. What a great idea, I love this!
Thank you so much for sharing and have ah Happy Halloween!