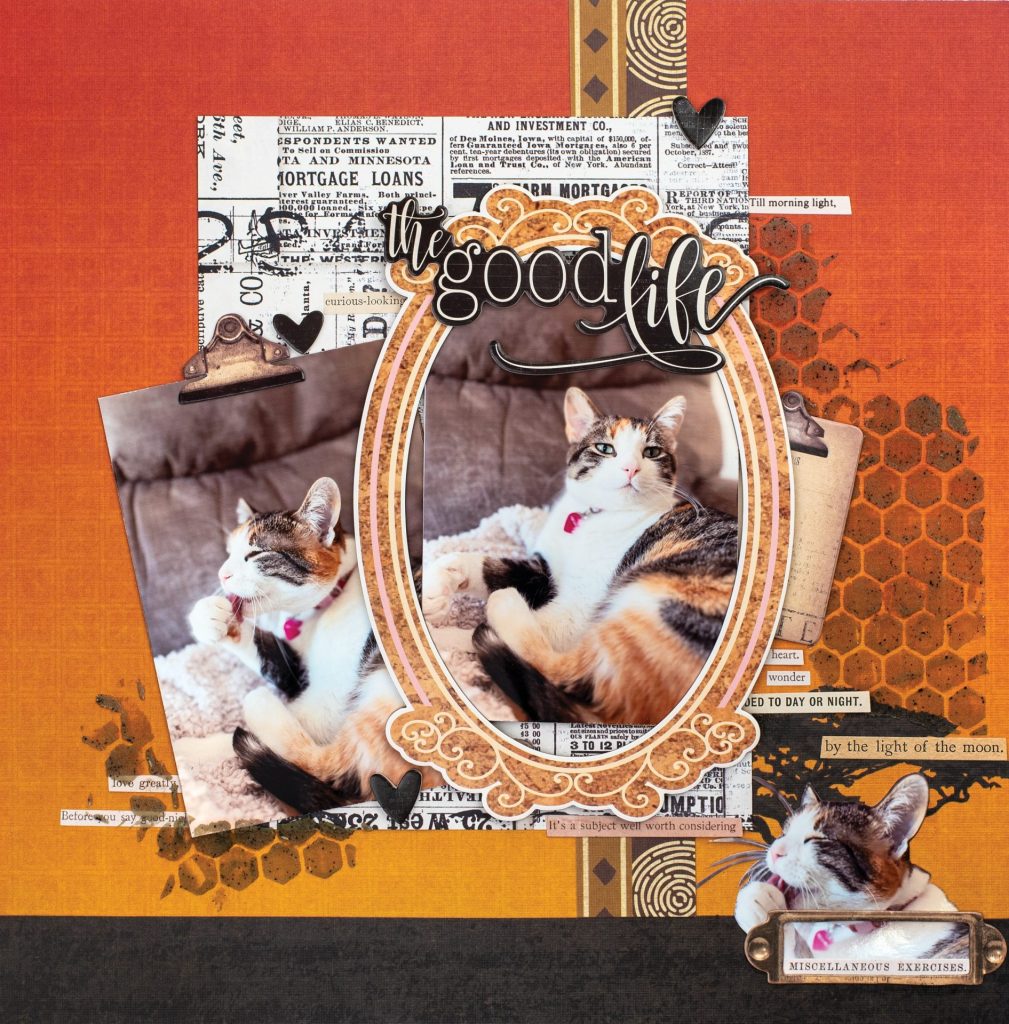
Welcome to The Good Life, where naps are an art form and texture steals the show! Designer Desiree Saskiw captured her pampered feline’s best “I run this house” poses in a warm, layered layout that’s equal parts cozy and cool. Desiree reached for her Ranger Distress Grit Paste – Crypt and the Stampers Anonymous Tim Holtz Honeycomb Stencil to create that perfectly imperfect background texture. The subtle raised hexagons add just enough grunge to balance out the soft, snuggly photos — proving that even the fluffiest cat deserves a little edge. The layout’s fiery oranges and vintage neutrals come together with Simple Stories and DCWV patterned papers, plus a sprinkle of Tim Holtz Idea-ology stickers and dimension from Scrapbook Adhesives by 3L. The result? A purr-fectly balanced mix of grit, warmth, and feline fabulousness. So grab your stencils, your pastes, and maybe your favorite nap buddy — because The Good…
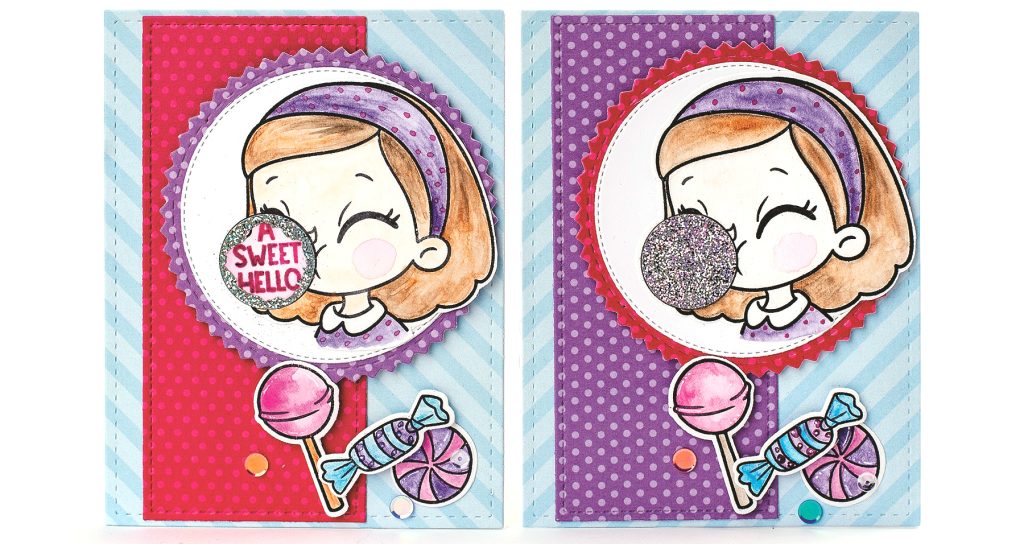
Create a playful interactive card with scratch away stickers! In this Technique Tasters #400 video, designer Karla Yungwirth shares how to make a cheerful candy-themed card using stamps, dies, and patterned paper from Pink & Main. The project highlights the Pink & Main Chews You Stamp Set and Coordinating Dies, Complete with glittery Pink & Main Scratch-Off Stickers for a magical reveal! Whether you’re new to cardmaking or an experienced crafter, this project is packed with inspiration, colour, and dimensional fun. You can watch the entire creative process in the How-to Video — perfect for learning step-by-step techniques and seeing the scratch-off element in action! https://www.youtube.com/watch?v=Bv63he9zcAs 🍬 Techniques Featured Cardmaking with coordinating dies Scratch-away sticker interactivity Watercolour colouring with Distress Pencils Die cutting and layering Heat embossing and stamping Mixed media accents with sequins and stickers ✨ Let your creativity shine with this joyful Pink & Main scratch-away sticker tutorial…
Autumn Folder Page is a warm, layered project designed by Els van de Burgt for Creative Scrapbooker Magazine’s Fall issue. This beautiful folder page captures the cozy charm of autumn with its rich florals, woodland birds, and clever construction using dies from Elizabeth Craft Designs. Get inspired to create your own Autumn Folder Page with this step-by-step guide — perfect for preserving fall memories and photos in style. Supplies Elizabeth Craft Designs2263 Bloom File Folder2278 Pocket with Flowers2277 Border Page with Flowers2281 Page with Large Tab 2CS420 Best Kind of DaysCS419 WildflowerCS418 Postage Stamps 31988 Reinforcement Pack 3C027 Autumn Harvest Paper PackP029 Taupe Planner Other SuppliesVersafine Clair Ink – Fallen LeavesRanger Distress Oxide Ink – Vintage PhotoB-7000 Multi-Purpose Adhesive – Crystal Clear (for magnets)Regular GluePigma Micron Pen Step-by-Step Instructions Step 1 – Die Cut & Matte Your Photos Die cut your tags using the Bloom File Folder Die Set. Trim…
WINNER – Jennifer Kosko This week’s Why Not Win Wednesday – SICKE WITH THE BEST — literally! Our friends at Scrapbook Adhesives by 3L® are giving one lucky crafter an incredible $151.59 prize package filled with their most trusted adhesives and crafting must-haves. From innovative E-Z Runner® dispensers to 3D Foam adhesives and metallic transfer foils, this collection is designed to help you create with precision, dimension, and confidence. Whether you’re cardmaking, scrapbooking, or experimenting with mixed media, these products make every project come together beautifully. CLICK HERE to enter your name into the draw! Don’t wait — contest closes Friday, October 10th at MIDNIGHT MDT!. Good luck my friends! Is your Creative Scrapbooker Magazine collection missing a gem? Don’t let that gap stare at you from the shelf. Back issues are calling your name—grab the one you’re missing and complete the story!
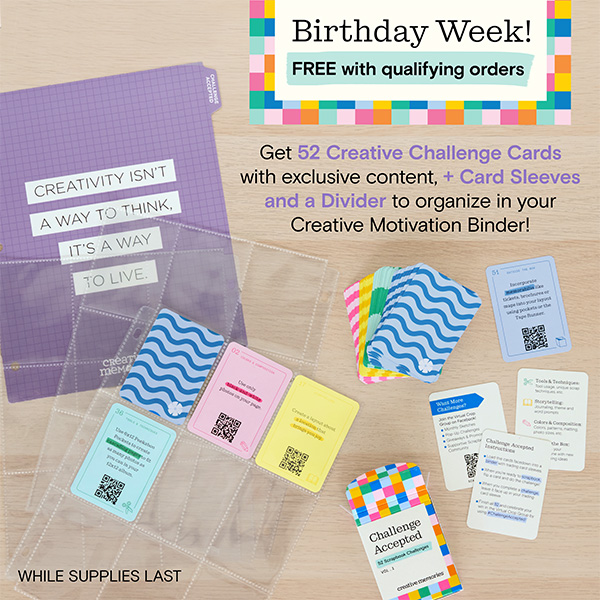
Creative Memories Birthday Week is here — and it’s packed with exclusive FREE gifts that will keep your creativity flowing all year long! From October 6–14 (starting and ending at noon CT or while supplies last), and October 7–14 in Australia (4am–midnight AEDT), shoppers can receive a limited-edition Challenge Accepted Birthday Week Bundle absolutely FREE with qualifying orders. 🎁 Spend & Get – While Supplies Last! When you spend $120+ USD | $145+ CAD | $215+ AUD, you’ll receive the Challenge Accepted Bundle at no cost. Inside this inspiring bundle, you’ll find the Challenge Accepted, Vol. 1 Card Deck — the first-ever 52-card deck featuring Creative Memories’ refreshed logo and vibrant new colors. Each card includes a QR code linking to exclusive project ideas, tutorials, and creative prompts that you won’t find anywhere else. ✨ What’s Inside the Free Gift Your Challenge Accepted Birthday Week Bundle includes: 52 Creative Challenge…
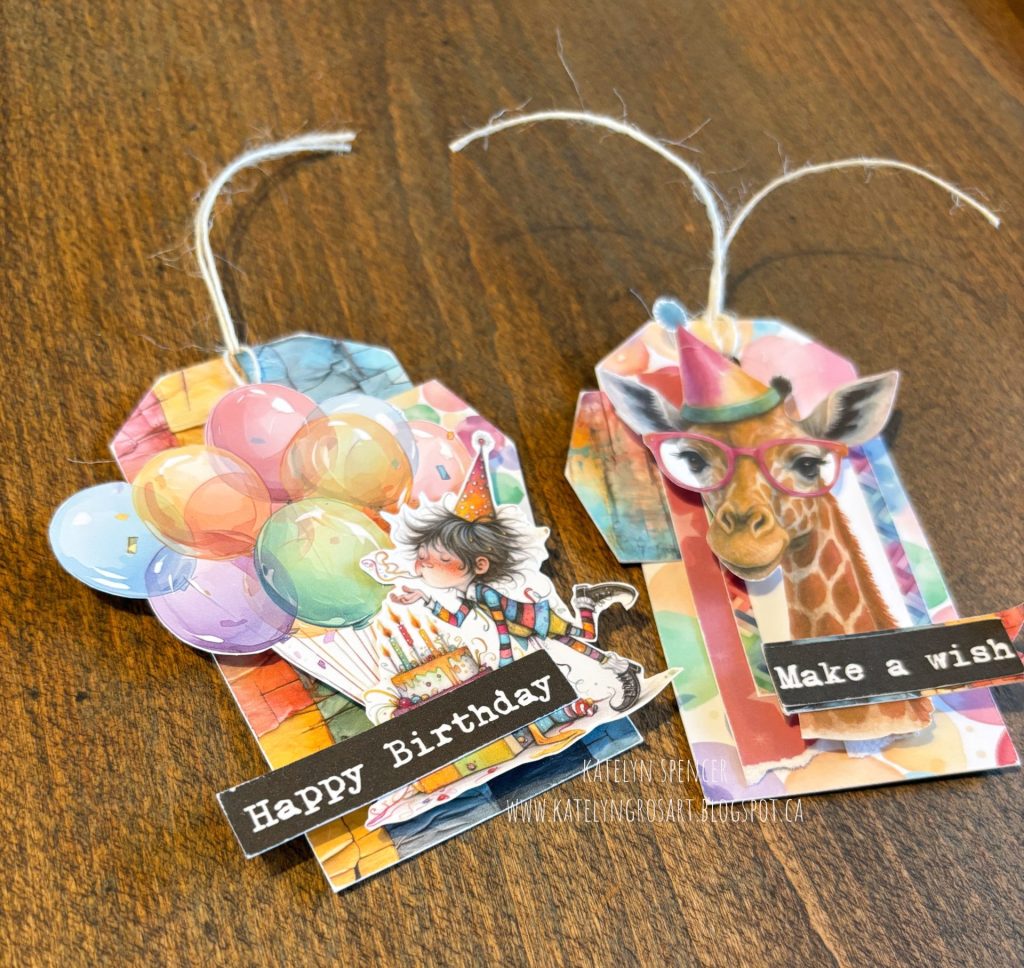
Birthday Gift Tags are a fun and creative way to personalize your presents, and today designer Katelyn Spencer is here to show you how to make your own! These playful tags feature the Age Is Just A Number Collection and Party Time Ephemera from Simply Stated Desgin.Along with adhesives from Scrapbook Adhesives by 3L. Grab your favourite beverage and follow along step by step to recreate these vibrant birthday tags at home. Happy Birthday Tag The first tag we’ll create is the Happy Birthday Tag. Out of the Age Is Just a Number Essentials Ephemera from Simply Stated Design, you’ll need the peeling paint tag, dot banner and happy birthday sentiment. Sand the edges of all three elements. Next, you’ll need the Age Is Just a Number Balloons Ephemera from Simply Stated Design, choose one of the medium sized balloon bunches. I cut around the balloons to get rid of…
Congratulations to this week’s lucky winner – Tamera Gullett It’s treat season, and we’ve got something special for you! Creative Scrapbooker Magazine has teamed up with Simple Stories for a giveaway you don’t want to miss. One lucky winner will take home a Simple Stories prize package filled with goodies from the Spooky Things and Fun Times collections. From Halloween fun to everyday celebrations, this bundle includes patterned papers, stickers, chipboard, embellishments, and more. Whether you’re a scrapbooker, cardmaker, or paper-crafting enthusiast, these collections are packed with everything you need to make your projects shine. ✨ Click here to enter to win. ✨ Don’t wait — contest closes Friday, October 3rd at MIDNIGHT MDT!. Enter now for your chance to bring home this Simple Stories prize and add some spooky-fun magic to your craft room! Good luck my friends! Is your Creative Scrapbooker Magazine collection missing a gem? Don’t let…
Ready to get crafty? Designer Karla Yungwirth shares a bold and vibrant Retro Carnival ATC project that you can make today. Using Lindy’s Gang sprays, OLFA Craft Scissors, Stampers Anonymous Tim Holtz stamps, and Ranger Distress watercolor pencils, you’ll create a set of mini works of art perfect for swapping, gifting, or keeping for yourself. ✨ Best of all—you can grab the free printable PDF tutorial with step-by-step photos at the end of this post! Supplies You’ll Need Stamps: Stampers Anonymous Tim Holtz Retro Carnival + Noteworthy Sprays: Lindy’s Gang Starburst Sprays – Tainted Love, Freaky Franken-Lime, Hag’s Wart Orange Paper & Inks: Ranger Dylusions Mixed Media Cardstock, Archival Ink Coloring: Ranger Tim Holtz Distress Watercolor Pencils Adhesives & Finishes: Ranger Collage Medium, Distress Sprayer, Glossy Accents Tools: Sizzix Trimmer, Sizzix Stamp & Stencil Tool, OLFA Craft Grid Ruler, Scissors, Stamp Block, Ranger Heat It Tool Extras: Zebra Pen Mechanical…
Let’s be real—every crafter needs a go-to flower set. The kind you can pull out when you want something quick, cheerful, and super versatile. That’s exactly what you get with Art Impressions Long Stem Florals. These little blooms might look simple, but wow, do they pack a punch! In the Fall issue of Creative Scrapbooker Magazine, Cathie Allan showed off just how handy these stamps can be. She used the Long Stem Florals on both a scrapbook page and a card, and honestly, it’s the kind of set you’ll reach for again and again. Why We’re Loving Long Stem Florals – They play nice with everything – scrapbook layouts, cards, tags—you name it. – Speedy crafting – perfect for those “oops, I need a card NOW” moments. – Sweet and subtle – add just the right touch without taking over your design. Cathie’s Projects from the Fall Issue Scrapbook Layout—“Kickin’…
If you love adding shimmer and shine to your handmade projects, then you’ll adore these fabulous foiled cards. In this step-by-step tutorial, designer Karla Yungwirth shows how to combine Therm O Web Deco Foil products, Zebra Pen Mildliners, OLFA Craft Cutting Tools, and Creative Scrapbooker Super Stock to make cards that sparkle with style. Step-by-Step Process Trim Your FoilsStart with an OLFA cutting mat, knife, and grid ruler to cut Therm O Web Deco Foil transfer sheets to size. Foil Your DesignsPlace Deco Foil transfer sheets shiny side up over Therm O Web Poly-Glaze and Toner Sentiment card fronts. Insert them into Deco Foil Carrier Sheets and run through a laminator for a perfect transfer. Add Color with MildlinersUse Zebra Pen Mildliners to bring your foiled Poly-Glaze designs to life. Their soft, blendable colors add depth and charm to floral patterns. Create a Foiled BaseFor a polished look, foil a…