


What do you get when you mix Art Impressions Rubber Stamps with Simple Stories?!?!? A charming little card that makes you feel like spring!  To create the card I cut a card front from a piece of pink striped patterned paper from the Simple Stories Bunnies & Bloom collection.
 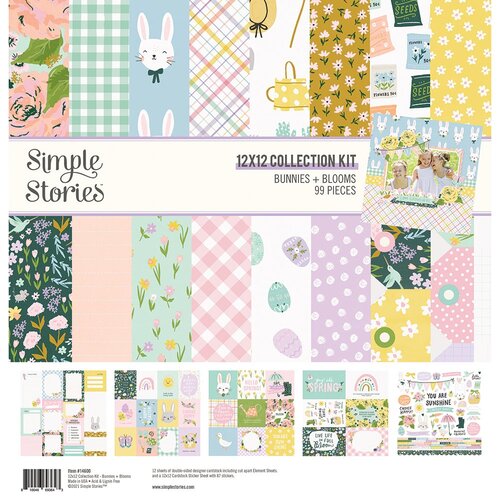 I cut the same size card front from Ranger Simon Hurley Create Stark White cardstock.
  Using a Sizzix Framelits circle die, I cut out a circle window in the upper portion of both the card fronts – in the exact same spot.
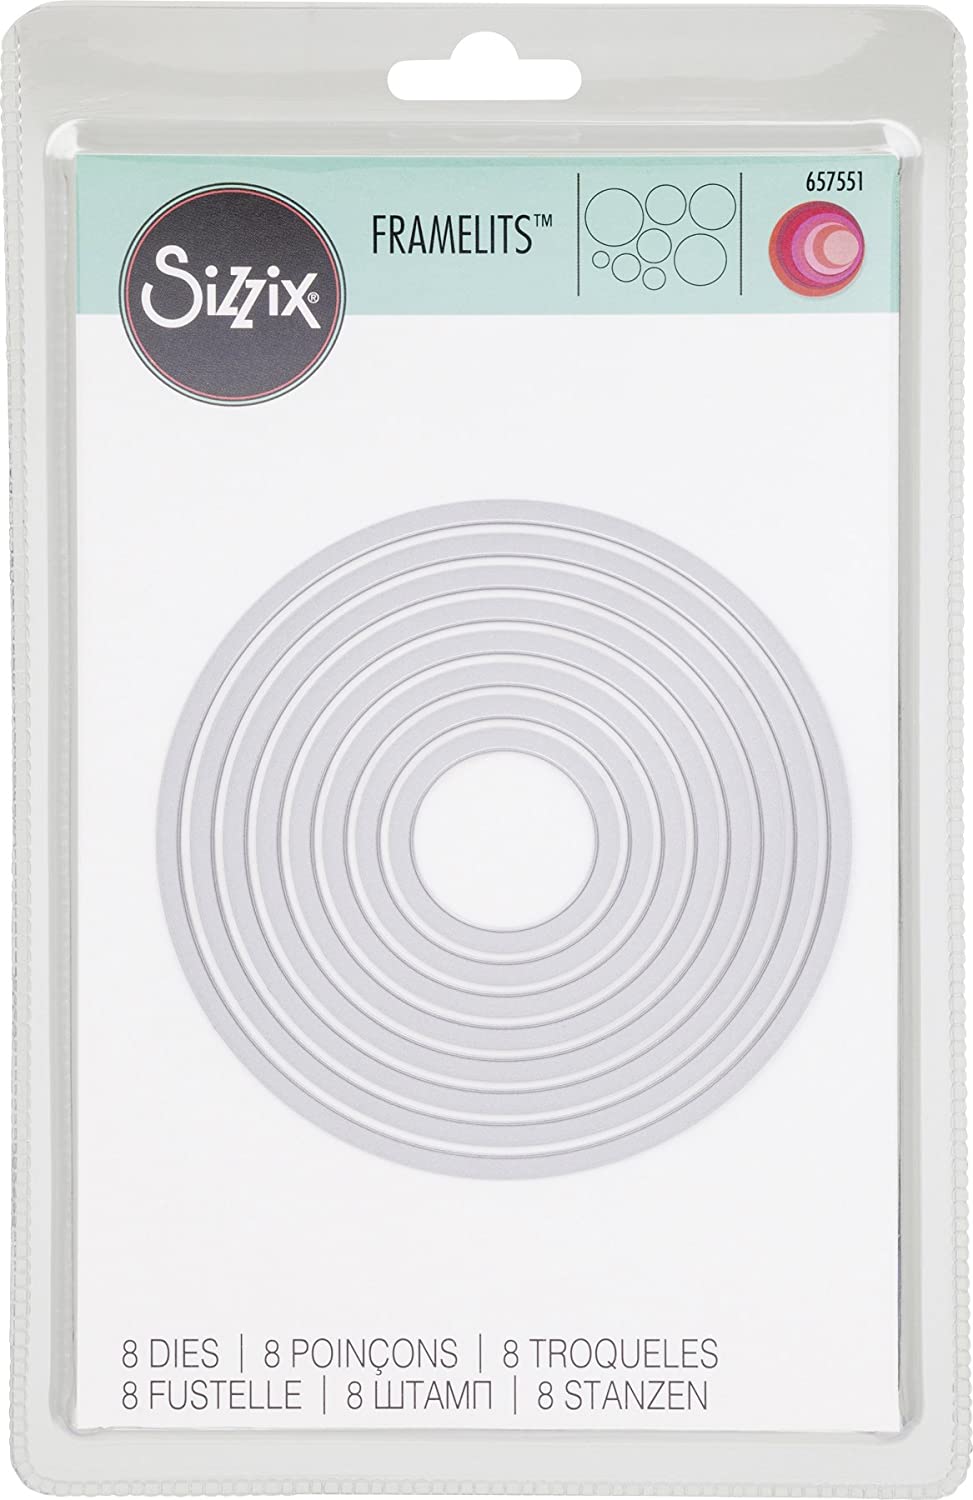 Using Glue Dots Adhesives Gluetape I adhered the two-card fronts together.
 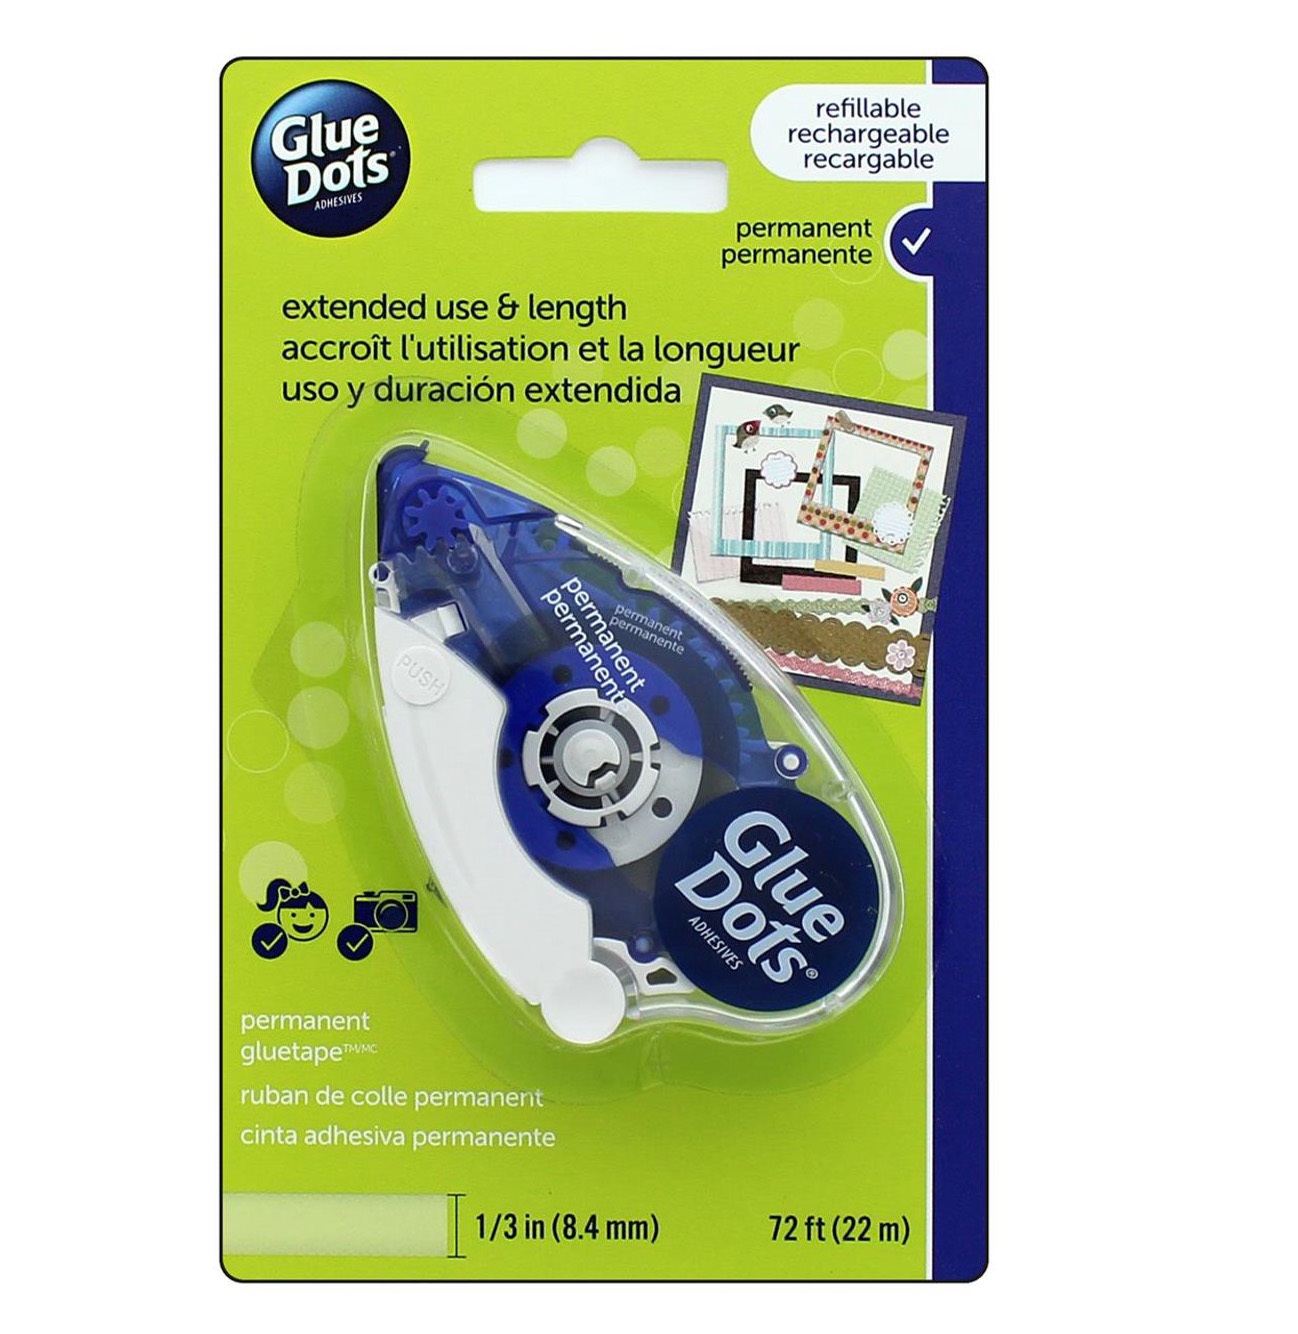 This process made the pink stripe paper stronger so I could pop it up later. Next, cut out a piece of Prima Marketing white watercolor paper.
 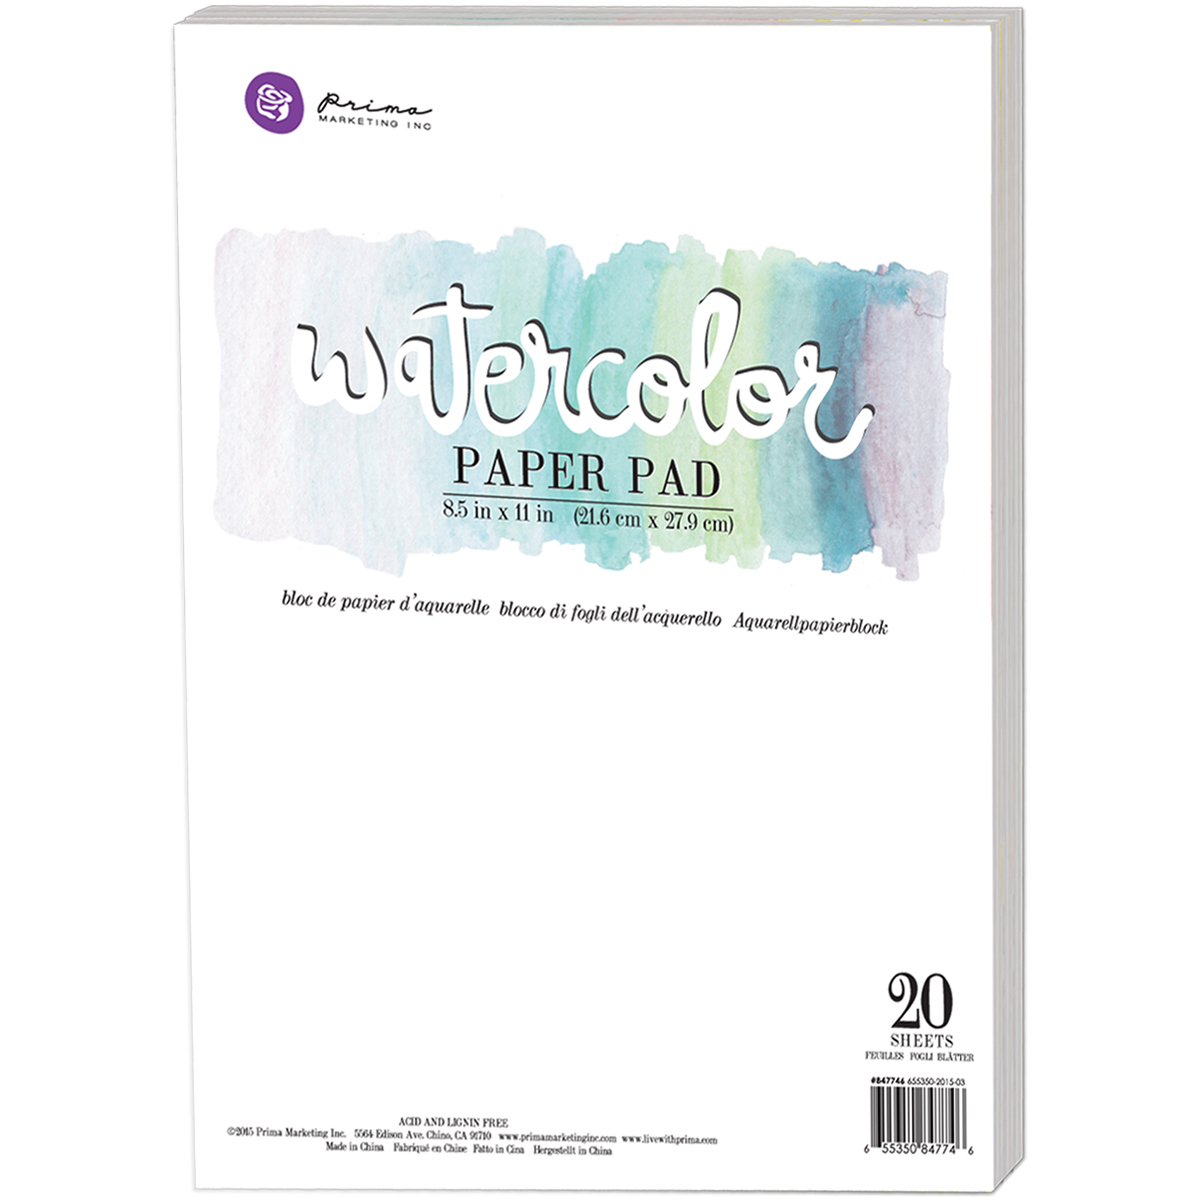 Pop it into your Tonic Studios Tim Holtz Stamping Platform.
  Securing it into place. Stamp the Art Impressions floral stamp onto the watercolor paper.
  Do not remove the stamp from the positioner. We will stamp our colored image AGAIN once we are finished coloring. I used Ranger Archival ink to stamp the image.
  Next, grab the Tonic Studios Tim Holtz Glass Media Mat.
 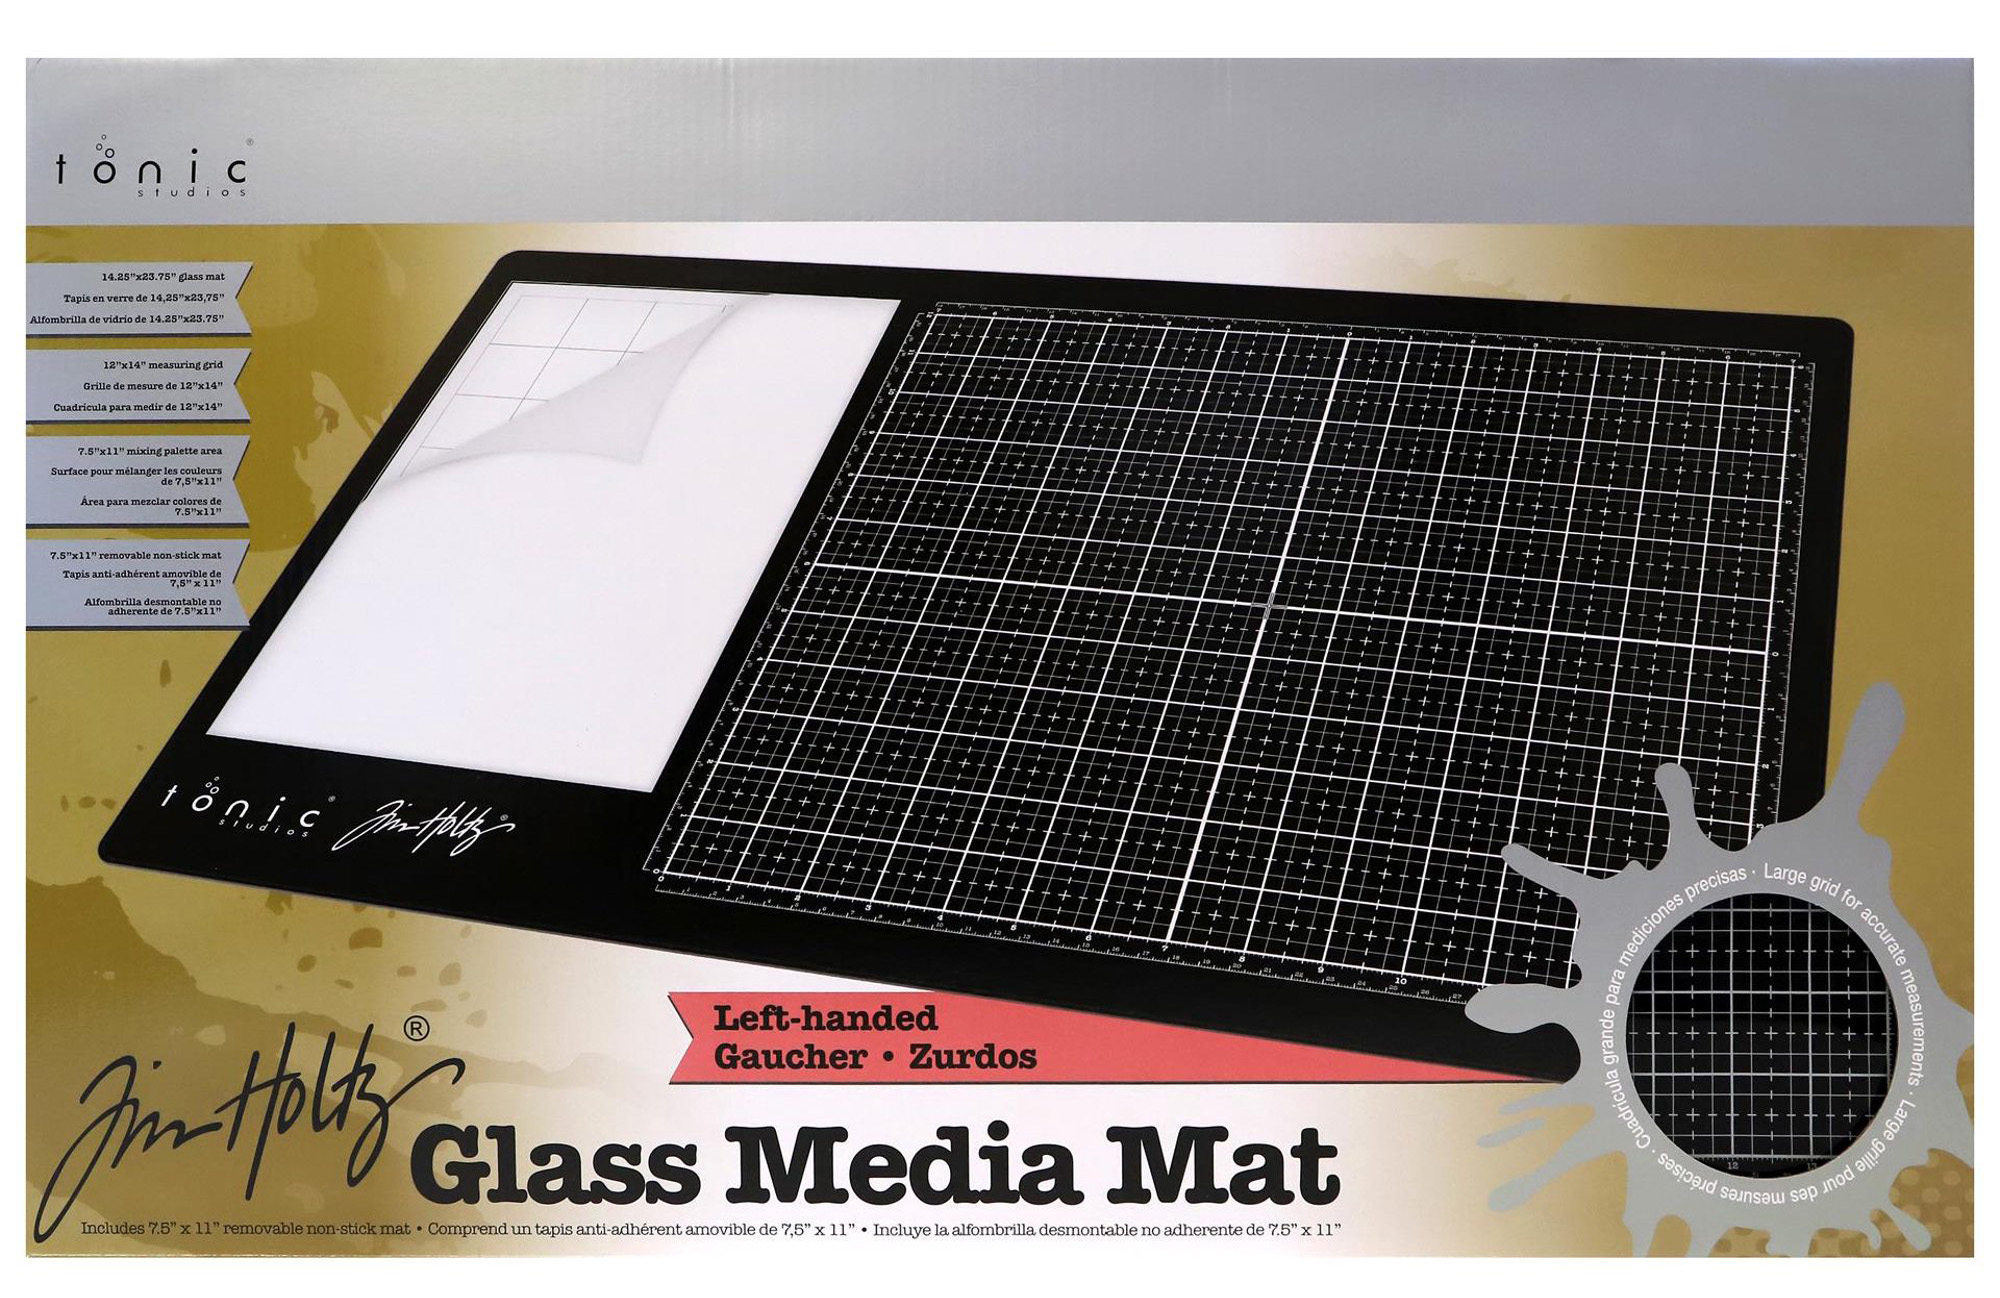 Apply ink to the Glass Mat using your Zebra Midliner Brush pens.
  These are very soft, mild like ink. Spritz with water and begin painting your stamped floral image with a fine tip paintbrush. This is the fun part. Play with the markers, add more water, remove water, whatever you like. When you are finished let the watercolored image air dry or dry it with a Ranger Heat It Craft Tool. Once dry, place the image back in the stamp positioner and stamp again using Ranger Black Archival ink. This will make the colors POP! Using Glue Dots Adhesive Pop Up Dots, adhere the watercolored image to the back of the circle window you created in the card front above.
 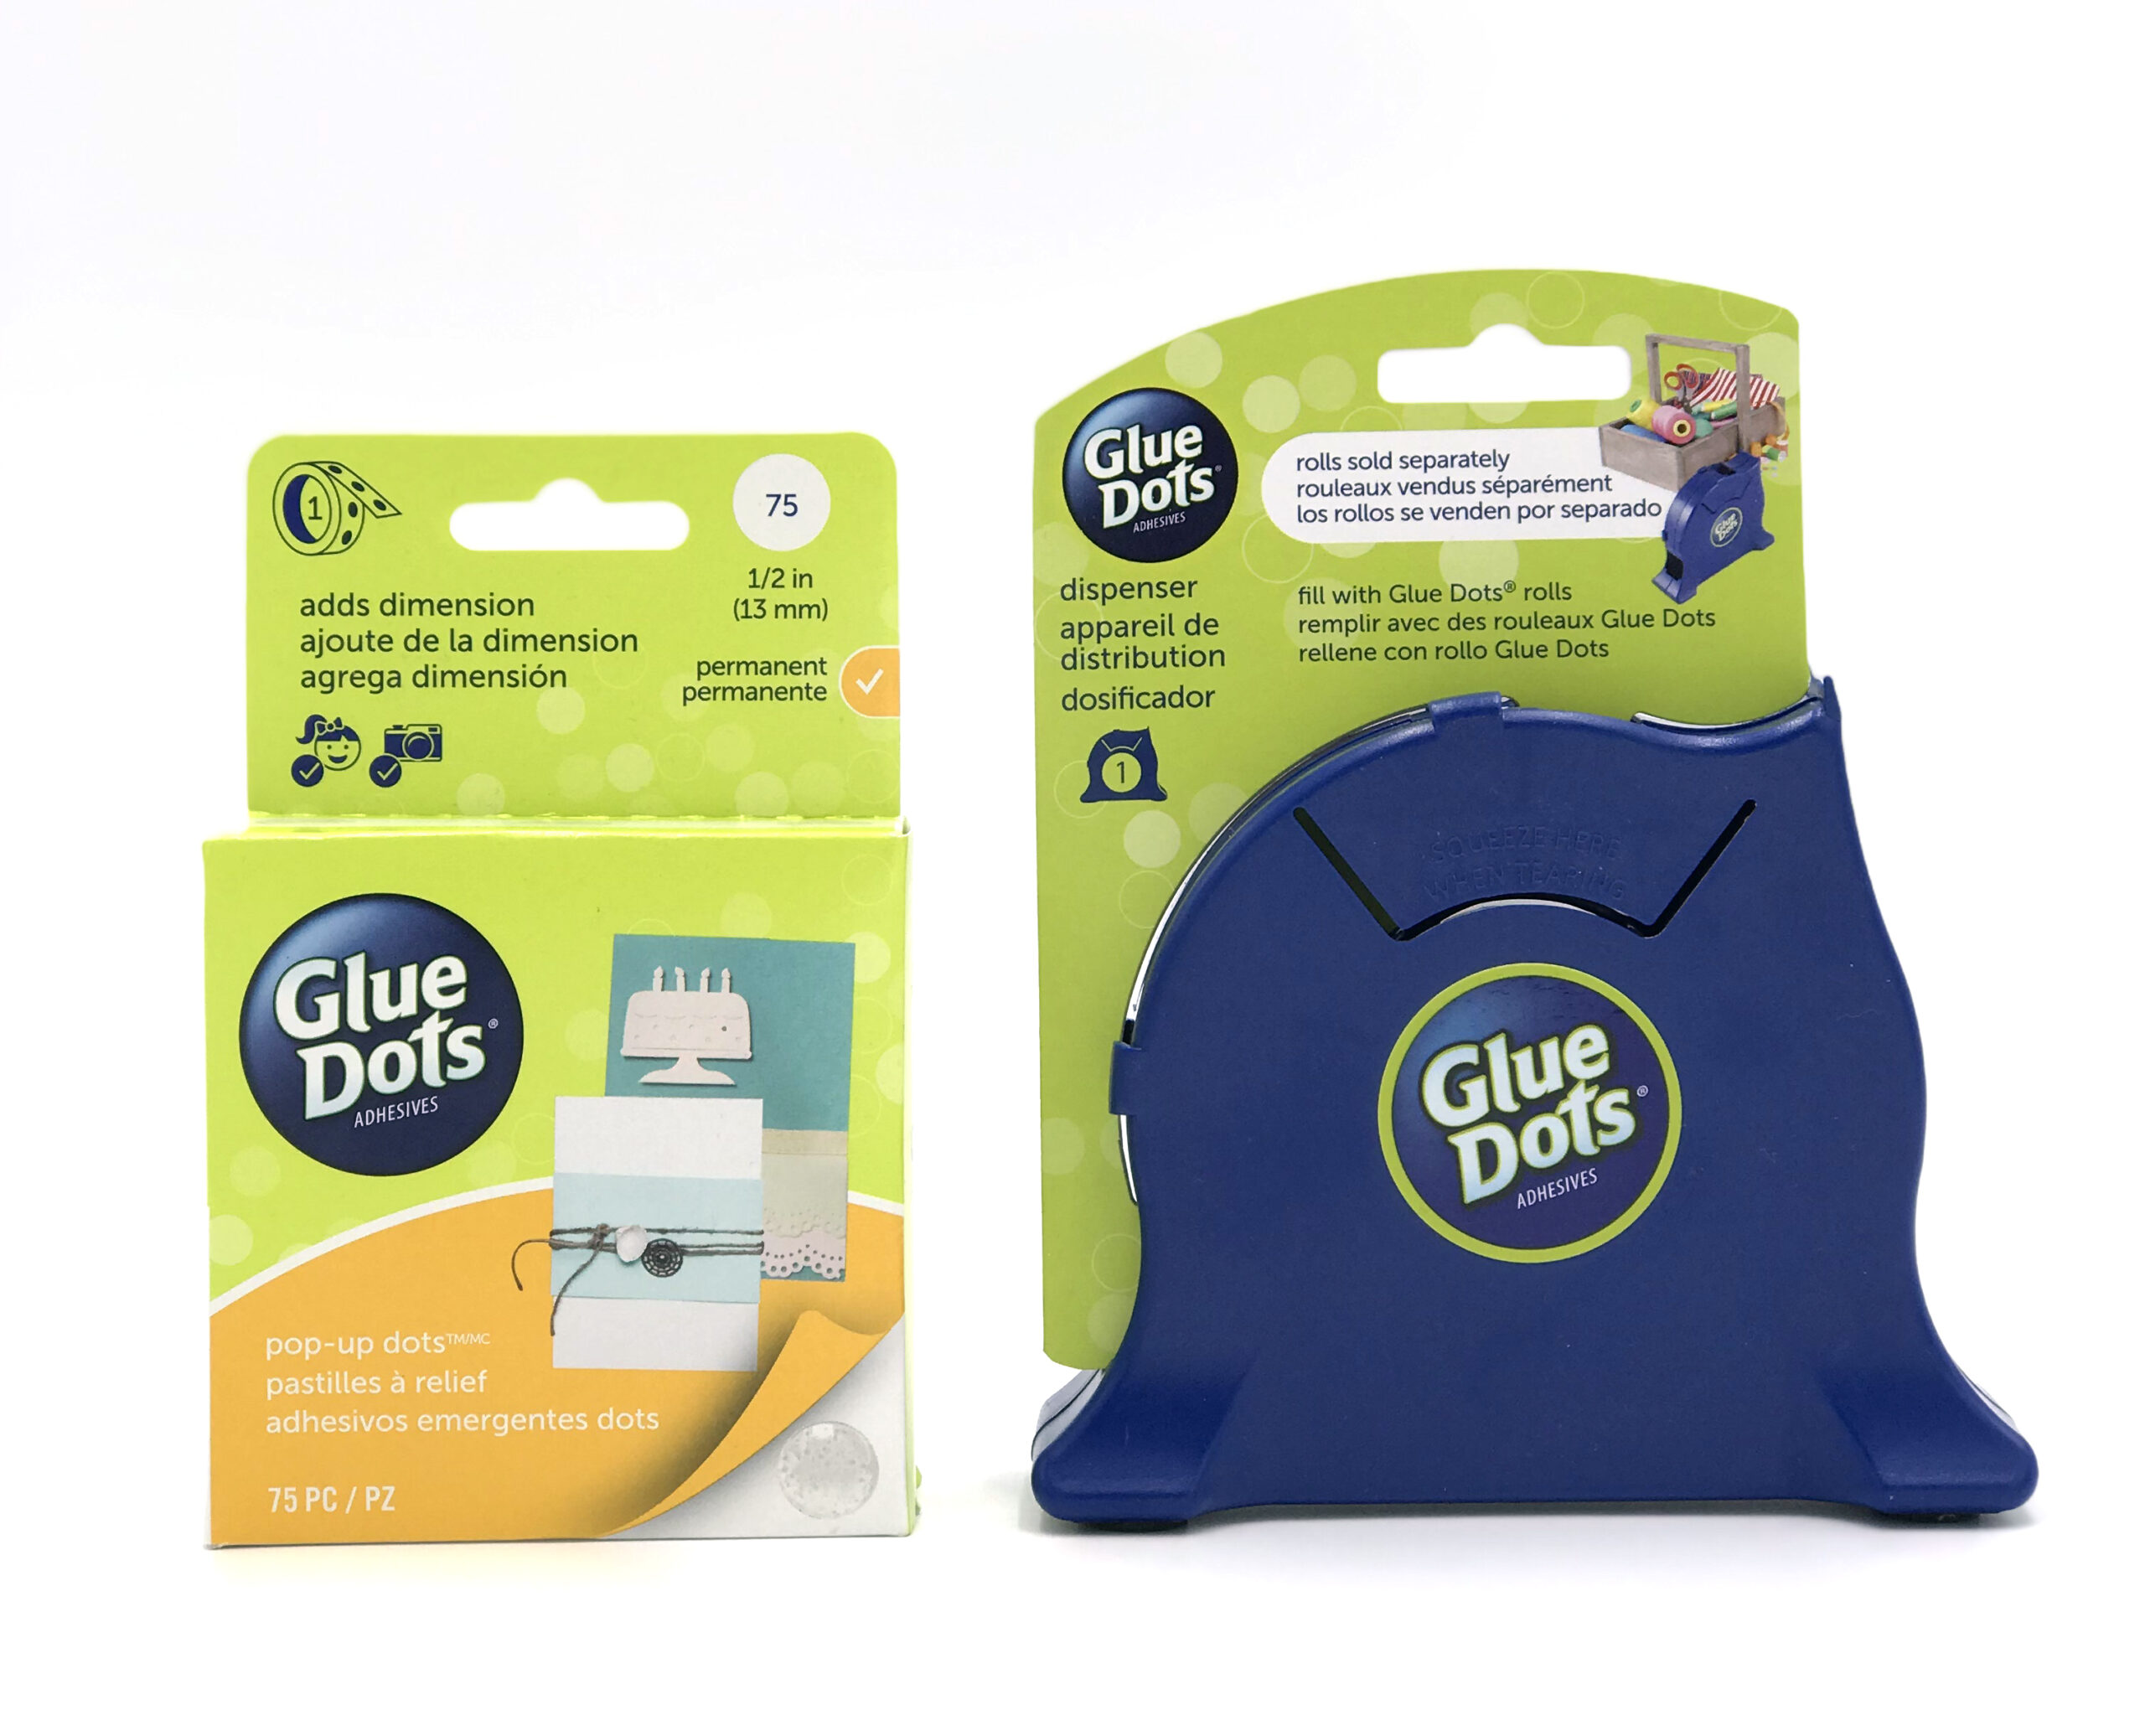 Next create a third rectangle card front (with no circle window), slightly larger than the first ones we created. Do this using Ranger Simon Hurley Create Stark White cardstock and an Elizabeth Craft Designs rectangle stitched die.
  Using a Glue Dots Adhesive Gluetape runner adhered the circle window card front to the center of the white stitched rectangle. Adhere a sentiment and embellishment using Simple Stories Bunnies & Blossoms Foam Stickers and Bits & Pieces.
  Adhere the entire piece to a card base of your choice. The final results will make you smile! I am super happy with how it turned out!
Here is a FastForward video to watch me in action – in case you made it to the end of this blog post! Giggle giggle!
Have a super-duper Friday everyone!
Cheers

Subscribe today to Creative Scrapbooker Magazine- CLICK HERE


1 Comment
Beautiful card. Love the technique