Hi everyone, Eileen Hull here today on the Creative Scrapbooker Magazine blog! I hope you are keeping cool this week! Temps in Virginia were at 100 degrees and I headed to the ocean with a couple of crafty friends. We loaded the truck up with enough supplies to last a year, even though we were only spending one night. Sound familiar? I had found a bag of shells in a dollar store and decided to create something with them. I have always been fascinated with how delicate they look and how strong they are! I used Clearsnap ColorBox Blends2 inks and Molten Dimensions embossing powders by Emerald Creek Craft Supplies to add color to the shells. They came out so pretty! I think it would be really cool to add these to a frame, shadowbox or even add to a tag or card if the shell was small enough. The…
Hey Creative Scrapbooker Fans! I’m thrilled to be back on the blog today sharing with you my vintage Altered Frame. Spring is definitely here and that means that Iโm starting to switch up some of the dรฉcor pieces in my home.ย The jumping off point for my project was the Midnight Garden collection as well as other papers and embellishments from Prima Marketing Inc which I combined with some adhesive from Scrapbook Adhesives by 3L, a die from Elizabeth Craft Designs and ink from Ranger Ink, I was able to create this vintage Do Everything with Love Altered Frame. Youโll want to grab a cup of your favourite Springtime beverage as I share with you how I created my altered frame. To start, youโll need a 6 ยฝโ x 8 ยฝโ frame. Mine was white and already distressed, so I didnโt do anything to it. Cut a piece out of…
Hey Creative Scrapbooker Fans! Katelyn Grosart here today. I’m thrilled to be back on the blog today sharing with you my Leave a Little Sparkle Wherever You Go Frame. This frame is perfect to add to your home dรฉcor or put in a kids room. To create my frame,ย Iโve used the Mermaid Cove Collection from Creative Memoriesย Dies from Elizabeth Craft Designsย Ink from Ranger Ink and adhesives from Scrapbook Adhesives by 3L. Youโll want to grab a cup of your favourite winter beverage as I share with you how to recreate my frame at home. To start, youโll need to choose a patterned paper piece out of the Mermaid Cove Paper Pack from Creative Memories. Die cut the Happy Frame, from Elizabeth Craft Designs, four times out of the patterned paper. Adhere each die cut strip together to create four separate sides. Adhere the four sides together to create your…
Hey, Creative Scrapbooker Fans, Katelyn Grosart here today. I’m excited to be back on the blog sharing with you a pretty fall themed wall hanging which was inspired by all of the leaves falling here on the west coast and the Fall Break collection by Carta Bella.ย For the base of my project, I used the Fall Break Collection from Carta Bella as well as products from Emerald Creek Crafts, Elizabeth Craft Designs, Southern Ridge Trading Company, Ranger Ink and Scrapbook Adhesives by 3L to create my Wool Sweaters, Bonfires and Pumpkin Carvings Wall Hanging. Grab a cup of your favourite Fall beverage and I will walk you through on how you can recreate my wall hanging at home. To start, youโll need two Pumpkin Leaves from Southern Ridge Trading Company. Apply a coat of Emboss It Ink from Ranger Ink onto each pumpkin leaf. Sprinkle Forest Foliage Embossing Powder…
Hey Creative Scrapbooker Magazine Fans! Katelyn Grosart on the blog today creating with the Simple Stories Always & Forever collection.I’m excited to be back on the blog to share with you my love themed project. Using the Always & Forever Collection from Simple Stories, some adhesive from Scrapbook Adhesives by 3L, a wood piece from Southern Ridge Trading Company and a variety of products from Ranger Ink, I was able to create this beautiful Every Love Story Wall Hanging. Youโll want to grab a cup of your favourite beverage as I share with you how I created my wall hanging.For the base of my project, I used a wood piece from Southern Ridge Trading Company.ย You’ll need to apply three coats of Black Soot Distress Paint from Ranger Ink to the wood piece. After the paint has dried, rub the Tarnished Brass Distress Crayon from Ranger Ink around the edges…
Hello everyone – Kelly Klapstein here today on the Creative Scrapbooker Magazineย blog. Fall is the time of year when I like to change up the home decor and add some new hand lettering projects to celebrate the season. I have been inspired by our resident colouring artist Betty Hung, who illustrates and colours like no one I have ever seen! So I decided to design a hand lettered Autumn-themed piece and use my Chameleon Pens products to colour it. I have used the Chameleon Color Tone pens before, but I haven’t used their Color Tones pencils…and this rainbow of pencils are just gorgeous in the box. There are 25 double-ended pencils, which adds up to 50 colours! For every hand lettered project, my first step is to sketch a design roughly with pencil. I have an 8 x 10″ frame for this piece, so I knew the measurements of the…
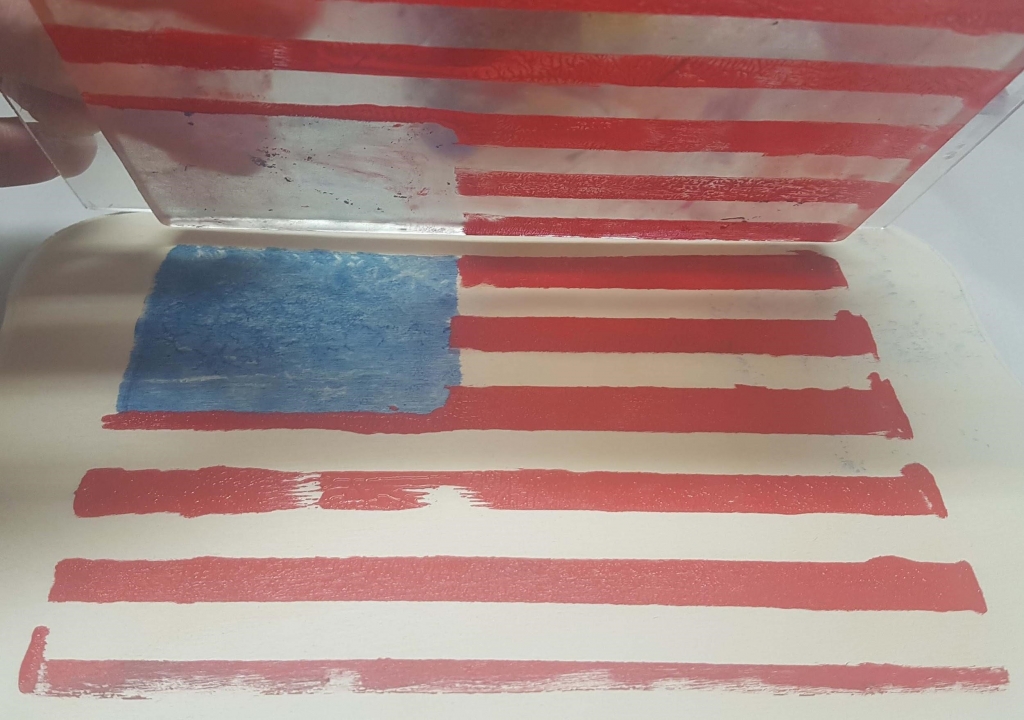
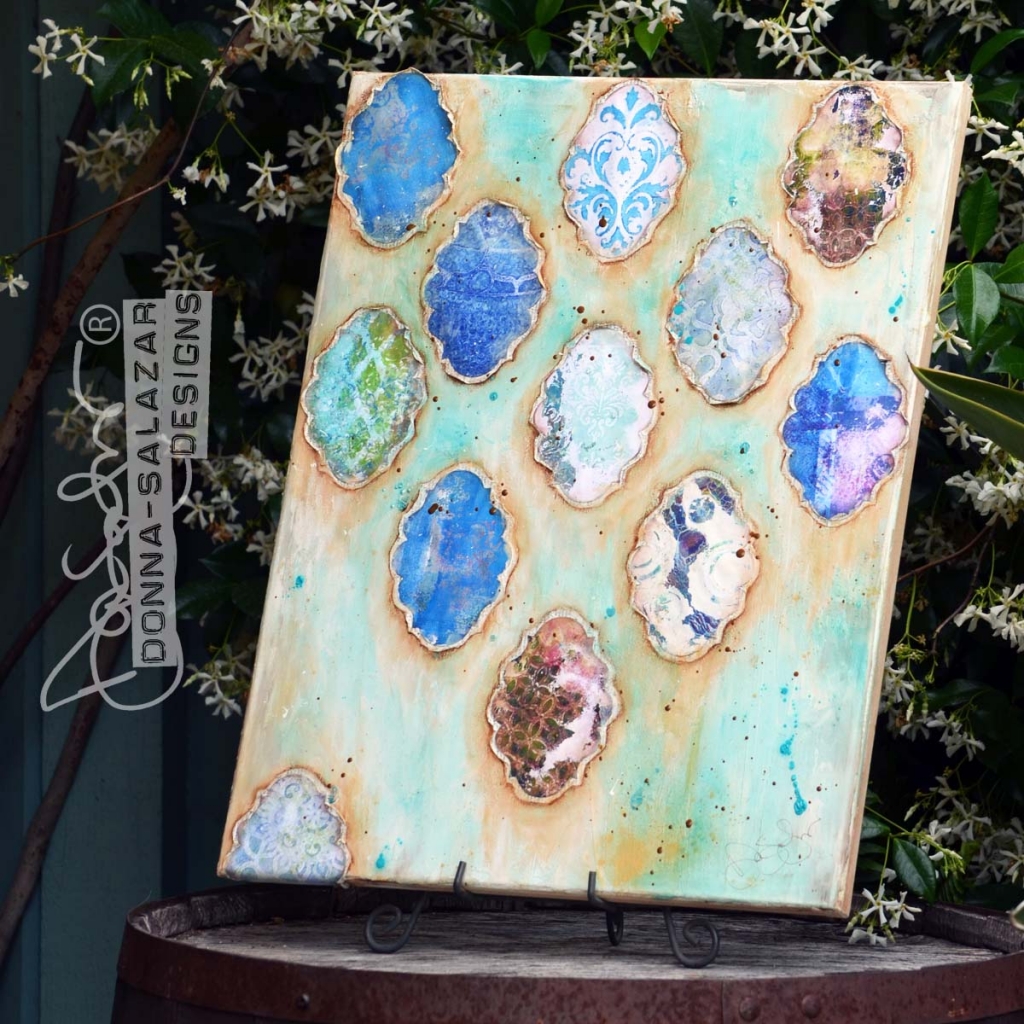
Hello everyone- Donna Salazar here! Iโm so excited to be sharing a video tutorial with you today as a guest blogger for my friends at Creative Scrapbooker Magazine! In this tutorial Iโm sharing the basics for using the Gel Press with stencils from The Crafterโs Workshop. I will also be showing you several different projects ideas for all the gorgeous prints that you can make on the Gel Press and finally Iโm sharing a few of the steps that I took to create an 11×14 canvas. I hope you enjoy it!!! https://www.youtube.com/watch?v=1UTP9IWhqRE Thanks for stopping by! Smooches ~D~ Too see more of Donna’s work visit her blog – Donna Salazar Designs SUBSCRIBE TODAYย to our quarterly publication – delivered right to your door!
Hi Everyone! It’s Kelly Klapstein here today, and I’m sharing a project Iย designed using Tombow products and the Brother ScanNCut machine. I love making inspirational signs and home dรฉcor pieces and thought I would brighten up my studio space with a rainbow. Of course, I knew I would use Tombow Dual Brush pens to create the rainbow because, well, Tombow pens come in every colour imaginable and more! I started by drawing the clouds on Creative Scrapbooker Super Stock with my Tombow drafting Mono pencil. And whenever I am using a pencil, I have one of Tombow’s erasers on hand. I just love this MONO Knock eraser that dispenses like a pen, so you have a fine tip eraser for lines. Then I traced over my pencil lines with the bullet nib end of the black Tombow Dual Brush pen. Now I was ready to cut out my clouds…and not…
These week we are looking back to our Spring 2013 issue of Creative Scrapbooker Magazine – Christy wrote and designed a featured article called – Freshen Up for Spring. Here it is as seen in the magazine. Timeless creations just for you this Easter season – from our beautiful friend Christy – whom we miss every single day. Creative Scrapbooker Magazine is honoured to announce that we have started an ART Scholarship in Christy’s name. For those of you interested in honouringย Christy Riopel and helping her legacy of ART continue, we are collecting donations for art scholarships for youth through the Boys & Girls Club of Calgary. CLICK HERE to donate. Thank you so much for helping us share Christy’s love of art and keeping her legacy alive. https://www.youtube.com/watch?v=ejDCoC0WVos&t=5s