Hey Creative Scrapbooker Fans – Katelyn Grosart here today! I hope that you’re having a fabulous Summer so far. Dream Card Using the Serendipity Collection from BoBunny, some adhesive from Scrapbook Adhesives by 3L, a die from Elizabeth Craft Designs as well as a few products from Ranger Ink, I was able to create my Dream card. Youβll want to grab a cup of your favourite beverage as I show you how to recreate this card in the comforts of your own home. Building the Card From the Serendipity paper by BoBunny, cut a piece that measures 4 1/4β x 6 1/4β. Using the 3β Stitched Rectangle die from Elizabeth Craft Designs, cut a stitched rectangle from the same piece of patterned paper. Distress the edges of both pieces of papers using an edge distressor. Ink the edges of the patterned paper pieces using a blending with foam and Vintage…
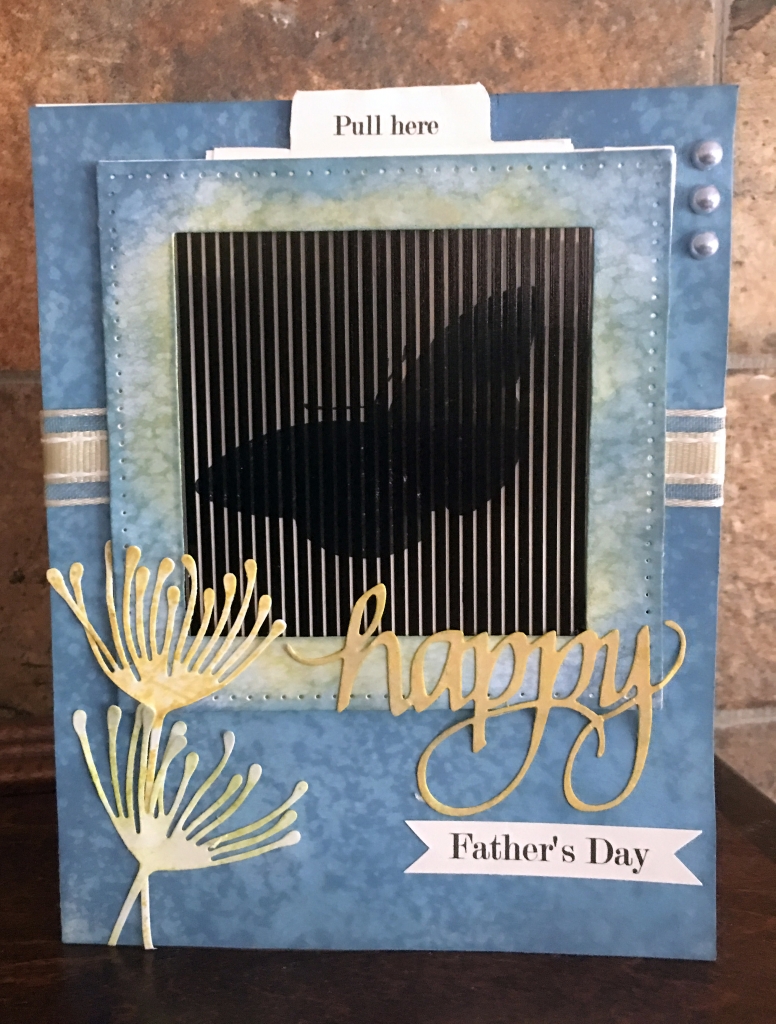
Hello, Connie Nichol here today with an interactive card featuring Uchi’s Design animation stamps, Elizabeth Craft Designs dies and Ranger Distress Oxide inks. Β How fun is it to have a flying butterfly card? I designed this card around these very cool animated stamps from Uchi’s Design. Β Basically you stamp the image, place the animation grid over top and when the grid moves, your stamped image comes to life. To make my card, I began by stamping the biggest butterfly onto a piece of white cardstock and adding a pull tab. I then used Elizabeth Craft Designs stitched square dies to create a square frame for my butterfly. Β You want the frame to be slightly larger than your stamped butterfly so that it will create a pocket. I sponged some distress oxide ink onto the frame and misted with water, then adhered the animation grid to the frame. I adhered three…
What an absolute treat it was to have Els Van de Burgt from Elizabeth Craft Designs on our web show Technique Tasters #113 – Creating Backgrounds for Cards. Els is the owner of Elizabeth Craft Designs and has been creating, teaching and spreading the love of paper crafts for years. On today’s show Els pulled out a number of her very own products including cardstock, dies, stamps and adhesives. Along with Tim Holtz for Ranger oxide inks and Sakura Pigma Micron PN pens to create this beautiful card. Oxide Ink Effect The cool oxide water effect you see in the background is all the rage right now. It looks rather intimidating, however, as you watch the video you will discover that it is really rather simple to create and fool proof! The other cool fact about this technique is that NO two creations look the same. Products Used To create…
Did you know that Elizabeth Craft Designs is a family-owned company? They sure are!Together with a team of designers, they design and manufacture a wide array of products that are perfect for paper crafting, mixed media, scrapbooking, card making and pretty much anything your heart desires to create! Their products include Dies Stamps Glitter Cardstock and paper Adhesive Stencils AND SO MUCH MORE Technique Friday with Els Each and every Friday Elizabeth Craft Designs puts out a NEW video called Technique Friday with Els. Below are a few lead in images from some of their YouTube videos I found on the internet.Technique Friday with Els are short technique rich videos highlighting the basic uses of their products as well as insightful ideas to think outside of the box when it comes to different products. You can count on easy to follow videos with beautiful projects that can be easily recreated…
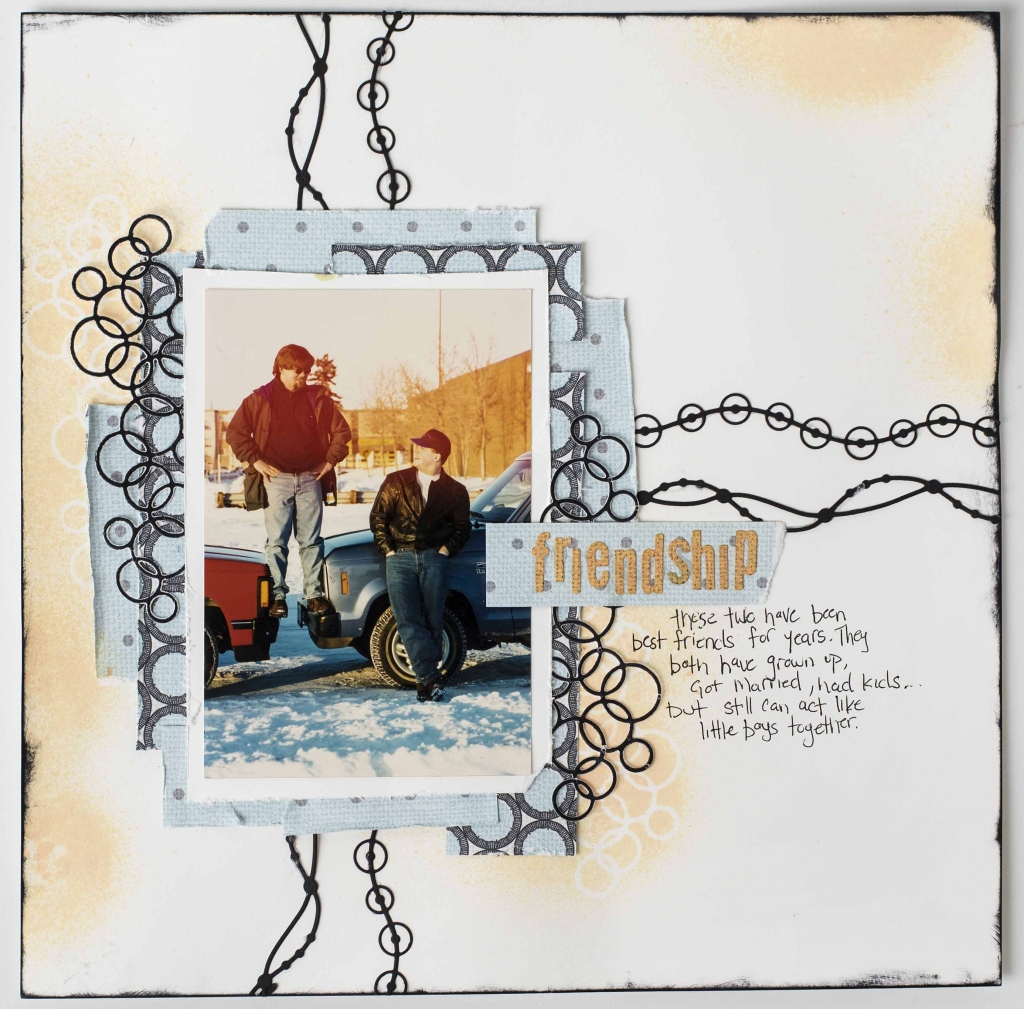
Christy Riopel was a regular guest on our biweekly SHAW TV series that we also turned into web shows for our YouTube channel. In this show Christy demonstrates all different kinds of ways to use stencils on your layouts as well as creating your very own custom spray.Β SUPPLIES: Β FabScraps patterned paper, Stampinβ Up! cardstock, ink and adhesives, Elizabeth Craft Designs dies, Tombow Mono Liquid Adhesive. Photo by Rose Koziel. Grab a coffee, if you are like me – Β a kleenex and enjoy. https://www.youtube.com/watch?v=bre8y0asnwQ&t=22s Have a wonderful Saturday everyone.Creative Scrapbooker Magazine is honoured to announce that we have started an ART Scholarship in Christy’s name. For those of you interested in honouringΒ Christy Riopel and helping her legacy of ART continue, we are collecting donations for art scholarships for youth through the Boys & Girls Club of Calgary. CLICK HERE to donate. Thank you so much for helping us share Christy’s love…
Kim Gowdy is on our show today creating stencils using a border punch. Here is the super fun card she designed Featuring products from… Creative Memories Original Border Punch SystemArt Impresssions Rubber stampsRanger distress inkElizabeth Craft Designs dies Scrapbook Adhesives by 3LΒ Grab a coffee and watch as Kim creates this card. https://www.youtube.com/watch?v=WNwNB4CR8go&t=1s Happy Scrapbooking everyone! SUBSCRIBE TODAYΒ to our quarterly publication – delivered right to your door!
Hello! Kim here today, I love when I get to share what Iβve been up to on the blog. Iβve been having fun playing with Distress Oxide inks, I ordered an entire set after seeing them at Creativation 2017 in January. They are easy to layer, emboss and stamp with. The icing on the cake is the magic that happens when you add a spritz or two of water to the mix! Here is the fun Easter card I put together this past weekend. I used some of my favourite Ranger/Tim HoltzΒ products and an alpha die set from Elizabeth Craft Designs. My background was created by adding layers of Distress Oxide ink to water colour paper. I dried each layer with my heat gun before adding the next layer to keep the colours separate. I pounced a bit of the ink through a stencil for added interest as well as…
Itβs a 3-in-1 challenge! by Kerry Engel Many of you have been using Creative Scrapbooker Magazine’s sketchy challenge as your inspiration-spring-board, creating some beautiful layouts and cards but did you know that you could use a sketch to inspire you in your art journal too? Iβm still relatively new to the art journal game. To be honest sometimes I look at all my yummy layers and colorful pages and while I love the techniques and I realize that itβs about βplayingβ and exploring, at the end I wish that they made more sense.Β Visual sense. Visual sense for me starts at the beginning; when I think about the direction or movement that I want in my page. Thatβs where having a sketch as a launching point helps. I loosely used this months sketch to contain my techniques and create movement down the middle. I really liked how it turned out…
May All Your Dreams Come True Card with Katelyn Grosart Hey Creative Scrapbooker Fans! Today I thought that I would share with you a theme of card that doesnβt get made or sent a lot.Β Sending a card for someone who has accomplished a dream of theirs is uncommon, but why not send a card to congratulate them for achieving it. Using the Winter Wishes Collection fromΒ Bo Bunny, a variety of dies fromΒ Elizabeth Craft Designs and pairing them up with a variety of products fromΒ Ranger Ink, I was able to create this beautiful βMay All Your Dreams Come Trueβ card. Youβll want to make sure to grab a cup of your favourite beverage as I will show you how to recreate this project in the comforts of your own home. Using the Bunch of Flowers 3 die set from Elizabeth Craft Designs, die cut five of the small flowers, five…
Hi, Tracy here and I just want to wish all of my crafty peeps out there a Happy Valentine’s Day! The world could use a little more LOVE these days I think. So with it being Valentine’s Day, winter in some parts of our world, and a sometimes dreary world in the news…I wanted to share a little bit of crafty LOVE. Project Recipe: Simple Stories- Love & Adore Collection patterned paper, chipboard stickers, cardstock stickers, bits & pieces, sticker sheets Elizabeth Craft Designs- Medallion Stencil, Entwined Circles Dies Β Β Close To My Heart- Ink: Blush, Black Cardstock- white, black, pink Scrapbook Adhesives by 3L- EZ Runner Grand, White Photo Corners, Crafty Foam Tape, Foam Squares I had a little fun with Elizabeth Craft Designs using their medallion stencil and pink ink from Close To My Heart. I stencilled 2 images around the matted photo.Β Then I used…