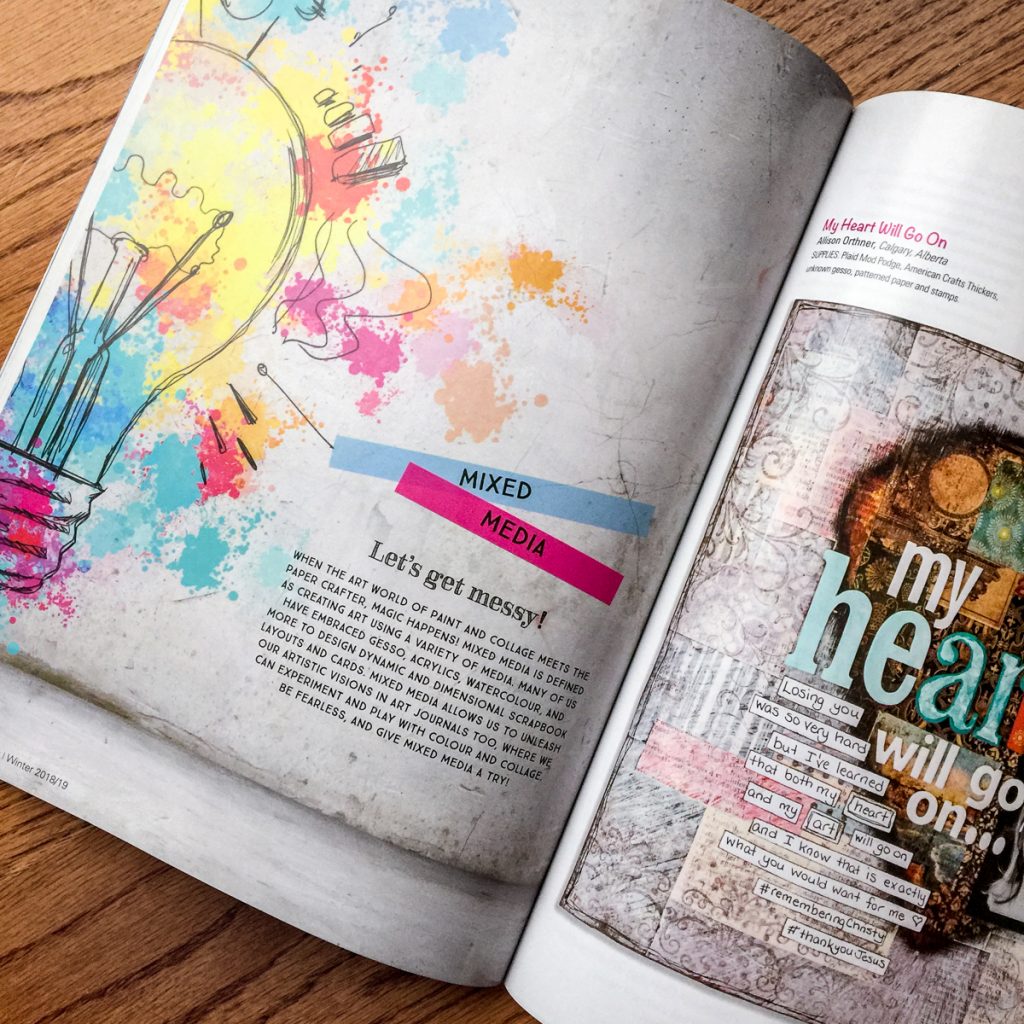
Hello Creative Scrapbookers! Kim here with a quick mixed media page share. Did you know our current issue of Creative Scrapbooker Magazine has a 13 page feature dedicated to mixed media! There are so many gorgeous art journal pages, scrapbooking layouts and cards ready to inspire you to pull out some products that might not be in your comfort zone. I encourage you to try, itβs so fun! Here is a recent art journal page I made using many of my favourite Ranger products. They are often my go to mixed media products because they overlap well with my love of scrapbooking and cardmaking! My page started out as gel print I had made a while back using my Ranger Gel Plate and Dylusions paints. I layered on some stencils and stamps, which were coloured with Chameleon Pens. I added some washi tape and stickles for some more texture and…
Mixed Media is all about trusting the process.Β Itβs always messy in the middle and we have to let the creativity take over.Β Nicole here and I am sooooo excited to play with Prima.Β For this tutorial, I am using Finnabair.Β This is my first time exploring the textures, shimmer, and detail of these fabulous mediums and paints.Β I started by applying some torn book pages with 3D Gloss Gel Transparent making sure to apply an even coat over the paper.Β Add a layer with the Offset Dots Clear Stamp using permanent ink, Ranger ink Archival Jet Black.Β Add a layer of texture with Plaster Paste and mix in a little mint- green Patina Effect Paste to tint your Plaster Paste. Layer the 6×9 Passiflora Stencil and apply the Plaster Paste in an even layer. While the Plaster Paste was drying I cut βtrustβ with Sizzix XL Typo Lower die.Β Adhere…
12 DAYS OF GIVING! WIN WIN WIN!!!!Β Let the party begin! Each day for 12 days in aΒ row we will be sharing four or five prize packages with you. Β Leave a message under the blog postΒ for each post in order to be entered for all 51Β Prize Packages. Visit the prize sponsor on Facebook (LIKE THEIR PAGE) and say hello from Creative Scrapbooker Magazine or CSM. NOTE do not use the same comment everytime you post on Facebook – Facebook thinks you are spam and may block you. Names will be drawn randomly and you can win more than once if you enter your name under more than one blog post! Winners will be announced onΒ Dec 24th. Just in time for Christmas! Day#6 of 12 Starts NOW! Our first prize is fromΒ Brother PRODUCT DESCRIPTION Easily add your personal touch to a satin ribbon and decorative tape! Personalize ribbon and tape with a…
Thereβs a new baby joining my family!Β Hey crafters, Nicole Wright here and no itβs not me!Β My great nephew will be here in a couple months and I needed a card STAT for the baby shower.Β Let me set the sceneβ¦ I need a quick card because I have left it to the last minute.Β MyΒ Brother Scan Nβ Cut2 is perfect for making this quick card in just 15 minutes.Β I whipped through the cuts and went straight for the animals.Β I mean you canβt go wrong with a giraffe.Β I select the cuts and adjust my size to fit my standard card.Β Load my scrap paper onto the cut matβ¦ in the middle because itβs sticky there.Β I cut the words in both patterned paper and black to create a shadow.Β Why notβ¦ Iβm already cutting right.Β Then I do the same with the giraffe.Β I cut the patterned…
Hey Creative Scrapbooker Fans! Itβs hard to believe that there are only 29 days until Christmas and I’m excited to be back on the blog today sharing with you a vintage Christmas Card. The jumping off point for my project is the Simple Vintage Christmas Collection from Simple Stories as well as products from Ranger Ink and Scrapbook Adhesives by 3L to create my Merry Christmas to all & to all a good night Christmas Card. Grab a cup of your favourite Christmas beverage and I will walk you through on how you can recreate my card at home. To start, youβll need to fussy cut six hollies from the 4×6 Vertical Elements and the 4×6 Horizontal Elements paper out of the Simple Vintage Christmas Paper Pack from Simple Stories.Β Ink the edges of the holly using Black Soot Distress Oxide Ink and a blending tool with foam from Ranger…
There is ALWAYS time to join our monthly sketchy challenge. Each and every month Kerry Engel designs a sketch for your creative inspiration. Β Create a layout, card, canvas, art journal – whatever your creative heart desires – and upload it to our Sketchy Gallery. You can do the sketches each month or you can do whatever sketch in whatever order you would like! There are no rules. Browse through our gallery to find past sketches, check out what other fellow scrapbookers have done with the sketches and leave your comments on projects that you love. Our sketchy gallery is a fabulous place to meet and be inspired by creative souls just like you. w now have a facebook group where you can add your takes right to! CLICK HERE Nov Sketch Here is a look at the Nov 2018 sketch!Β And here is my take on the Sketch SUPPLIES I used…
Hey crafty friends, Tracy McLennon here and today I have a funky and fun layout to share featuring the Ranger Dylusions Flight of Fancy stamps along with my Chameleon Color Tone Pens. Here are all of the nitty-gritty details.Β First create your layered cardstock background. The kraft cardstock is 10.75×10.75 and matted in white cardstock that is 11×11. I cut 8 pieces of black burlap string and tied a knot on one side and adhered it in behind these two layers of cardstock. Then adhered it to a full sheet of black cardstock.Β Project Recipe: Ranger- Dylusions Flight of Fancy Stamps and Archival Jet Black In Chameleon Pens- BG4 Aquamarine, GR4 Evergreen, BL3 Sky Blue, YG3 Spring Meadow, BL6 Royal Blue, GR1 Green Apple Chameleon Color Tops- BL7 Indigo Scrapbook Adhesives by 3L- Creative Photo Corners Black, E-Z Runner Grand, 3D Foam Squares White Mix, Adhesive Dots-Medium, E-Z Runner Ultra Cardstock- Kraft,…
Capturing the last moments of Fall with these festive Autumn Place Card Settings.Β Hey crafters, Nicole here with these easy to create home dΓ©cor table settings.Β Sitting here in a white blanket of snow missing those crisp autumn mornings.Β Using some Ranger Ink Oxides Inks to create this awesome Layered leaf Sizzix die cut you can create some awesome realistic leaves. Add an extra layer with the Stampers Anonymous Falling Leaves stamp set by designer Tim Holtz.Β Stamped with Ranger Ink Mini Archival Ink Pad Kit #1- Green colour really pops against the chipboard Sizzix die cut Place Card & Flower by designer Eileen Hull. You can really see the texture in the leaf here.Β When blending Rangerβs Oxide Ink Ground Espresso right over the embossed leaves you can see all the veining.Β Adhere the leaves quick and easy with Scrapbook Adhesives by 3L Adhesive Dots Large. Do you still…
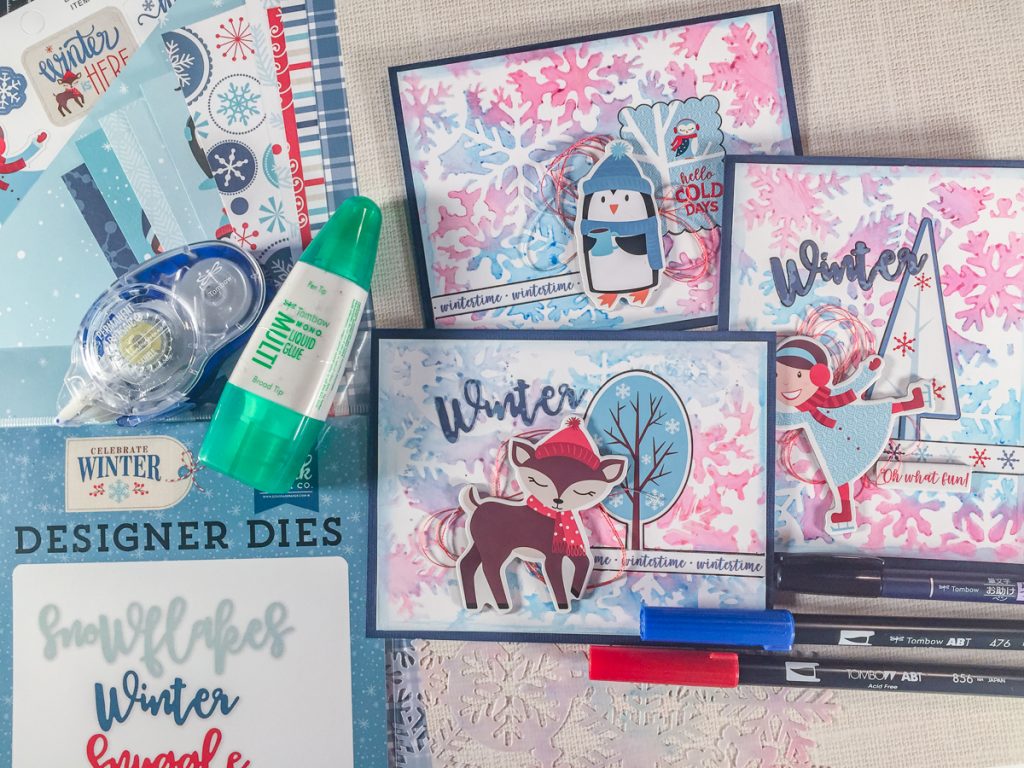
Kim Gowdy is on our latest web show with a super COOL background technique using baby wipes, Tombow Dual Brush pens and a stencil! Check it out! https://www.youtube.com/watch?v=VCAXBaEYzc8&t=11s SUPPLIES Echo Park Paper Co. Stickers, Chipboard and Dies Ranger Dina Wakley White Gesso Tombow Dual Brush Pens Tombow Adhesives Tombow Fudenosuke Pen Magenta MaskBe sure to follow Creative Scrapbooker Magazine on YouTube! Do not miss a single video! CLICK HERE Happy Scrapbooking Everyone!Subscribe today to Creative Scrapbooker Magazine
Hey, Creative Scrapbooker Fans, Katelyn Grosart here today. I’m excited to be back on the blog sharing with you a pretty fall themed wall hanging which was inspired by all of the leaves falling here on the west coast and the Fall Break collection by Carta Bella.Β For the base of my project, I used the Fall Break Collection from Carta Bella as well as products from Emerald Creek Crafts, Elizabeth Craft Designs, Southern Ridge Trading Company, Ranger Ink and Scrapbook Adhesives by 3L to create my Wool Sweaters, Bonfires and Pumpkin Carvings Wall Hanging. Grab a cup of your favourite Fall beverage and I will walk you through on how you can recreate my wall hanging at home. To start, youβll need two Pumpkin Leaves from Southern Ridge Trading Company. Apply a coat of Emboss It Ink from Ranger Ink onto each pumpkin leaf. Sprinkle Forest Foliage Embossing Powder…