Hi Creative Scrapbooker Magazine Fans!!! Pam here today sharing a step-out tutorial on how to create your very own Blooming with Mr. G Mixed Media Tag! Mr. G is so stinking cute how can you resist him!!! You will find Mr. G along with my Scribble and Scratch Stamp Set over on the Blank Muse Stamp Site along with other fabulous products! ย ย 1. Apply Ranger Distress Tim Holtz Distress inks to top of the tag.ย 2. Stamp background from the Scribble and Scratch set using Archival Tuxedo Black Ink.ย 3. Lay Mr. G Heart Stencil to top of the prepared tag and apply distress inks. 4. Adhere a paper doily to the top of the prepared tag along with a fussy cut stamp image of Mr. G.ย 5. Stamp background image to the top of the prepared tag with white paint; dry.ย 6. Color Mr. G with Ranger…
Hello Creative Scrapbookers! Iโm Jayme Loge, a proud member of the Creative Scrapbooker team, and Iโm delighted to share some layouts and cards I made with Simple Stories adorable spring and Easter line, Hip Hop Hooray! I had a lot of fun playing with these papers and was so happy to scrapbook 4 years’ worth of Easter and spring photos. You can watch my daughter grow and change with each layout. The first layout shows my preschool Avery hard at work coloring eggs. I wanted to add a bit of mess to my layout to echo what was going on at the kitchen table, so I added some pigment powder to my embossing paste (from Ranger) and applied some through a stencil (Stampers Anonymous Tim Holtz) and some just smudged around. The Hip Hop Hooray stickers and Bits & Pieces are perfect for adding quick finishing touches- LOVE that! Next…
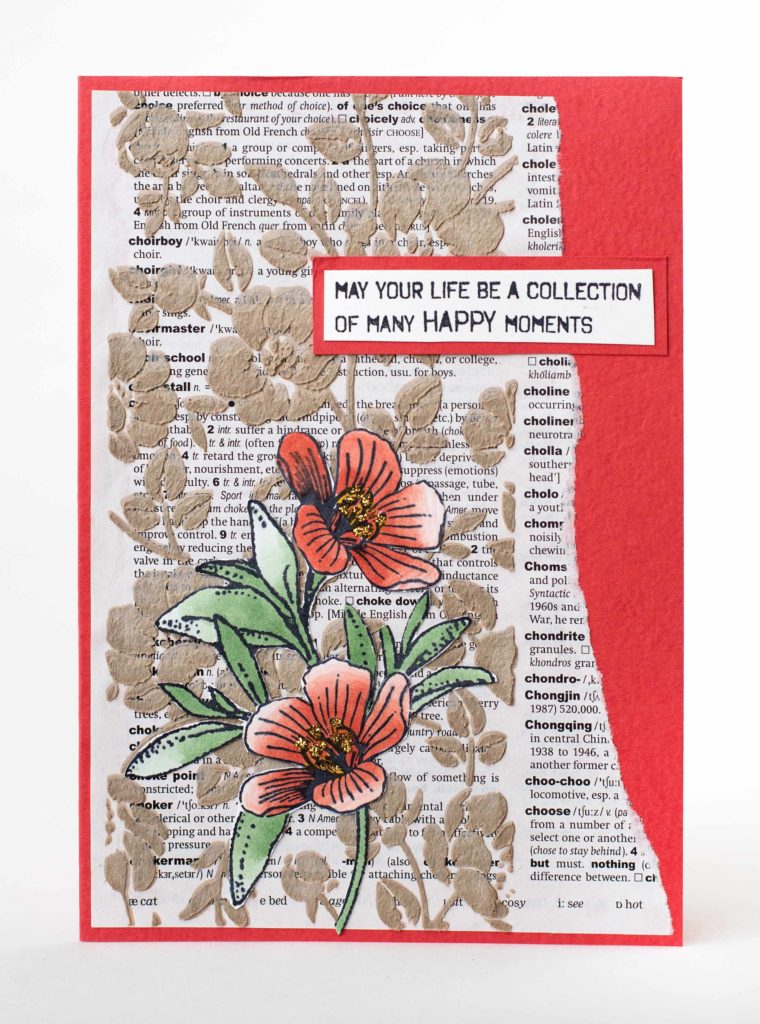
The winter issue of Creative Scrapbooker Magazine has a FABULOUS article written by our Frugal Scrapbooker – Connie Nichol – all about Repurposing Dictionaries.ย There are cards, art journaling pages, and layouts all featuring a number of different ways to use dictionary pages on your projects.ย I love it! Here is an example of one of the cards you will find designed by Connie Nichol. Connie’s card features Stampers Anonymous Tim Holtz Stencils Stampers Anonymous Wendy Vecchi Stamps Ranger Grit-Paste Glue Dots Adhesives Be sure to grab your copy of the winter issue today! CLICK HERE Happy Scrapbooking SUBSCRIBE TODAY! to Creative Scrapbooker Magazine
Happy Day! Kim here on the blog today sharing a quick little card that was so satisfying to make! Why? Because I love dabbling in mixed media art supplies and when I can bring it into a card to give, itโs a win-win! First I cut a piece of Creative Scrapbooker Super Stock to work from. This 110 lb, bright white cardstock is my go-to foundation for scrapbooking and cardmaking. It holds up to everything I throw at it, it is my โworkhorseโ in my craft room. I added a thin layer of gesso with an old credit card. I added 3 small blobs [such a technical term!] of acrylic paint to my Tim Holtz glass mat. I used a wet brush to add my paint to the background. Honestly, this step could also be done with a dry brush, it would give more opaque coverage. I like the colour…
Kim here with a fun project share using the Stampers Anonymous Merry Misfits stamps! Oh, how I LOVE these little guys! They are PERFECT for Christmas tags! The Misfits just make me smile and take a little stress out of the chaos of Christmas! Along with the Misfit stamps, I also used Ranger’s Simon Hurley Classic Flannel stamp, Distress Oxide Inks and a Shifter stencil! These products ALL play so well together! Have fun adding tags to your Christmas gifts this season! Maybe you could wrap up a Creative Scrapbooker Magazine subscription! Now THAT would be a sweet gift to receive!
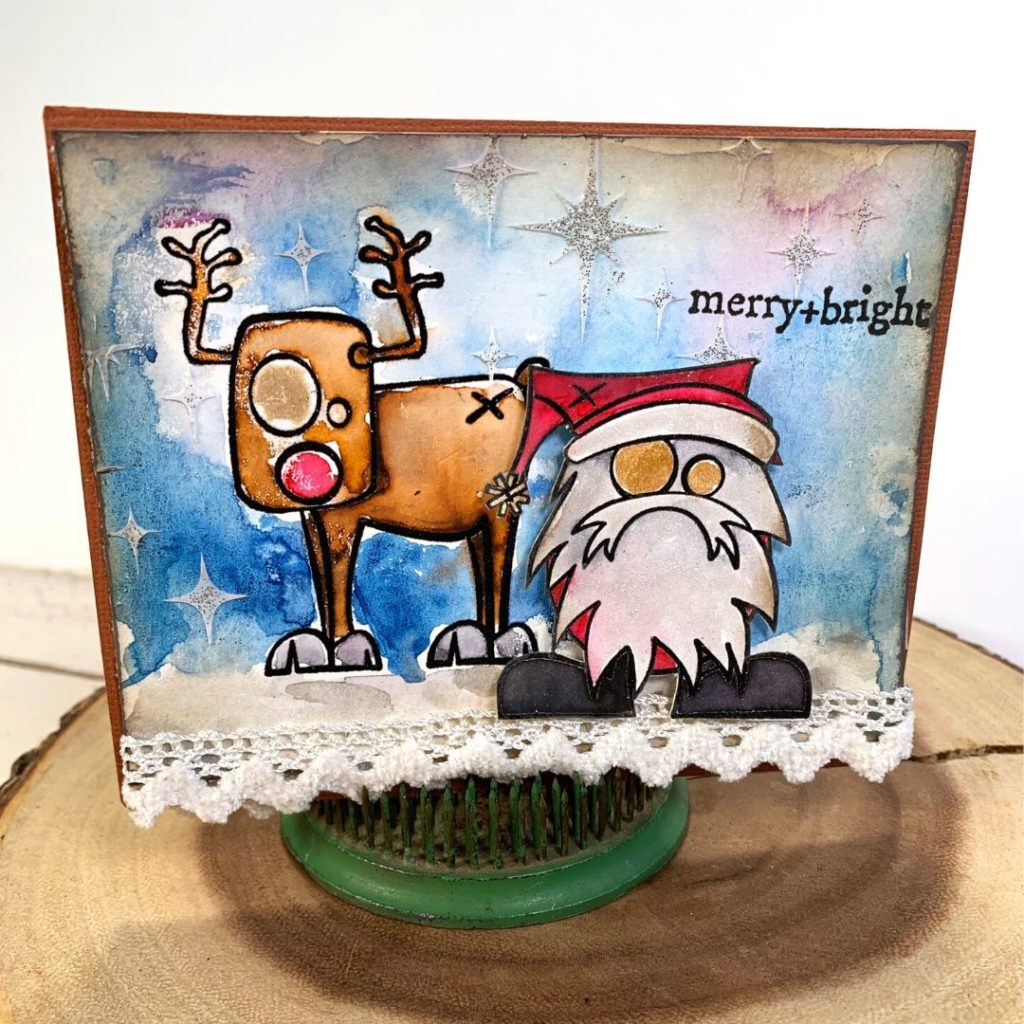
Kerry Engel has been a busy little elf creating Christmas cards for this holiday season. Recently, she created a super fun card featuring the Stampers Anonymous Tim Holtz Merry Misfits stamp collection. Here is the card she designed. Kerry created the background using Kuretake Gansai watercolours. Stampers Anonymous Tim Holtz Sparkle Stencil. Ranger Texture Paste. Ranger Stickles. Kerry glued everything down using Glue Dots Adhesives. LOVE LOVE LOVE this card Kerry! You can send it to me ๐ The Merry Misfits stamp set is calling my name! You can send it to me ๐ Kerry is a MORNING crafter! Every morning before she heads off to work she takes some time in her craft room. Once or twice a week she shares what she has been working on,ย within the Creative Scrapbooker Magazine Instagram Stories. Be sure to follow us on Instagram so you won’t miss what is cooking at…
Happy Tuesday! Itโs me, Kim [instagram], back on the blog today with a scrapbooking layout inspired by Stampers Anonymous Pressed Foliage stamp set and our September Sketchy Challenge. Autumn is hands down my favourite time of the year. I love the colours, the crisp air and the cozy clothes that are all part of the season. However, as I sit here typing up my blog post, my world has been blanketed in frozen, white crystals of snow..NOT my favourite season! *sigh* At least I have documented the loveliness of autumn and can enjoy the memories through my photos. This season will bless my world again in 2020! My layout started as a simple white piece of Creative Scrapbooker Super Stock. This smooth, bright white, 130lb weight card stock is the PERFECT foundation for cards and layouts. Your inks will fall in love with this product! I randomly stamped different leaf…
Hello, Connie Nichol here today with a couple of cards featuring the One Hot Chick stamp set from Picket Fence Studios together with beautiful foiled backgrounds created with Therm O Web Deco Foil. Picket Fence Studios has some seriously cute stamp sets.ย Be sure to go check them out.ย One of the cutest is the One Hot Chick stamp set, which also happens to have a matching die set, making it easy to create a whole flock of chickens.ย I stamped a whole bunch of birds and coloured them with Kelly Creates pens. The card backgrounds were created with Therm O Web Deco Foil Products.ย ย A touch of foil makes any card look extra special!ย The top ‘cluck it’ card uses a Foil-Mates card which has been pre-printed with foilable elements.ย The ‘hot chick’ card uses Deco Foil Transfer Gel, a Stampers Anonymous stencil, and an old dictionary page.ย I…
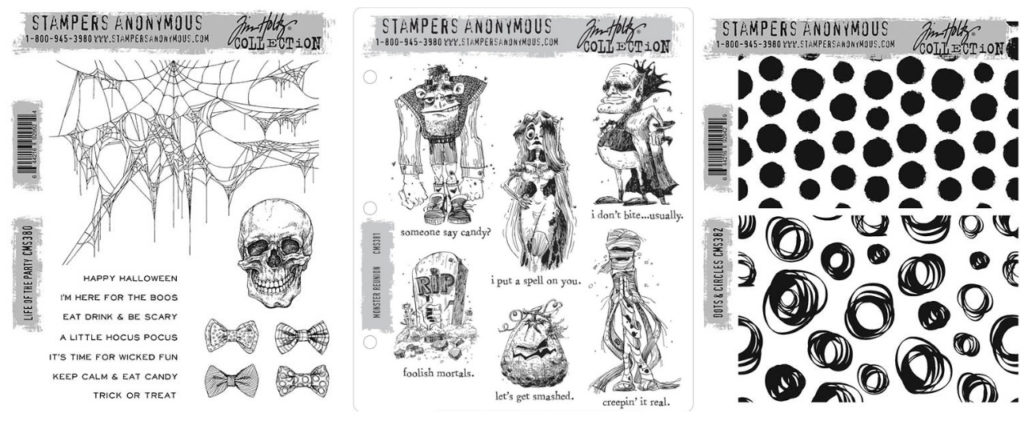
Congratulations to Cathy Ockerman – this week’s lucky winner! Hello October!!!!!! AND hello to another FABULOSA Wednesday! Every single Wednesday we partner up with a fabulous company to give one lucky follower a PRIZE PACKAGE! We like to call it “Why Not Win Wednesday”!ย This week we are partnering up with the good people over at Stampers Anonymous! One lucky follower is going to win these THREE sets of stamps! Halloween is in the air! Stampers Anonymous and Tim Holtz know just how to capture the Halloween spirit! One lucky winner will be taking home these three newly released stamp sets including Life of the Party, Monster Reunion, and Dots & Circles. CLICK HERE to enter your name to WIN WIN WIN! Contest closes Friday, Oct 4th at midnight MST. Good luck everyone!
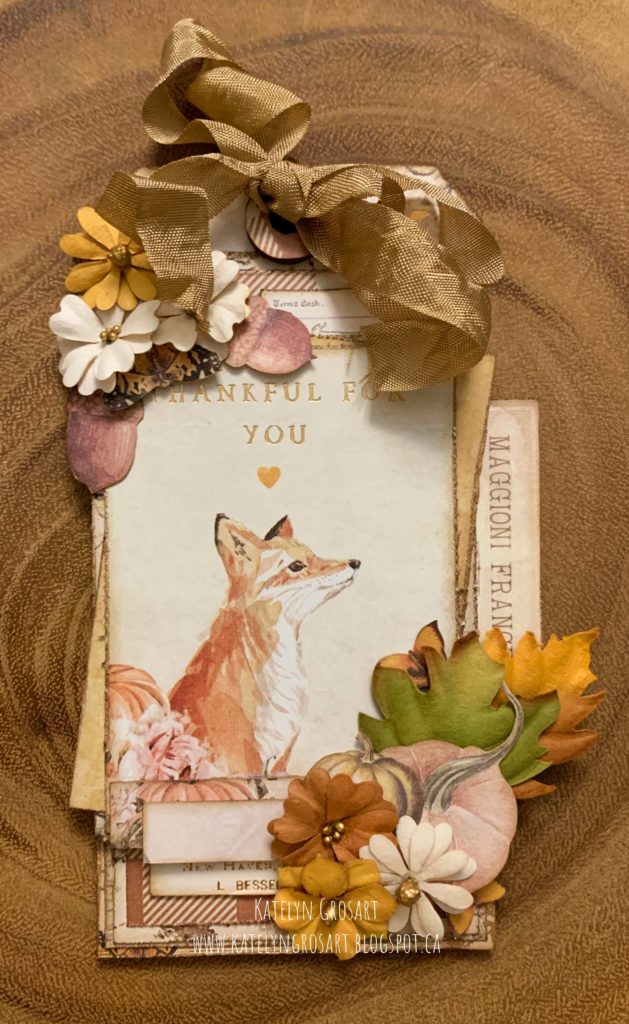
Hey Creative Scrapbooker Fans! I’m thrilled to be back on the blog today sharing with you my vintage Thankful Tag perfect for that special someone in your life or to hang in any area of your home. The jumping-off point for my project was a variety of products from Prima Marketing Inc including their Autumn Sunset Collection.ย Walnut Stain Distress ink and Blending Tool from Ranger Ink. ย Stampers Anonymous tag. Variety of adhesive from Scrapbook Adhesives by 3L Youโll want to grab a cup of your favourite Fall beverage as I share with you how to recreate my tag at home. To start, youโll need to take a tag and reinforcement circle out of the package from Stampers Anonymous To start, trace the reinforcement circle from Stampers Anonymous for the tag onto the Beautiful Sunset patterned paper from Prima Marketing Inc. Cut the reinforcement circle out and make sure to…