


Hey Creative Scrapbooker Fans! I’m thrilled to be back on the blog today sharing with you my vintage Thankful Tag perfect for that special someone in your life or to hang in any area of your home. The jumping-off point for my project was a variety of products from Prima Marketing Inc including their Autumn Sunset Collection. Walnut Stain Distress ink and Blending Tool from Ranger Ink.
 Stampers Anonymous tag.
 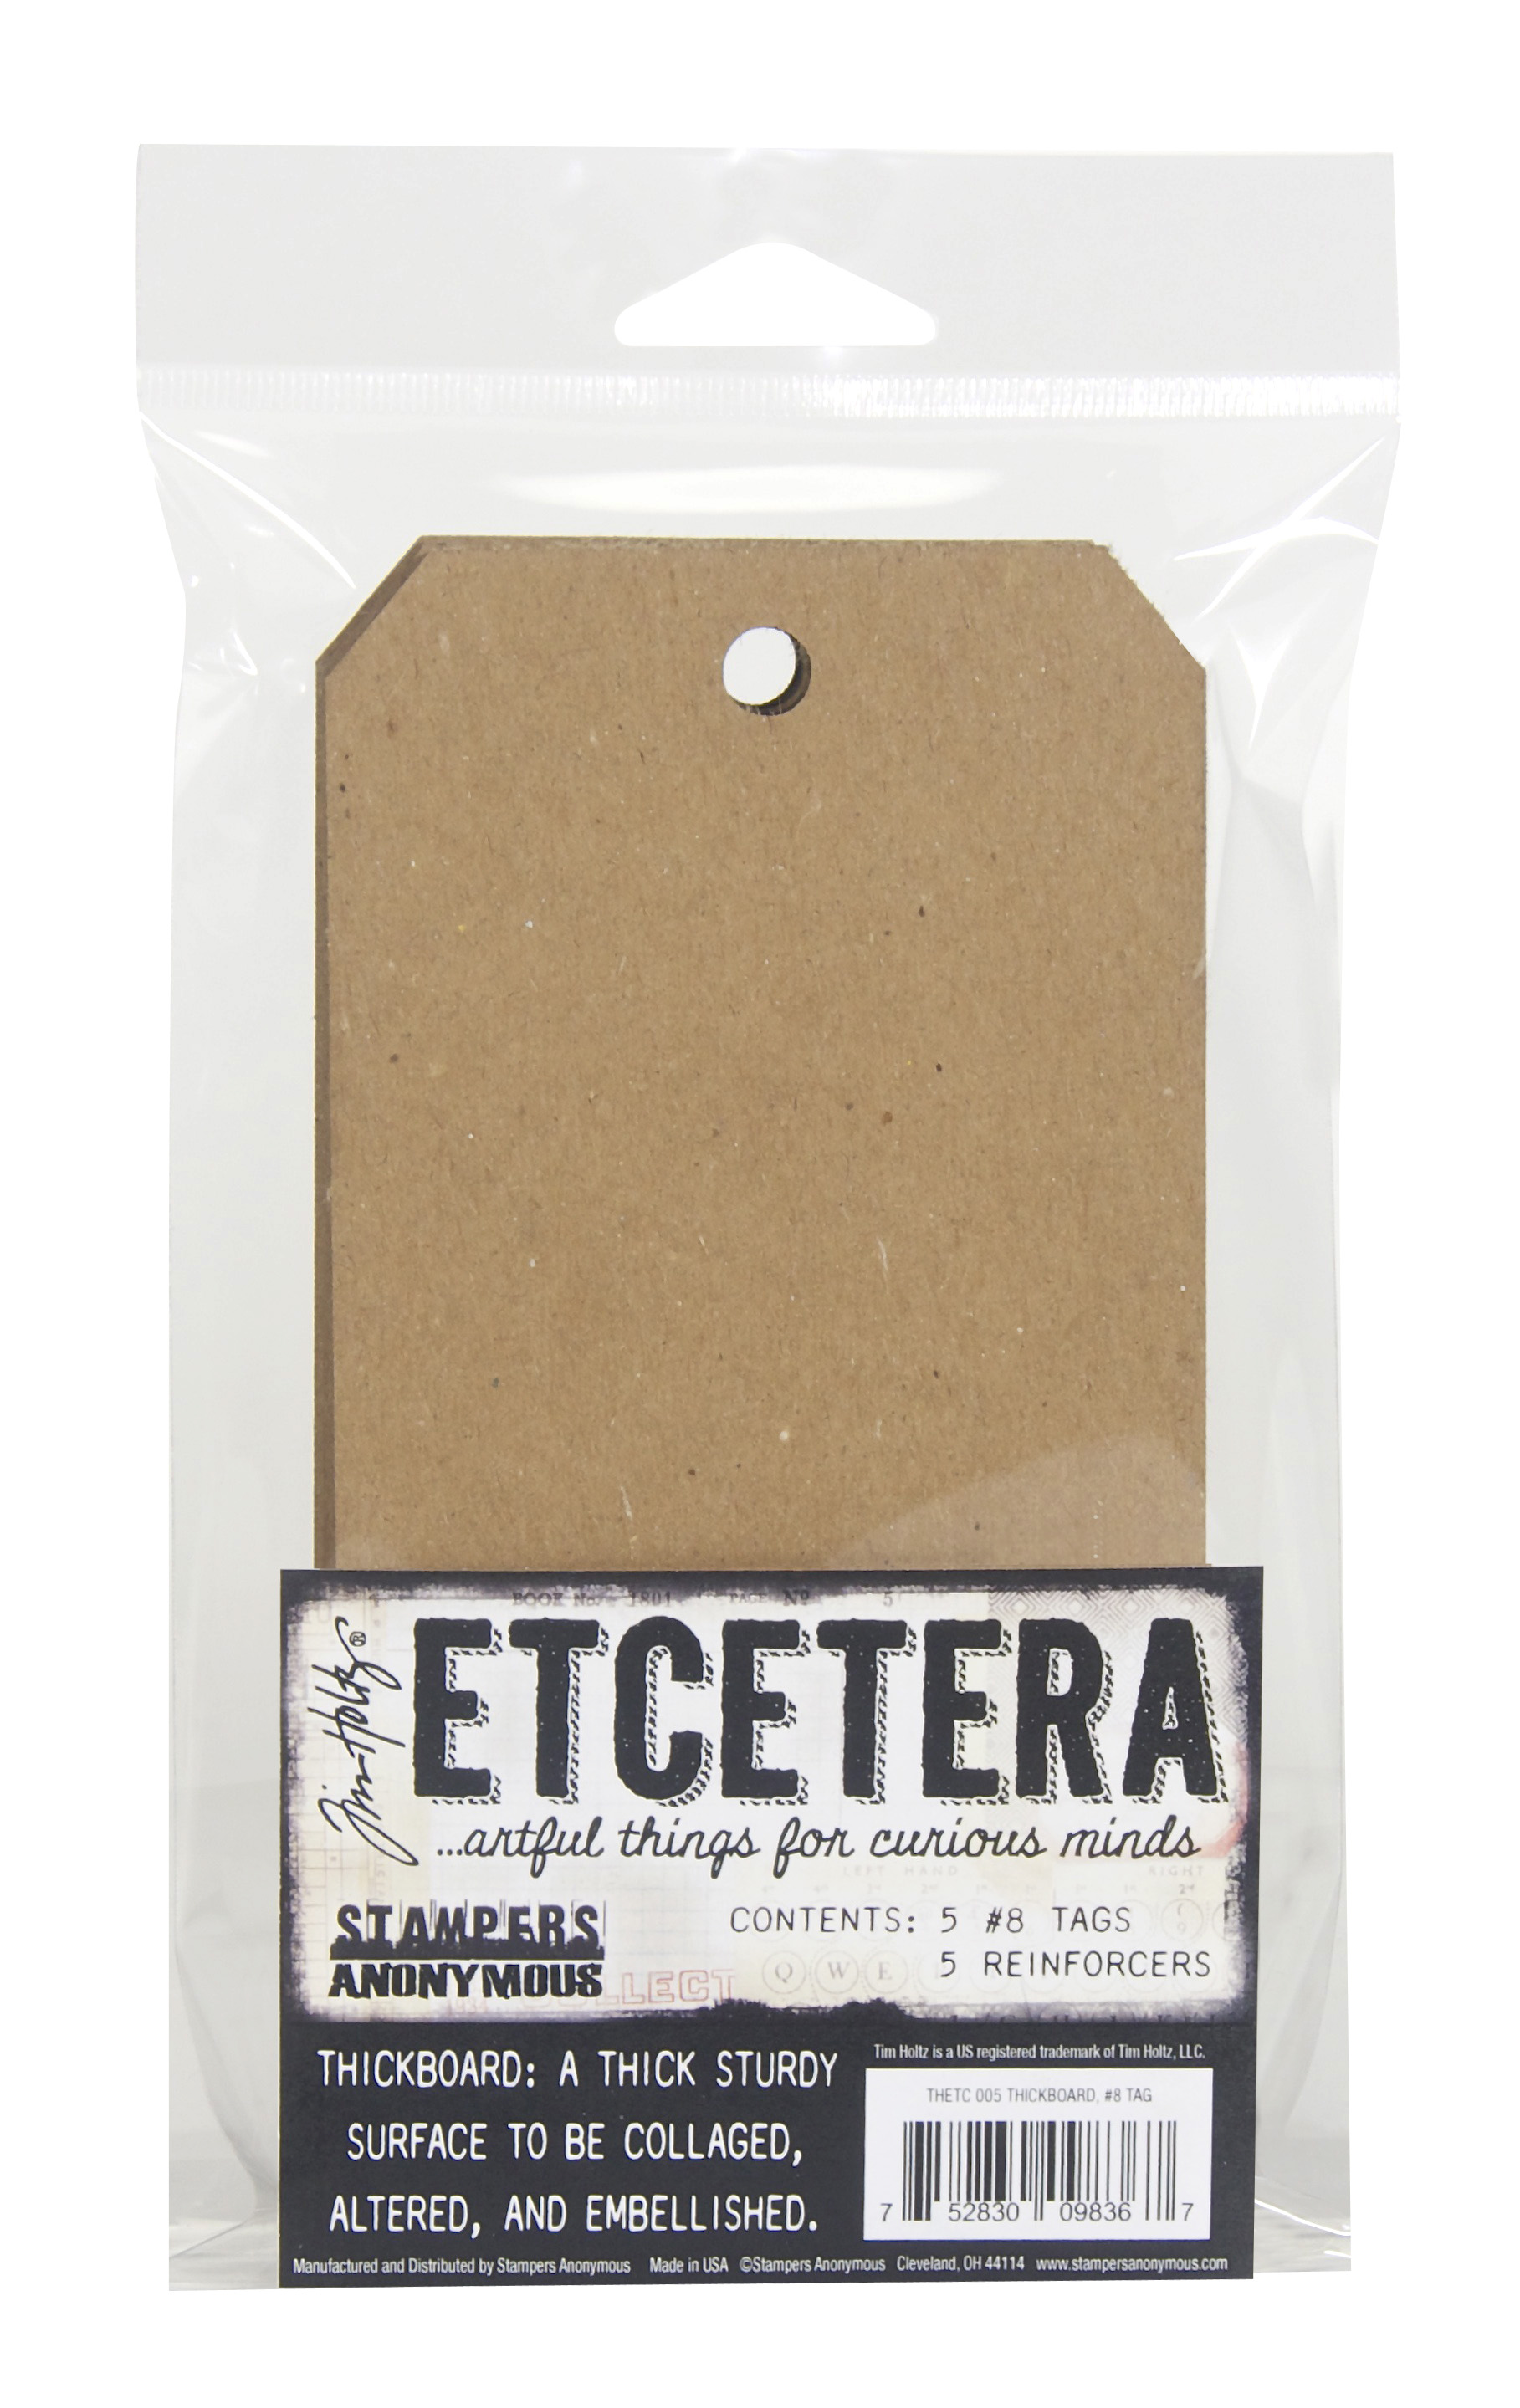 Variety of adhesive from Scrapbook Adhesives by 3L
  You’ll want to grab a cup of your favourite Fall beverage as I share with you how to recreate my tag at home.
  To start, you’ll need to take a tag and reinforcement circle out of the package from Stampers Anonymous
  To start, trace the reinforcement circle from Stampers Anonymous for the tag onto the Beautiful Sunset patterned paper from Prima Marketing Inc. Cut the reinforcement circle out and make sure to punch the hole out in the middle of the circle. Cut a piece from the same patterned paper that measures 2 5/8” x 5 1/8”. Distress the edges of the 2 5/8” piece. Ink the edges of the paper and reinforcement circle using Walnut Stain Distress Ink and a blending tool with foam from Ranger Ink.
  Place the tag from Stampers Anonymous onto the Falling Leaves patterned paper from Prima Marketing Inc. Trace the tag onto the paper and cut the tag out, make sure to punch the hole out at the top of the paper tag. Cut a piece from the same patterned paper that measures 3” x 5 ½”. Distress the edges of both pieces. Ink the edges of both pieces using Walnut Stain Distress Ink and a blending tool with foam from Ranger Ink.
  Cut out the Thankful For You Square and another card out of the Pumpkins & You patterned paper from Prima Marketing Inc. Cut the Thankful For You card down to 2 ½” x 3 ¾”. Distress the edges of both cards. Ink the edges of both cards using Walnut Stain Distress Ink and a blending tool with foam from Ranger Ink.
 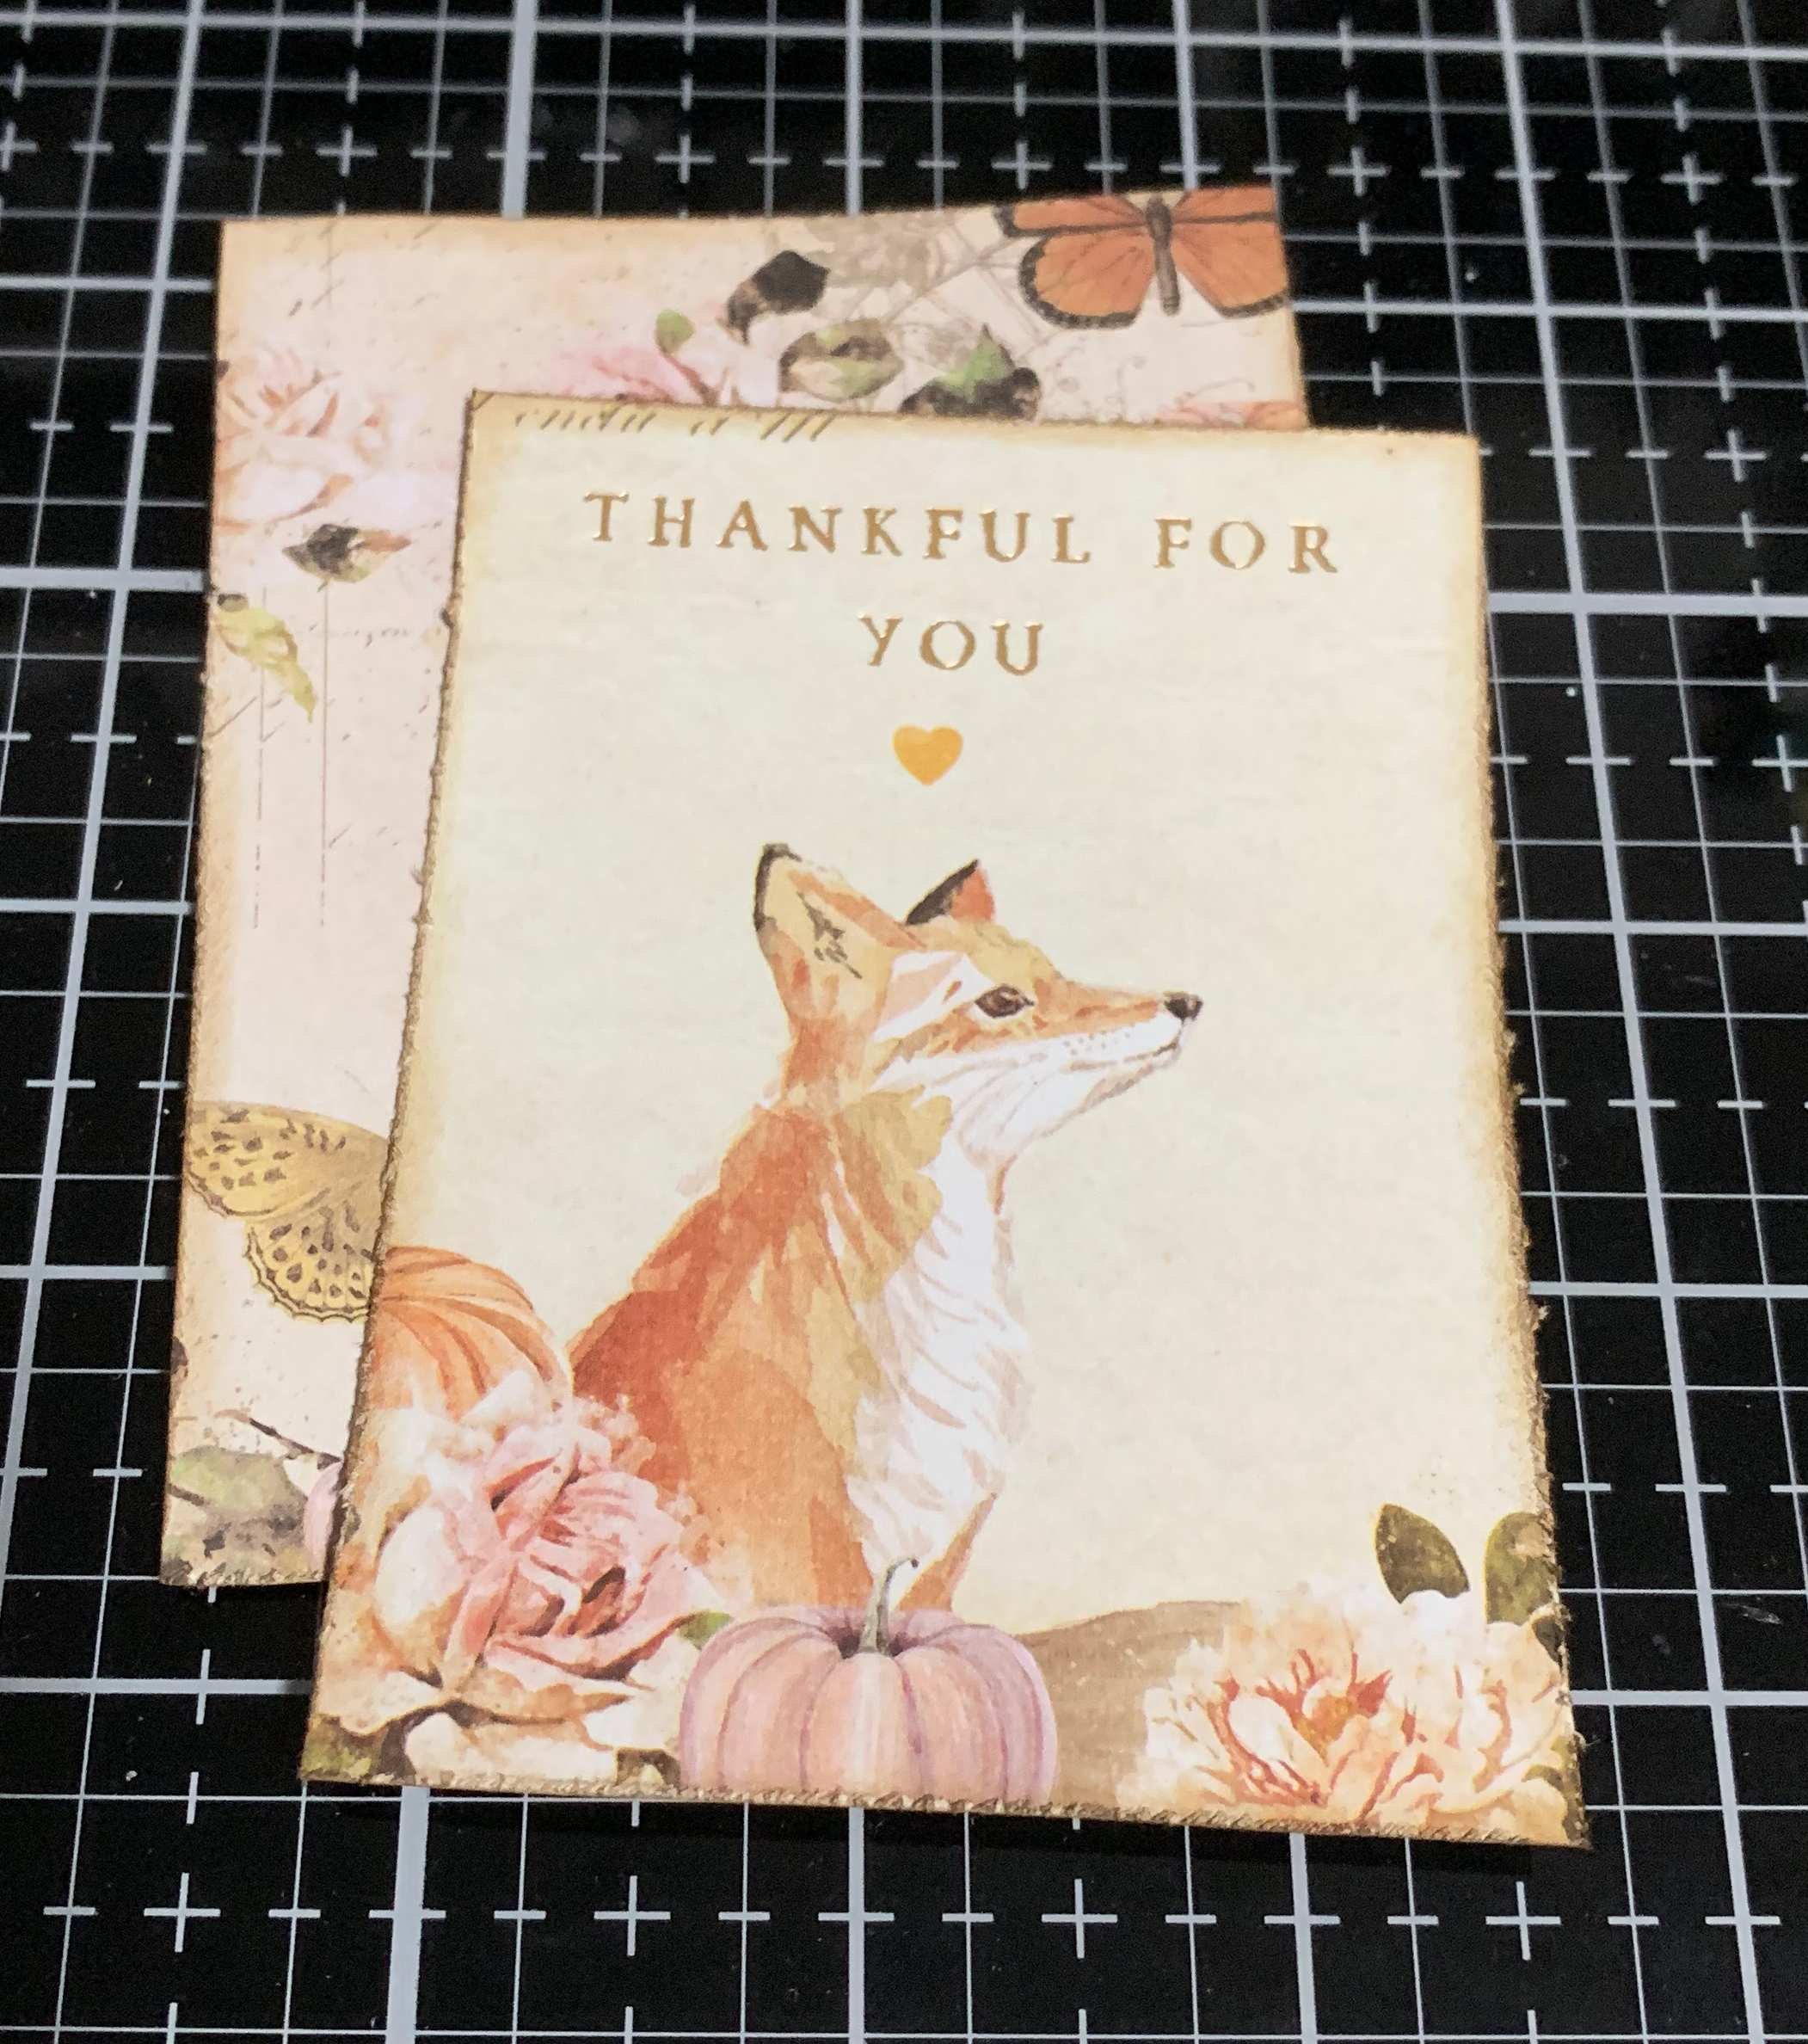 Cut a piece that measures 2 ¾” x 4” out of the Autumn Morning patterned paper from Prima Marketing Inc. Distress the edges. Ink the edges of the paper using Walnut Stain Distress Ink and a blending tool with foam from Ranger Ink.
  Cut a piece that measures 2 7/8” x 5 3/8” out of the Fall Flight patterned paper from Prima Marketing Inc. Distress the edges. Ink the edges of the paper using Walnut Stain Distress Ink and a blending tool with foam from Ranger Ink.
 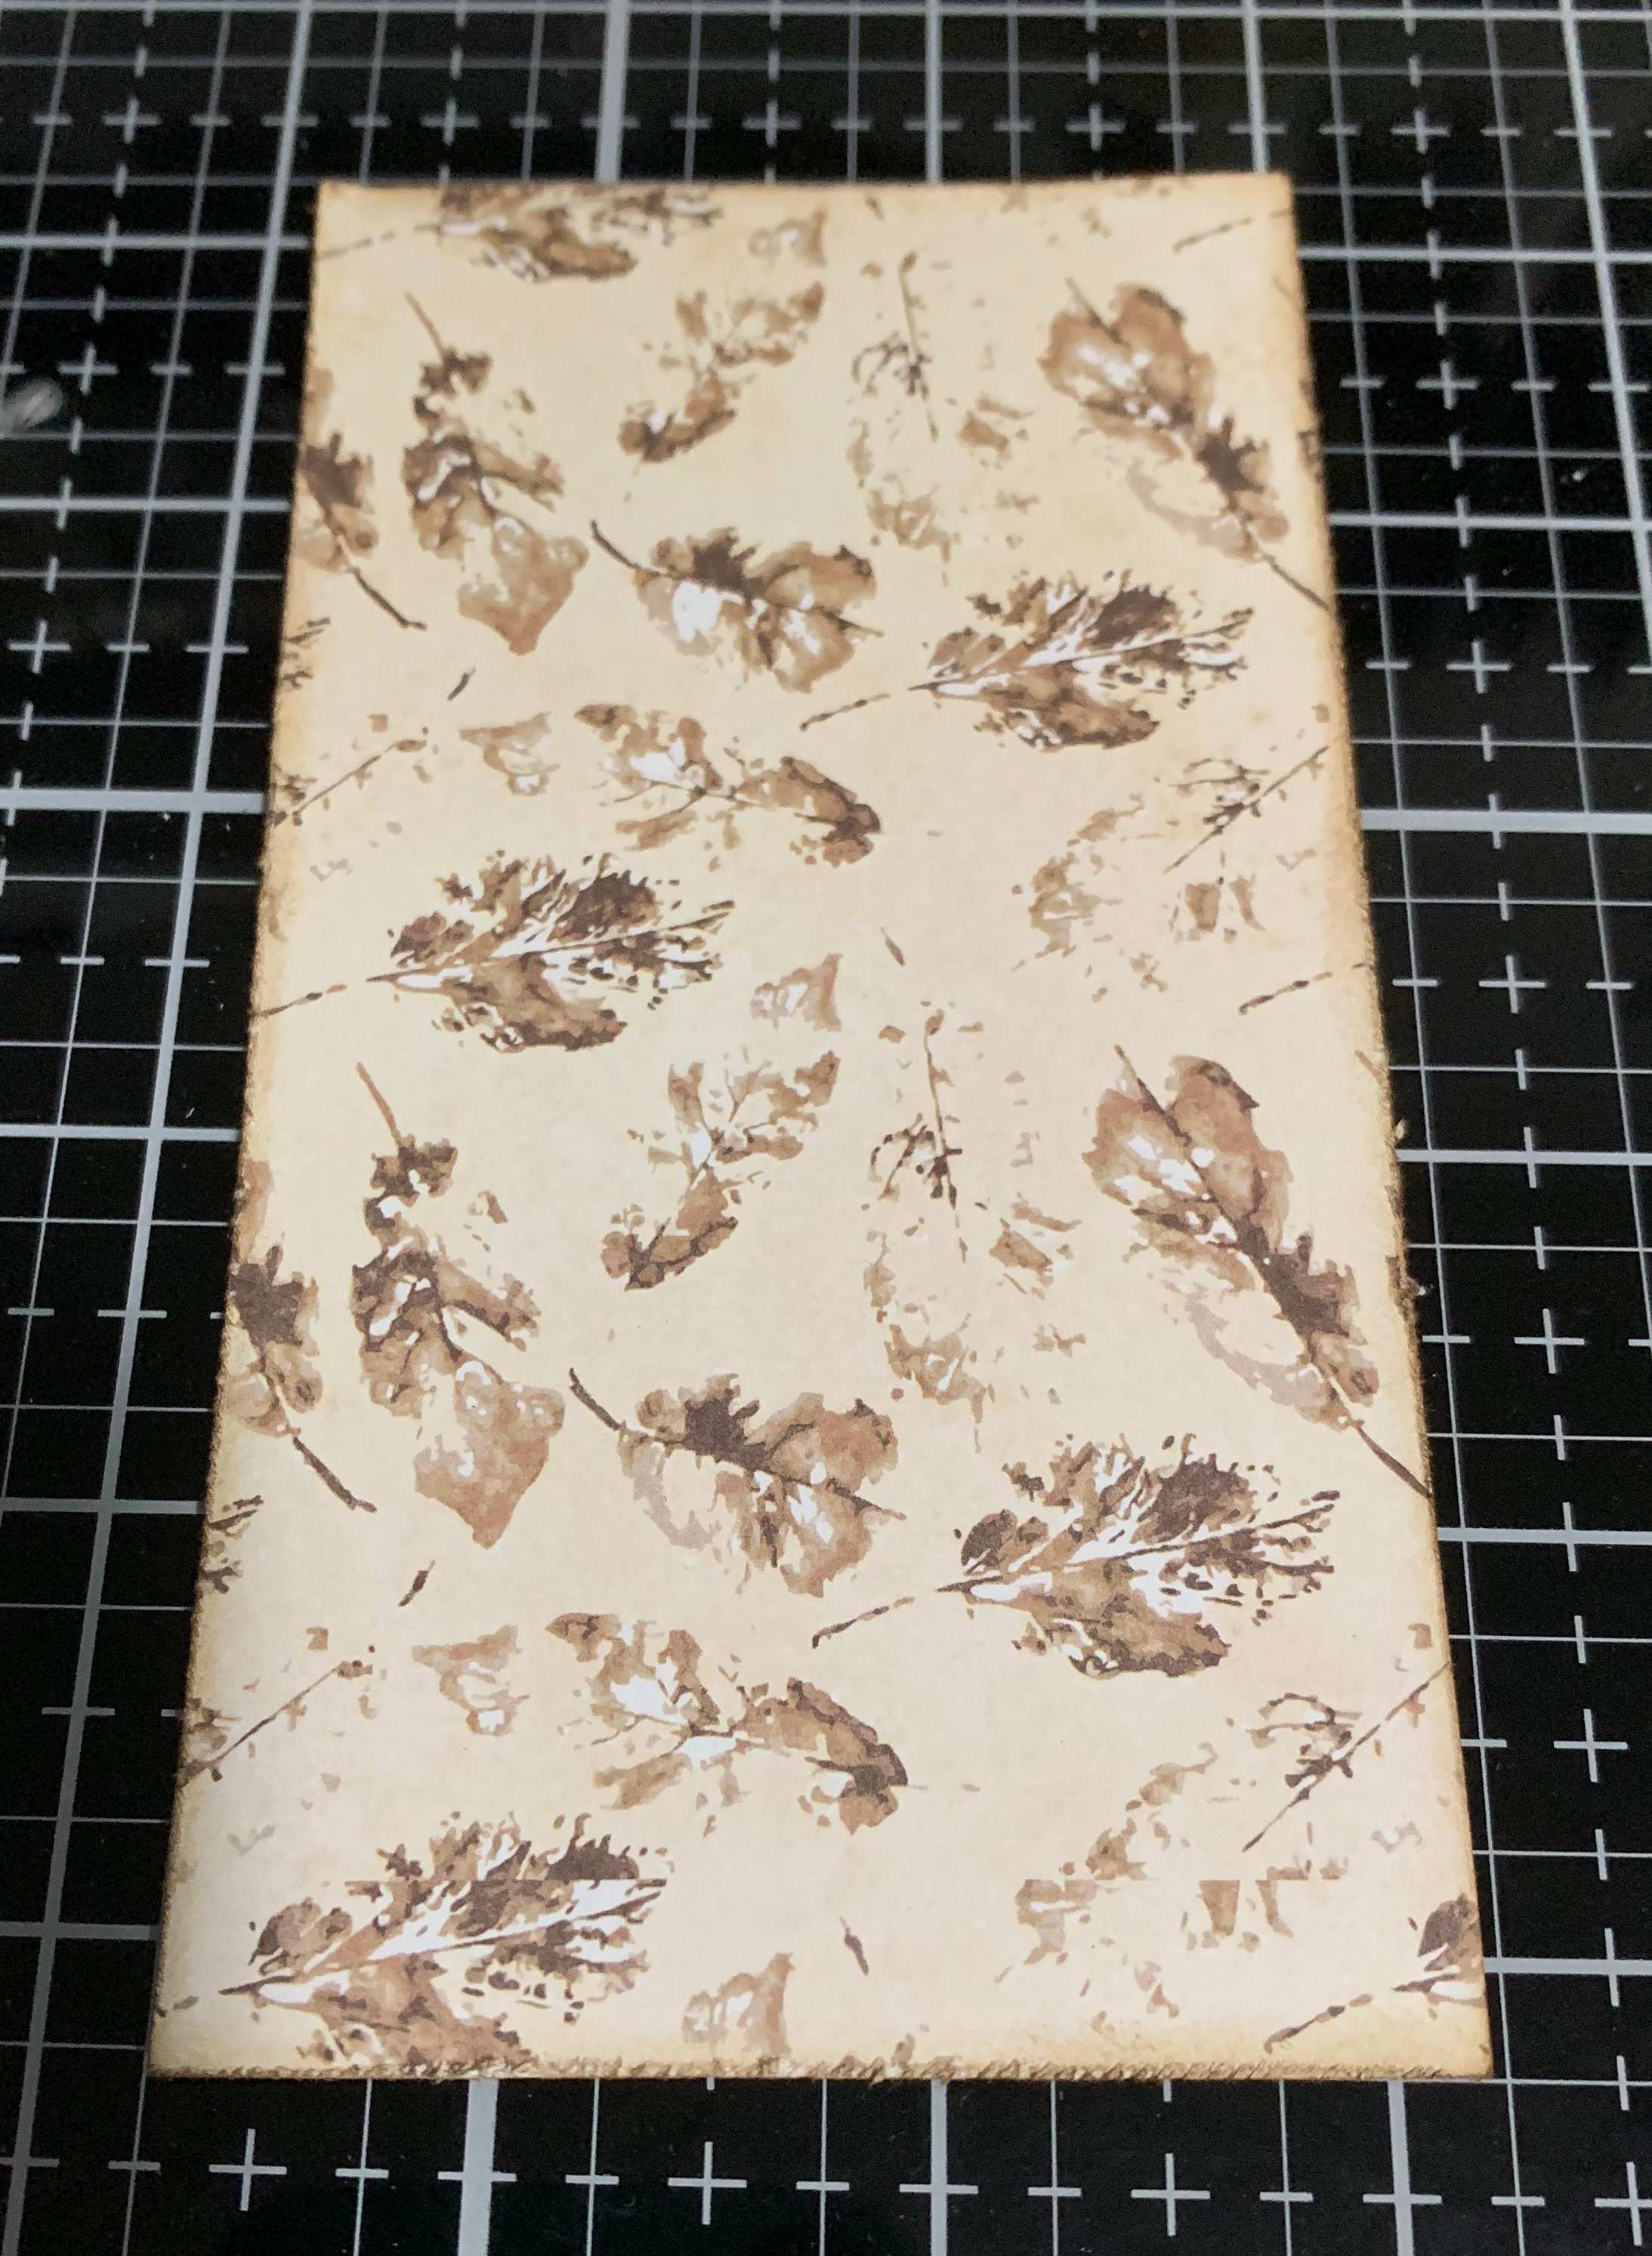 Choose two border strips off of the bottom of two patterned papers that have been used already from Prima Marketing Inc. Cut one border strip down to 3” and cut the other border strip down to 2 ¾”. Ink the edges of both border strips using Walnut Stain Distress Ink and a blending tool with foam from Ranger Ink.
 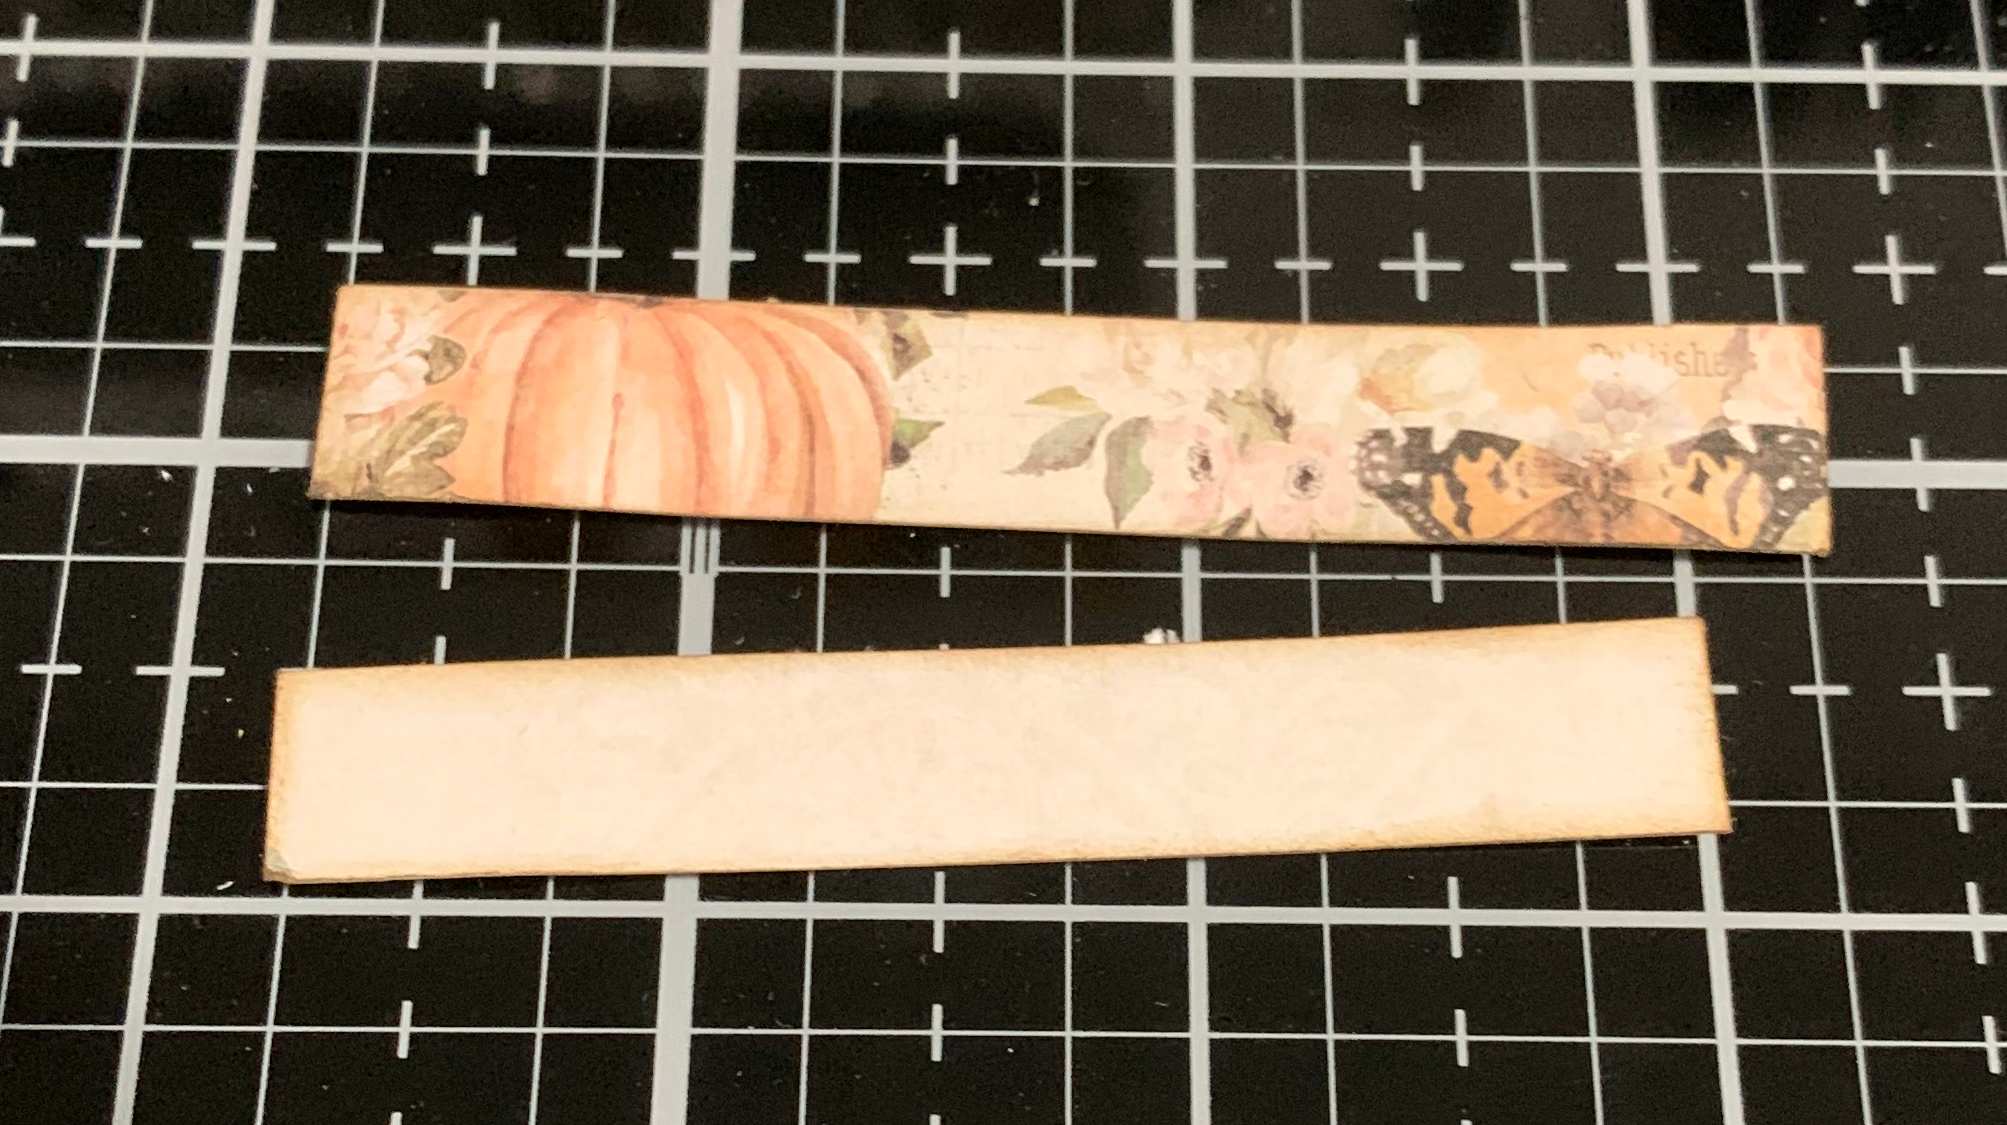 Out of the Autumn Sunset Ephemera package, you’ll need three labels, two pumpkins and the acorns from Prima Marketing Inc. Cut the labels down as desired. Fussy cut the acorns and two pumpkins so that the white is removed. You’ll also want to cut the acorns in half. Distress the edges of the labels. Ink the edges of the fussy cut images and labels using Walnut Stain Distress Ink and a blending tool with foam from Ranger Ink.
  Out of the patterned paper that has been used from Prima Marketing Inc, fussy cut three butterflies out. Ink the edges of the butterflies using Walnut Stain Distress Ink and a blending tool with foam from Ranger Ink.
  Out of the Autumn Sunset – Corn Mazes package from Prima Marketing Inc, take out three white flowers, two mustard flowers, one brown flower and two leaves.
  Using E-Z Runner from Scrapbook Adhesives by 3L, adhere the patterned paper tag to the chipboard tag. Adhere the map paper to the tag. Adhere the feather paper to the map paper. Adhere the plaid paper to the feather paper. Adhere the patterned paper reinforcement circle to the chipboard reinforcement circle. Adhere chipboard reinforcement circle over top of the hole on the tag.
  Using E-Z Runner from Scrapbook Adhesives by 3L, adhere one of the labels ¼” from the right at the top of the 3” patterned paper piece. Adhere to the second label ½” from the top and have it overhang on the right-hand side of the 3” patterned paper piece. Adhere the third label 3/8” from the left and 3/8” from the bottom of the patterned paper piece. Adhere the yellow piece on an angle over the top of the 3” patterned paper piece. Adhere the Thankful For You card overtop of the yellow piece. Use 3D Foam Squares from Scrapbook Adhesives by 3L to adhere the 3” patterned paper piece to the tag, making sure the left-hand side of the paper sits all the way to the left edge of the tag.
  Use E-Z Runner from Scrapbook Adhesives by 3L to adhere the two border strips to the bottom portion of the Thankful For You card.
  Use Dodz, E-Z Runner and 3D Foam Squares from Scrapbook Adhesives by 3L to adhere the two white flowers, one mustard flower, the two acorns and one of the butterflies in the top left corner of the Thankful For You card.
  Use Dodz, E-Z Runner, Thin 3D Foam Squares and 3D Foam Squares from Scrapbook Adhesives by 3L to adhere one white flowers, one mustard flower, one brown flower, the two leaves, the two pumpkins and the two butterflies in the bottom right corner of the Thankful For You card.
 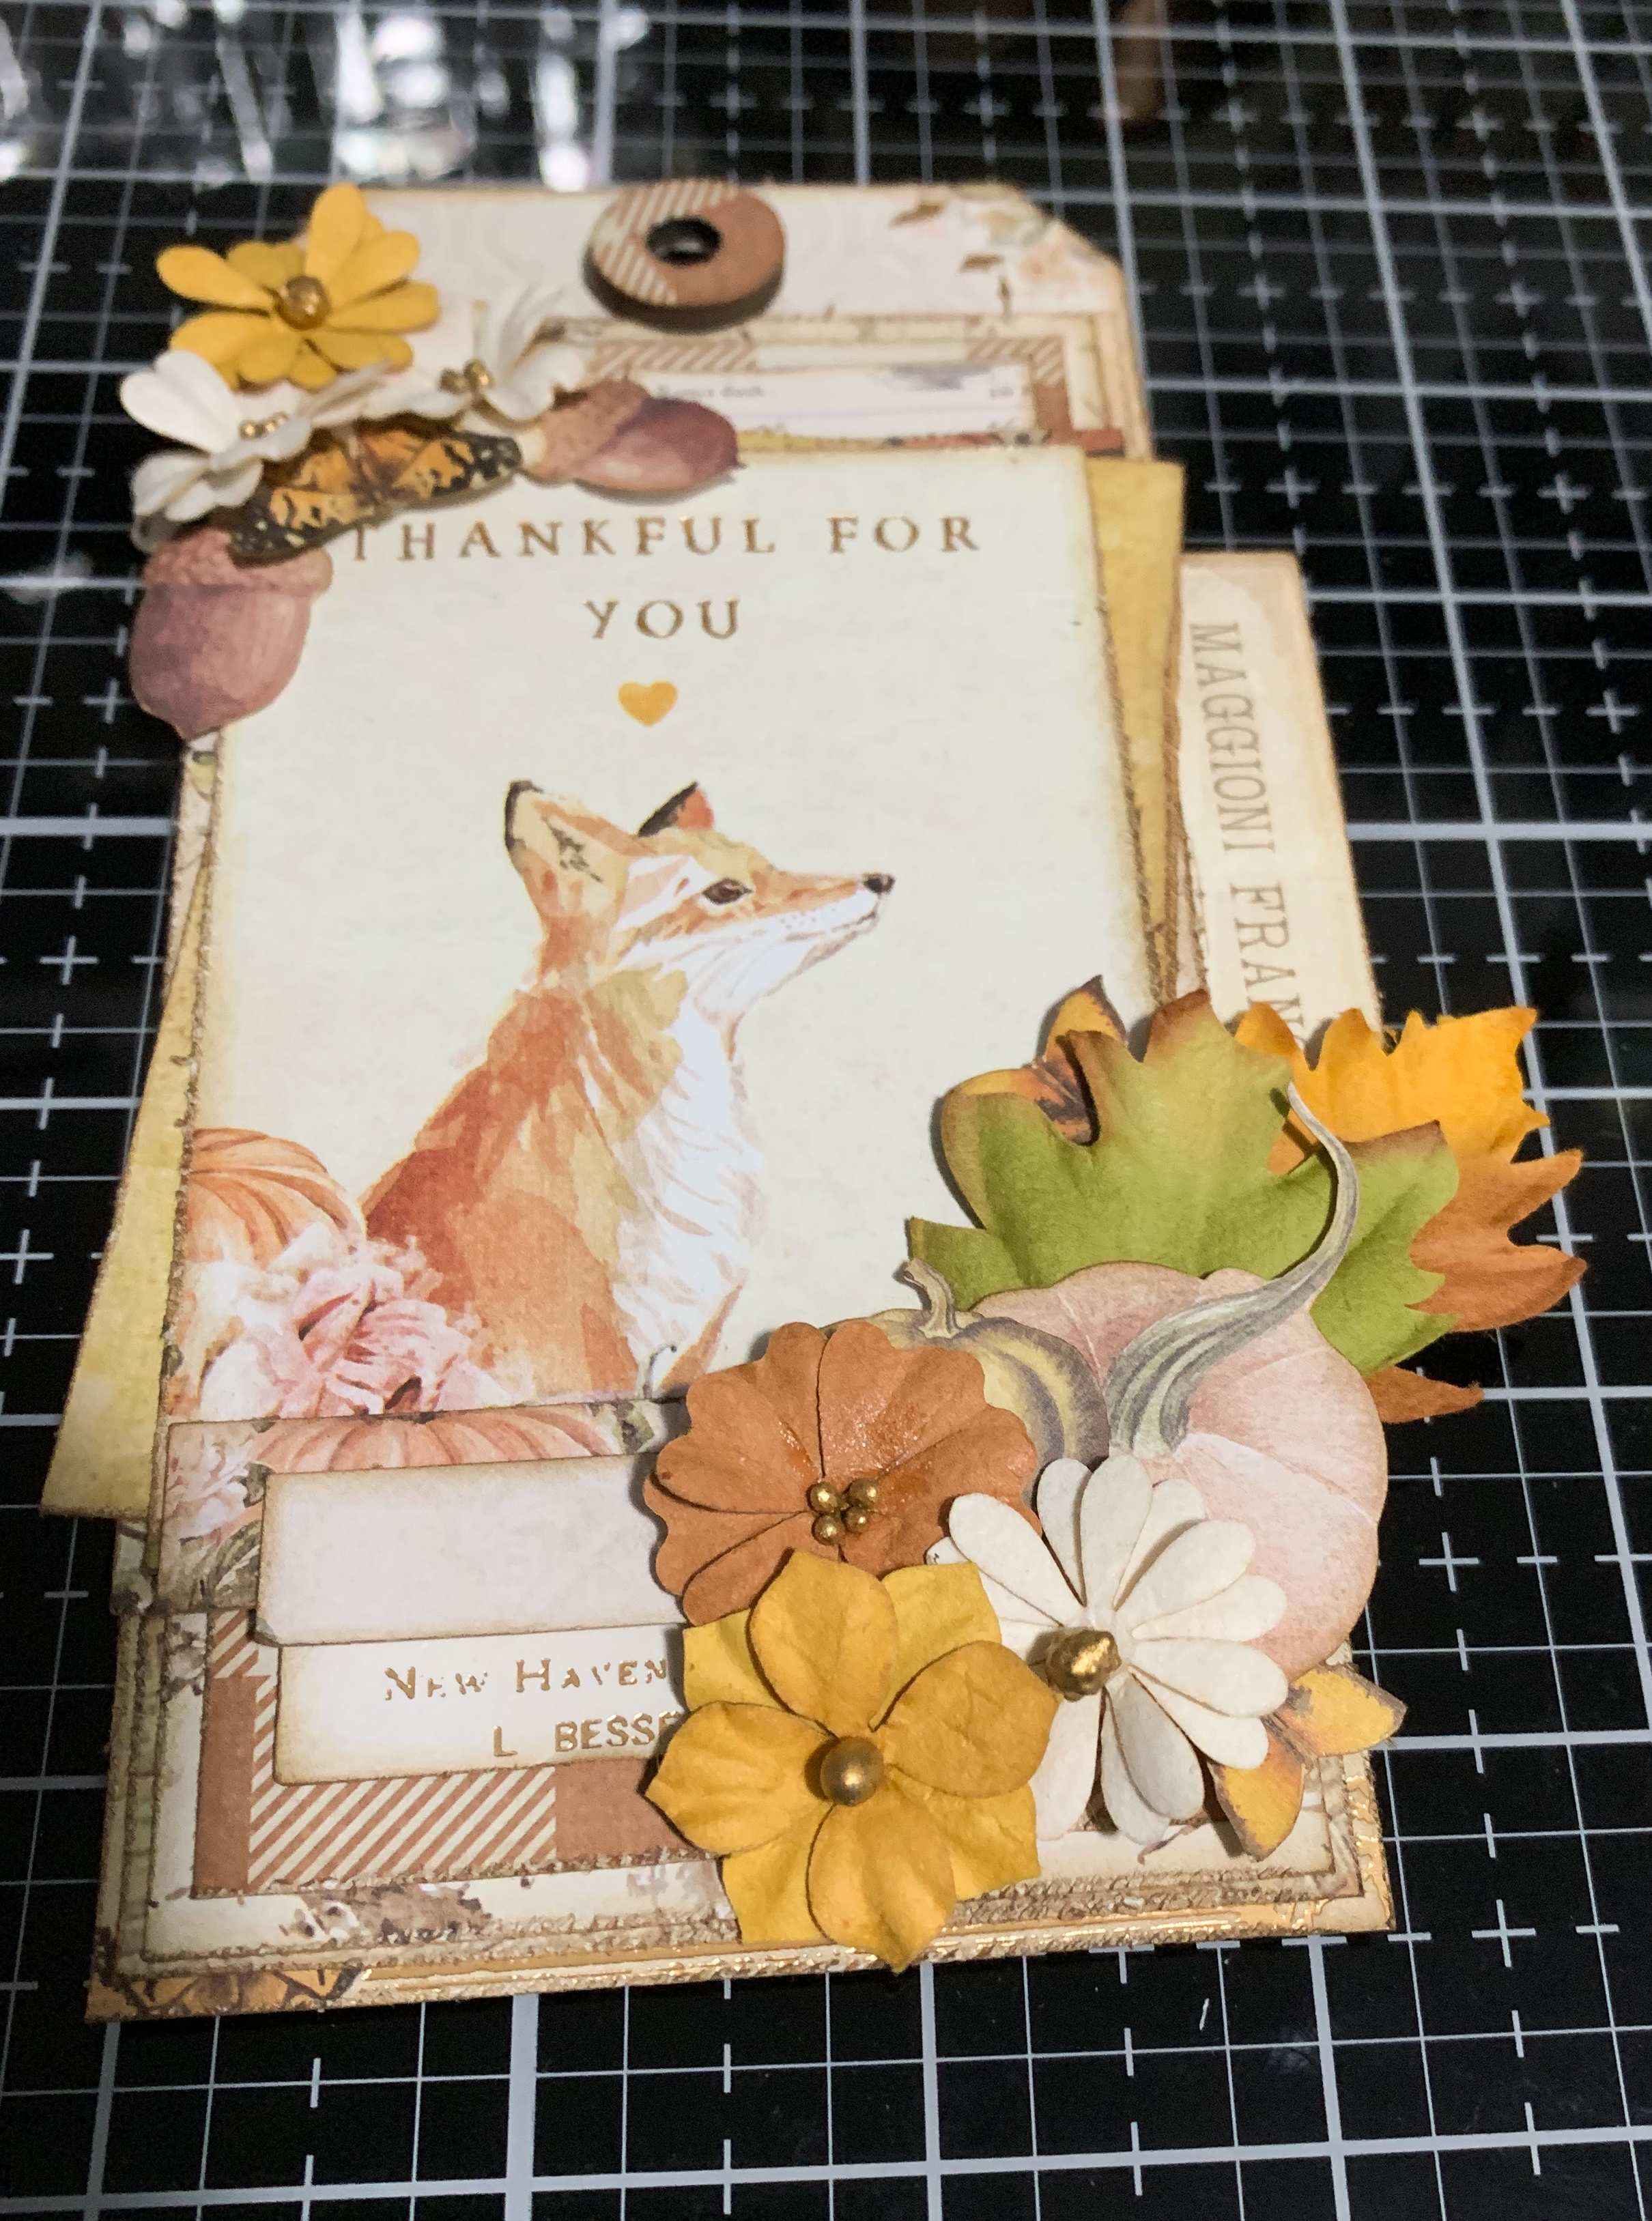 To finish the tag, tie a bow at the top of the tag using a piece of brown ribbon.
  Here are a few closeup photos of my finished Thankful For You Tag.
  Thanks so much for joining me today and taking the time to check out my blog post. I hope that my Thankful For You Tag has inspired you to recreate your own at home. Supplies Used:
Prima Marketing Inc: Autumn Sunset Collection – Patterned Paper: Autumn Morning, Beautiful Sunset, Fall Flight, Falling Leaves, Pumpkins & You, Ephemera and Corn Mazes (Flowers/Leaves)
Ranger Ink: Walnut Stain Distress Ink & Blending Tool with Foam
Stampers Anonymous: #8 Chipboard Tag
Scrapbook Adhesives by 3L: 3D Foam Squares, Thin Foam Squares, E-Z Runner Grand
Misc: Brown Seam Binding Ribbon
You can find more of my work on my blog at: http://www.katelyngrosart.blogspot.ca
Happy Creating!

Subscribe today to Creative Scrapbooker Magazine


2 Comments
Beautiful tag, Katelyn! That’s such a gorgeous collection! 🙂
I loved the tag and thank you for the instructions