


Hey Creative Scrapbooker Fans! For today’s blogpost, I’m sharing with you how I created this All The Things Mini Album using Flea Market Collection from Simple Stories 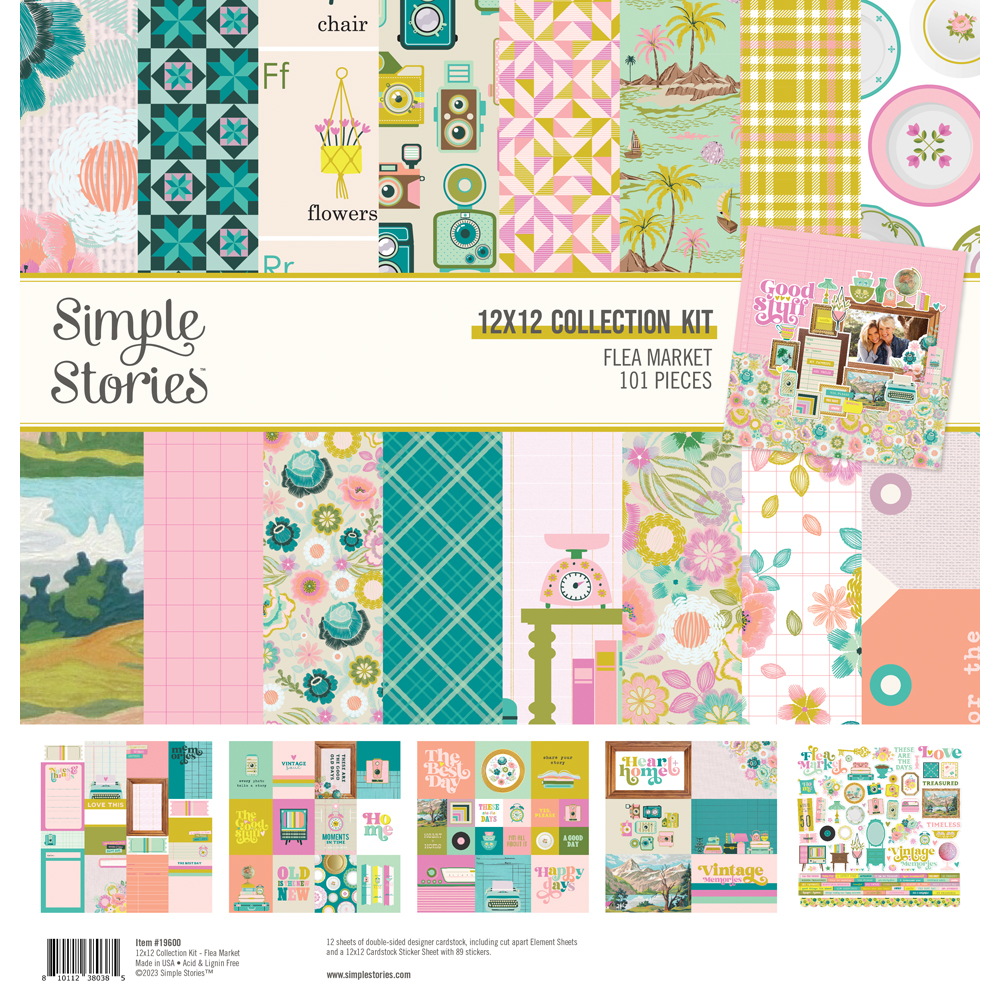 Stitched Oval dies from Elizabeth Craft Designs
 AND adhesive from Scrapbook Adhesives by 3L.
  You’ll want to grab a cup of your favourite beverage and learn all the details about my mini album.
  All the pages of the mini album were die cut using a variety of patterned papers out of the Flea Market 12×12 Paper Pack from Simple Stories. Once the patterned papers where selected, I die cut a 4 ½” Stitched Oval from Elizabeth Craft Designs out of each patterned paper. All the pages have had the edges sanded.
  For the embellishments on the front cover of the mini album, I used the tags and the ticket as well as the stacked suitcases from the 3×4 Paper out of the Flea Market Paper Pack from Simple Stories. The other elements came from the Flea Market Journal Bits, Floral Bits, Foam Stickers, and Sticker Book from Simple Stories. I did fussy cut the white from the floral bits. Once I gathered all the elements, I layered as desired.
  Now we will move on to page 2 & 3.
  For page 2, I die cut a 3” Stitched Oval from Elizabeth Craft Designs out of a piece of Bubblegum Color Vibe Cardstock from Simple Stories. With this cardstock, there is either a dot side or a plain side, I used the plain side. I sanded the edges of the oval. I kept the embellishments simple around the photo mat. I fussy cut the cameras out of a patterned paper found in the Flea Market Paper Pack from Simple Stories. In the Flea Market Sticker Book from Simple Stories, there is one page of sentiment strips, choose one of the sentiments. The ticket came out of the Flea Market Journal Bits from Simple Stories.
  For Page 3, I used as a focal image page, you could also turn it into a page for journaling. On this page, I’ve layered elements out of the Flea Market Sticker Book, Bits & Pieces, Journal Bits and Foam Stickers from Simple Stories. The frame and typewriter have been fussy cut, so the white is gone. I did add a label sticker out of the Flea Market Sticker Book from Simple Stories underneath the frame for a small amount of journaling.
  Next, we’ll move on to Pages 4 & 5
  Page 4 is a lot like page 3 in regard to using it as a focal page. This page features a variety of patterned papers out of the Flea Market Paper Pack from Simple Stories. When choosing patterned papers, I lay them out on the page first and then start to layer. Once the patterned papers have been figured out, I took the tv out of the Flea Market Bits & Pieces from Simple Stories as well as a floral bunch out of the Flea Market Floral Bits from Simple Stories. I fussy cut around the tv and floral bunch getting rid of the white. The label on the page came from the Flea Market Sticker Book and the brads came out of the Decorative Brads from Simple Stories.
  Page 5 is one of my favourites in this mini album. The 3” Stitched Oval from Elizabeth Craft Designs is die cut out of Robin’s Egg Colour Vibe Textured Cardstock from Simple Stories. The edges have been sanded. I chose two florals out of the Flea Market Floral Bits from Simple Stories. I fussy cut the white from the floral bunches. The other elements on the page came out of the Flea Market Decorative Brads, Sticker Book, and Journal Bits from Simple Stories.
  Now, we’ll move on to Pages 6 & 7
  For Page 6, I layered elements out of the Flea Market Bits & Pieces a Decorative Brads from Simple Stories. I fussy cut around the elements to get rid of the white. I layered the elements except the globe before adhering the 3” Stitched Oval from Elizabeth Craft Designs out of Peony Color Vibe Textured Cardstock from Simple Stories. I sanded the edges of the oval. The oval was foam squared using 3D Foam Squares from Scrapbook Adhesives by 3L. Once the oval was adhered, I used EZ Runner and 3D Foam Squares from Scrapbook Adhesives by 3L to adhere the globe to the bottom left of the oval.
  For Page 7, I layered a variety of frames and ticket stub out of the Flea Market Journal Bits and the round frame out of the Flea Market Bits & Pieces from Simple Stories. I cut the white away from the frames. You’ll also need to choose two floral bunches out of the Flea Market Floral Bits from Simple Stories. Fussy cut the white away from the floral bunches. Layered the patterned tag and a few patterned papers out of the Flea Market Paper Pack from Simple Stories with the frames as desired. To finish the page, I added the Vintage word out of the Flea Market Bits & Pieces and the brads out of the Flea Market Decorative Brads from Simple Stories.
  Here is the back cover of the mini album
  Thank you for joining me today and taking the time to check out my blog post. I hope that my All The Things Mini Album has inspired you to create your own at home.

You can find more of my work on my blog at: http://www.katelyngrosart.blogspot.ca
Simple Stories:
Flea Market 12×12 Paper Pack
Flea Market Journal Bits
Flea Market Bits & Pieces
Flea Market Floral Bits
Flea Market Foam Stickers
Flea Market Sticker Book & Flea Market Decorative Brads
Elizabeth Craft Designs:
Stitched Ovals Dies
Scrapbook Adhesives by 3L
3D Foam Squares and EZ Runner Permanent Tape
Misc: Jump Ring
Subscribe Today to Creative Scrapbooker Magazine

