


Hey Creative Scrapbooker Fans! For today’s blog post, I’m sharing how I created this Be a Legend Tag featuring fabulous products by Ranger Dina Wakley Media. I also used Super Stock from Creative Scrapbooker Magazine, and adhesive from Scrapbook Adhesives by 3L. You’ll want to grab a cup of your favourite beverage and learn how to create my Be a Legend Tag.

To start, you need a tag that measures 4 1/8” x 8 ½”. Apply a coat of White Gesso from Ranger Ink to the tag. Once the gesso has dried, place the Dina Wakley Media Sideways Stencil from Ranger Ink on the stencil. Using a blending tool with foam and Orchid Acrylic Paint from Ranger Ink blend paint through the stencil as desired. Move the stencil as needed and continue to put paint through the stencil. Remove the stencil and allow the stencilled area to dry.  Once the stenciled area has dried, out of the Dina Wakley Media Healing and Light Stamp Set from Ranger Ink, you’ll need the dot stamp. Apply Jet Black Archival Ink from Ranger Ink to the stamp and stamp randomly on the tag. You’ll need to stamp a total of seven times and apply ink to the stamp as needed. Ink the edges of the tag using Black Soot Distress Ink and a Blending Tool with Foam from Ranger Ink.
  Next, you’ll need both branch stamps out of the Dina Wakley Media Healing and Light Stamp Set from Ranger Ink. On the filled in branch stamp, apply Rustic Wilderness Distress Ink from Ranger Ink and stamp onto a piece of Super Stock from Creative Scrapbooker Magazine. On the open branch stamp, apply Forest Moss Distress Ink from Ranger Ink and stamp onto the same piece of Super Stock from Creative Scrapbooker Magazine. Fussy cut both branches out.
 Next, you’ll need the face stamp out of the Dina Wakley Media Healing and Light Stamp Set from Ranger Ink. Apply Jet Black Archival Ink from Ranger Ink and stamp onto a piece of Super Stock from Creative Scrapbooker Magazine. Colour the face using Dina Wakley Media Blush and Magenta Scribble Sticks from Ranger Ink and a waterbrush as desired. Once the face has dried, fussy cut it out.
  From the Dina Wakley Media Stencil Alphas Stamp Set from Ranger Ink, you’ll need the Be a Legend Quote. Apply Jet Black Archival Ink from Ranger Ink to the stamp and stamp onto a piece of Super Stock from Creative Scrapbooker Magazine. Cut the quote into a strip.
  Next, you’ll need the word/shape Dina Wakley Media Collage Paper out of the Painted Marks Collage Paper from Ranger Ink. Tear a strip that measures approximately 2 ½” x 5”. Crinkle it as desired.
  Out of the Dina Wakley Media Frames & Figures Set 2 Transparencies from Ranger Ink, you’ll need to cut out one of the diamond rectangle frames. Cut as close to the diamonds on the frame.
  Out of the Dina Wakley Media Pattern Play 2 Transparencies from Ranger Ink, you’ll need to cut the scallop border strip off. Trim the border strip to 1 ¼” x 4”.
  Staple the scallop border strip 1 ¼” from the left and 1 ½” from the top of the tag. Crinkle up the tissue paper and staple it 1 3/8” from the left and 2” from the top.
  Use E-Z Runner from Scrapbook Adhesives by 3L to adhere the bottom of the filled in branch 3/8” from the left and 2 7/8” from the of the tag. Make sure the branch is on a slight angle.
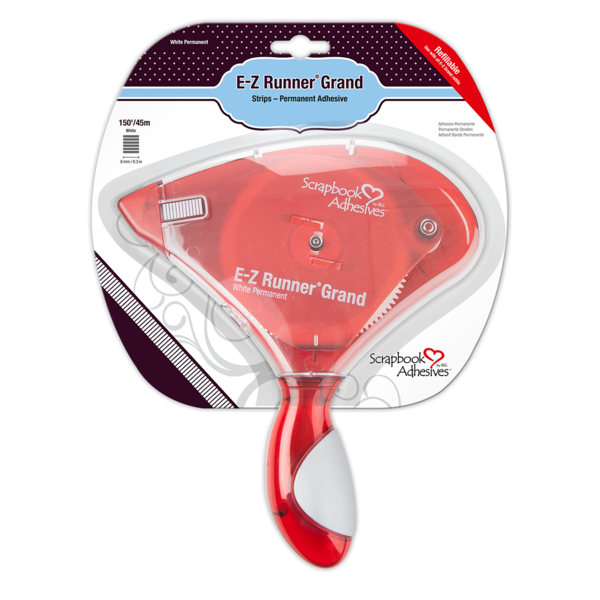 Put adhesive at the bottom of the open branch 2” from the left and 2 ¾” from the top of the tag. Make sure this branch is also on a slight angle.
  Use E-Z Runner from Scrapbook Adhesives by 3L to adhere the face to the bottom portion of the tag as desired. Make sure that the face does cover the bottom portion of the branches.
 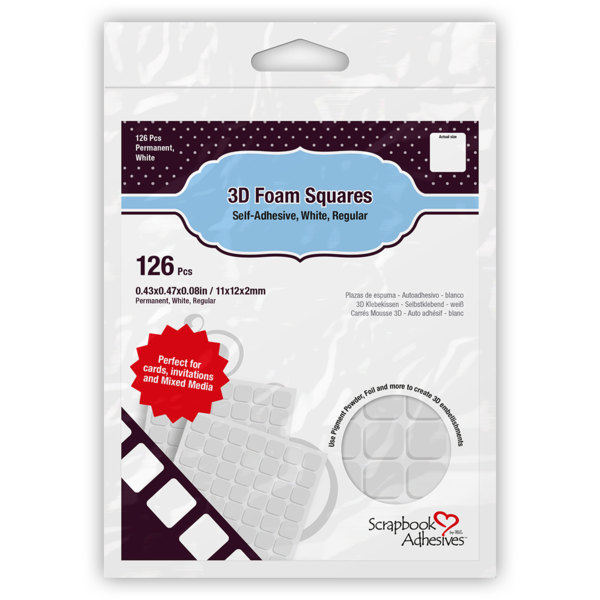 Use 3D Foam Squares from Scrapbook Adhesives by 3L to adhere the Be a Legend Quote to the bottom right side of the face as desired.
  Tie a piece of twine through the hole at the top of the tag. To finish the tag, use a paintbrush and Dina Wakley Media Magenta Gloss Spray from Ranger Ink and splatter on the tag as desired. Allow lots of time for the gloss spray to dry.
  Here are a few closeups of the finished tag.
 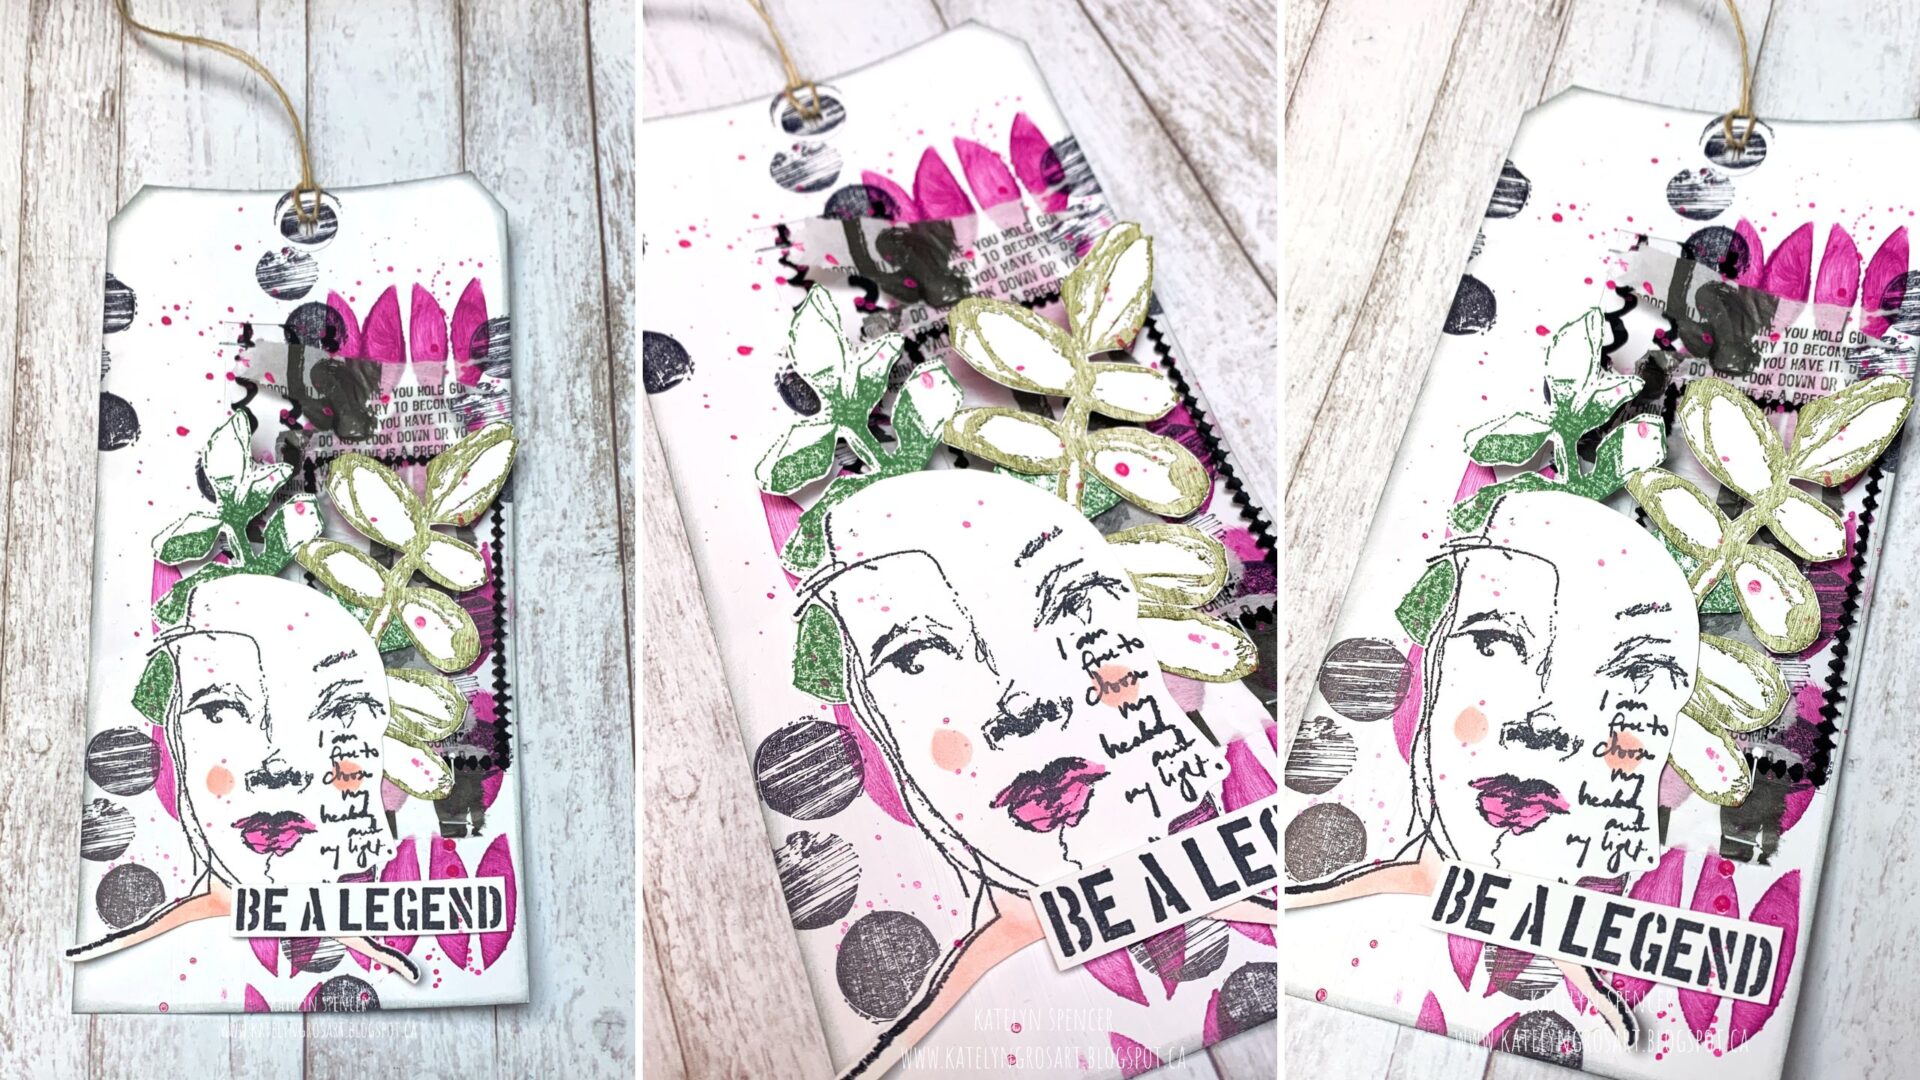 I hope my Be a Legend Tag has inspired you to create your own at home. Thank you so much for joining me today and checking out my blog post.

You can find more of my work on my blog at: http://www.katelyngrosart.blogspot.ca
Supplies Used:
Ranger Ink
– Jet Black Archival Ink and Blending Tool with Foam
- Magenta Gloss Spray
- Orchid Acrylic Paint
- Blush & Magenta Scribble Sticks
- White Gesso
- Frames & Figures Set 2 Transparencies
- Pattern Play 2 Transparencies
- Painted Marks Collage Paper
- Stencil Alphas Stamp Set
- Healing and Light Stamp Set
- Sideways Stencil
- Forest Moss Distress Ink
- Rustic Wilderness Distress Ink
Creative Scrapbooker Magazine: Super Stock
Scrapbook Adhesives by 3L: 3D Foam Squares and E-Z Runner Permanent Tape
Misc: Twine and Tag
Subscribe Today to Creative Scrapbooker Magazine


1 Comment
I love what you did here, you’ve made me look at the Sideways Stencil in a whole new way! Thanks for the inspiration.