Hey Creative Scrapbooker Fans! For today’s blogpost I will be playing with a variety of Stampers Anonymous Tim Holtz stamp sets. I will be creating this Hello Friend Card which also uses a variety of products from Ranger Ink, Super Stock Cardstock from Creative Scrapbooker Magazine and adhesive from Scrapbook Adhesives by 3L. You’ll want to grab a cup of your favourite beverage and learn how to recreate my card at home. To start, cut a piece of Tim Holtz Distress Cotton Watercolour Paper from Ranger Ink that measures 3 ¾” x 5 ¾”. Next, you’ll need the Stampers Anonymous Tim Holtz Tiny Prints Stamp Set. Apply Tattered Rose Ranger Tim Holtz Distress Oxide Ink from Ranger Ink to the stamp and stamp onto the piece of Cotton Watercolour Paper. Spritz the paper with water. Once the paper has dried, ink the edges of the paper using Scorched Timber Distress…
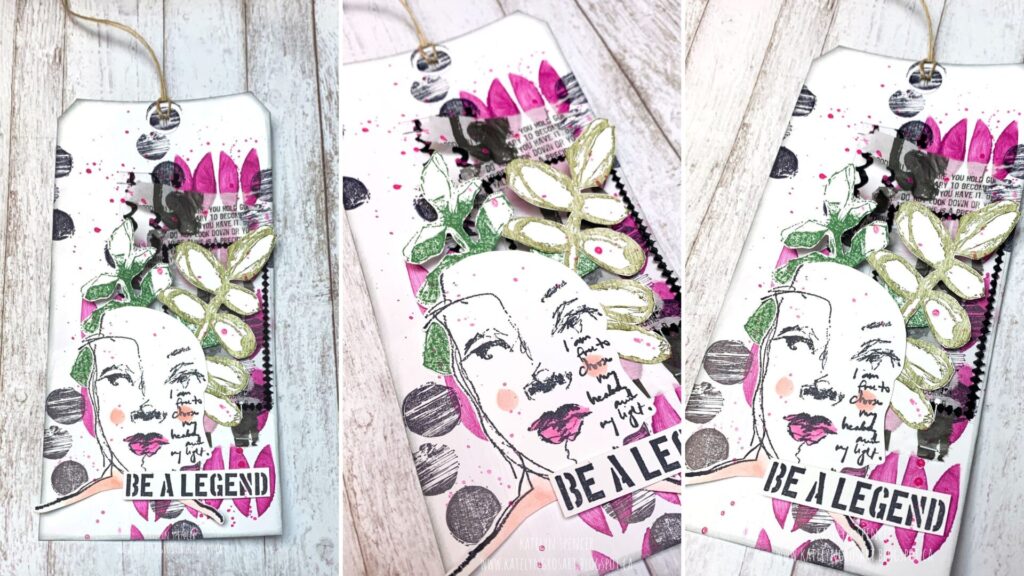
Hey Creative Scrapbooker Fans! For today’s blog post, I’m sharing how I created this Be a Legend Tag featuring fabulous products by Ranger Dina Wakley Media. I also used Super Stock from Creative Scrapbooker Magazine, and adhesive from Scrapbook Adhesives by 3L. You’ll want to grab a cup of your favourite beverage and learn how to create my Be a Legend Tag. To start, you need a tag that measures 4 1/8” x 8 ½”. Apply a coat of White Gesso from Ranger Ink to the tag. Once the gesso has dried, place the Dina Wakley Media Sideways Stencil from Ranger Ink on the stencil. Using a blending tool with foam and Orchid Acrylic Paint from Ranger Ink blend paint through the stencil as desired. Move the stencil as needed and continue to put paint through the stencil. Remove the stencil and allow the stencilled area to dry. Once the…
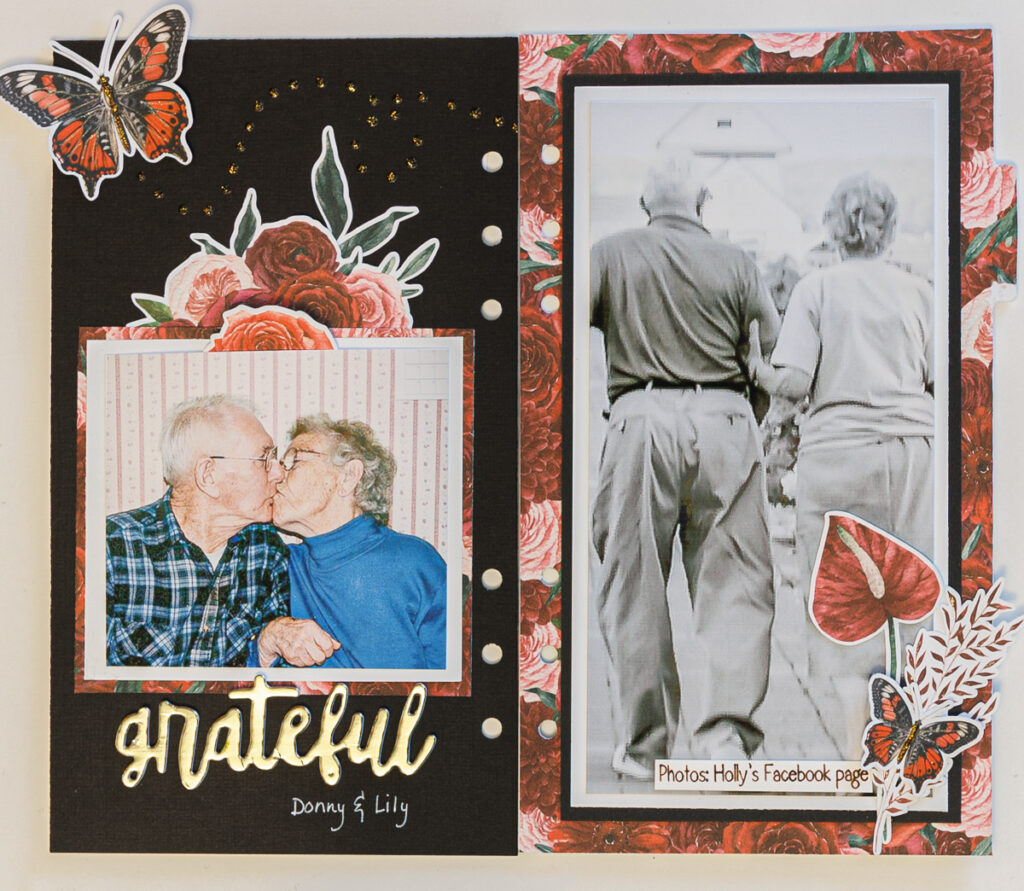
Hello and Happy Fall! Kim here with some layouts to share, inspired by the September Sketchy Challenge. It’s no secret that I LOVE a good sketch as a starting place for scrapbooking. It seems to be what my brain seeks to start my creative process. I’m not one to always follow a sketch exactly. I never see absolutes with a sketch. Some folks see a sketch and distinguish what is a photo, paper and embellishment, they want to know what size to print photos and cut paper to make an exact replica, this is not wrong, just not my way. I, however see a sketch and think looser. What if the photo was paper or vice-versa, could an embellishment be a photo, one photo could hold the ‘weight’ of many photos, a photo could be a journal block, etc. I do not look to replicate the sketch, though sometimes it…
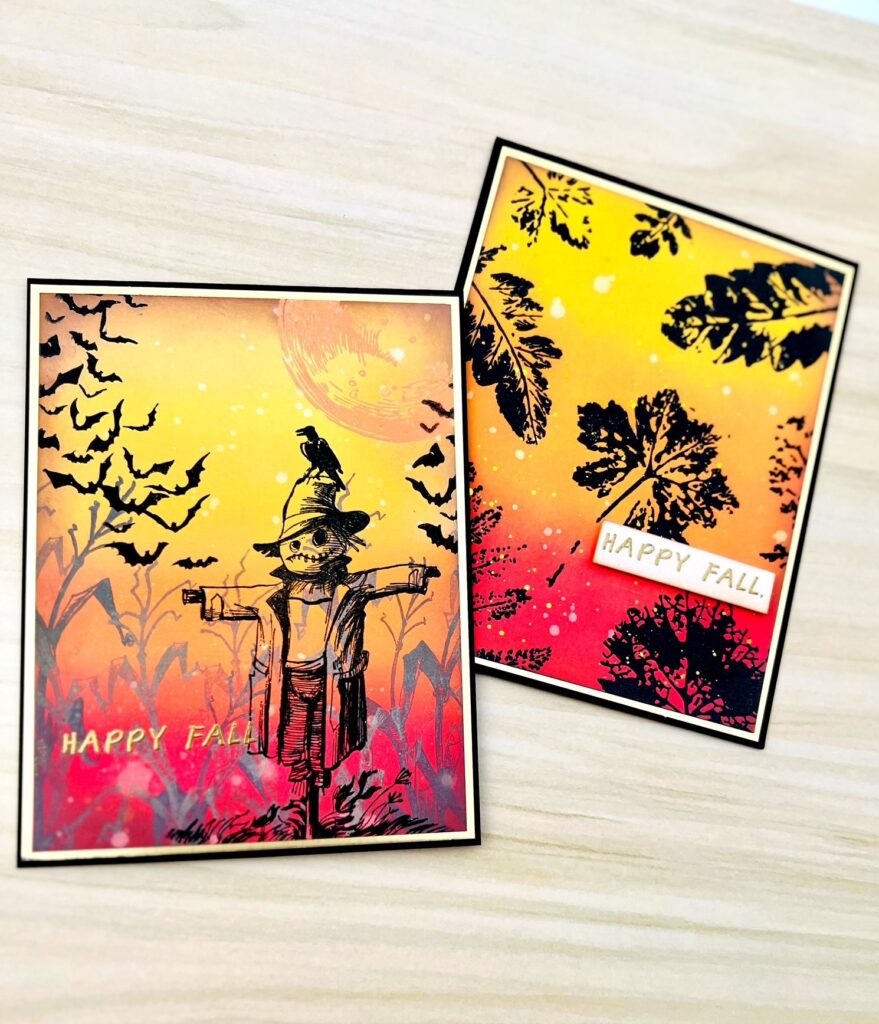
Happy Fall!! Heather Fischer here today on the Creative Scrapbooker Magazine blog to share some Stampers Anonymous Tim Holtz Fall themed cards I recently created! Fall is definitely my favourite season…I love the cooler days, the changing colours of the trees, fall decor, a hot PSL 😉 and of course, Fall themed projects! I tend to make and send quite a few Thanksgiving cards and cards to remind people how grateful I am for them. 🙂 For these 2 cards, I used 2 different stamp sets from Stampers Anonymous Tim Holtz and a couple of my favourite techniques, ink blending and heat embossing! Both backgrounds were made using the following Ranger Tim Holtz Distress Oxide colours; Barn Door, Spiced Marmalade, Fossilized Amber, Scattered Straw and some Vintage Photo blended around the edges. I love this fall colour combination!! Here is a closer look at the first card I created -…
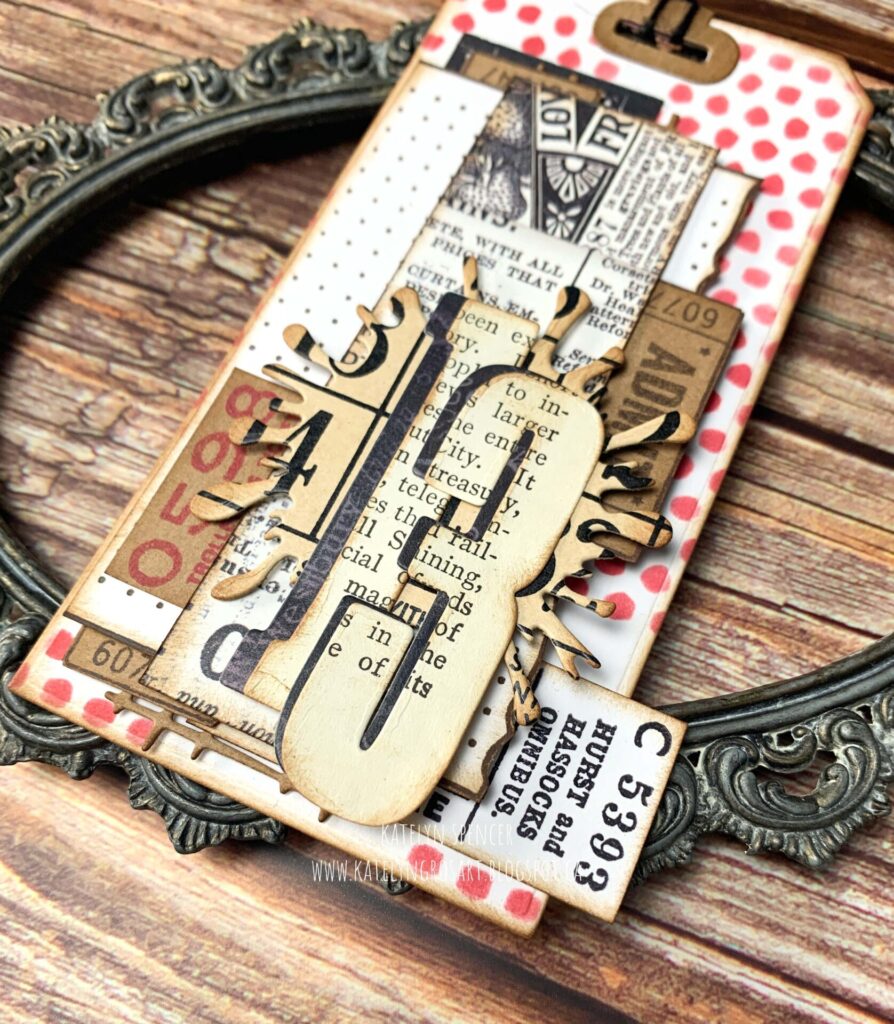
Hey Creative Scrapbooker Fans! For today’s blogpost, I’m sharing with you how I created this 13 Tag using patterned paper from Simple Stories, Dies from Elizabeth Craft Designs, ink from Ranger Ink, Super Stock from Creative Scrapbooker Magazine and adhesive from Scrapbook Adhesives by 3L. You’ll want to grab a cup of your favourite beverage and learn all about my tag at home. To start, die cut the 2 5/8” tag out of the Planner Essentials – Tab 4 with Tags die from Elizabeth Craft Designs out of a piece of Super Stock from Creative Scrapbooker Magazine. Choose one of the reinforcements out of the Planner Essentials – Tab 4 with Tags from Elizabeth Craft Designs out of a piece of kraft cardstock. Using a blending tool with foam and Lumberjack Plaid Distress Oxide Ink from Ranger Ink, blend the ink through the dotted stencil out of the Planner Stencils…
Hey Creative Scrapbooker Fans! For today’s blogpost, I’m sharing with you how to create this Joyful Moments Tag using a variety of products from the Elizabeth Craft Designs Everyday Elements collection. You’ll want to grab a cup of your favourite beverage and learn how to recreate my tag at home. To start, you’ll need a white tag that measures 3 1/8” x 6 ¼”. Take the circle stencil out of the Planner Essentials – Planner Stencils 1 from Elizabeth Craft Designs. Place the stencil on the left-hand side of the tag. Using a blending tool with foam and Dina Wakley Media Acrylic Paint in Sand from Ranger Ink, blend paint through the left side of the stencil. Remove the stencil. Allow the paint to dry. Out of the Elizabeth Craft Designs Everyday Elements – Happy Stamp set, you’ll need the text stamp. Apply Shaded Lilac Distress Oxide Ink from Ranger…
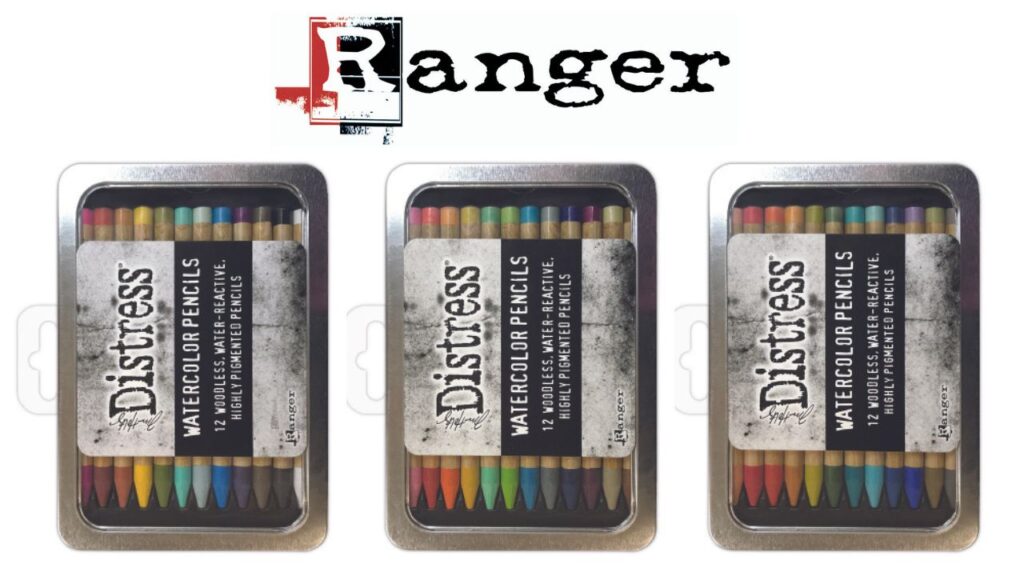
WINNER UPDATE – congratulations to Debbie Roberts – this week’s lucky winner! ALWAYS say YES to Distress EVERYTHING! We love these Tim Holtz Distress Watercolor Pencils from our wonderful friends over at Ranger! One lucky follower is taking home all THREE sets! YAHOOO! Tim Holtz Distress® Pencils are woodless watercolor pencils formulated to achieve vibrant coloring effects on porous surfaces. The solid water-reactive pigments are ideal for watercoloring, shading, sketching and more! Color directly onto surface and blend with water. Layer with Distress Ink, Oxide, Sprays or Paint for more possibilities. Coordinates with the Distress palette of products. Prize Package will include: Set 1, 2, and 3. CLICK HERE to enter your name into the draw! The contest closes on Friday, May 5th at midnight Good luck everyone Join the Village of Inspired People!!!! Its our birthday month! – Click here for all the details.
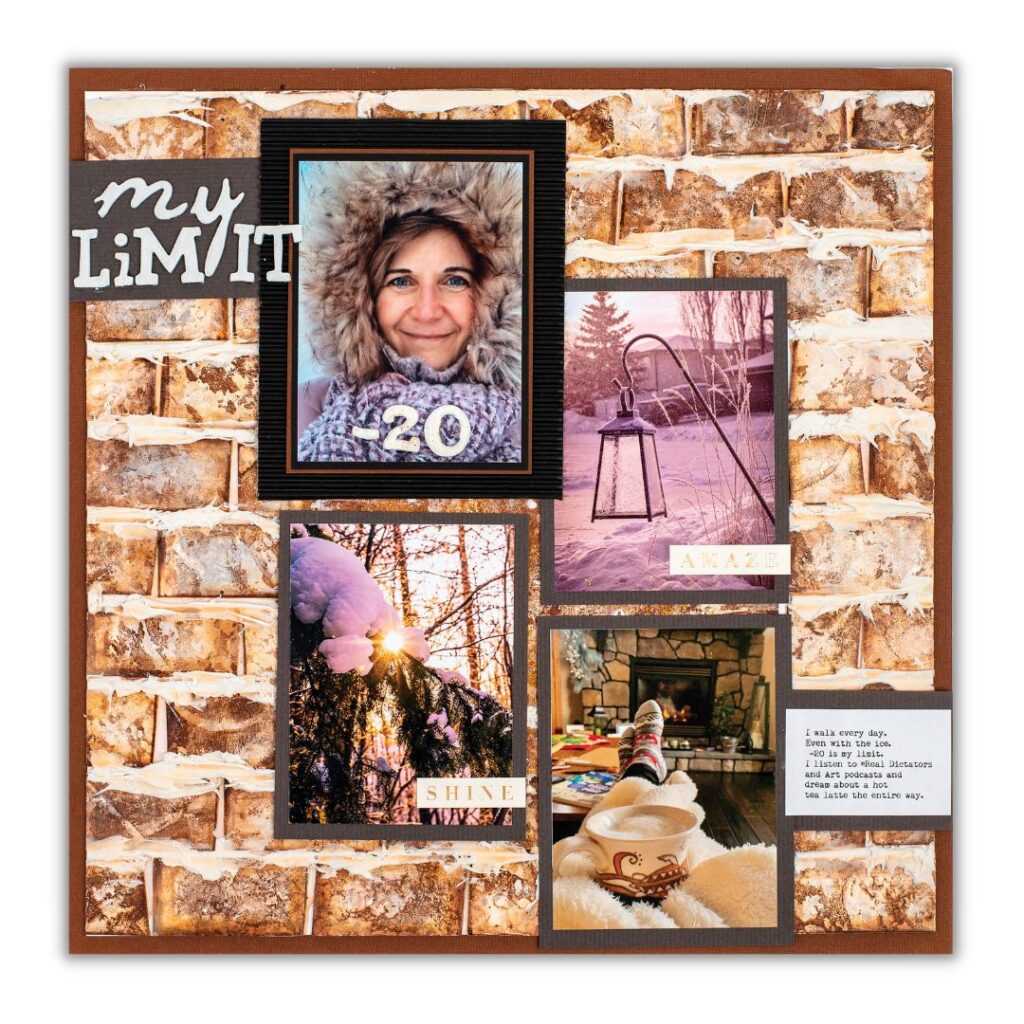
A few days ago I posted a layout designed by Lori Domes of a gorgeous day at the ocean….well …. the reality in my world is this layout designed by Kerry Engel! Giggle Giggle! Kerry’s limit is -20! You are a brave girl Kerry! Mine is maybe -10!!!!! I love looking at cold wintery weather from the comfort of my cozy, toasty house and that is about it! There is soooooooo much glorious texture on this layout – I wish you all could TOUCH IT! To create the faux snow and grout effect Kerry used Ranger Texture paste. Its super thick and creamy to work with it. The results are ;wintery, chilly and FABULOUS! Kerry’s layout was featured in the Winter issue of Creative Scrapbooker Magazine. Get your copy today! Stay warm my friends!
How stinking cute are these gift bags, boxes and tags designed by Nicole Wright featuring products by Stampers Anonymous and Ranger! So simple, so adorable AND so customizable!!!! Is customizable a word?!?!?! Here are the simple steps that Nicole followed. 1. Fold the top of your paper bag back approximately 1″, using a bone folder. Punch a hole in the centre. 2. Use Ranger Archival jet-black ink to stamp your Stampers Anonymous holiday images randomly on the front and back of the bag. 3. Colour the stamped images using Dina Wakley Media Scribble Sticks. 4. Use a waterbrush pen to blend the Scribble Stick colours. Have fun, and create coordinating tags, cards, and holiday boxes.The stamp set that Nicole used is the Stampers Anonymous Tim Holtz Yuletide Gatherings stamp set. To colour the stamped images Nicole used her Ranger Dina Wakley Media Scribble Sticks. So much fun and so super…
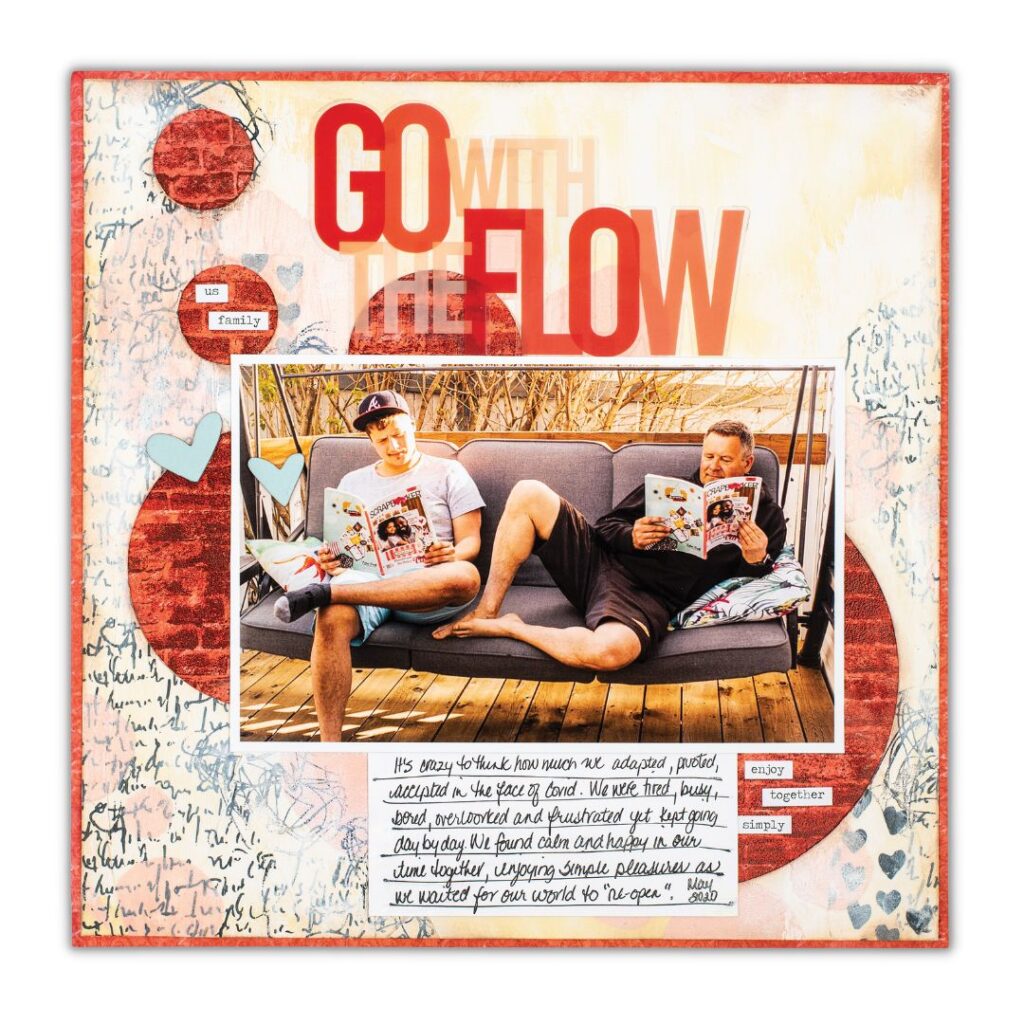
The winter issue of Creative Scrapbooker Magazine is out and about on newsstands and at your favourite local scrapbooking stores! This issue we featured projects inspired by anything bricks! Here is one of the layouts we featured in this column designed by Kim Gowdy. Not only did we LOVE the photo of these two handsome fellas reading the Summer issue of Creative Scrapbooker Magazine (giggle giggle) we also LOVED the background that Kim created. Kim used a variety of Ranger products to build the design however it was the Dina Wakley Media Collage Papers that stole the show! These sheets really added a soft, yet graphic texture that totally added to the design. Love it Kim! Be sure to pop on over to the Ranger website to check out the selection of Dina Wakley Media Collage Papers – you will be hooked! And don’t forget to pick up your copy…


