Hello! Kim here with some Llama Llove! I shared this little tag on our Instagram Story a few weeks back and thought I could show you how easy it was to put together!
Let’s Go! STEP BY STEP LLAMA LOVE TAG:
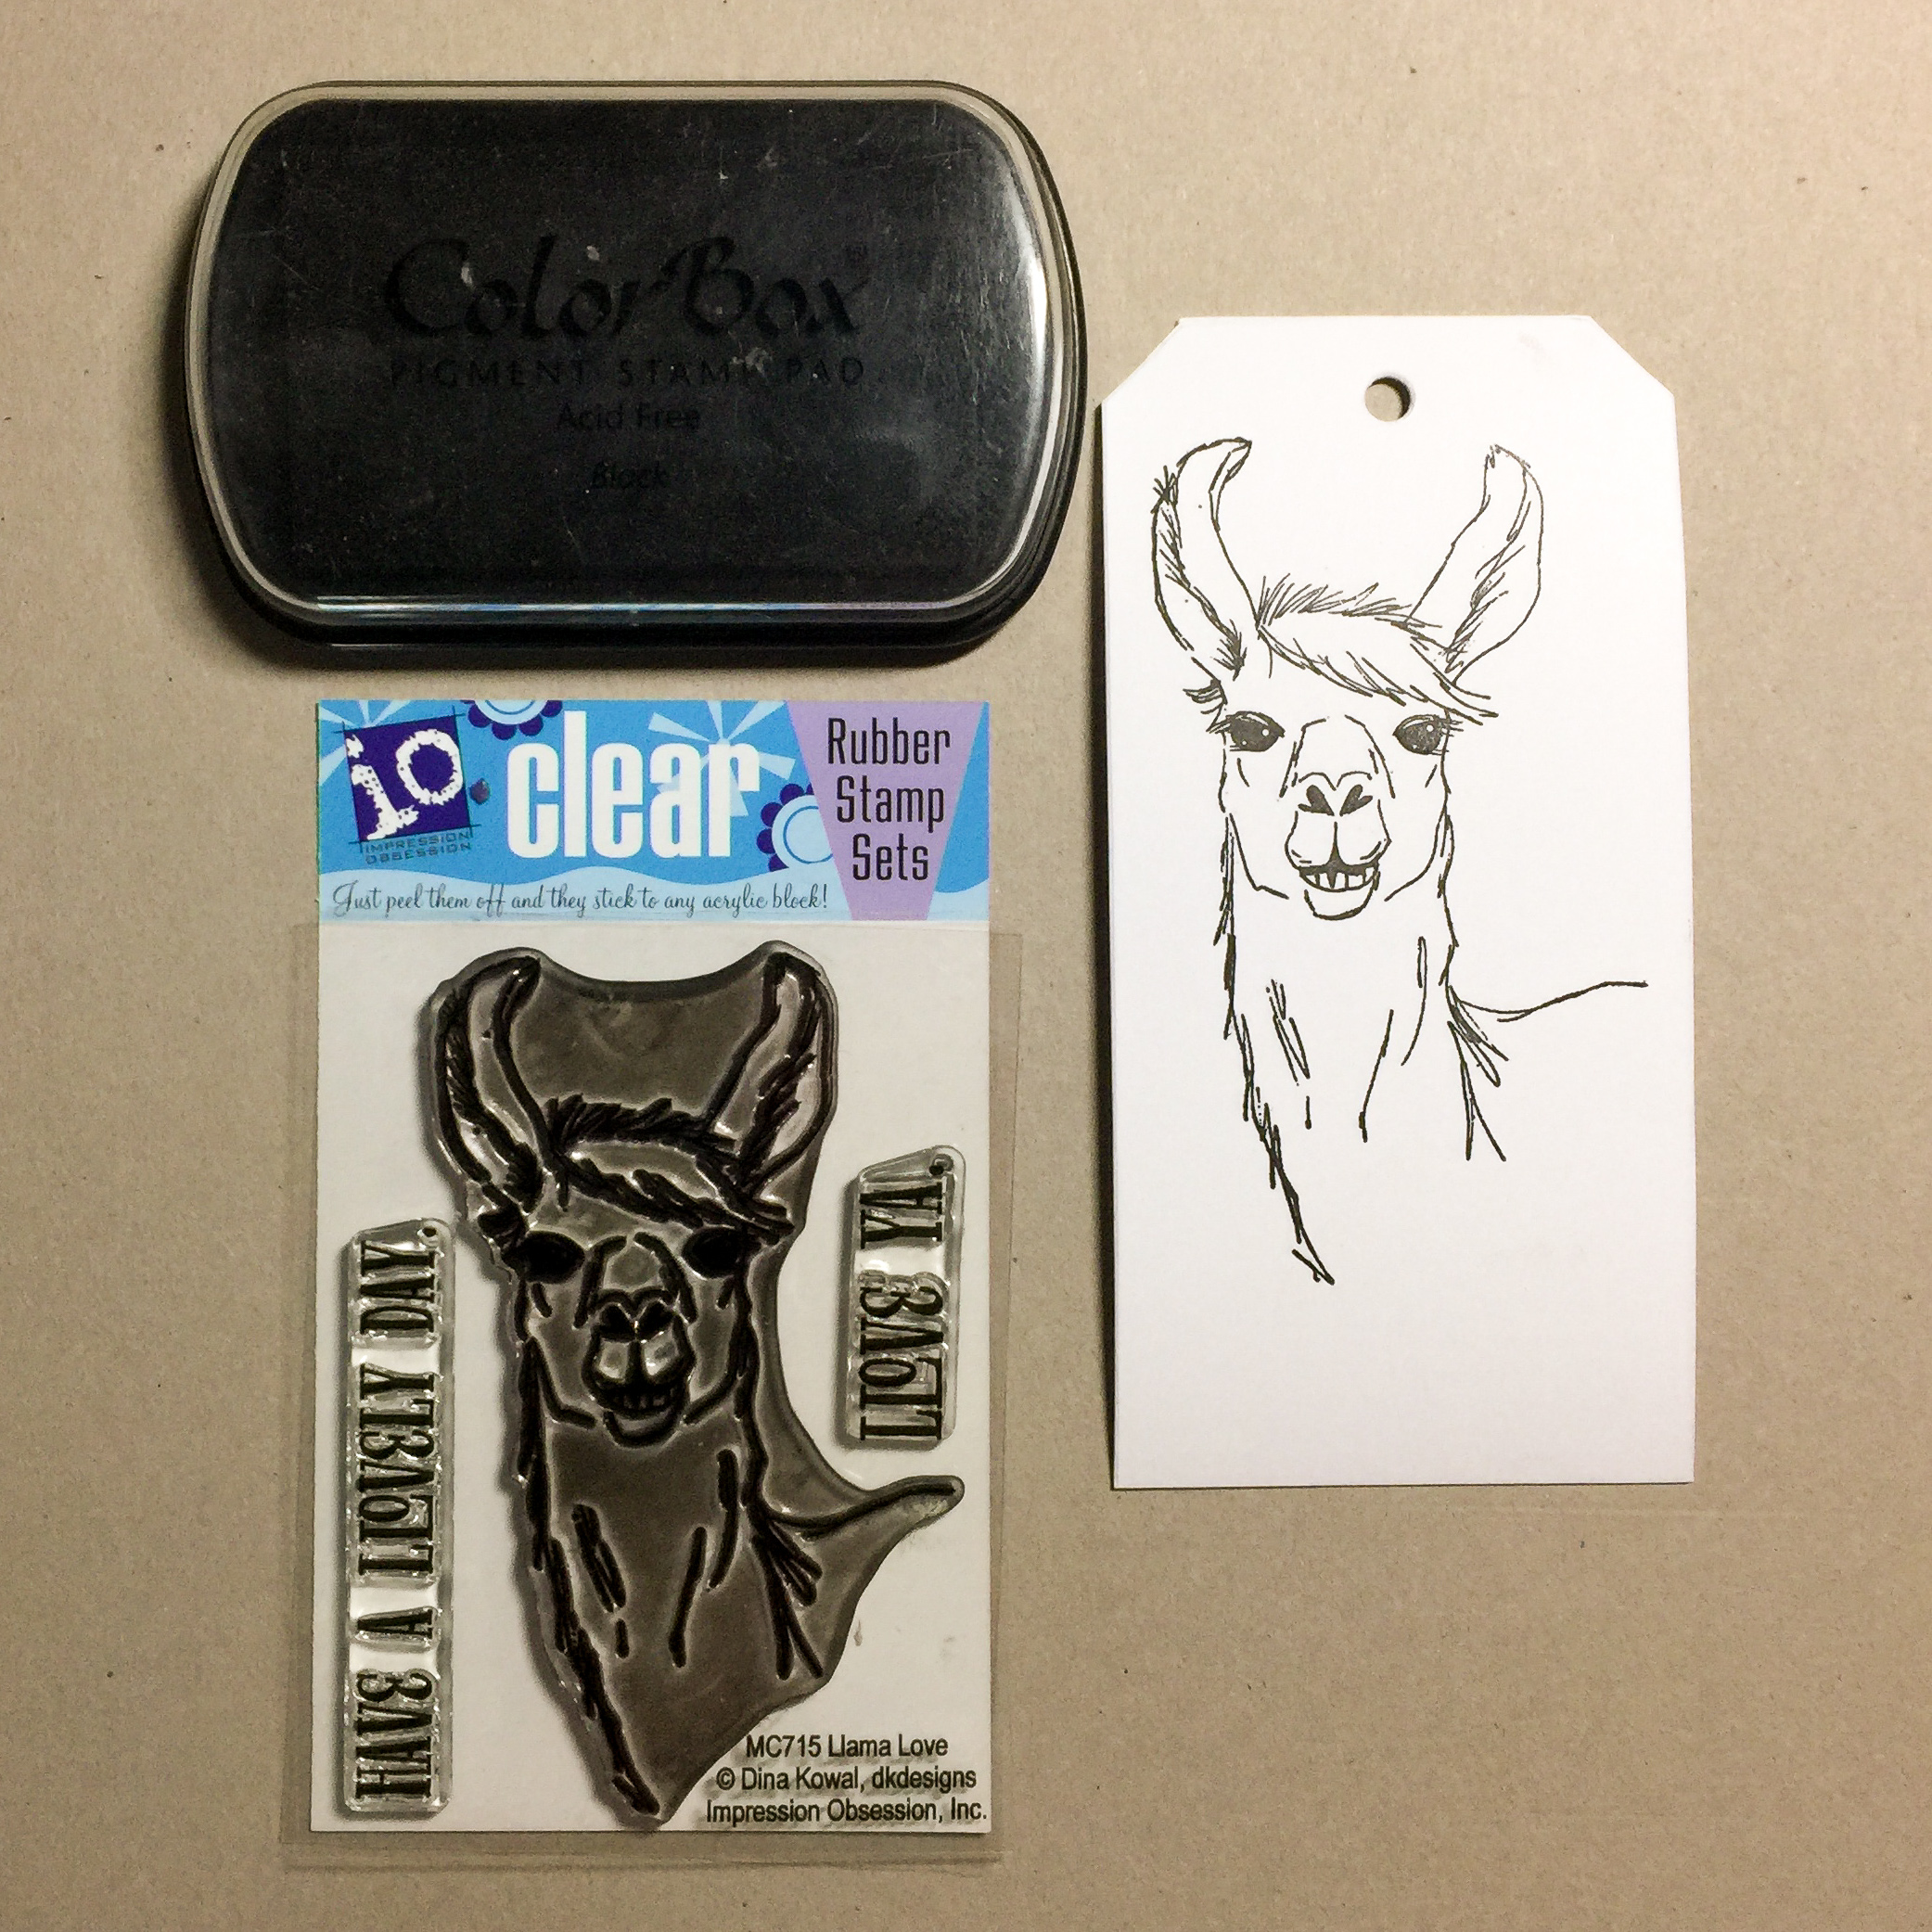
Our first step is to stamp the Impression Obsession Llama onto a tag cut from CSM Superstock. I like to use Colorbox Black Pigment Ink to get a nice, crisp image.Next we stamp our Impression Obsession Llama stamp onto Gina K. Masking Magic by Therm-o-webWith your favourite detail scissors cut out Llama from the Masking Magic, don’t fuss over the little details!Notice how I left all the little edge details behind, they will still show up on final project!Carefully place mask over stamped tag.Now the fun begins! Actually, it’s fun from the get go because this Llama stamp ROCKS my world! I will use ColorBox Dyestress ink and an Impression Obsession background stamp [this pattern has also quickly become a favourite!].Stamp your background stamp over the masked image and lift mask off to reveal the crisp details below! This is so satisfying!TA-DA! How fun is the Masking Magic? …and look, ALL of your details around the edge are perfect! It’s important to trust the process!Using a second Impression Obsession background stamp, I stamped a second tag [only because I had it handy, it does NOT have to be a tag].…then there were two! Set the second tag aside for a bit as we go back to that Llama!On it’s own, just as it is, the base of the tag is fun, let’s add some colour to make it great! I am pulling out my ColorBox Dyestress ink to do this step.Press each colour down on a teflon, non-stick sheet and grab a brush. I really like these brushes with a water chamber but a regular brush with some water works just as well.With a bit of water added, I coloured the ears, nose and eyelids. The more water used the more diluted the colour, there is no right or wrong!I mixed the three Dyestress inks together to get a brownish colour and added lots of water. I follow the lines of the image to add my colour, leaving some white.Using my Glue Dots permanent tape runner, I add adhesive to the lower right corner on an angle. If you look closely you can see where it is.Press the second background onto the main background. Make sure the three edges are covered.Flip your tag around and use the Llama tag as a guide to cut the access off.I use the back of the tag scrap to stamp the Llove Ya sentiment with Dyestress ink. The heart is not part of the set, just one I have ready to go 24/7 as I love the size.I hand cut the sentiment, it does not have to be perfect! One Glue Dots dot under the left side of the sentiment is all I need to adhere to the tag.I like to adhere the sentiment so it overlaps both the layers of the tag. It visually keeps everything together.
Thanks for checking into the blog today, hope this project inspires you to try some masking!
Here are the times of the demos
1:12:07 - Demo - Page Builders Club House with Tracy Pounds Here is the PDF link for Tracy's demo with the instructions and products she used:CLICK HERE
3:03:27 - Demo – Infinity Crafts with April Floriant
Thanks so much to everyone who joined and hope to see you all again on Friday, August 9th – from 10:00am to 2:00pm MDT.


3 Comments
Too cute
I Love this adorable tag!!
Gorgeous Kim, thank you for the tutorial and your inspiration.