If you are like me and find watching embossing powder change to liquid as it heats up oddly satisfying, this is the technique for you! To create this card first cut out a base from Ranger Simon Hurley Create Stark White Cardstock.
  I used an Elizabeth Craft Designs Stitched Rectangle die.
  On a second piece of white cardstock, emboss the brick wall using a Tim Holtz Embossing Folder.
  Once embossed cut out the brickwall using a slightly small stitched rectangle die from the same Elizabeth Craft Designs die set. Adhere the brick wall in the center of the larger stitched rectangle using Scrapbook Adhesives by 3L E-Z Squares.
  Set aside. Next, on a piece of white cardstock, lay a Stampers Anonymous Tim Holtz stencil down.
  Apply Ranger Simon Hurley Create ink with a Mini Blending Tool.
  Lift up the stencil and gently spread the ink filling in the white spots. Using the Mandala die from Elizabeth Craft Designs cut out the shape from this dotted background you just created.
 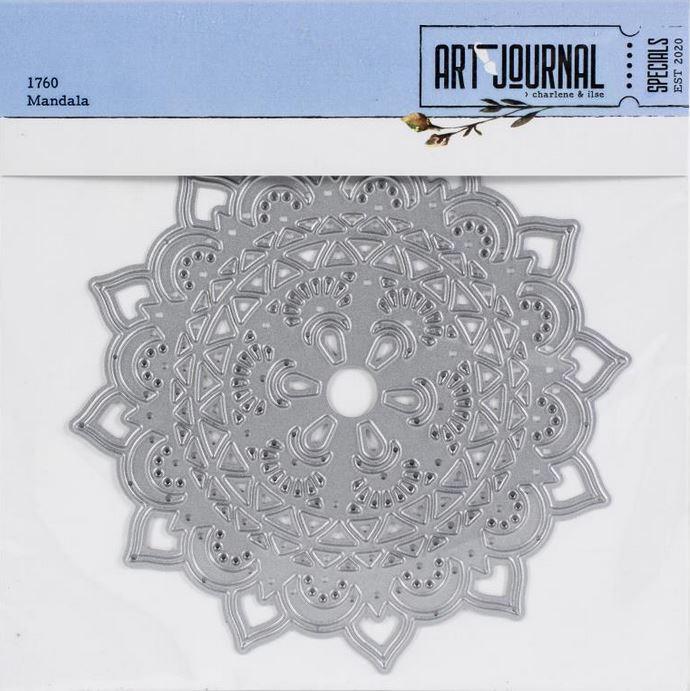 Place the die cut mandala on a piece of double-sided sookwang tape.
  Using a craft knife cut out the shape. Now the fun begins. Apply Ranger embossing ink to the die cut shape.
 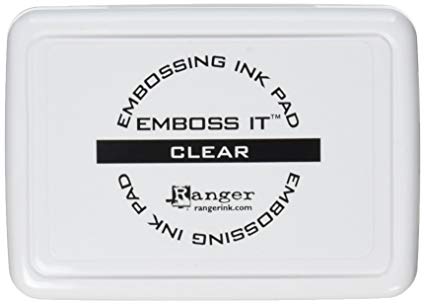 Cover in Ultra Thick Embossing Enamel, shake off the excess, and heat set with a Ranger Heat It Craft Tool.
 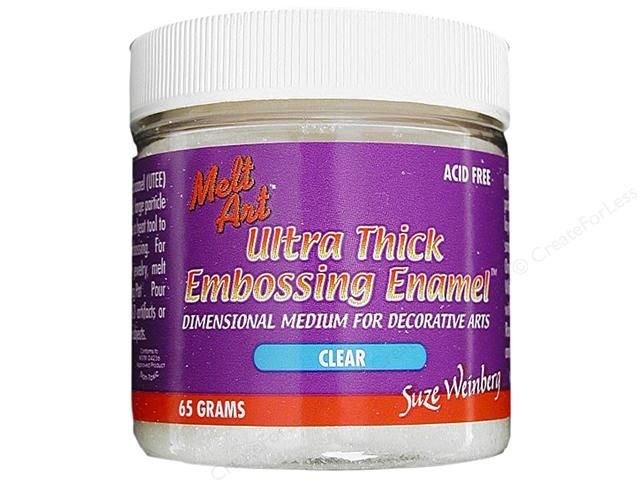 Totally fun to watch the powder melt. Repeat this process 5-6 more times until a nice THICK layer is covering the die cut. Let cool completely and then gently crack the die cut in your hands. This is also addicting! LOLOL! Using a craft knife slice a small piece of the mandala off. Now expose the adhesive on the back of both pieces and adhere to the card base. Grab the Tim Holtz Idea-ology Small Talk Stickers and add some sentiments.
  I popped the stickers up with Scrapbook Adhesives by 3L 3D Foam Squares.
  For a final touch, I added Tonic Studios Nuvo Crystal drops here and there!
 Finally adhere the panel to a card base of your choice!
Check out this FastForward Video!
Get CRACKIN folks!

Subscribe today to Creative Scrapbooker Magazine! Hold it! Read it! Love it!