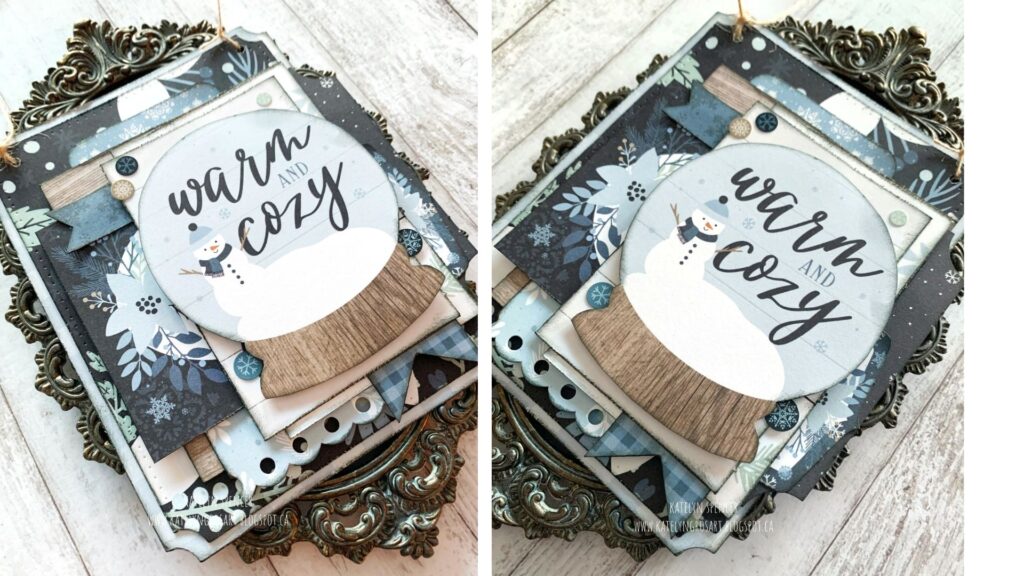
Hey Creative Scrapbooker Fans! I hope you all had a wonderful Christmas spending time with family and friends! For today’s blog post, I’m sharing with you how to create this Warm & Cozy Wall Hanging which uses the Winter Collection from Echo Park Paper. A variety of products from Ranger Ink ,adhesives from Scrapbook Adhesives by 3L and dies from Elizabeth Craft Designs. You’ll want to grab a cup of your favourite Christmas beverage and learn how to recreate my wall hanging at home. To start, you’ll need the blue plaid paper out of the Winter Paper Pack from Echo Park Paper. Die cut a 4 1/4” Fitted Indented Rectangle from Elizabeth Craft Designs out of the patterned paper. Distress the edges of the rectangle. Ink the edges of the rectangle using Black Soot Distress Ink and a blending tool with foam from Ranger Ink. Next, you’ll need the floral…
Hey Creative Scrapbooker Fans! For today’s blogpost, I’m sharing with you how to create this Merry Christmas Gift Box which uses the Simple Vintage Rustic Christmas Collection from Simple Stories.Adhesives from Scrapbook Adhesives by 3L AND gift box from Jennifer Edwardson Creative Inc. AND a variety of products by Ranger . You’ll want to grab a cup of your favourite Christmas beverage and learn how to recreate my gift box at home. To start, you’ll need to choose a piece of patterned paper out of the Simple Vintage Rustic Christmas 6×8 Paper Pad from Simple Stories. Cut the patterned paper piece in two pieces that measure 4” x 4”. Distress the edges of the papers. Ink the edges of the papers using Black Soot Distress Ink and a blending tool with foam from Ranger Ink. Next, choose another piece of patterned paper out of the Simple Vintage Rustic Christmas 6×8…
Hey Creative Scrapbooker Fans! For today’s blogpost, I’m sharing with you how to create this More Pumpkin, Please Tag which uses the Simple Vintage Country Harvest Collection from Simple Stories A variety of products from Ranger Ink and adhesives from Scrapbook Adhesives by 3L. You’ll want to grab a cup of your favourite fall beverage and learn how to recreate my tag at home. To start, you’ll need a tag that measures 3 1/8” x 6 1/8”. Ink the edges of the tag using Walnut Stain Distress Ink and a blending tool with foam from Ranger Ink. Choose a piece of patterned paper out of the Simple Vintage Country Harvest 6×8 Paper Pack from Simple Stories. Trace the tag around the patterned paper. Cut out the tag. Punch a hole at the top of the tag. Distress the edges of the tag. Ink the edges of the tag using Walnut…
Hey everyone – Kerry Engel here today on the Creative Scrapbooker Magazine blog! When I first saw this die set from Stamp Anniething I was immediately drawn to it; maybe it’s because I had just listened to a podcast about King Tutankhamen or maybe it was because I love geometric shapes. I have a stash of papers that I made on my gel plate that I knew would be perfect for the pyramid. If you want to learn gel plate printing check out this free tutorial that Kim Gowdy and I did for The Great Canadian virtual Carnival last fall. https://www.youtube.com/watch?v=yrZL_wdFxho If you don’t have any gel plate prints you could use cardstock or create custom papers using Ranger Distress Oxide inks. I created the backgrounds on Creative Scrapbooker Super Stock with Ranger Distress Oxide Inks. I did a search on Pinterest of the pyramids at night to find…
Hey Creative Scrapbooker Fans! For today’s blogpost, I’m sharing with you how to create this Skull Wall Hanging which uses a variety of stamps and stencils from Stampers Anonymous, Dies from Elizabeth Craft Designs, a variety of products from Ranger Ink, patterned paper from Wild Whisper Designs and adhesives from Scrapbook Adhesives by 3L. You’ll want to grab a cup of your favourite fall beverage and learn how to recreate my wall hanging at home. To start, you’ll need to die cut a 4 1/4” Fitted Rounded Rectangle from Elizabeth Craft Designs out of a piece of Distress Watercolour Cardstock from Ranger Ink. Place the Crackle Stencil from Stampers Anonymous in the top left side of the rectangle. Using a palette knife and Distress Texture Paste – Grave from Ranger Ink, put the texture paste through the stencil. Repeat this step for the top right and bottom right corners of…
Hey Creative Scrapbooker Fans! For today’s blog post, I’m sharing with you how to create this Adventure Card which uses the Let’s Go Camping Collection from Echo Park Paper. Along with a variety of dies from Elizabeth Craft Designs, ink from Ranger Ink and adhesives from Scrapbook Adhesives by 3L. You’ll want to grab a cup of your favourite summer beverage and learn how to recreate my card at home. To start, you’ll need the Wild Plaid Paper out of the Lets Go Camping Paper Pack from Echo Park Paper. Die cut a 4” Stitched Indented Rectangle from Elizabeth Craft Designs out of the patterned paper. Distress the edges of the rectangle. Ink the edges of the rectangle using Black Soot Distress Ink and a blending tool with foam from Ranger Ink. Next, you’ll need the Backpacks Paper out of the Lets Go Camping Paper Pack from Echo Park Paper.…
Hey Creative Scrapbooker Fans! Katelyn Grosart here today on the Creative Scrapbooker Magazine blog! For today’s blogpost, I’m sharing with you how to create this Good Vibes Tag which uses the Sunkissed Collection from Simple Stories. Ink from Ranger and adhesive from Scrapbook Adhesives by 3L. You’ll want to grab a cup of your favourite beverage and learn how to recreate my tag at home. To start, you’ll need a 3 1/8” tag. Trace the tag around the Summer Fun Paper out of the Sunkissed Paper Pack from Simple Stories. Cut the paper tag out. Distress the edges of the paper tag. Ink the edges of the tag and paper tag using Walnut Stain Distress Ink and a Blending Tool with Foam from Ranger Ink. Next, you’ll need the Flamingo Color Vibe Textured Cardstock from Simple Stories. Cut a piece that measures 2 7/8” x 5”. Distress the edges…
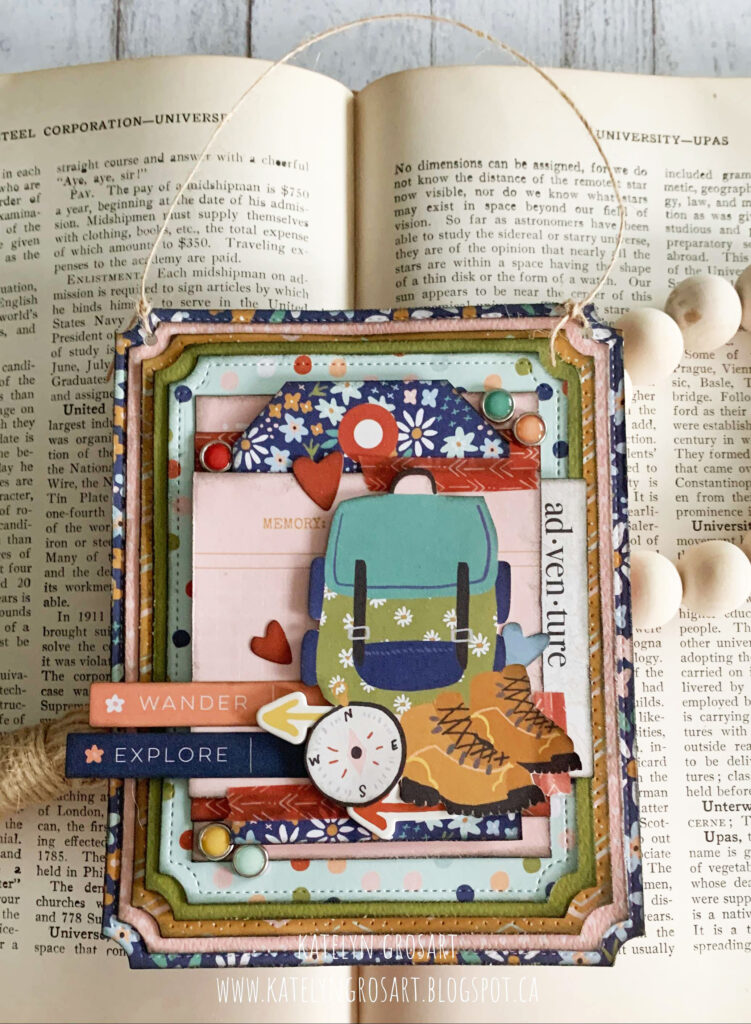
Hey Creative Scrapbooker Fans, Katelyn Grosart here! For today’s blog post, I’m sharing with you how to create this Wander, Explore Wall Hanging.To create the project, I used the Safe Travels Collection from Simple Stories.Dies from Elizabeth Craft Designs. Ink and blending tool from Ranger Ink. Adhesive from Scrapbook Adhesives by 3L. You’ll want to grab a cup of your favourite beverage and learn how to recreate my wall hanging at home. To start, you’ll need the Happy Travels Paper out of the Safe Travels Paper Pack from Simple Stories. Die cut a 4 ½” Stitched Indented Rectangle from Elizabeth Craft Designs out of the patterned paper. Distress the edges of the paper. Ink the edges of the rectangle using Black Soot Distress Ink and a Blending Tool with Foam from Ranger Ink. Next, you’ll need the Blush Color Vibe Textured Cardstock from Simple Stories. Die cut a 4 ¼”…
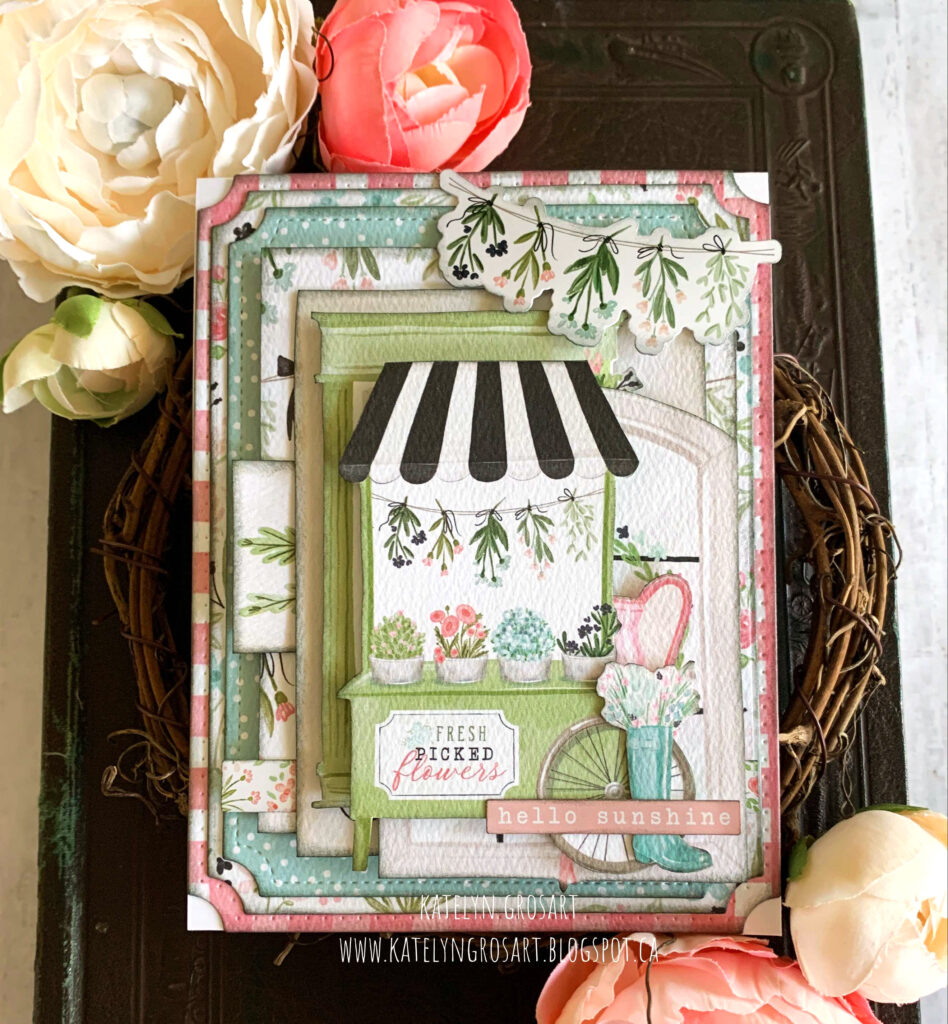
Hey Creative Scrapbooker Fans! For today’s blogpost, I’m sharing with you how to create this Hello Sunshine Card which uses the Carta Bella Flower Garden Collection from Echo Park Paper. Dies from Elizabeth Craft Designs. Super Stock from Creative Scrapbooker Magazine, Ink from Ranger Ink and adhesive from Scrapbook Adhesives by 3L. You’ll want to grab a cup of your favourite beverage and learn how to recreate my card at home. To start, you’ll need the Beautiful Day Floral Paper out of the Flower Garden Paper Pack from Echo Park Paper. Die cut a 4” Stitched Indented Rectangle from Elizabeth Craft Designs out of the patterned paper. Ink the edges of the rectangle using Black Soot Distress Ink and a Blending Tool with Foam from Ranger Ink. Next, you’ll need the Bloom & Grow Paper out of the Flower Garden Paper Pack from Echo Park Paper. Die cut a 3…
Hey Creative Scrapbooker Fans! For today’s blog post, I’m sharing with you how to create this Grow Art Journal Page using a variety of products from Ranger Ink and adhesive from Scrapbook Adhesives by 3L. You’ll want to grab a cup of your favourite beverage and learn how to recreate my art journal page at home. To start, you’ll need to grab your Art Journal. I’m using Dina Wakley’s 6×6 White Art Journal from Ranger Ink. Choose one of the pages and use Dina Wakley White Gesso from Ranger Ink to cover the page. Next you’ll need Dina Wakley Acrylic Heavy Body Paint in Blushing and Fuchsia from Ranger Ink. Apply the two colours of paint to the page as desired with a paintbrush. I have the colour primarily in the middle of the page. Next, you’ll need the Textures Stamp Set from Ranger Ink. Apply Jet Black Archival Ink…